
Future Tec
386 Posts

Future Tec
Report
Block User
Open Trade
High-Frequency Trader
1.3 Years
3 Following
5 Followers
9 Liked
Posts
Portfolio
·
--
Article
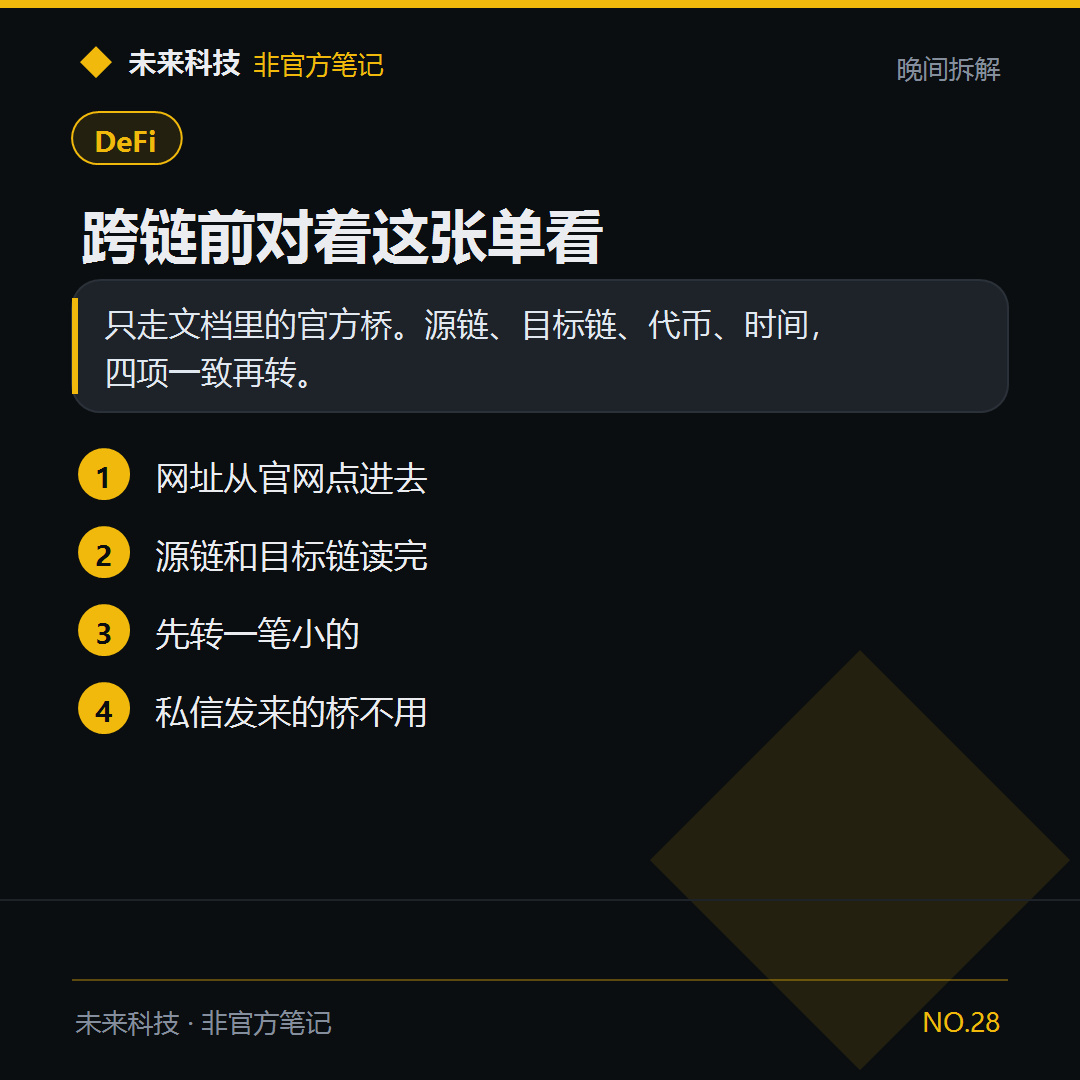
Check this page before making a cross-chain transferA cross-chain transfer isn’t an ordinary transfer. Your coins first leave the source chain, then appear on the destination chain. During the time in between, you may temporarily be unable to see them on either chain.
【Conclusion】
Use only the official bridge listed in the project documentation. Make sure the source chain, destination chain, token contract, and estimated arrival time all match the documentation, then start with a small amount. Don’t use bridges sent to you in private messages.
【Analysis】
Official bridges and fake pages can look almost identical; the difference is the URL. Clicking through from the official website and clicking through from a chat history are not the same path. If you select the wrong source chain or destination chain, your assets will remain on the chain you didn’t open. Arrival times can range from a few minutes to tens of minutes. Wait as instructed in the documentation, and don’t use another bridge to transfer the same funds while you’re waiting.
Check this page before making a cross-chain transfer
A cross-chain transfer isn’t an ordinary transfer. Your coins first leave the source chain, then appear on the destination chain. During the time in between, you may temporarily be unable to see them on either chain.
【Conclusion】
Use only the official bridge listed in the project documentation. Make sure the source chain, destination chain, token contract, and estimated arrival time all match the documentation, then start with a small amount. Don’t use bridges sent to you in private messages.
【Analysis】
Official bridges and fake pages can look almost identical; the difference is the URL. Clicking through from the official website and clicking through from a chat history are not the same path. If you select the wrong source chain or destination chain, your assets will remain on the chain you didn’t open. Arrival times can range from a few minutes to tens of minutes. Wait as instructed in the documentation, and don’t use another bridge to transfer the same funds while you’re waiting.
【Conclusion】
Use only the official bridge listed in the project documentation. Make sure the source chain, destination chain, token contract, and estimated arrival time all match the documentation, then start with a small amount. Don’t use bridges sent to you in private messages.
【Analysis】
Official bridges and fake pages can look almost identical; the difference is the URL. Clicking through from the official website and clicking through from a chat history are not the same path. If you select the wrong source chain or destination chain, your assets will remain on the chain you didn’t open. Arrival times can range from a few minutes to tens of minutes. Wait as instructed in the documentation, and don’t use another bridge to transfer the same funds while you’re waiting.
172
·
--
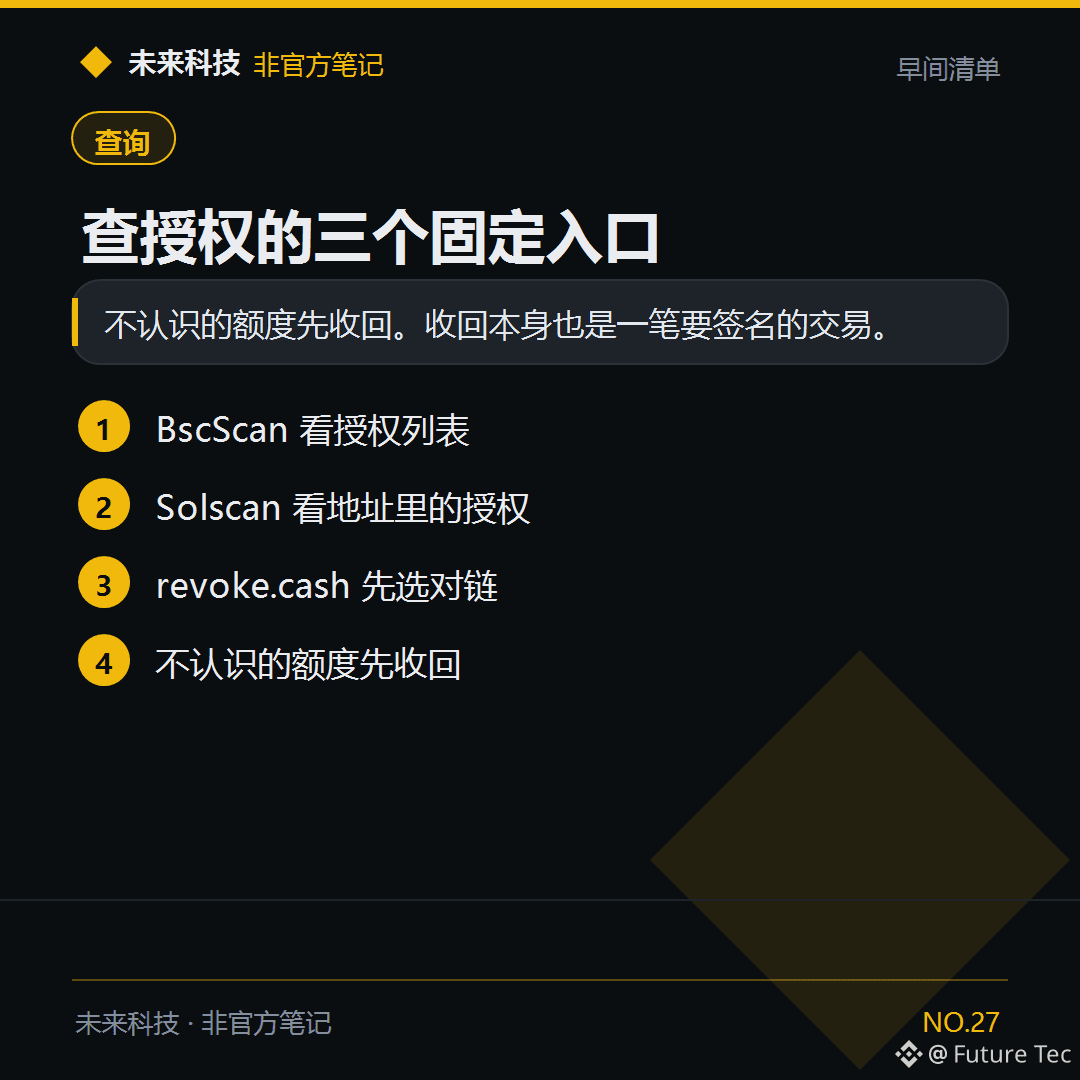
Authorizations are scattered across every website you’ve used. Checking them once a week is faster than looking for them after something goes wrong.
【Conclusion】
For BSC, use Token Approvals on BscScan. For Solana, check the authorizations on your address page in Solscan. You can also use revoke.cash for both chains, but make sure to select the right chain first. Revoke any allowances you don’t recognize.
【Analysis】
The authorization list shows who can still move your tokens and how much allowance remains. Revoking an authorization doesn’t erase the history; it sends a new transaction setting the allowance to 0, so you’ll need to pay a fee and sign again. If you revoke on the wrong chain, nothing changes. If you revoke an official router you’re currently using, you’ll need to approve it again the next time you make a swap. Your tokens themselves won’t be lost.
【Step by step】
1. Open the relevant explorer and go to your address.
2. Find Approvals or Authorizations. Button names may vary by page.
3. Review each contract. Revoke any that don’t match the official documentation.
4. Refresh the list after revoking and confirm the allowance is now 0.
【What can go wrong】
Revoking on the Ethereum page and assuming the allowance on BSC is gone too. Check each chain separately.
Future Technology: https://x.com/wlkjtec
#链上笔记 #查询 #钱包 #BSC #Solana $BNB $SOL
Authorizations are scattered across every website you’ve used. Checking them once a week is faster than looking for them after something goes wrong.
【Conclusion】
For BSC, use Token Approvals on BscScan. For Solana, check the authorizations on your address page in Solscan. You can also use revoke.cash for both chains, but make sure to select the right chain first. Revoke any allowances you don’t recognize.
【Analysis】
The authorization list shows who can still move your tokens and how much allowance remains. Revoking an authorization doesn’t erase the history; it sends a new transaction setting the allowance to 0, so you’ll need to pay a fee and sign again. If you revoke on the wrong chain, nothing changes. If you revoke an official router you’re currently using, you’ll need to approve it again the next time you make a swap. Your tokens themselves won’t be lost.
【Step by step】
1. Open the relevant explorer and go to your address.
2. Find Approvals or Authorizations. Button names may vary by page.
3. Review each contract. Revoke any that don’t match the official documentation.
4. Refresh the list after revoking and confirm the allowance is now 0.
【What can go wrong】
Revoking on the Ethereum page and assuming the allowance on BSC is gone too. Check each chain separately.
Future Technology: https://x.com/wlkjtec
#链上笔记 #查询 #钱包 #BSC #Solana $BNB $SOL
【Conclusion】
For BSC, use Token Approvals on BscScan. For Solana, check the authorizations on your address page in Solscan. You can also use revoke.cash for both chains, but make sure to select the right chain first. Revoke any allowances you don’t recognize.
【Analysis】
The authorization list shows who can still move your tokens and how much allowance remains. Revoking an authorization doesn’t erase the history; it sends a new transaction setting the allowance to 0, so you’ll need to pay a fee and sign again. If you revoke on the wrong chain, nothing changes. If you revoke an official router you’re currently using, you’ll need to approve it again the next time you make a swap. Your tokens themselves won’t be lost.
【Step by step】
1. Open the relevant explorer and go to your address.
2. Find Approvals or Authorizations. Button names may vary by page.
3. Review each contract. Revoke any that don’t match the official documentation.
4. Refresh the list after revoking and confirm the allowance is now 0.
【What can go wrong】
Revoking on the Ethereum page and assuming the allowance on BSC is gone too. Check each chain separately.
Future Technology: https://x.com/wlkjtec
#链上笔记 #查询 #钱包 #BSC #Solana $BNB $SOL
179
·
--
Article
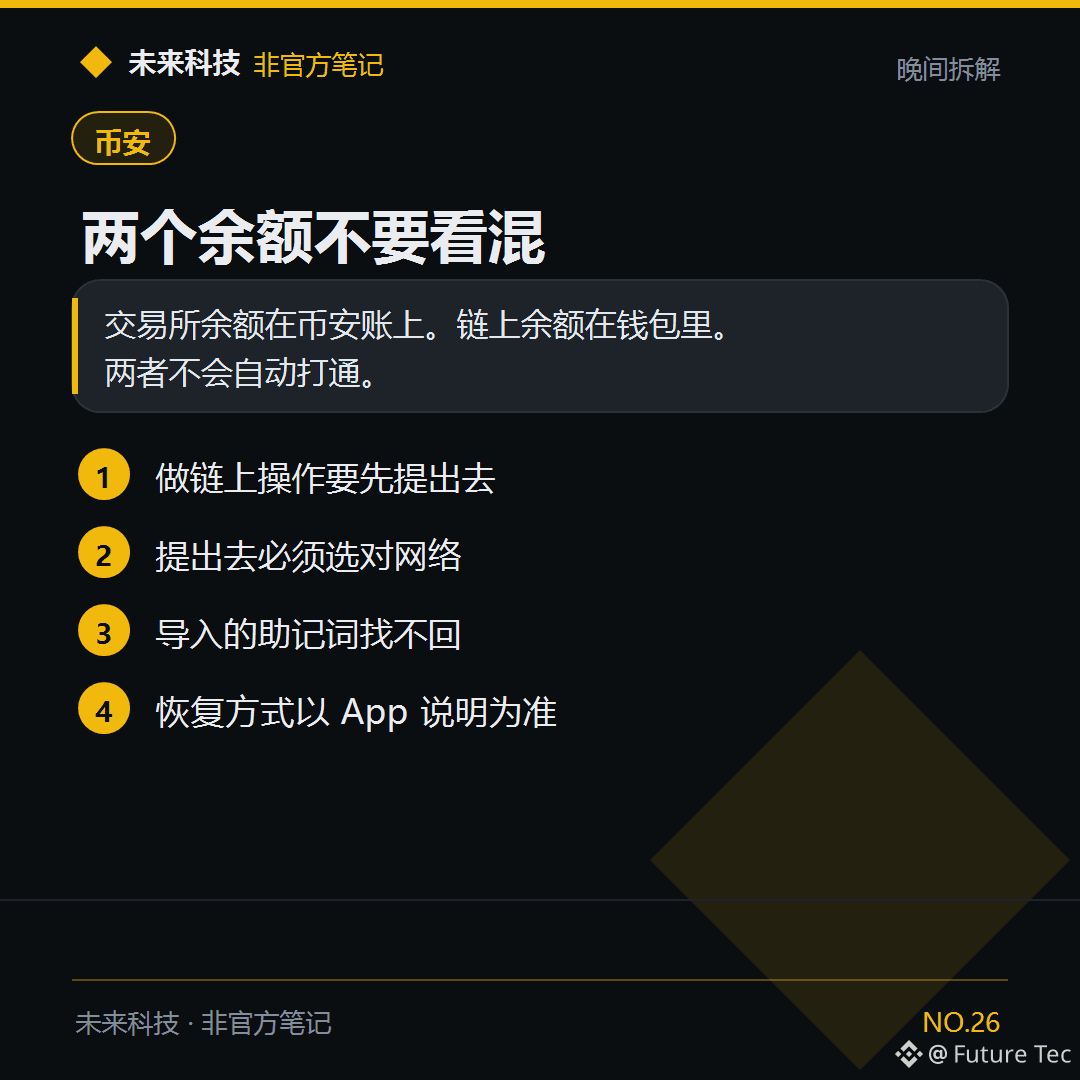
Your Binance account and Web3 Wallet don’t share the same balanceThe numbers shown in the Binance App aren’t necessarily on-chain. Coins in an on-chain wallet also won’t automatically appear in your Spot account.
【Conclusion】
Exchange balances are held in your Binance account. Web3 Wallet balances are recorded on-chain. When you connect to a DApp, you use your on-chain wallet; it won’t directly use coins in your Spot or Funding account.
【Analysis】
To exchange, authorize, or add liquidity with coins held on the exchange, you first need to withdraw them to your wallet and select the correct network. The reverse process is depositing coins from your wallet back to Binance. Customer support cannot reset a recovery phrase that you imported yourself. If Binance App’s built-in Web3 Wallet offers account recovery, follow the backup instructions in the app. Don’t treat it as the same process as an imported recovery phrase.
Your Binance account and Web3 Wallet don’t share the same balance
The numbers shown in the Binance App aren’t necessarily on-chain. Coins in an on-chain wallet also won’t automatically appear in your Spot account.
【Conclusion】
Exchange balances are held in your Binance account. Web3 Wallet balances are recorded on-chain. When you connect to a DApp, you use your on-chain wallet; it won’t directly use coins in your Spot or Funding account.
【Analysis】
To exchange, authorize, or add liquidity with coins held on the exchange, you first need to withdraw them to your wallet and select the correct network. The reverse process is depositing coins from your wallet back to Binance. Customer support cannot reset a recovery phrase that you imported yourself. If Binance App’s built-in Web3 Wallet offers account recovery, follow the backup instructions in the app. Don’t treat it as the same process as an imported recovery phrase.
【Conclusion】
Exchange balances are held in your Binance account. Web3 Wallet balances are recorded on-chain. When you connect to a DApp, you use your on-chain wallet; it won’t directly use coins in your Spot or Funding account.
【Analysis】
To exchange, authorize, or add liquidity with coins held on the exchange, you first need to withdraw them to your wallet and select the correct network. The reverse process is depositing coins from your wallet back to Binance. Customer support cannot reset a recovery phrase that you imported yourself. If Binance App’s built-in Web3 Wallet offers account recovery, follow the backup instructions in the app. Don’t treat it as the same process as an imported recovery phrase.
212
·
--
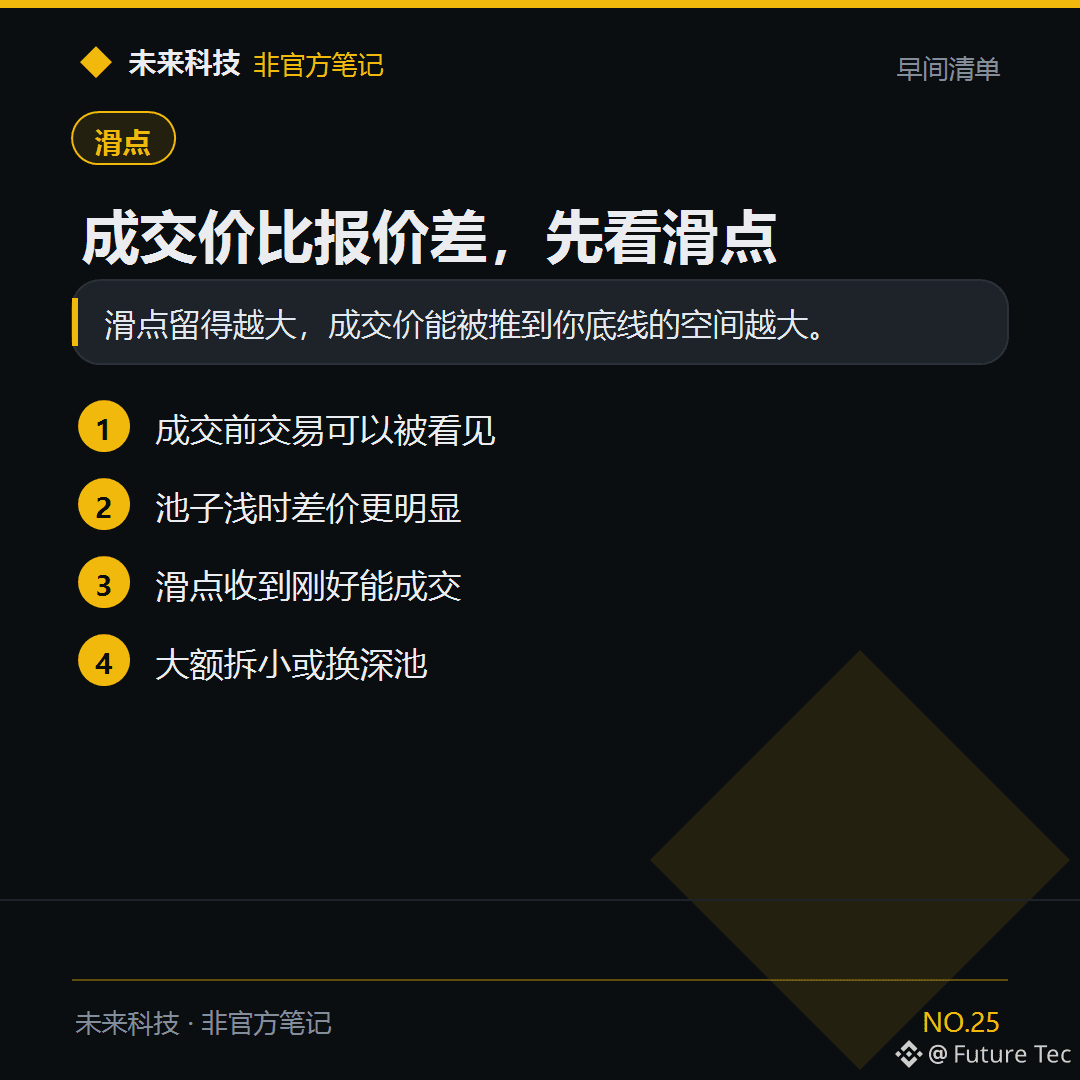
The quote looks fine, but the trade confirmation is right at the worst price you set. First, check how much slippage you allowed.
【Conclusion】
Slippage is the limit you publicly tell the market you’re willing to accept. The wider you set that limit, the more room there is for the execution price to move against you. The shallower the pool, the more noticeable the price difference.
【Analysis】
Before a transaction is included in a block, others can see its contents. The more deviation you’re willing to accept, the more room there is for the price to be pushed to the edge of that range before your trade executes. Setting slippage to 0 won’t prevent this; setting it too low can cause the transaction to fail while still costing you gas. A practical approach is to set slippage just high enough for the trade to go through, reduce the amount per trade, or switch to a deeper pool.
【What to do】
1. Review the slippage and price impact for this trade.
2. Set slippage back to a baseline for your next trade: 0.1% for stablecoin pairs, 0.5% for major coins.
3. Cut the amount in half and see whether the price impact drops.
4. If the impact is still high, slippage isn’t the problem—switch pools or split the trade into smaller batches.
【Pitfall】
After a bad execution, keep increasing slippage in the hope that the next trade will “definitely go through.” You’re just widening the limit.
Future Technology: https://x.com/wlkjtec
#链上笔记 #滑点 #DeFi $BNB $SOL
The quote looks fine, but the trade confirmation is right at the worst price you set. First, check how much slippage you allowed.
【Conclusion】
Slippage is the limit you publicly tell the market you’re willing to accept. The wider you set that limit, the more room there is for the execution price to move against you. The shallower the pool, the more noticeable the price difference.
【Analysis】
Before a transaction is included in a block, others can see its contents. The more deviation you’re willing to accept, the more room there is for the price to be pushed to the edge of that range before your trade executes. Setting slippage to 0 won’t prevent this; setting it too low can cause the transaction to fail while still costing you gas. A practical approach is to set slippage just high enough for the trade to go through, reduce the amount per trade, or switch to a deeper pool.
【What to do】
1. Review the slippage and price impact for this trade.
2. Set slippage back to a baseline for your next trade: 0.1% for stablecoin pairs, 0.5% for major coins.
3. Cut the amount in half and see whether the price impact drops.
4. If the impact is still high, slippage isn’t the problem—switch pools or split the trade into smaller batches.
【Pitfall】
After a bad execution, keep increasing slippage in the hope that the next trade will “definitely go through.” You’re just widening the limit.
Future Technology: https://x.com/wlkjtec
#链上笔记 #滑点 #DeFi $BNB $SOL
【Conclusion】
Slippage is the limit you publicly tell the market you’re willing to accept. The wider you set that limit, the more room there is for the execution price to move against you. The shallower the pool, the more noticeable the price difference.
【Analysis】
Before a transaction is included in a block, others can see its contents. The more deviation you’re willing to accept, the more room there is for the price to be pushed to the edge of that range before your trade executes. Setting slippage to 0 won’t prevent this; setting it too low can cause the transaction to fail while still costing you gas. A practical approach is to set slippage just high enough for the trade to go through, reduce the amount per trade, or switch to a deeper pool.
【What to do】
1. Review the slippage and price impact for this trade.
2. Set slippage back to a baseline for your next trade: 0.1% for stablecoin pairs, 0.5% for major coins.
3. Cut the amount in half and see whether the price impact drops.
4. If the impact is still high, slippage isn’t the problem—switch pools or split the trade into smaller batches.
【Pitfall】
After a bad execution, keep increasing slippage in the hope that the next trade will “definitely go through.” You’re just widening the limit.
Future Technology: https://x.com/wlkjtec
#链上笔记 #滑点 #DeFi $BNB $SOL
176
·
--
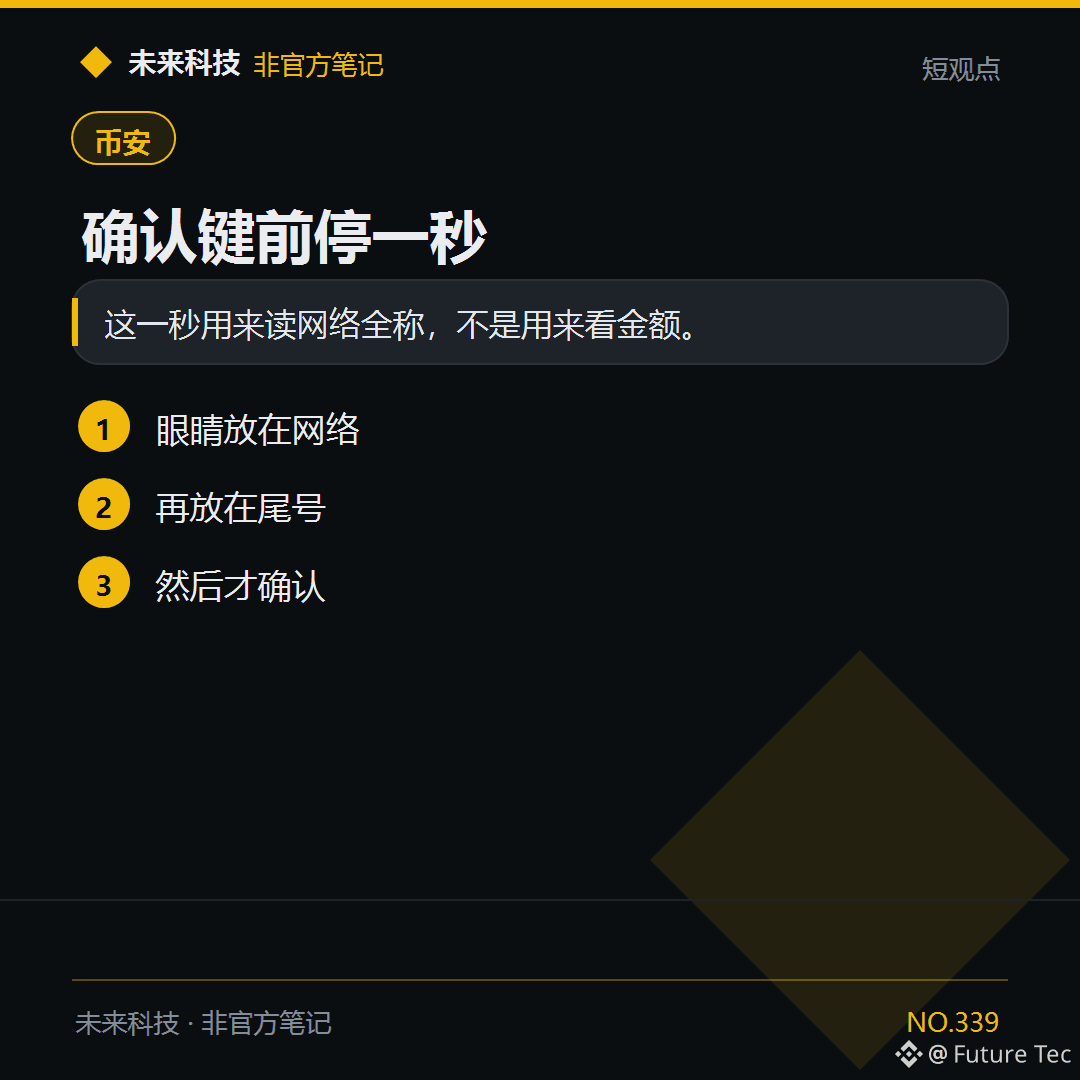
Before tapping the final confirm button for $USDT, look at the network first.
【Conclusion】
Use this second to read the full network name, not to look at the amount.
【Follow these steps】
1. Look at the network
2. Then look at the last digits
3. Only then confirm
Which line do your eyes land on first?
Future Tech: https://x.com/wlkjtec
#币安 $USDT
Before tapping the final confirm button for $USDT, look at the network first.
【Conclusion】
Use this second to read the full network name, not to look at the amount.
【Follow these steps】
1. Look at the network
2. Then look at the last digits
3. Only then confirm
Which line do your eyes land on first?
Future Tech: https://x.com/wlkjtec
#币安 $USDT
【Conclusion】
Use this second to read the full network name, not to look at the amount.
【Follow these steps】
1. Look at the network
2. Then look at the last digits
3. Only then confirm
Which line do your eyes land on first?
Future Tech: https://x.com/wlkjtec
#币安 $USDT
·
--
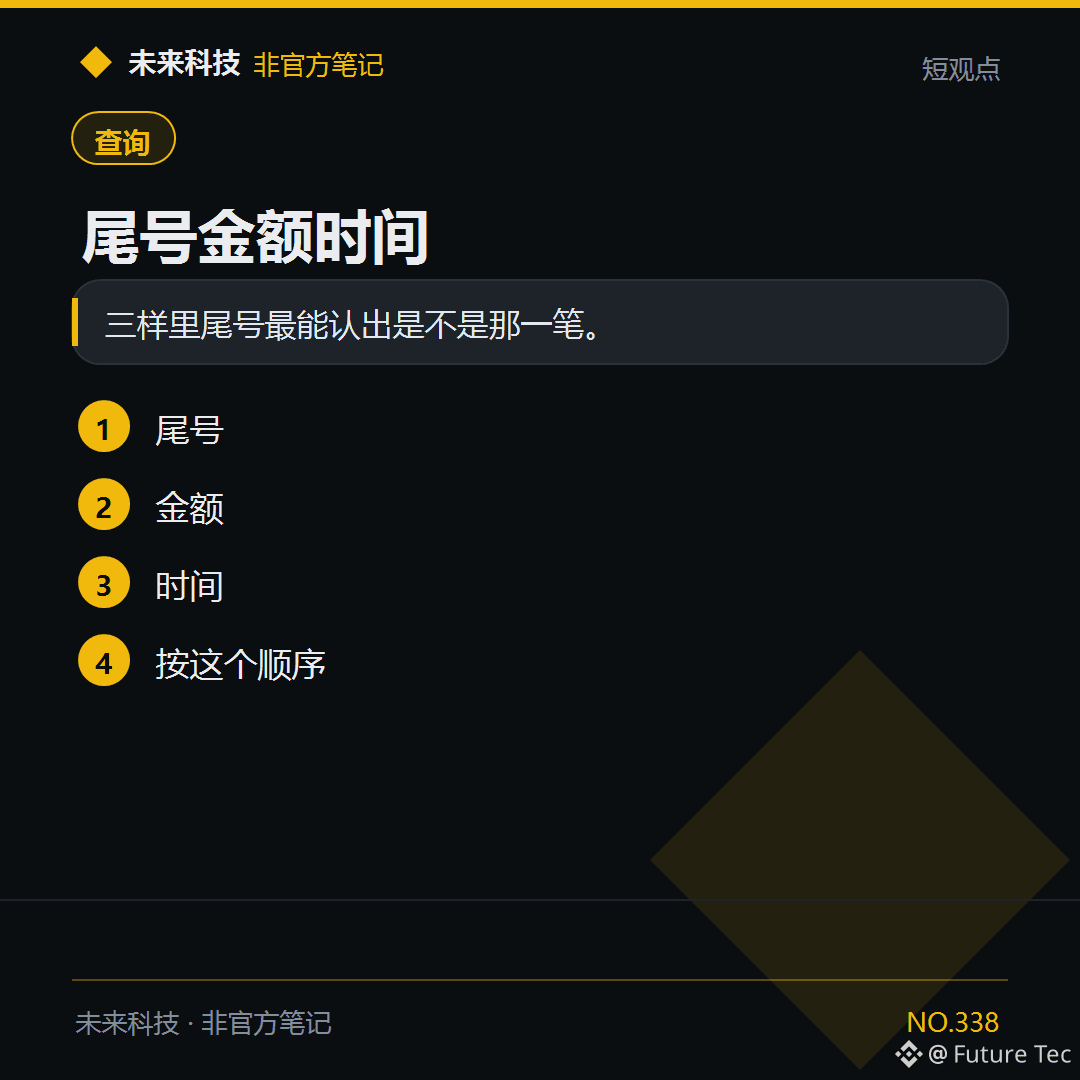
To check whether it’s that USDT transaction, start with the address ending.
【Conclusion】
Of the three, the ending is the best way to identify whether it’s that transaction.
【Check in this order】
1. Address ending
2. Amount
3. Time
4. Follow this order
Which item do you start with when reconciling transactions?
Future Tech: https://x.com/wlkjtec
#钱包 $USDT
To check whether it’s that USDT transaction, start with the address ending.
【Conclusion】
Of the three, the ending is the best way to identify whether it’s that transaction.
【Check in this order】
1. Address ending
2. Amount
3. Time
4. Follow this order
Which item do you start with when reconciling transactions?
Future Tech: https://x.com/wlkjtec
#钱包 $USDT
【Conclusion】
Of the three, the ending is the best way to identify whether it’s that transaction.
【Check in this order】
1. Address ending
2. Amount
3. Time
4. Follow this order
Which item do you start with when reconciling transactions?
Future Tech: https://x.com/wlkjtec
#钱包 $USDT
3
·
--
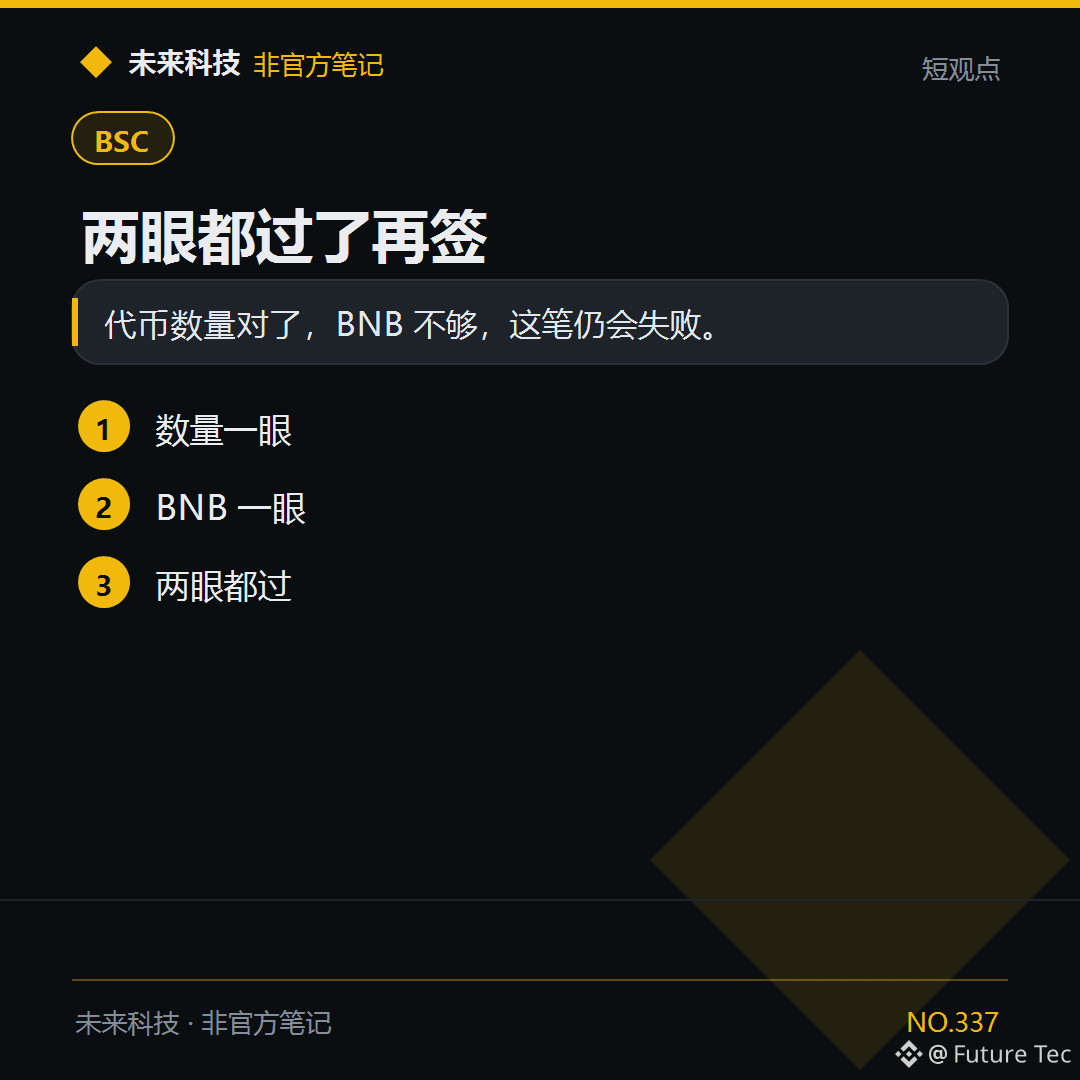
When signing a transfer on BSC, check both the amount and the $BNB fee.
[Conclusion]
The token amount is correct, but there isn’t enough BNB, so the transaction will still fail.
[Follow these steps]
1. Check the amount
2. Check the BNB
3. Check both
Have you ever missed checking the fee?
Future Tech: https://x.com/wlkjtec
#BSC $BNB
When signing a transfer on BSC, check both the amount and the $BNB fee.
[Conclusion]
The token amount is correct, but there isn’t enough BNB, so the transaction will still fail.
[Follow these steps]
1. Check the amount
2. Check the BNB
3. Check both
Have you ever missed checking the fee?
Future Tech: https://x.com/wlkjtec
#BSC $BNB
[Conclusion]
The token amount is correct, but there isn’t enough BNB, so the transaction will still fail.
[Follow these steps]
1. Check the amount
2. Check the BNB
3. Check both
Have you ever missed checking the fee?
Future Tech: https://x.com/wlkjtec
#BSC $BNB
45
·
--
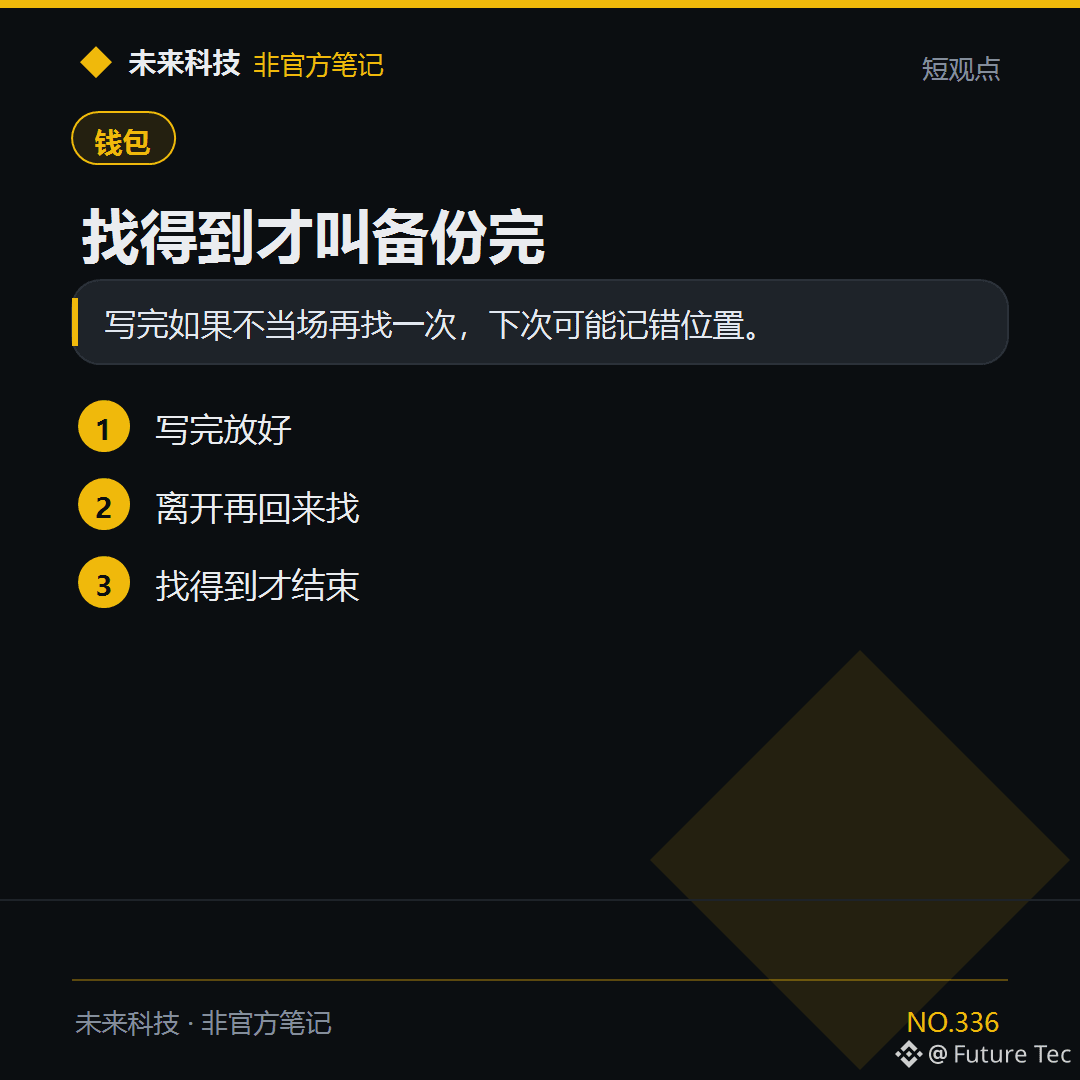
After writing down your recovery phrase, leave and come back to find it again. Your backup is only complete once you can find it.
[Conclusion]
If you don’t try to find it again right after writing it down, you may forget where you put it next time.
[Follow these steps]
1. Put it away after writing it down
2. Leave, then come back and find it
3. You’re done only when you can find it
Did you try to find it right after writing it down?
Future Technology: https://x.com/wlkjtec
#钱包 $BTC
After writing down your recovery phrase, leave and come back to find it again. Your backup is only complete once you can find it.
[Conclusion]
If you don’t try to find it again right after writing it down, you may forget where you put it next time.
[Follow these steps]
1. Put it away after writing it down
2. Leave, then come back and find it
3. You’re done only when you can find it
Did you try to find it right after writing it down?
Future Technology: https://x.com/wlkjtec
#钱包 $BTC
[Conclusion]
If you don’t try to find it again right after writing it down, you may forget where you put it next time.
[Follow these steps]
1. Put it away after writing it down
2. Leave, then come back and find it
3. You’re done only when you can find it
Did you try to find it right after writing it down?
Future Technology: https://x.com/wlkjtec
#钱包 $BTC
79
·
--
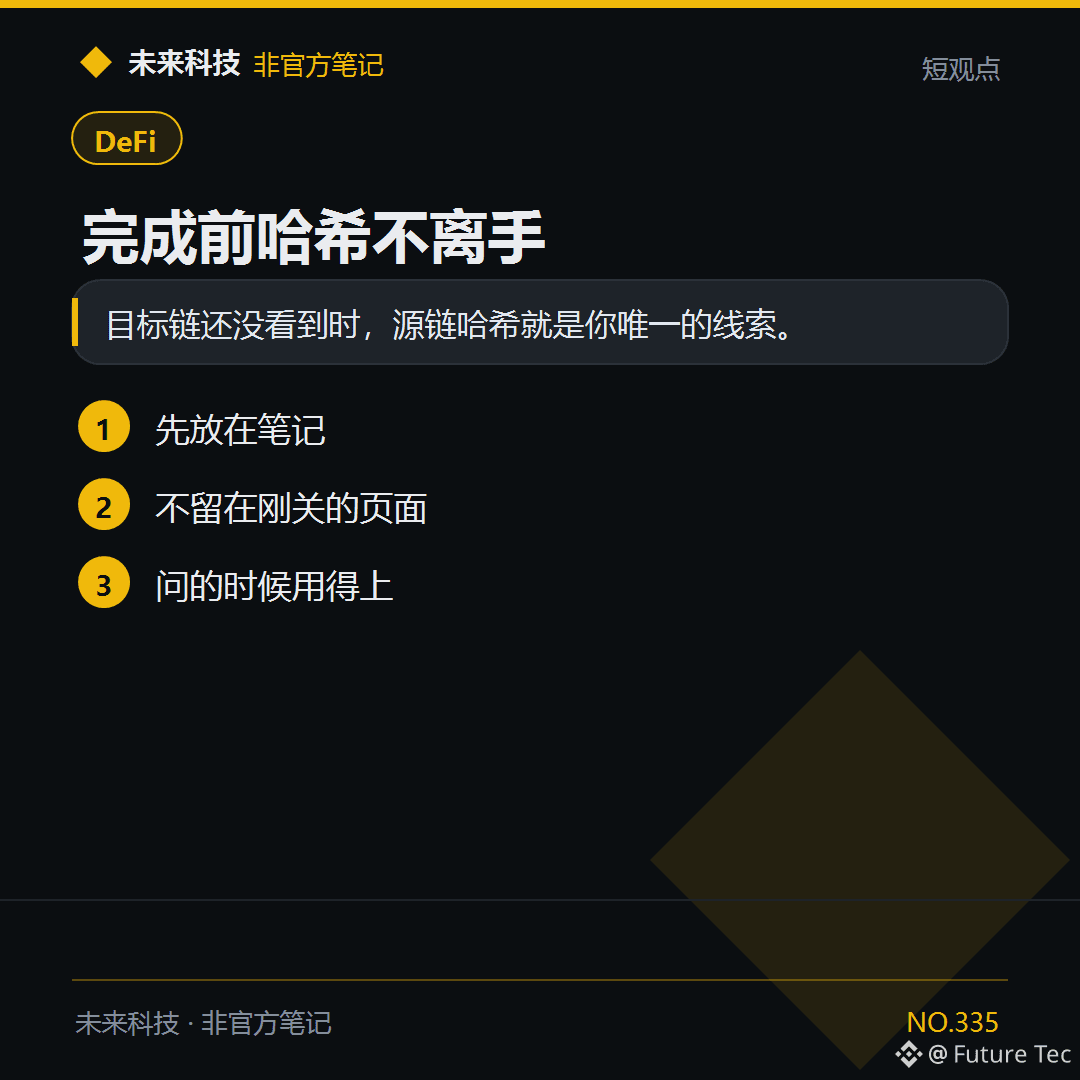
When $USDT hasn’t appeared on the destination chain yet, keep the source-chain hash in your notes.
【Conclusion】
Until it shows up on the destination chain, the source-chain hash is your only clue.
【Follow these steps】
1. Save it in your notes first
2. Don’t leave it on a page you’ve just closed
3. You’ll need it when you ask for help
Is your hash in your notes or on a page you’ve closed?
Future Tech: https://x.com/wlkjtec
#DeFi $USDT
When $USDT hasn’t appeared on the destination chain yet, keep the source-chain hash in your notes.
【Conclusion】
Until it shows up on the destination chain, the source-chain hash is your only clue.
【Follow these steps】
1. Save it in your notes first
2. Don’t leave it on a page you’ve just closed
3. You’ll need it when you ask for help
Is your hash in your notes or on a page you’ve closed?
Future Tech: https://x.com/wlkjtec
#DeFi $USDT
【Conclusion】
Until it shows up on the destination chain, the source-chain hash is your only clue.
【Follow these steps】
1. Save it in your notes first
2. Don’t leave it on a page you’ve just closed
3. You’ll need it when you ask for help
Is your hash in your notes or on a page you’ve closed?
Future Tech: https://x.com/wlkjtec
#DeFi $USDT
2
·
--
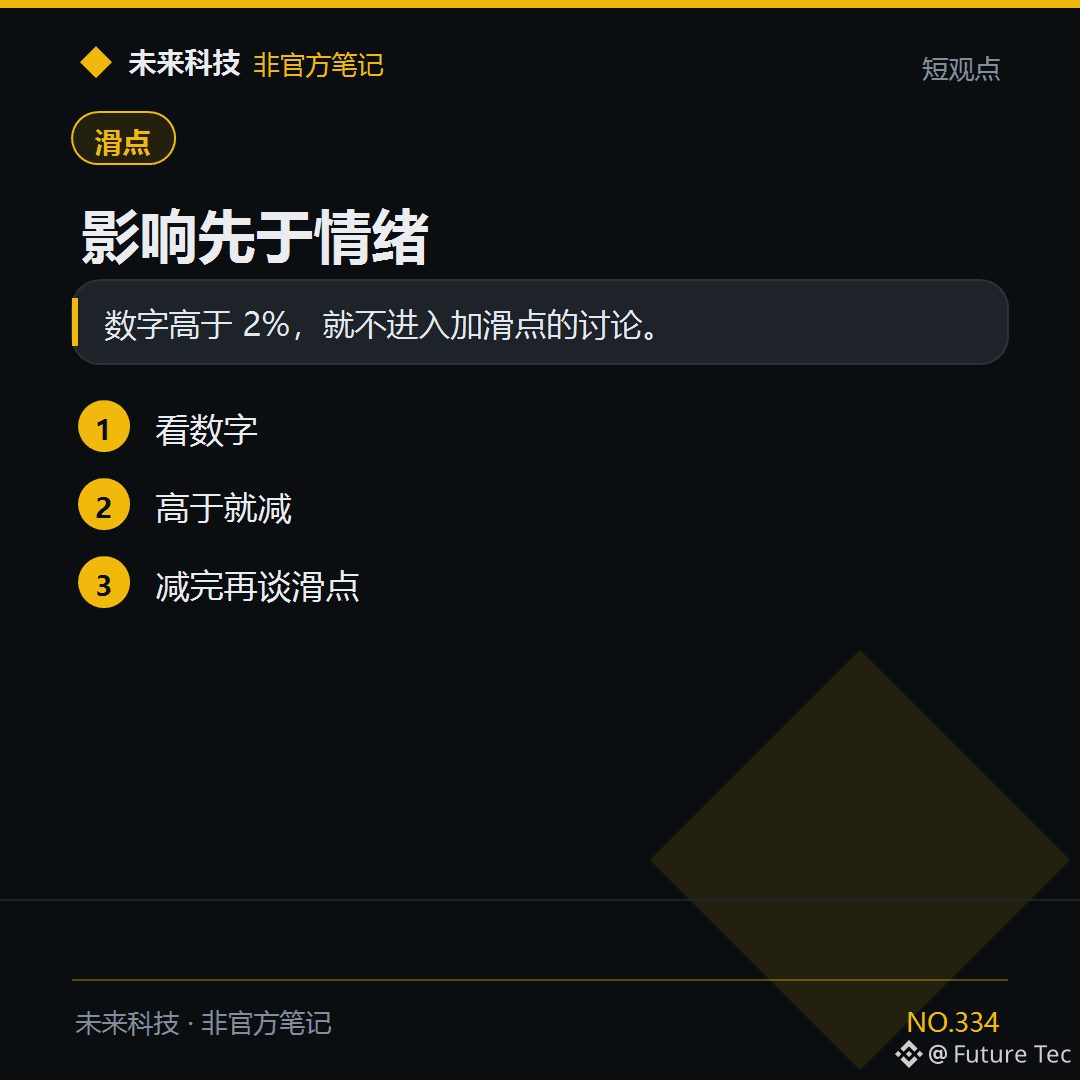
$ETH The price impact is still too high, so don't discuss how much to increase slippage yet.
[Conclusion]
If the number is above 2%, don't discuss increasing slippage.
[Do this]
1. Check the number
2. If it's too high, reduce it
3. Discuss slippage after reducing it
Would you let the page prompt you to change slippage first?
Future Tech: https://x.com/wlkjtec
#滑点 $ETH
$ETH The price impact is still too high, so don't discuss how much to increase slippage yet.
[Conclusion]
If the number is above 2%, don't discuss increasing slippage.
[Do this]
1. Check the number
2. If it's too high, reduce it
3. Discuss slippage after reducing it
Would you let the page prompt you to change slippage first?
Future Tech: https://x.com/wlkjtec
#滑点 $ETH
[Conclusion]
If the number is above 2%, don't discuss increasing slippage.
[Do this]
1. Check the number
2. If it's too high, reduce it
3. Discuss slippage after reducing it
Would you let the page prompt you to change slippage first?
Future Tech: https://x.com/wlkjtec
#滑点 $ETH
9
·
--
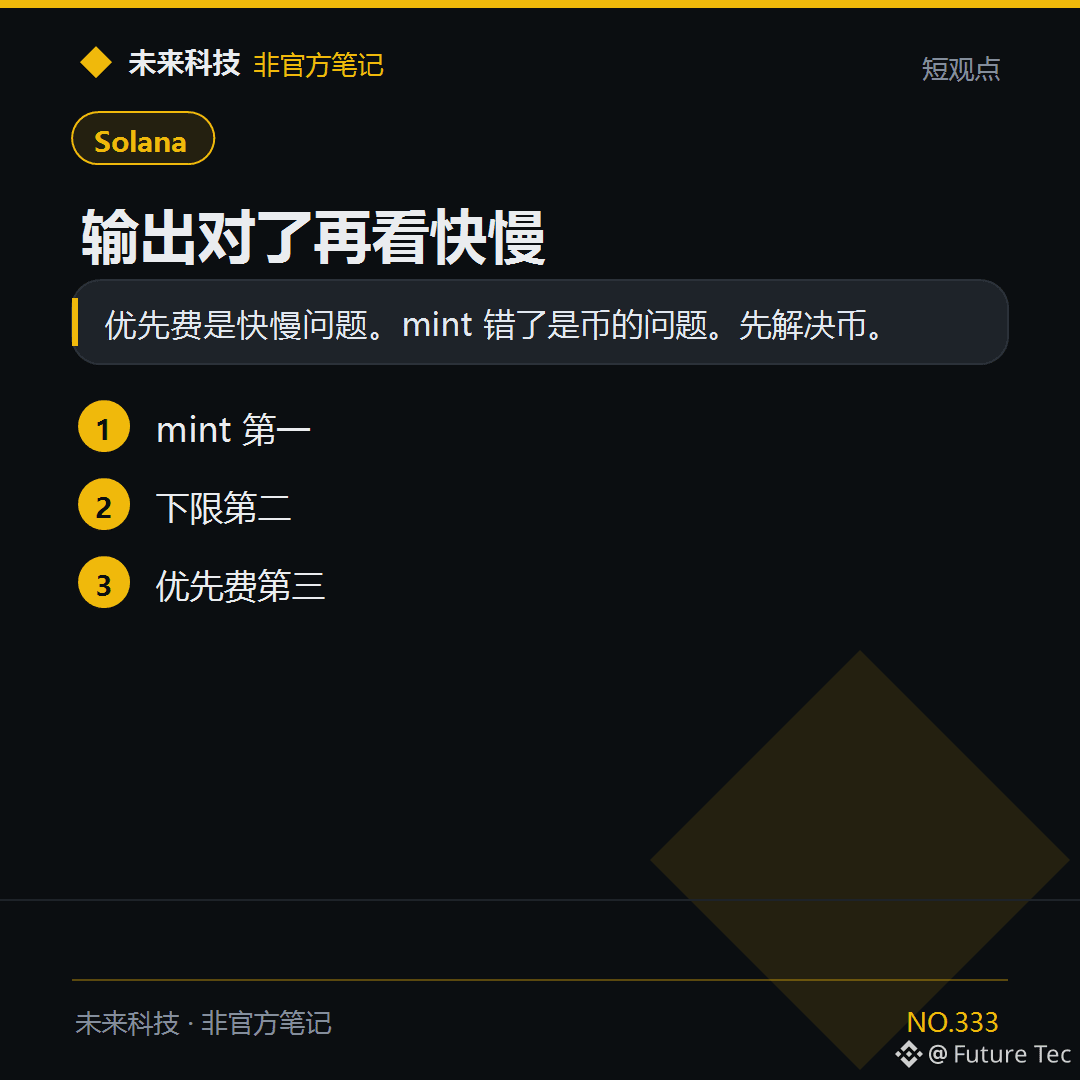
$SOL First confirm the output token for this transaction, then discuss whether to add a priority fee.
【Conclusion】
Priority fees affect speed. A wrong mint is a token issue. Fix the token first.
【Do this in order】
1. Mint first
2. Minimum amount second
3. Priority fee third
Where do fees rank in your order?
Future Technology: https://x.com/wlkjtec
#Solana $SOL
$SOL First confirm the output token for this transaction, then discuss whether to add a priority fee.
【Conclusion】
Priority fees affect speed. A wrong mint is a token issue. Fix the token first.
【Do this in order】
1. Mint first
2. Minimum amount second
3. Priority fee third
Where do fees rank in your order?
Future Technology: https://x.com/wlkjtec
#Solana $SOL
【Conclusion】
Priority fees affect speed. A wrong mint is a token issue. Fix the token first.
【Do this in order】
1. Mint first
2. Minimum amount second
3. Priority fee third
Where do fees rank in your order?
Future Technology: https://x.com/wlkjtec
#Solana $SOL
264
·
--
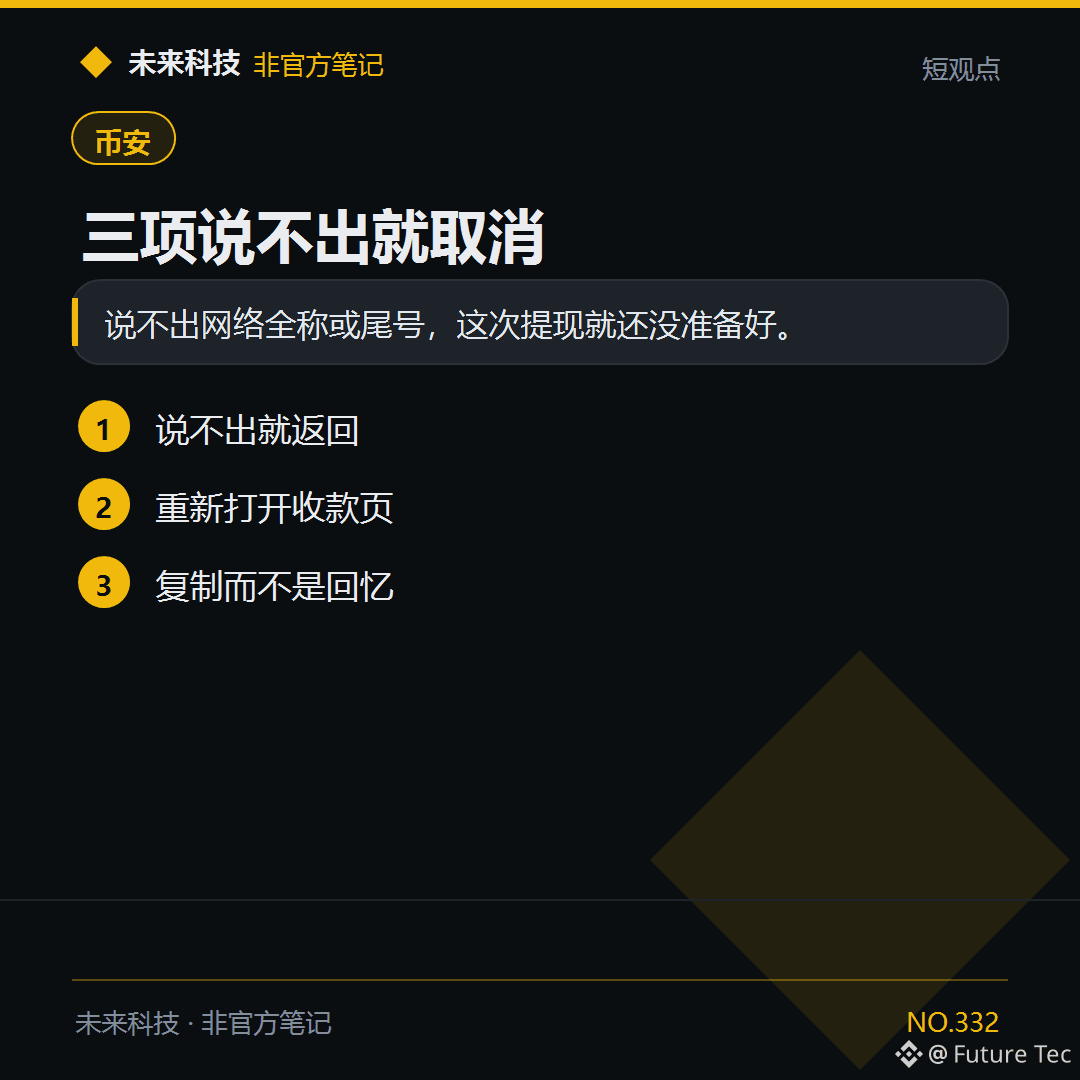
If you can’t state the $USDT network and the last digits of the address, don’t tap Confirm yet.
【Conclusion】
If you can’t state the full network name or the last digits of the address, you’re not ready to make this withdrawal.
【Follow these steps】
1. If you can’t state them, go back
2. Reopen the receiving page
3. Copy the details instead of relying on memory
Can you state the last digits of your frequently used address now?
Future Technology: https://x.com/wlkjtec
#币安 $USDT
If you can’t state the $USDT network and the last digits of the address, don’t tap Confirm yet.
【Conclusion】
If you can’t state the full network name or the last digits of the address, you’re not ready to make this withdrawal.
【Follow these steps】
1. If you can’t state them, go back
2. Reopen the receiving page
3. Copy the details instead of relying on memory
Can you state the last digits of your frequently used address now?
Future Technology: https://x.com/wlkjtec
#币安 $USDT
【Conclusion】
If you can’t state the full network name or the last digits of the address, you’re not ready to make this withdrawal.
【Follow these steps】
1. If you can’t state them, go back
2. Reopen the receiving page
3. Copy the details instead of relying on memory
Can you state the last digits of your frequently used address now?
Future Technology: https://x.com/wlkjtec
#币安 $USDT
·
--
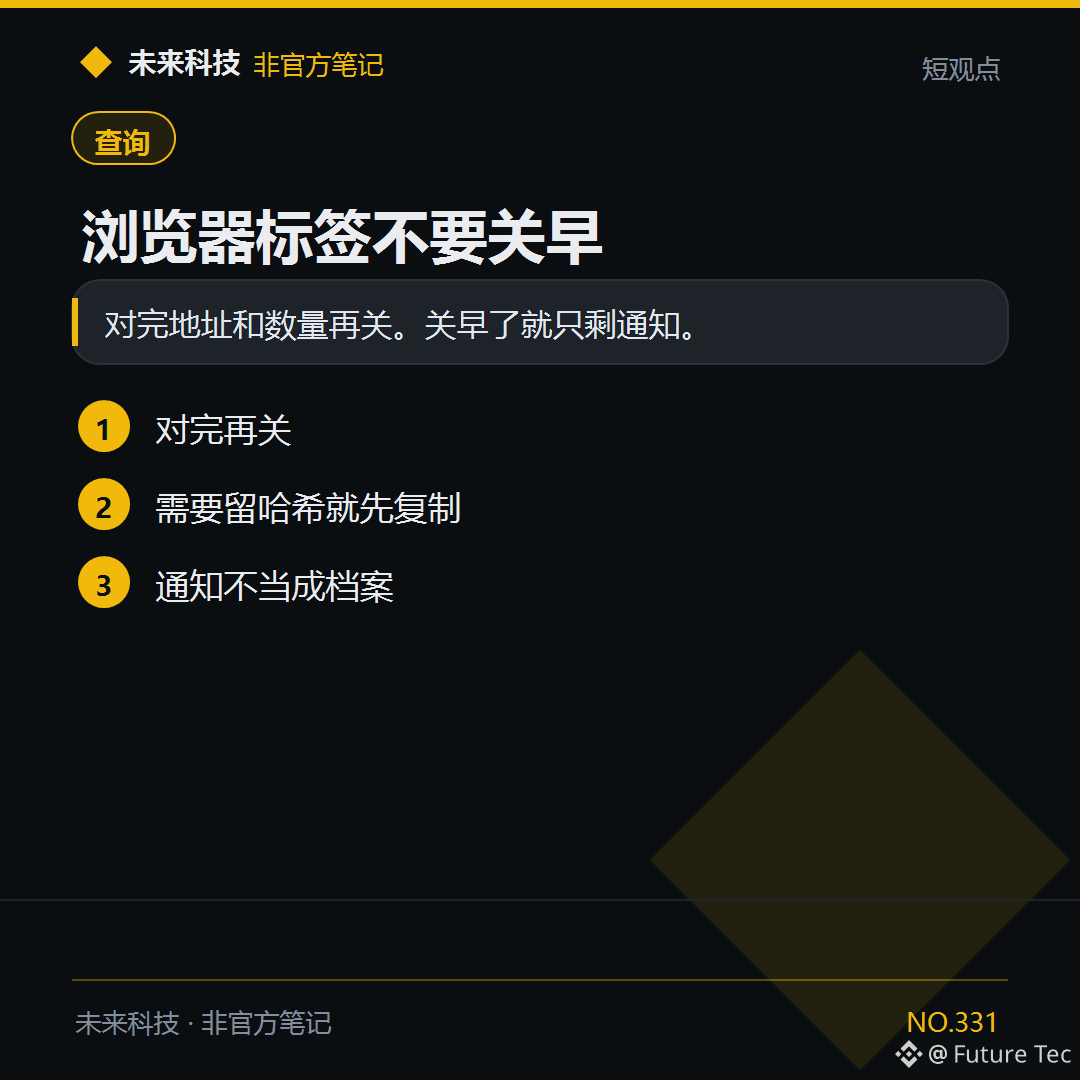
View the page for hash $ETH , check it, then close it.
[Conclusion]
Check the address and amount before closing. Close it too soon and all you’ll have left is a notification.
[Do this]
1. Check everything before closing
2. If you need to keep the hash, copy it first
3. Don’t treat notifications as records
Do you close the page only after checking everything?
Future Tech: https://x.com/wlkjtec
#钱包 $ETH
View the page for hash $ETH , check it, then close it.
[Conclusion]
Check the address and amount before closing. Close it too soon and all you’ll have left is a notification.
[Do this]
1. Check everything before closing
2. If you need to keep the hash, copy it first
3. Don’t treat notifications as records
Do you close the page only after checking everything?
Future Tech: https://x.com/wlkjtec
#钱包 $ETH
[Conclusion]
Check the address and amount before closing. Close it too soon and all you’ll have left is a notification.
[Do this]
1. Check everything before closing
2. If you need to keep the hash, copy it first
3. Don’t treat notifications as records
Do you close the page only after checking everything?
Future Tech: https://x.com/wlkjtec
#钱包 $ETH
108
·
--
Article
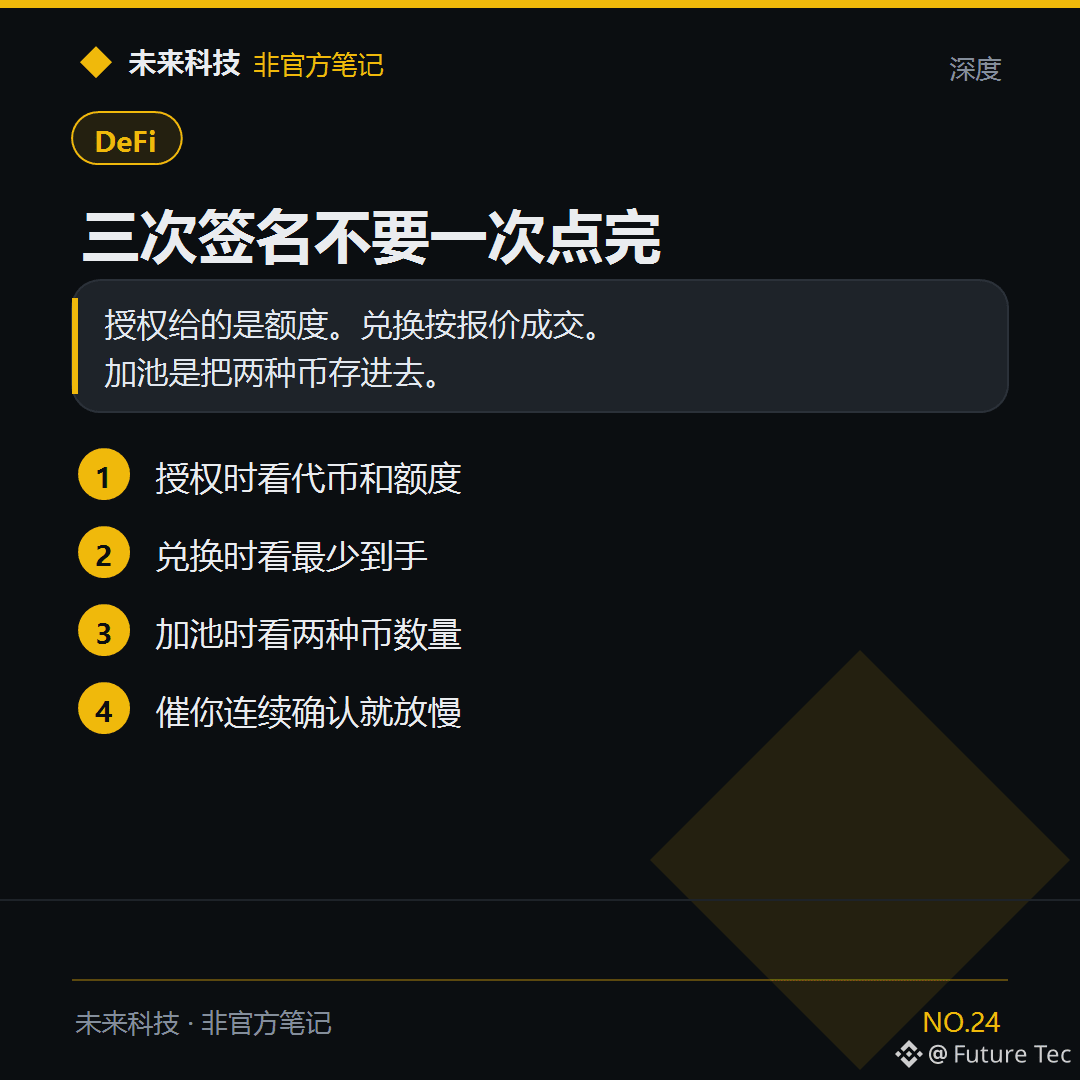
Authorization, swaps, and adding liquidity: What are the three signatures for?Three wallet pop-ups appear in a row on one page, each for a different action.
【Conclusion】
The first is usually authorization, where you set an allowance. The second is the swap, executed according to the quoted price and minimum amount received. Adding liquidity deposits both tokens into the pool at the same time. Check the amount separately each time.
【Analysis】
Authorization succeeds: the coins are still in your wallet; the contract has only been granted permission to transfer them. The swap succeeds: one token decreases and the other increases. Adding liquidity succeeds: both tokens decrease, and you receive pool shares. To keep the process flowing smoothly, the website will show three pop-ups in sequence. If you click through the first one too quickly, you may not read the next one carefully.
Authorization, swaps, and adding liquidity: What are the three signatures for?
Three wallet pop-ups appear in a row on one page, each for a different action.
【Conclusion】
The first is usually authorization, where you set an allowance. The second is the swap, executed according to the quoted price and minimum amount received. Adding liquidity deposits both tokens into the pool at the same time. Check the amount separately each time.
【Analysis】
Authorization succeeds: the coins are still in your wallet; the contract has only been granted permission to transfer them. The swap succeeds: one token decreases and the other increases. Adding liquidity succeeds: both tokens decrease, and you receive pool shares. To keep the process flowing smoothly, the website will show three pop-ups in sequence. If you click through the first one too quickly, you may not read the next one carefully.
【Conclusion】
The first is usually authorization, where you set an allowance. The second is the swap, executed according to the quoted price and minimum amount received. Adding liquidity deposits both tokens into the pool at the same time. Check the amount separately each time.
【Analysis】
Authorization succeeds: the coins are still in your wallet; the contract has only been granted permission to transfer them. The swap succeeds: one token decreases and the other increases. Adding liquidity succeeds: both tokens decrease, and you receive pool shares. To keep the process flowing smoothly, the website will show three pop-ups in sequence. If you click through the first one too quickly, you may not read the next one carefully.
406
·
--
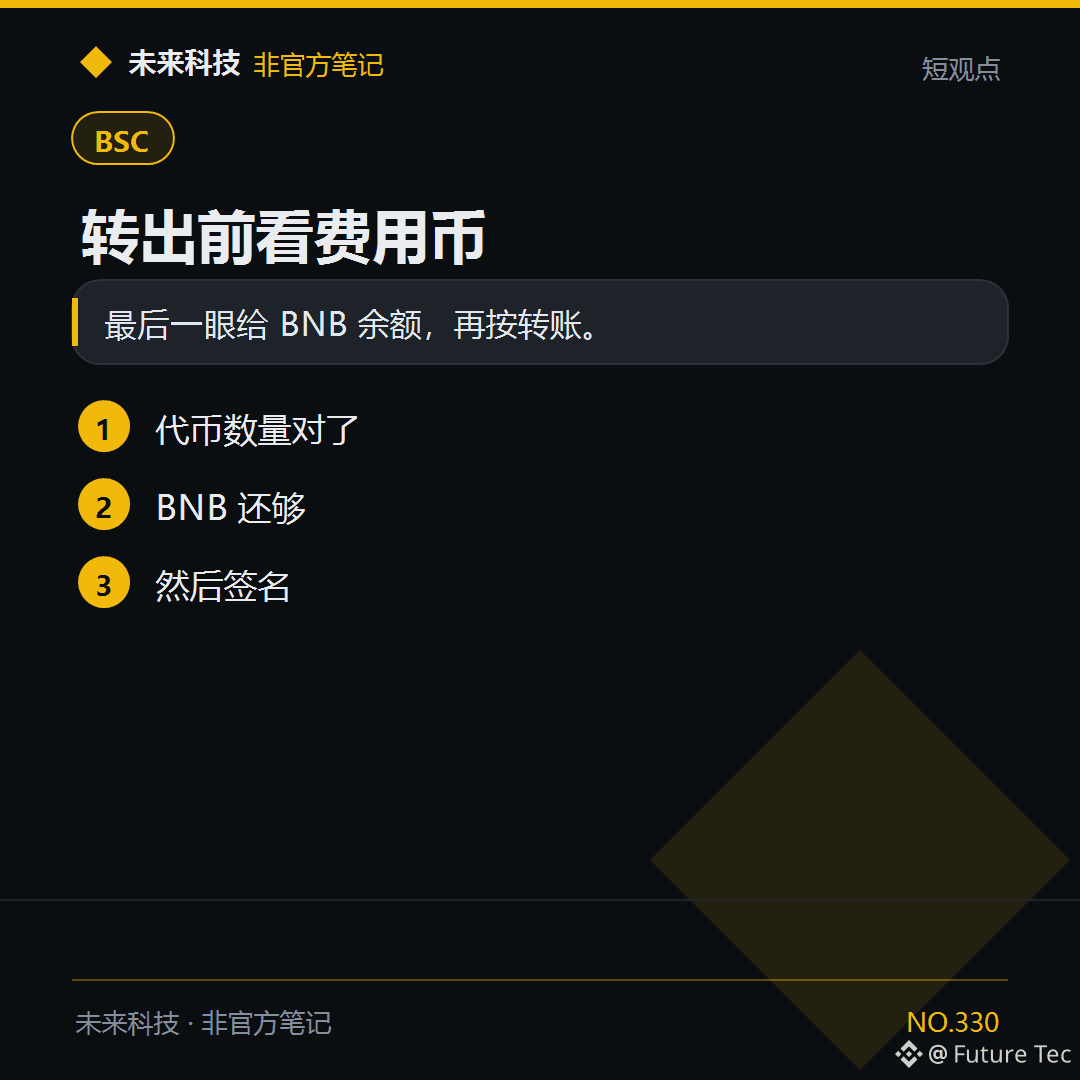
Before transferring $USDT out of BSC, take one last look: is $BNB enough?
【Conclusion】
Check your BNB balance one last time, then make the transfer.
【Follow these steps】
1. The token amount is correct
2. You have enough BNB
3. Then sign
What do you check one last time?
Future Tech: https://x.com/wlkjtec
#BSC $BNB
Before transferring $USDT out of BSC, take one last look: is $BNB enough?
【Conclusion】
Check your BNB balance one last time, then make the transfer.
【Follow these steps】
1. The token amount is correct
2. You have enough BNB
3. Then sign
What do you check one last time?
Future Tech: https://x.com/wlkjtec
#BSC $BNB
【Conclusion】
Check your BNB balance one last time, then make the transfer.
【Follow these steps】
1. The token amount is correct
2. You have enough BNB
3. Then sign
What do you check one last time?
Future Tech: https://x.com/wlkjtec
#BSC $BNB
38
·
--
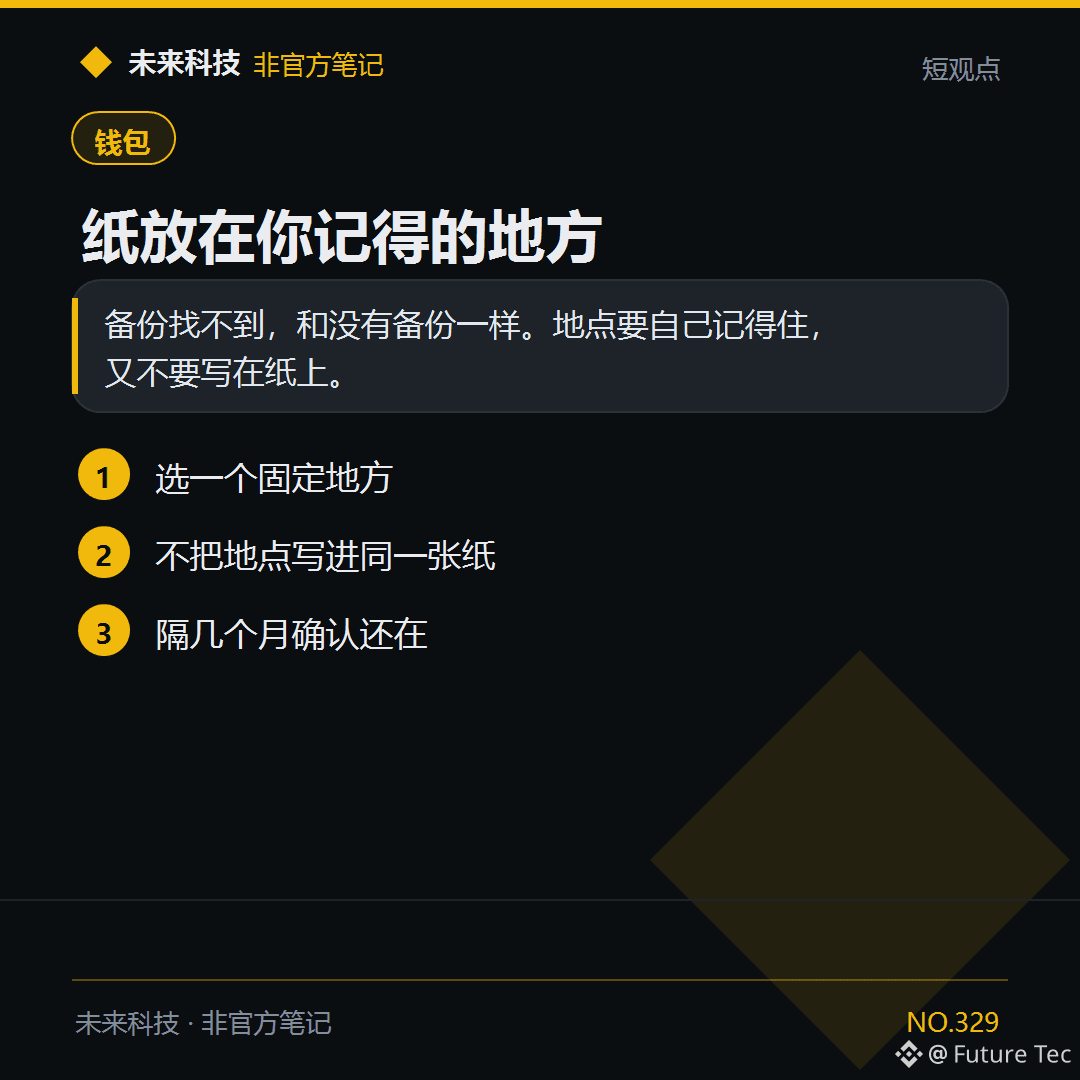
Keep your mnemonic phrase somewhere you’ll remember, but where others can’t figure it out from the paper.
【Conclusion】
If you can’t find your backup, it’s as good as having no backup. Choose a place you’ll remember, and don’t write it down on paper.
【Follow these steps】
1. Choose a fixed place
2. Don’t write the location on the same piece of paper
3. Check every few months to make sure it’s still there
Can you find that piece of paper right now?
Future Technology: https://x.com/wlkjtec
#钱包 $BTC
Keep your mnemonic phrase somewhere you’ll remember, but where others can’t figure it out from the paper.
【Conclusion】
If you can’t find your backup, it’s as good as having no backup. Choose a place you’ll remember, and don’t write it down on paper.
【Follow these steps】
1. Choose a fixed place
2. Don’t write the location on the same piece of paper
3. Check every few months to make sure it’s still there
Can you find that piece of paper right now?
Future Technology: https://x.com/wlkjtec
#钱包 $BTC
【Conclusion】
If you can’t find your backup, it’s as good as having no backup. Choose a place you’ll remember, and don’t write it down on paper.
【Follow these steps】
1. Choose a fixed place
2. Don’t write the location on the same piece of paper
3. Check every few months to make sure it’s still there
Can you find that piece of paper right now?
Future Technology: https://x.com/wlkjtec
#钱包 $BTC
70
·
--
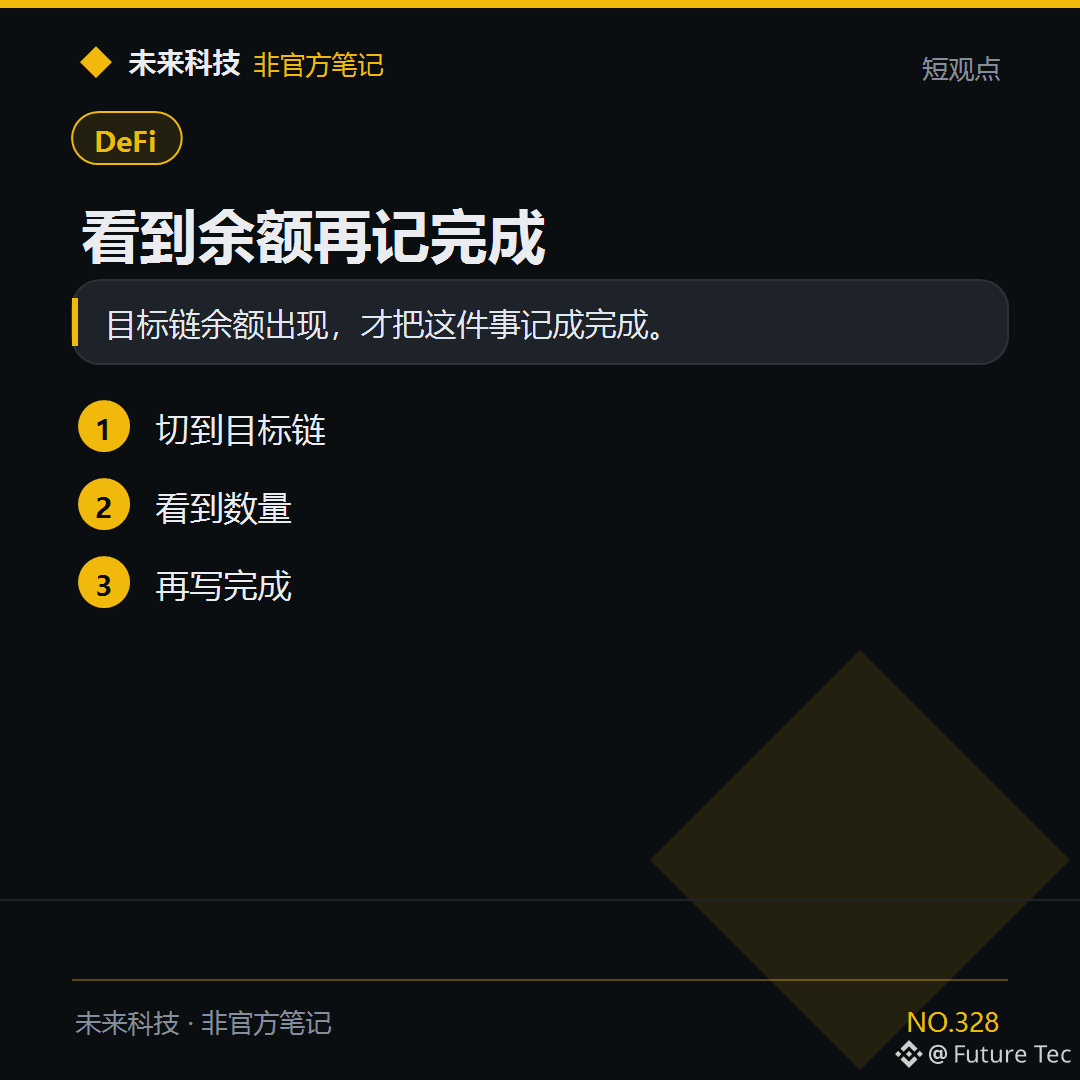
$ETH The sign that a cross-chain transfer is complete is seeing the balance on the destination chain.
【Conclusion】
Only when the balance appears on the destination chain should you mark it as complete.
【Follow these steps】
1. Switch to the destination chain
2. Check that the amount is there
3. Then mark it as complete
Which screen do you use to decide it’s complete?
Future Technology: https://x.com/wlkjtec
#DeFi $ETH
$ETH The sign that a cross-chain transfer is complete is seeing the balance on the destination chain.
【Conclusion】
Only when the balance appears on the destination chain should you mark it as complete.
【Follow these steps】
1. Switch to the destination chain
2. Check that the amount is there
3. Then mark it as complete
Which screen do you use to decide it’s complete?
Future Technology: https://x.com/wlkjtec
#DeFi $ETH
【Conclusion】
Only when the balance appears on the destination chain should you mark it as complete.
【Follow these steps】
1. Switch to the destination chain
2. Check that the amount is there
3. Then mark it as complete
Which screen do you use to decide it’s complete?
Future Technology: https://x.com/wlkjtec
#DeFi $ETH
99
·
--
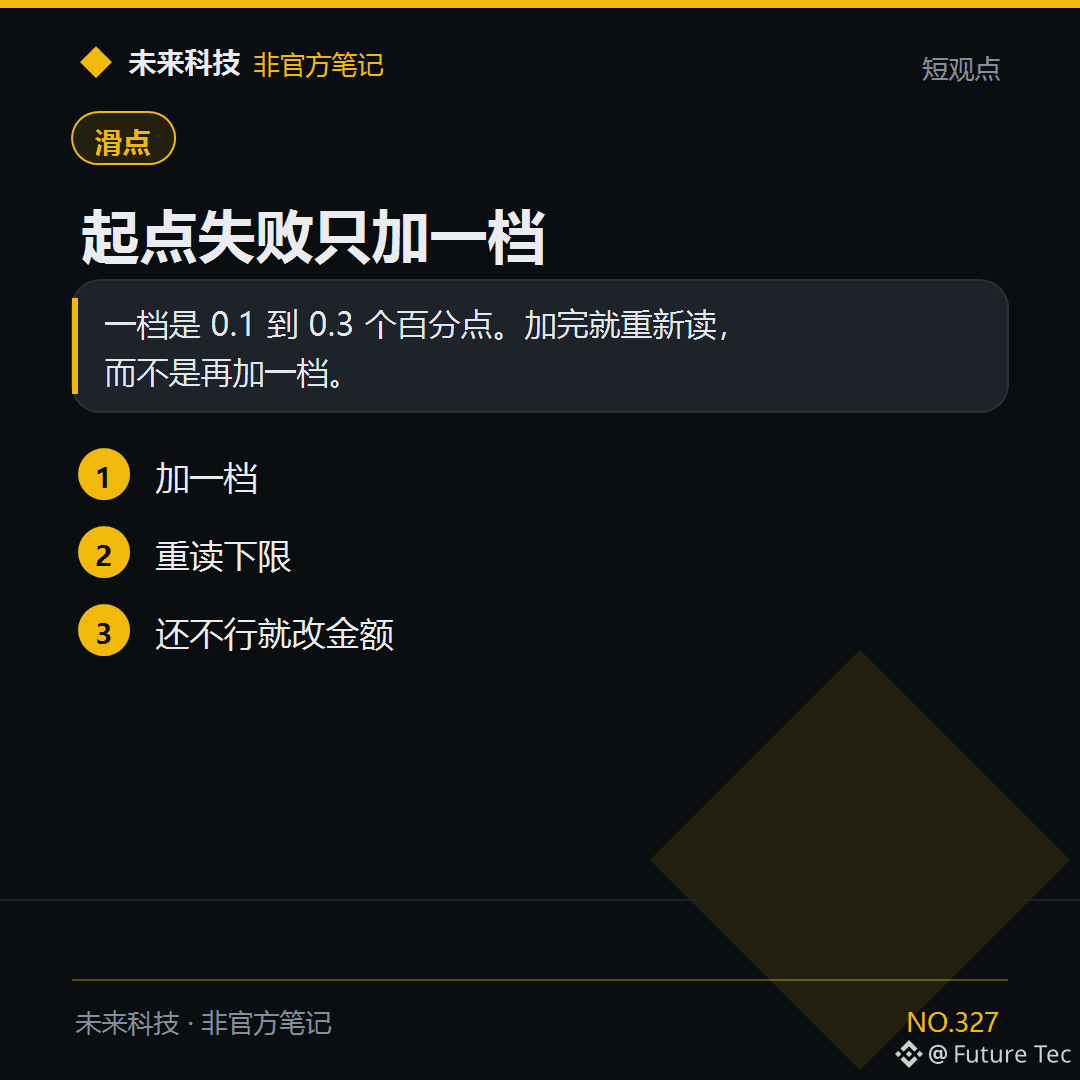
$BNB Increase slippage by only one step at a time. After increasing it, decide whether to continue.
[Conclusion]
One step is 0.1 to 0.3 percentage points. After increasing it, recheck the lower limit instead of adding another step.
[Follow along]
1. Increase by one step
2. Recheck the lower limit
3. If it still doesn't work, change the amount
How many steps do you increase at a time?
Future Technology: https://x.com/wlkjtec
#滑点 $BNB
$BNB Increase slippage by only one step at a time. After increasing it, decide whether to continue.
[Conclusion]
One step is 0.1 to 0.3 percentage points. After increasing it, recheck the lower limit instead of adding another step.
[Follow along]
1. Increase by one step
2. Recheck the lower limit
3. If it still doesn't work, change the amount
How many steps do you increase at a time?
Future Technology: https://x.com/wlkjtec
#滑点 $BNB
[Conclusion]
One step is 0.1 to 0.3 percentage points. After increasing it, recheck the lower limit instead of adding another step.
[Follow along]
1. Increase by one step
2. Recheck the lower limit
3. If it still doesn't work, change the amount
How many steps do you increase at a time?
Future Technology: https://x.com/wlkjtec
#滑点 $BNB
77
·
--
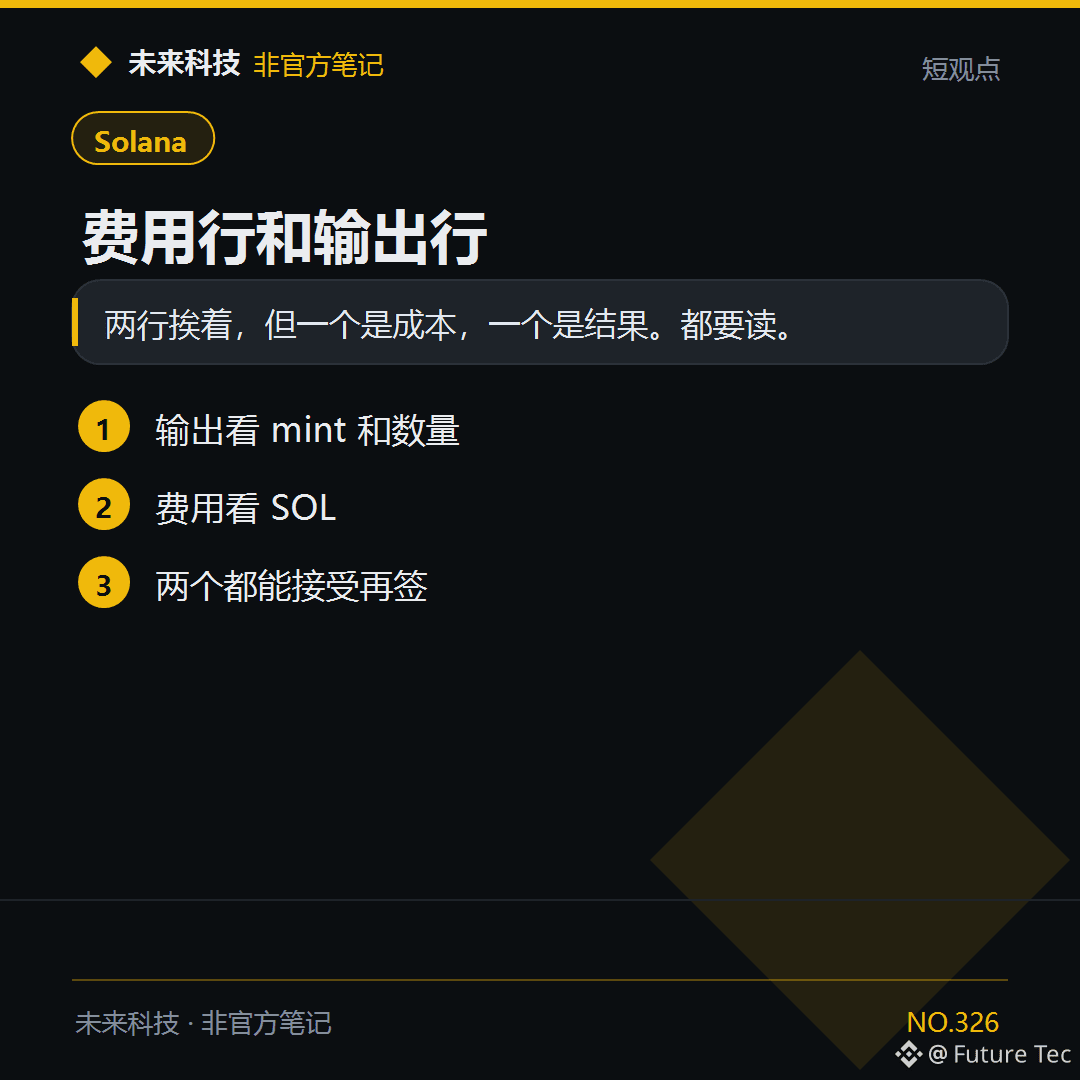
Before signing, check the output amount and fee for $SOL on two separate lines.
【Conclusion】
The two lines are next to each other, but one is the cost and the other is the result. Check both.
【How to check】
1. For the output, check the mint and amount
2. For the fee, check SOL
3. Sign only if you’re okay with both
Do you check both lines?
Future Technology: https://x.com/wlkjtec
#Solana $SOL
Before signing, check the output amount and fee for $SOL on two separate lines.
【Conclusion】
The two lines are next to each other, but one is the cost and the other is the result. Check both.
【How to check】
1. For the output, check the mint and amount
2. For the fee, check SOL
3. Sign only if you’re okay with both
Do you check both lines?
Future Technology: https://x.com/wlkjtec
#Solana $SOL
【Conclusion】
The two lines are next to each other, but one is the cost and the other is the result. Check both.
【How to check】
1. For the output, check the mint and amount
2. For the fee, check SOL
3. Sign only if you’re okay with both
Do you check both lines?
Future Technology: https://x.com/wlkjtec
#Solana $SOL
148
·
--
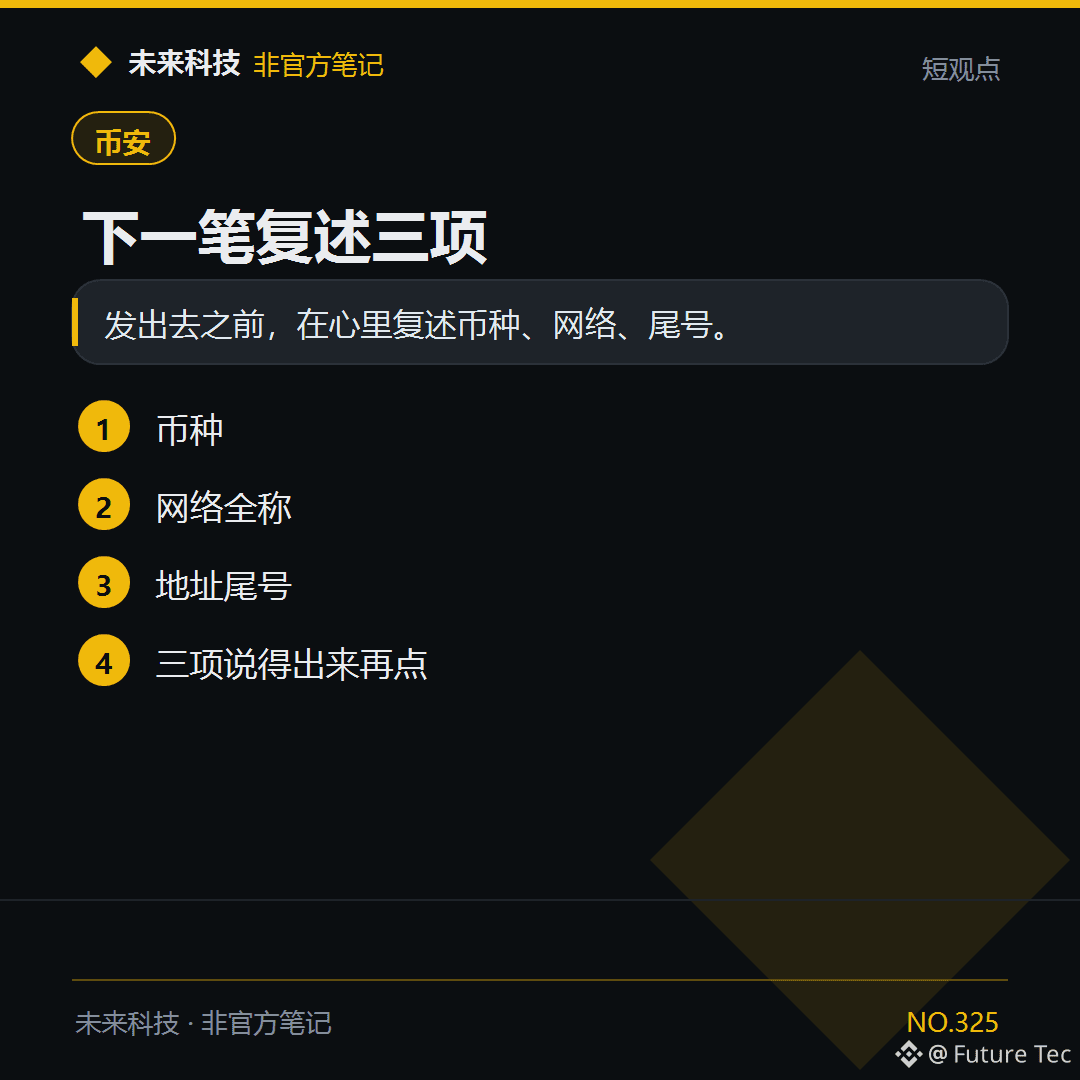
Before tapping Withdraw for $USDT, make sure you can state the full network name and the last digits of the address.
【Conclusion】
Before sending, repeat the currency, network, and last digits to yourself.
【Follow along】
1. Currency
2. Full network name
3. Address ending
4. Tap only after you can say all three
Will you repeat them before you tap?
Future Technology: https://x.com/wlkjtec
#币安 $USDT
Before tapping Withdraw for $USDT, make sure you can state the full network name and the last digits of the address.
【Conclusion】
Before sending, repeat the currency, network, and last digits to yourself.
【Follow along】
1. Currency
2. Full network name
3. Address ending
4. Tap only after you can say all three
Will you repeat them before you tap?
Future Technology: https://x.com/wlkjtec
#币安 $USDT
【Conclusion】
Before sending, repeat the currency, network, and last digits to yourself.
【Follow along】
1. Currency
2. Full network name
3. Address ending
4. Tap only after you can say all three
Will you repeat them before you tap?
Future Technology: https://x.com/wlkjtec
#币安 $USDT
1
Log in to explore more content
Join global crypto users on Binance Square
⚡️ Get latest and useful information about crypto.
💬 Trusted by the world’s largest crypto exchange.
👍 Discover real insights from verified creators.
Email / Phone number
Trending Topics
BinanceWithdrawalScamWarning
22,955 views
511 Discussing
Binance Warns Users of Withdrawal Scams as Services Resume: It Will Never Charge Fees, Sell Queue Spots or Ask You to Move Funds to a “Vault”
Binance News
·10 Likes
·6.6k views
USMidtermElections
578,829 views
3,095 Discussing
USOctoberNFP-AreRateCutsStillPossible
31,404 views
453 Discussing