

أميرة سيد
2.6k Posting

أميرة سيد
Laporkan
Blokir Pengguna
Professional Trader | Free Chart Analysis | Signal & Update about Crypto |
Perdagangan Terbuka
Pedagang Sesekali
1.3 Tahun
29 Mengikuti
1.0K+ Pengikut
499 Disukai
Posting
Portofolio
Semua
Kuotasi
·
--
Lihat terjemahan
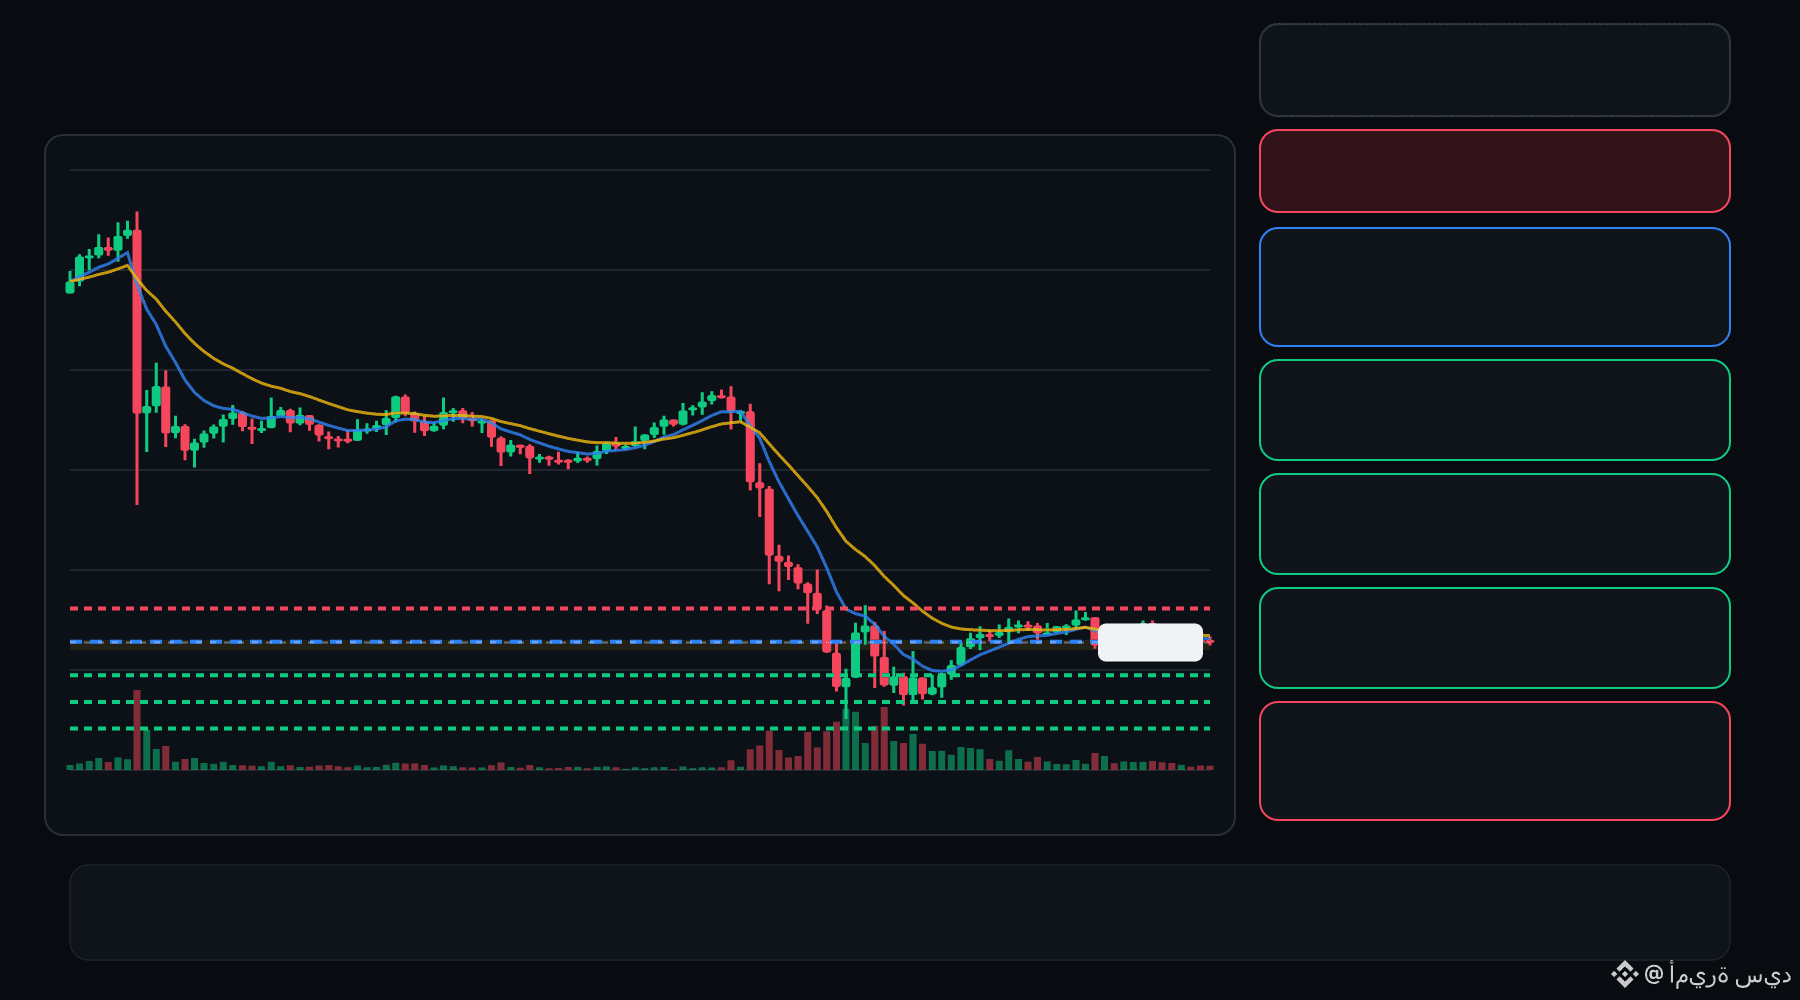
🔴 Q bears are pressing the pullback… is the rejection getting deeper ⁉️
🔴 Q SHORT
Entry: 0.03159 – 0.03185
TP1: 0.02933
TP2: 0.02742
TP3: 0.02551
Stop Loss: 0.03411
The 15M chart shows a bearish structure with momentum and volume confirmation. A controlled retest of the entry zone may give the setup a cleaner trigger.
Plan: Wait for confirmation/rejection inside the entry zone; don’t chase the move.
DYOR | Manage Risk | Avoid Over-Leverage
·
--
Lihat terjemahan
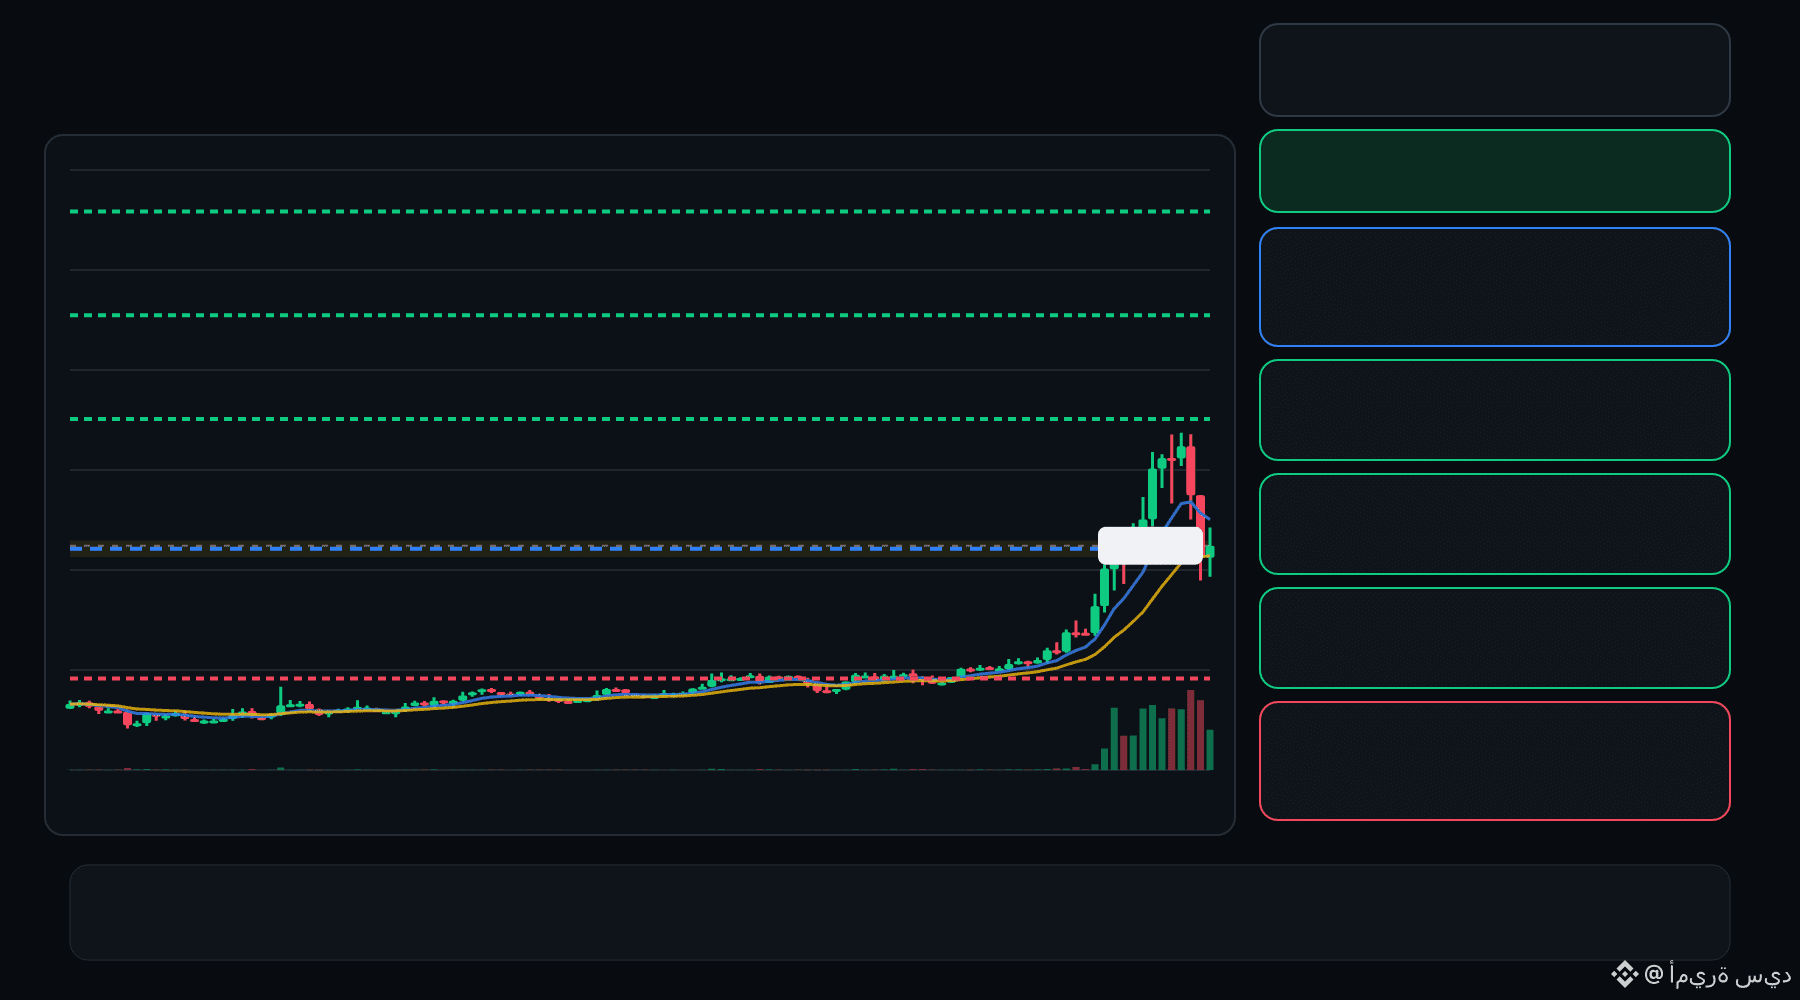
🟢 AIOT bulls are defending the pullback… is continuation setting up ⁉️
🟩 AIOT LONG
Entry: 0.08326 – 0.08472
TP1: 0.09552
TP2: 0.1048
TP3: 0.1140
Stop Loss: 0.07245
The 15M chart shows a bullish structure with momentum and volume confirmation. A controlled retest of the entry zone may give the setup a cleaner trigger.
Plan: Wait for confirmation/rejection inside the entry zone; don’t chase the move.
DYOR | Manage Risk | Avoid Over-Leverage
·
--
Lihat terjemahan
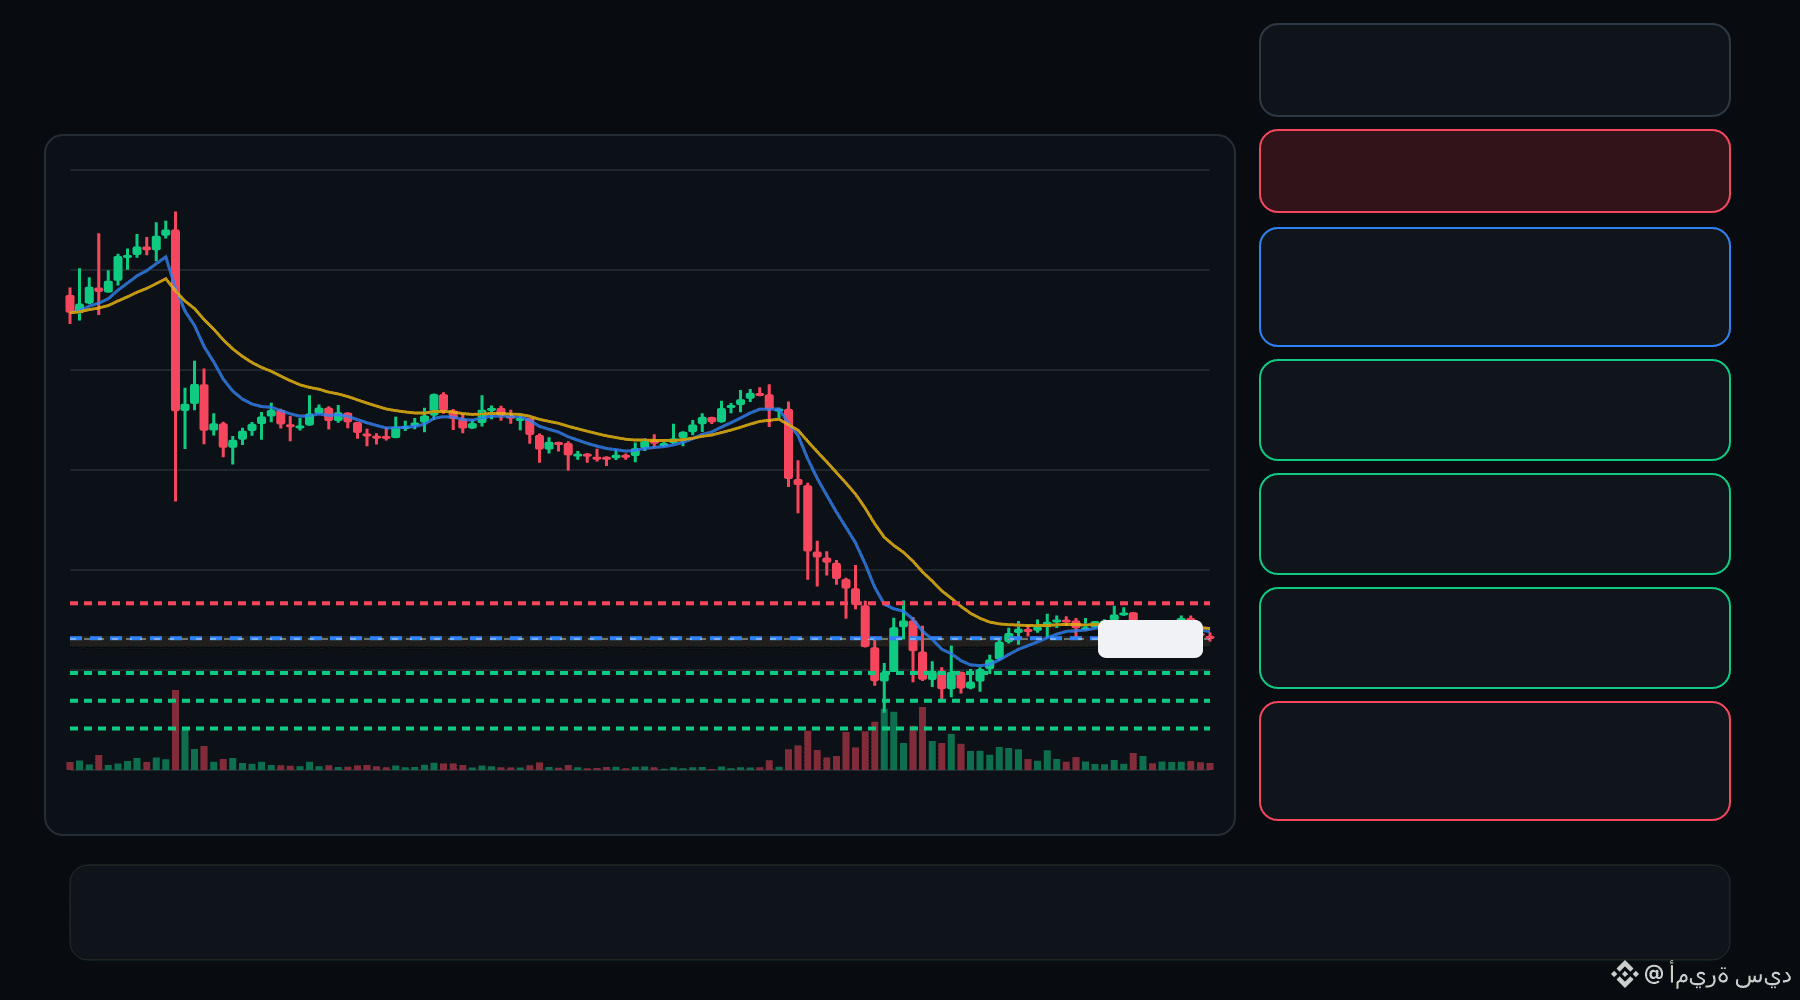
🔴 Q bears are pressing the pullback… is the rejection getting deeper ⁉️
🔴 Q SHORT
Entry: 0.03146 – 0.03175
TP1: 0.02909
TP2: 0.02707
TP3: 0.02505
Stop Loss: 0.03412
The 15M chart shows a bearish structure with momentum and volume confirmation. A controlled retest of the entry zone may give the setup a cleaner trigger.
Plan: Wait for confirmation/rejection inside the entry zone; don’t chase the move.
DYOR | Manage Risk | Avoid Over-Leverage
3
·
--
Lihat terjemahan
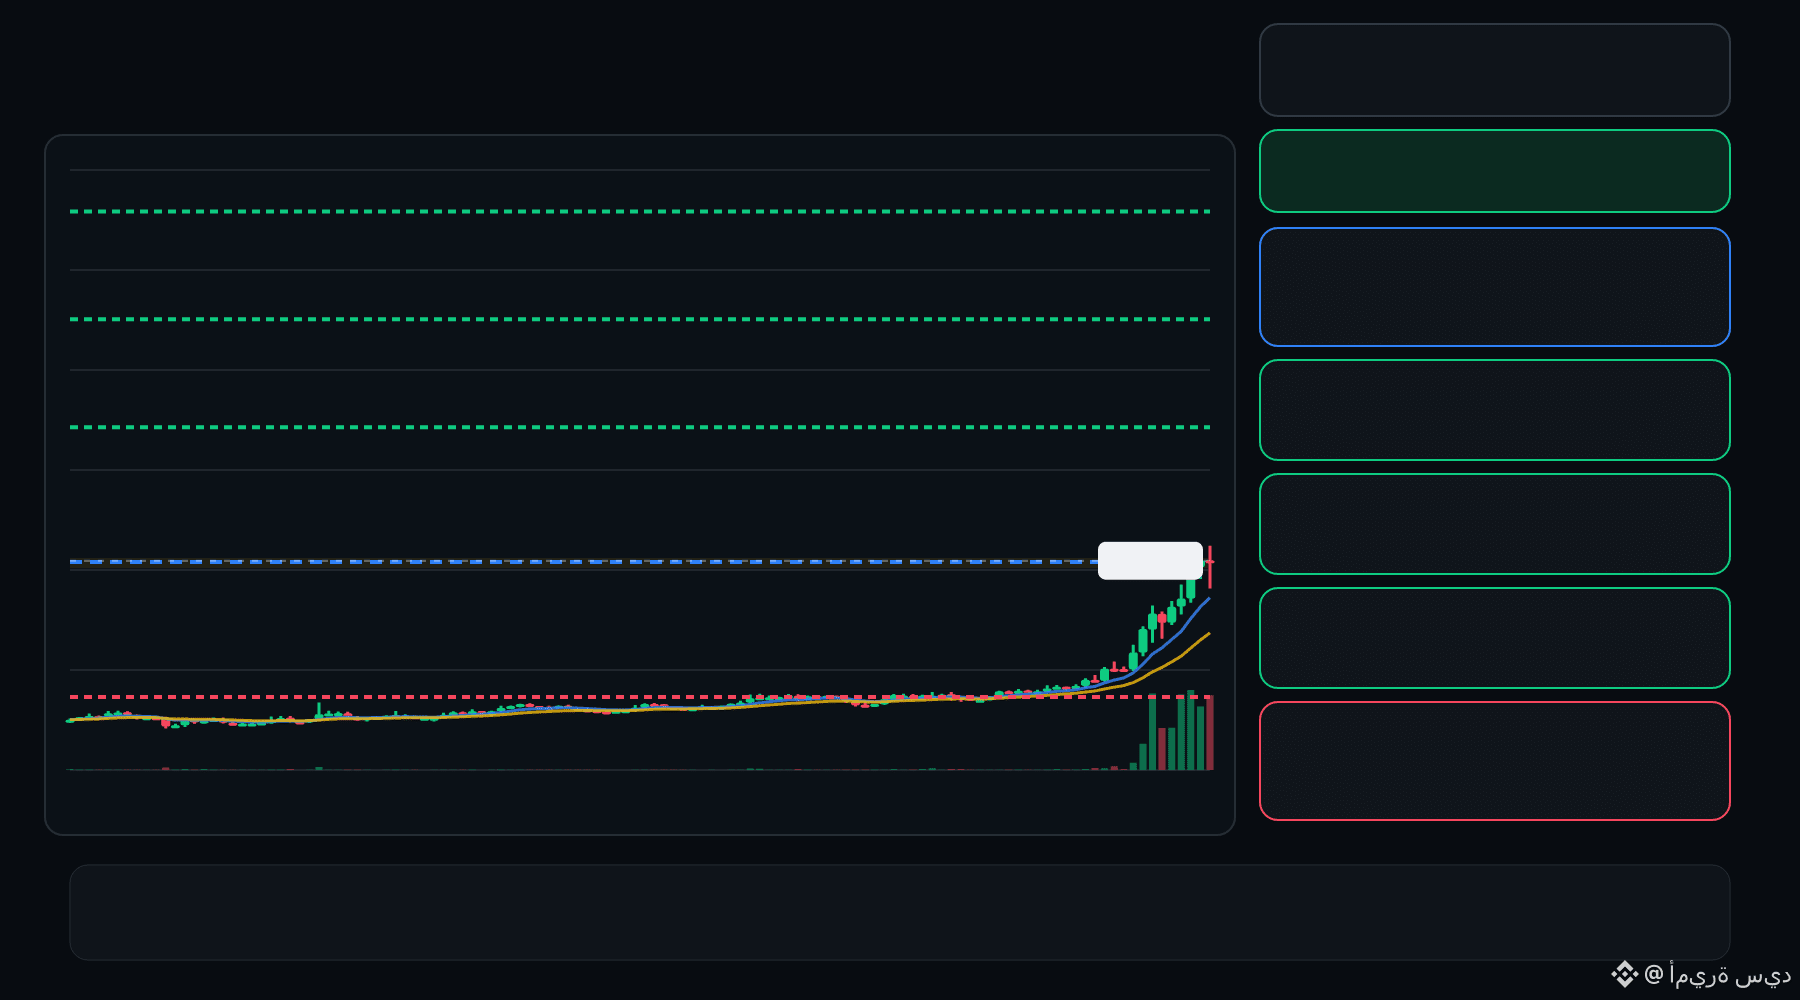
🟢 AIOT bulls are defending the pullback… is continuation setting up ⁉️
🟩 AIOT LONG
Entry: 0.09127 – 0.09235
TP1: 0.1111
TP2: 0.1265
TP3: 0.1420
Stop Loss: 0.07252
The 15M chart shows a bullish structure with momentum and volume confirmation. A controlled retest of the entry zone may give the setup a cleaner trigger.
Plan: Wait for confirmation/rejection inside the entry zone; don’t chase the move.
DYOR | Manage Risk | Avoid Over-Leverage
·
--
Lihat terjemahan
🟢 AIOT bulls are defending the pullback… is continuation setting up ⁉️
🟩 AIOT LONG
Entry: 0.09134 – 0.09230
TP1: 0.1110
TP2: 0.1264
TP3: 0.1418
Stop Loss: 0.07259
The 15M chart shows a bullish structure with momentum and volume confirmation. A controlled retest of the entry zone may give the setup a cleaner trigger.
Plan: Wait for confirmation/rejection inside the entry zone; don’t chase the move.
DYOR | Manage Risk | Avoid Over-Leverage
·
--
Lihat terjemahan
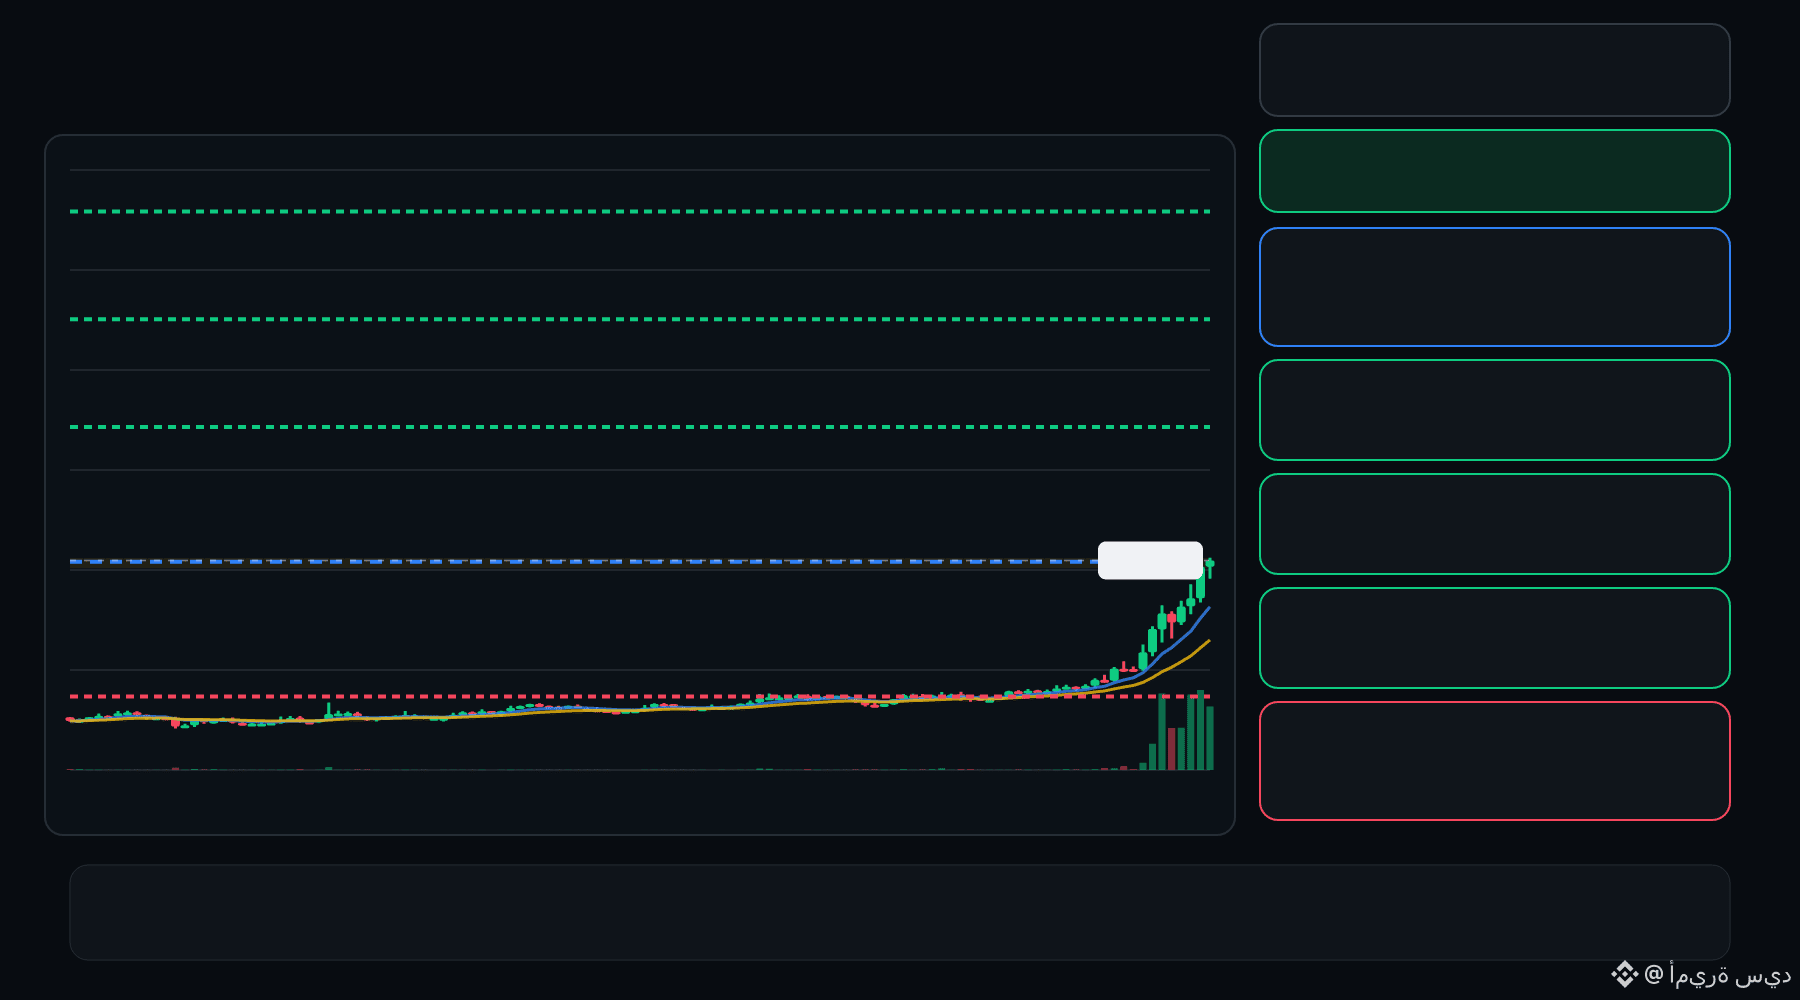
🟢 WET bulls are defending the pullback… is continuation setting up ⁉️
🟩 WET LONG
Entry: 0.06277 – 0.06322
TP1: 0.06705
TP2: 0.07030
TP3: 0.07355
Stop Loss: 0.05894
The 15M chart shows a bullish structure with momentum and volume confirmation. A controlled retest of the entry zone may give the setup a cleaner trigger.
Plan: Wait for confirmation/rejection inside the entry zone; don’t chase the move.
DYOR | Manage Risk | Avoid Over-Leverage
1
·
--
Lihat terjemahan
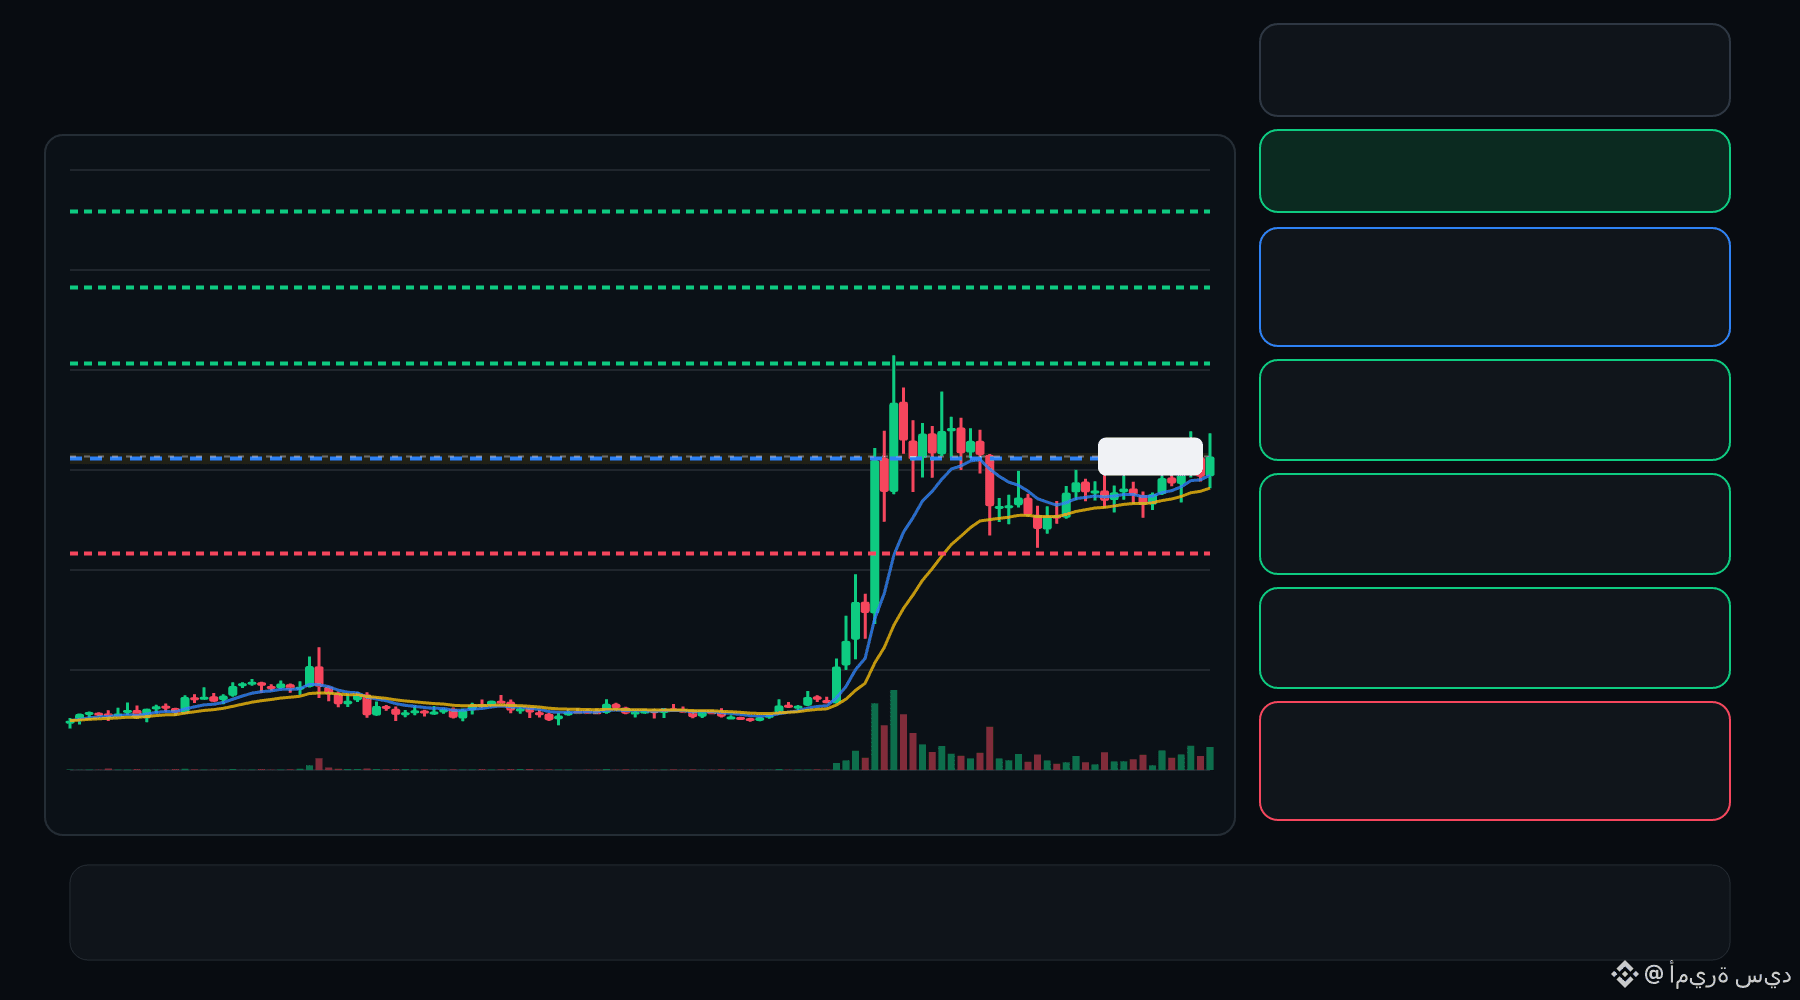
🔴 ALPINE bears are pressing the pullback… is the rejection getting deeper ⁉️
🔴 ALPINE SHORT
Entry: 0.2999 – 0.3009
TP1: 0.2922
TP2: 0.2857
TP3: 0.2792
Stop Loss: 0.3085
The 15M chart shows a bearish structure with momentum and volume confirmation. A controlled retest of the entry zone may give the setup a cleaner trigger.
Plan: Wait for confirmation/rejection inside the entry zone; don’t chase the move.
DYOR | Manage Risk | Avoid Over-Leverage
·
--
Lihat terjemahan
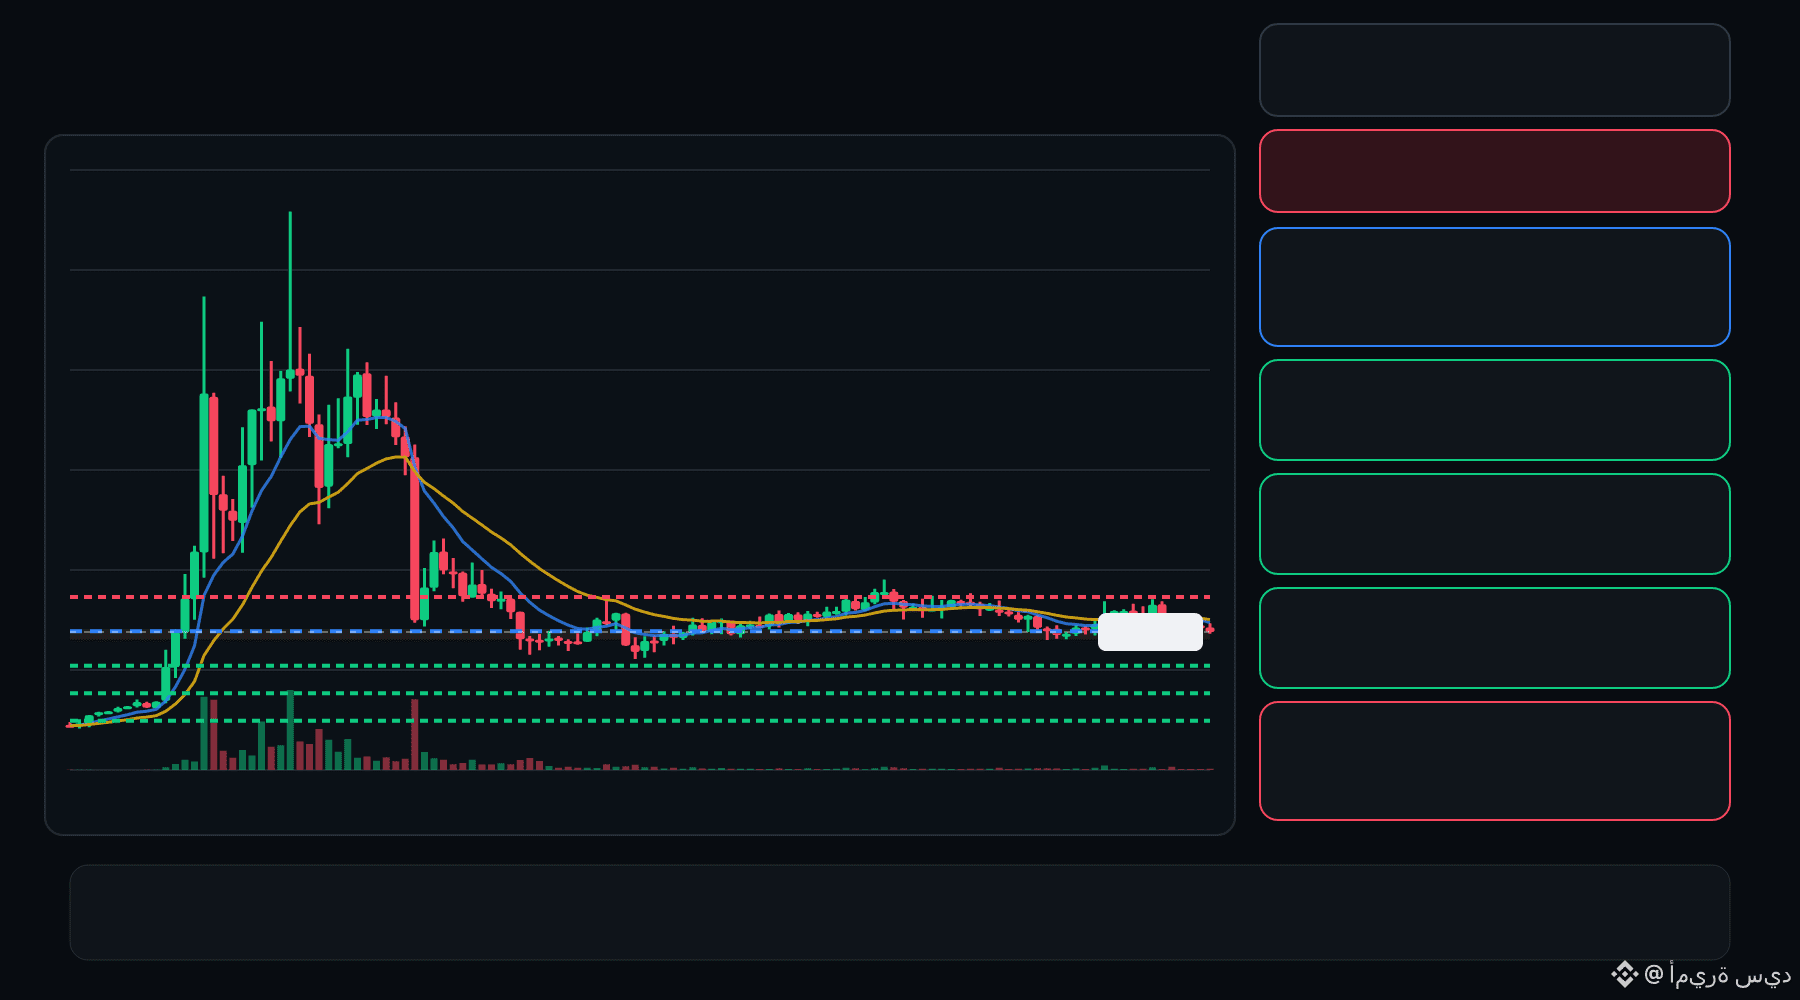
🟢 AIN bulls are defending the pullback… is continuation setting up ⁉️
🟩 AIN LONG
Entry: 0.2694 – 0.2735
TP1: 0.3038
TP2: 0.3297
TP3: 0.3556
Stop Loss: 0.2390
The 15M chart shows a bullish structure with momentum and volume confirmation. A controlled retest of the entry zone may give the setup a cleaner trigger.
Plan: Wait for confirmation/rejection inside the entry zone; don’t chase the move.
DYOR | Manage Risk | Avoid Over-Leverage
2
·
--
Lihat terjemahan
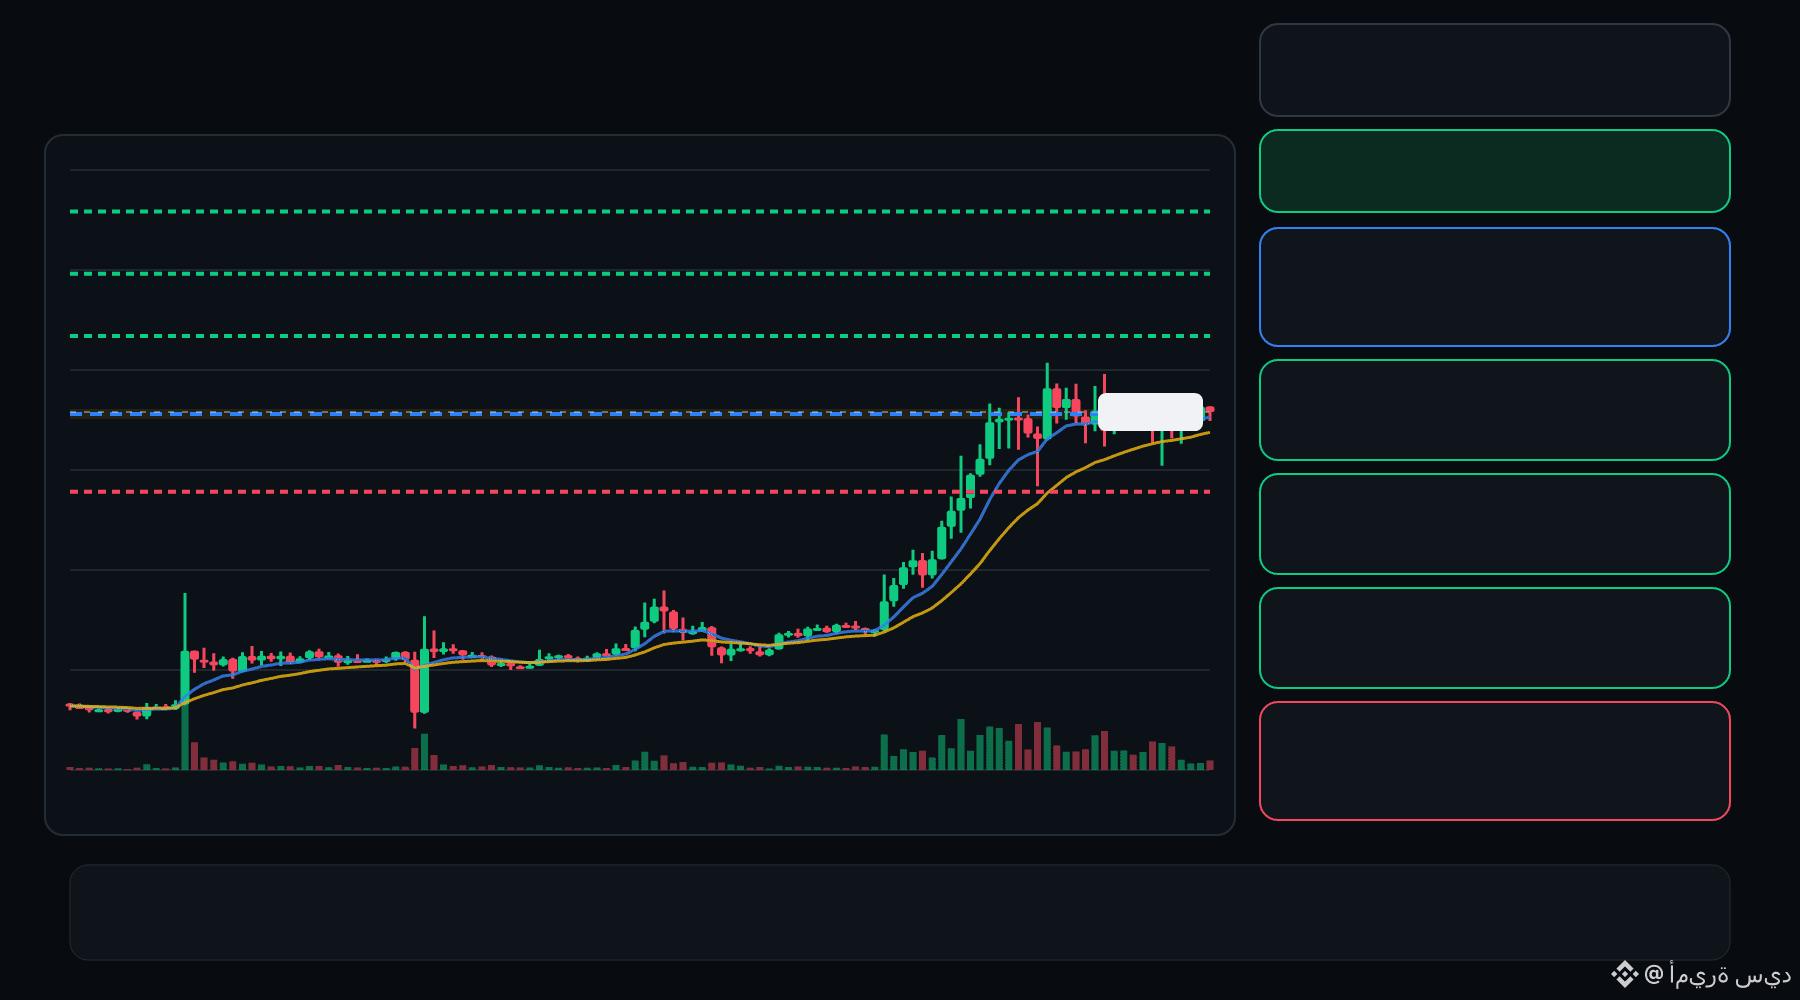
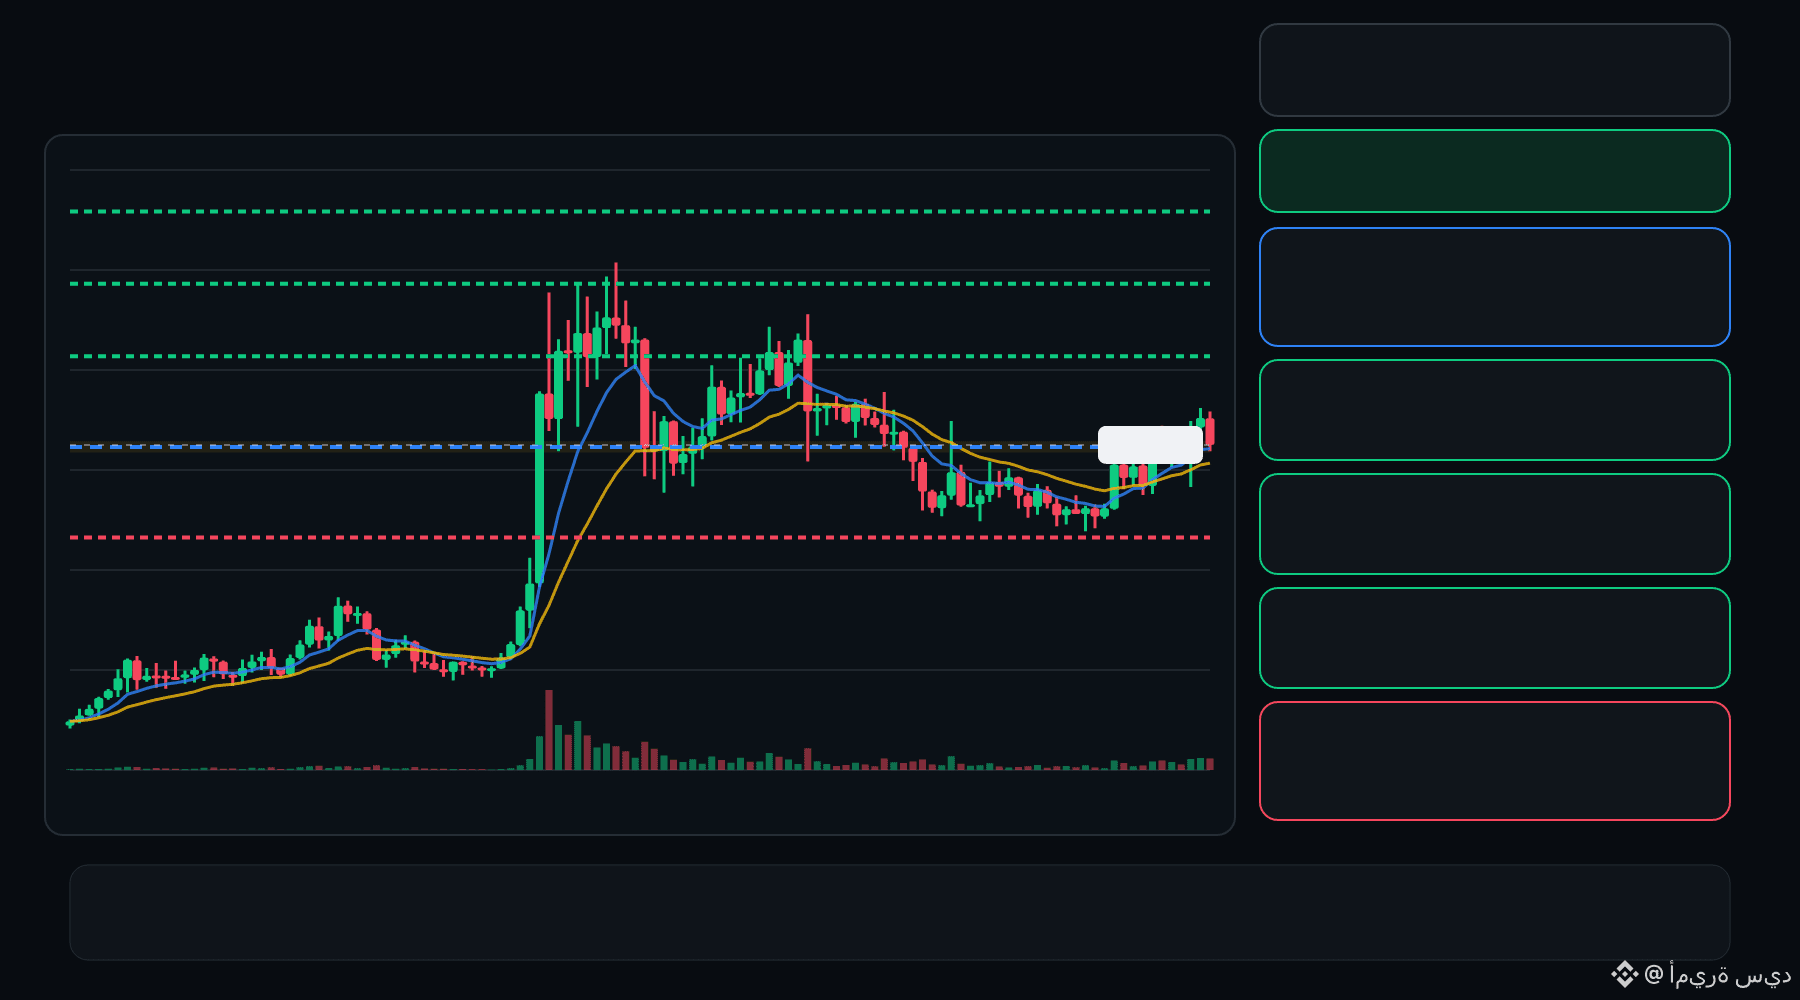
🟢 BIRB bulls are defending the pullback… is continuation setting up ⁉️
🟩 BIRB LONG
Entry: 0.09015 – 0.09098
TP1: 0.09728
TP2: 0.1026
TP3: 0.1080
Stop Loss: 0.08385
The 15M chart shows a bullish structure with momentum and volume confirmation. A controlled retest of the entry zone may give the setup a cleaner trigger.
Plan: Wait for confirmation/rejection inside the entry zone; don’t chase the move.
DYOR | Manage Risk | Avoid Over-Leverage
1
·
--
Lihat terjemahan
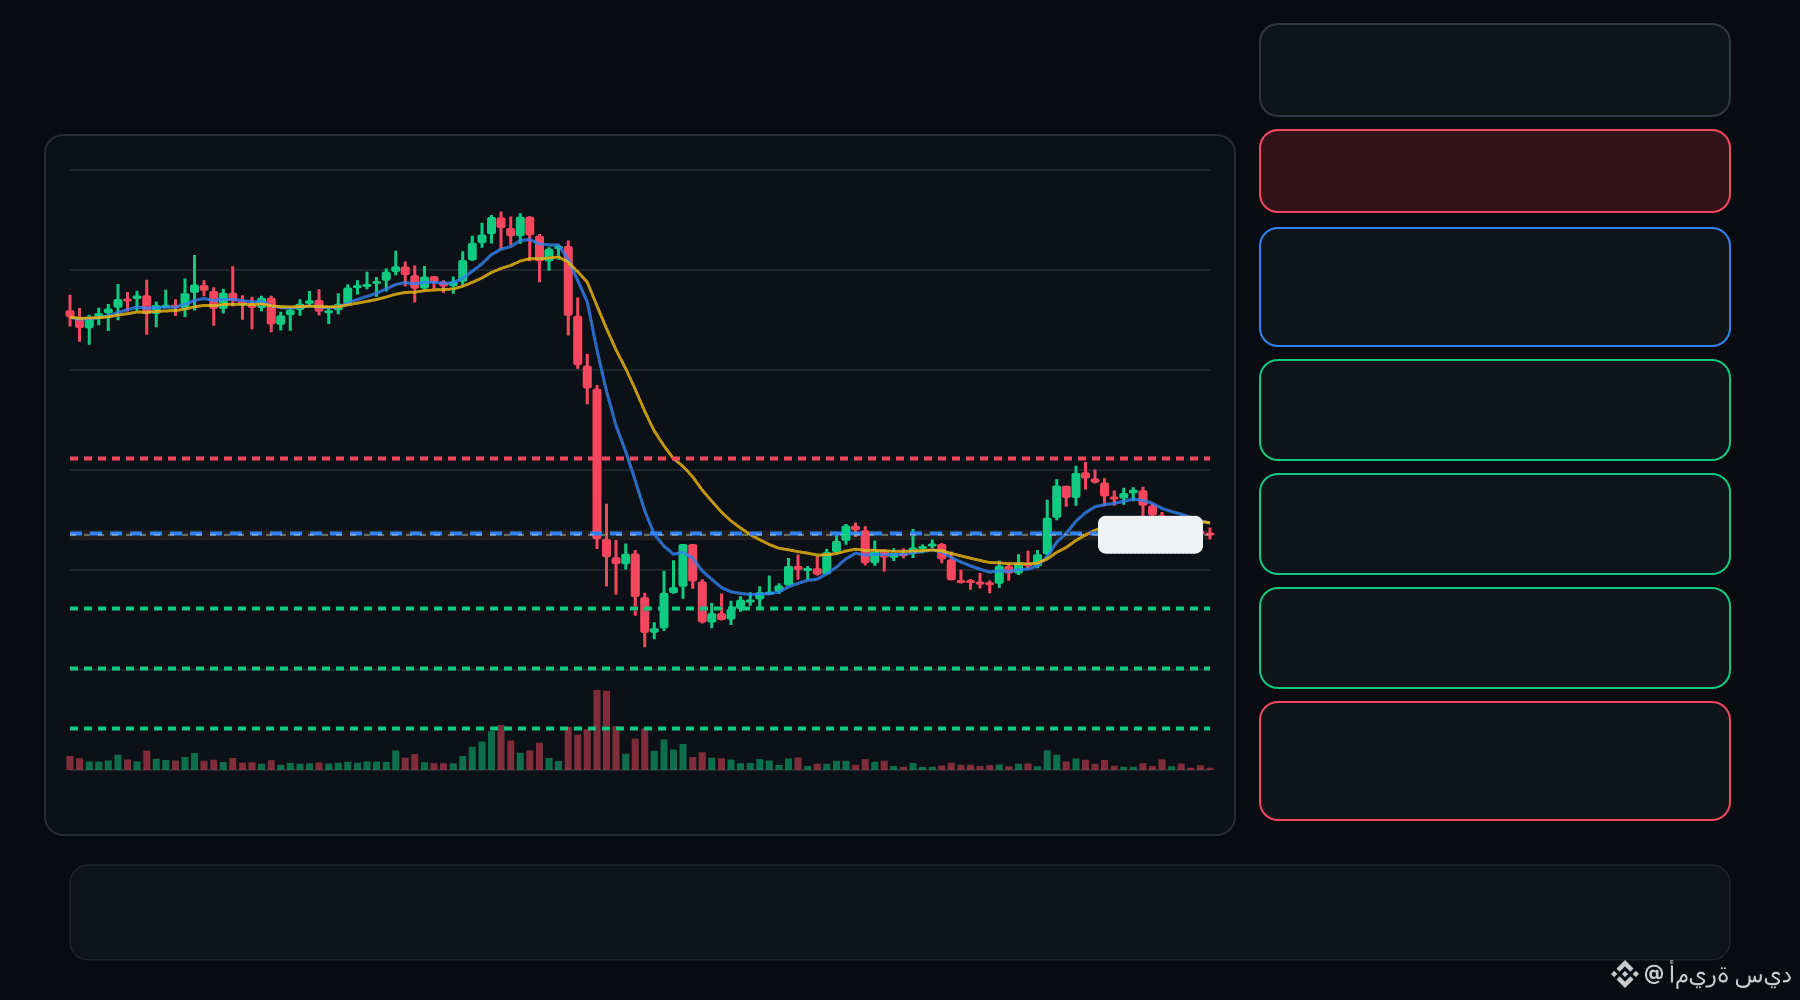
🔴 BLESS bears are pressing the pullback… is the rejection getting deeper ⁉️
🔴 BLESS SHORT
Entry: 0.009885 – 0.009963
TP1: 0.008988
TP2: 0.008240
TP3: 0.007492
Stop Loss: 0.01086
The 15M chart shows a bearish structure with momentum and volume confirmation. A controlled retest of the entry zone may give the setup a cleaner trigger.
Plan: Wait for confirmation/rejection inside the entry zone; don’t chase the move.
DYOR | Manage Risk | Avoid Over-Leverage
·
--
Lihat terjemahan
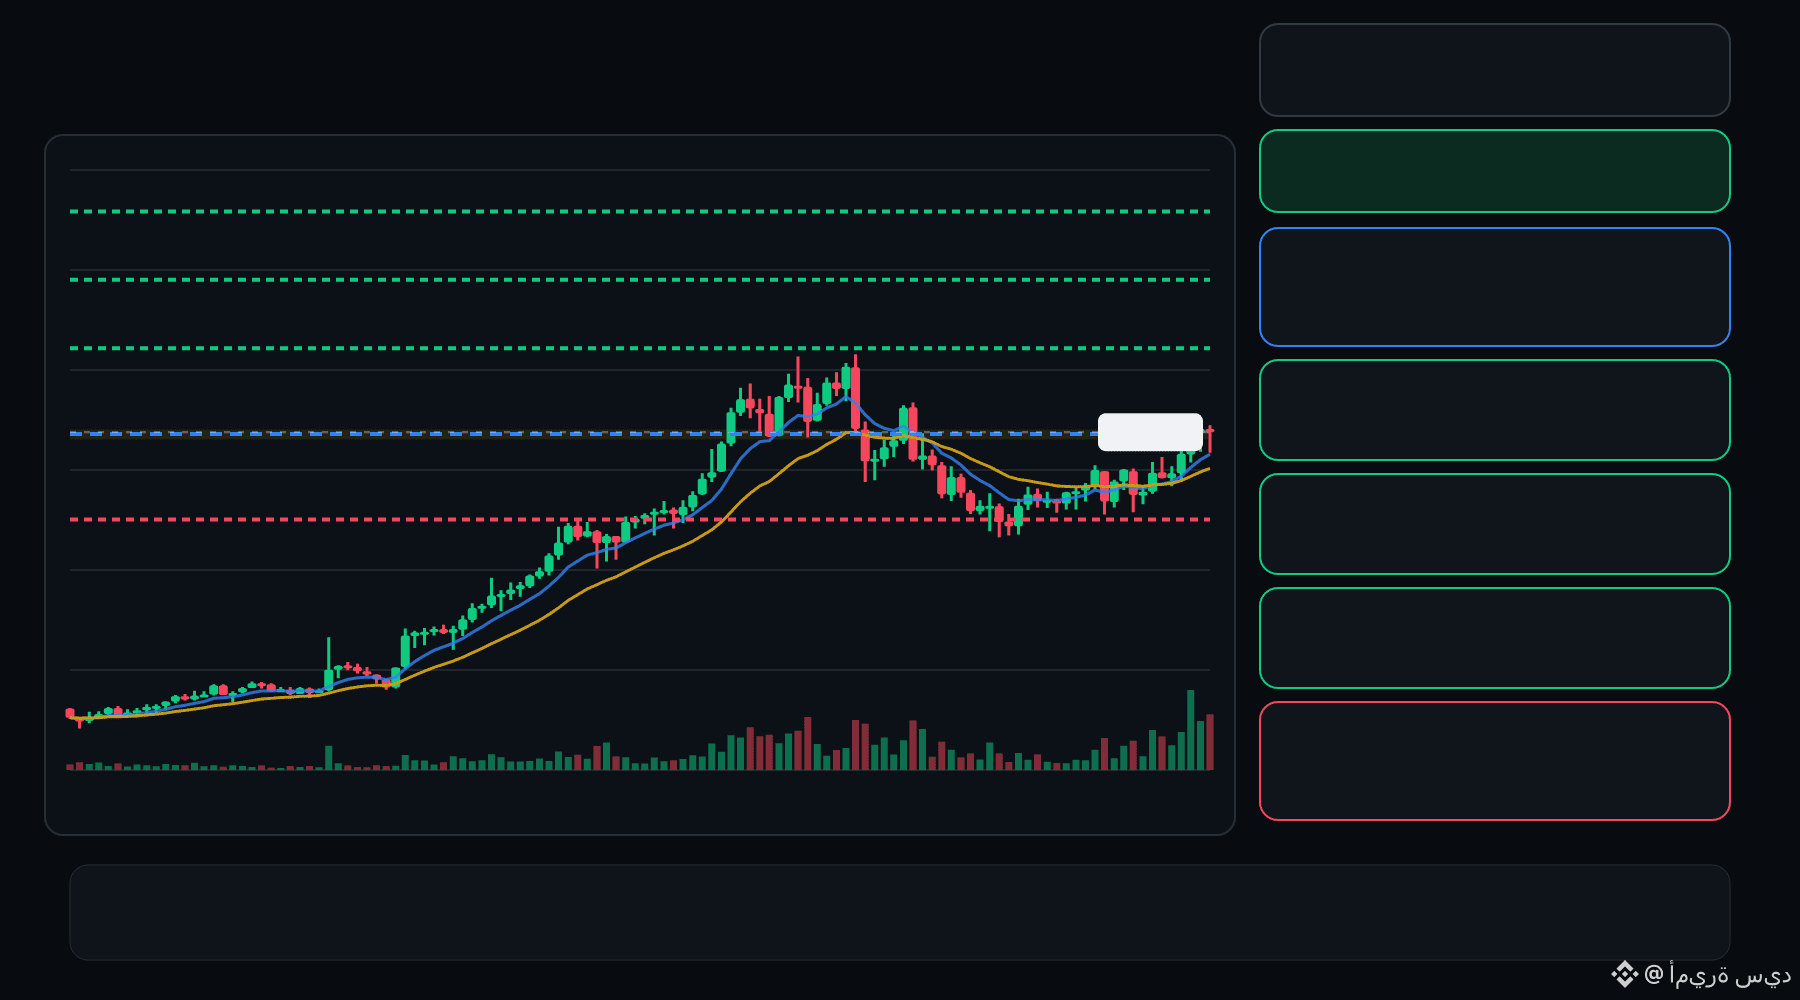
🟢 GWEI bulls are defending the pullback… is continuation setting up ⁉️
🟩 GWEI LONG
Entry: 0.02272 – 0.02288
TP1: 0.02438
TP2: 0.02565
TP3: 0.02691
Stop Loss: 0.02122
The 15M chart shows a bullish structure with momentum and volume confirmation. A controlled retest of the entry zone may give the setup a cleaner trigger.
Plan: Wait for confirmation/rejection inside the entry zone; don’t chase the move.
DYOR | Manage Risk | Avoid Over-Leverage
·
--
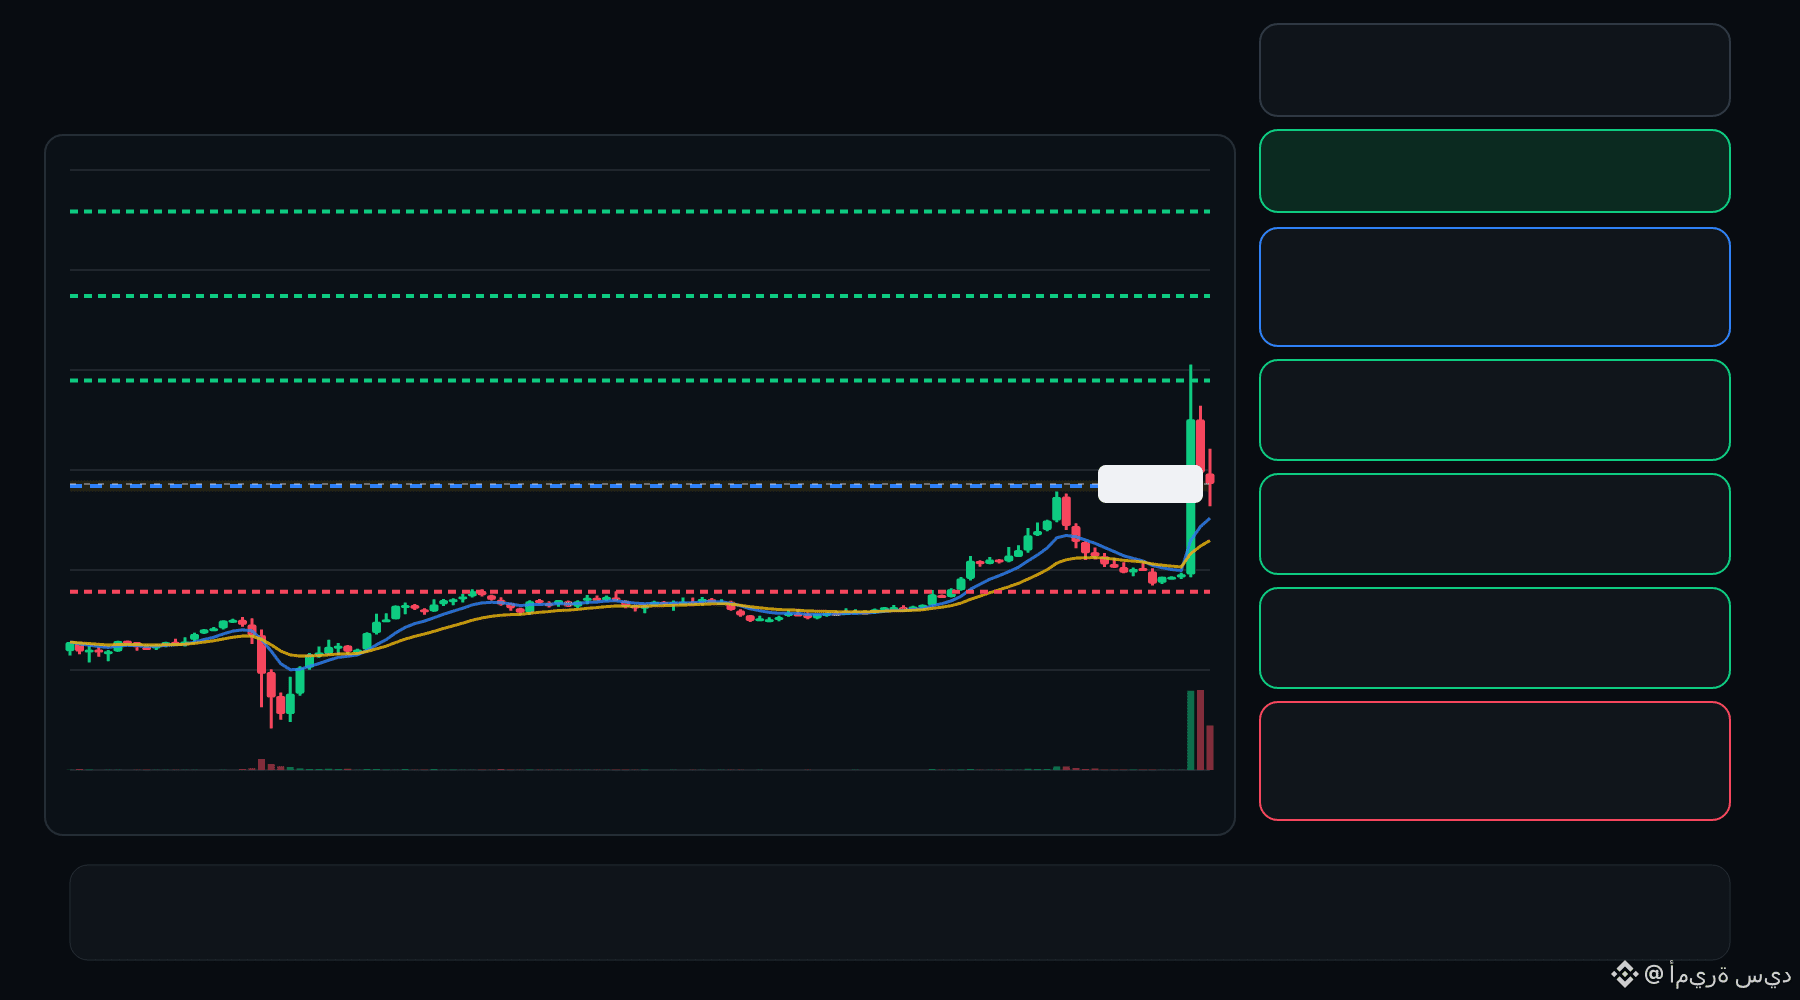
🟢 Para pembeli SLP mempertahankan koreksi… apakah pergerakan lanjutan mulai terbentuk ⁉️
🟩 SLP LONG
Entry: 0.0005468 – 0.0005516
TP1: 0.0005957
TP2: 0.0006329
TP3: 0.0006701
Stop Loss: 0.0005027
Grafik 15M menunjukkan struktur bullish dengan konfirmasi momentum dan volume. Retest terkontrol pada zona entry dapat memberikan pemicu yang lebih jelas untuk setup ini.
Rencana: Tunggu konfirmasi/penolakan di dalam zona entry; jangan mengejar pergerakan harga.
Lakukan riset sendiri | Kelola risiko | Hindari leverage berlebihan
3
·
--
Lihat terjemahan
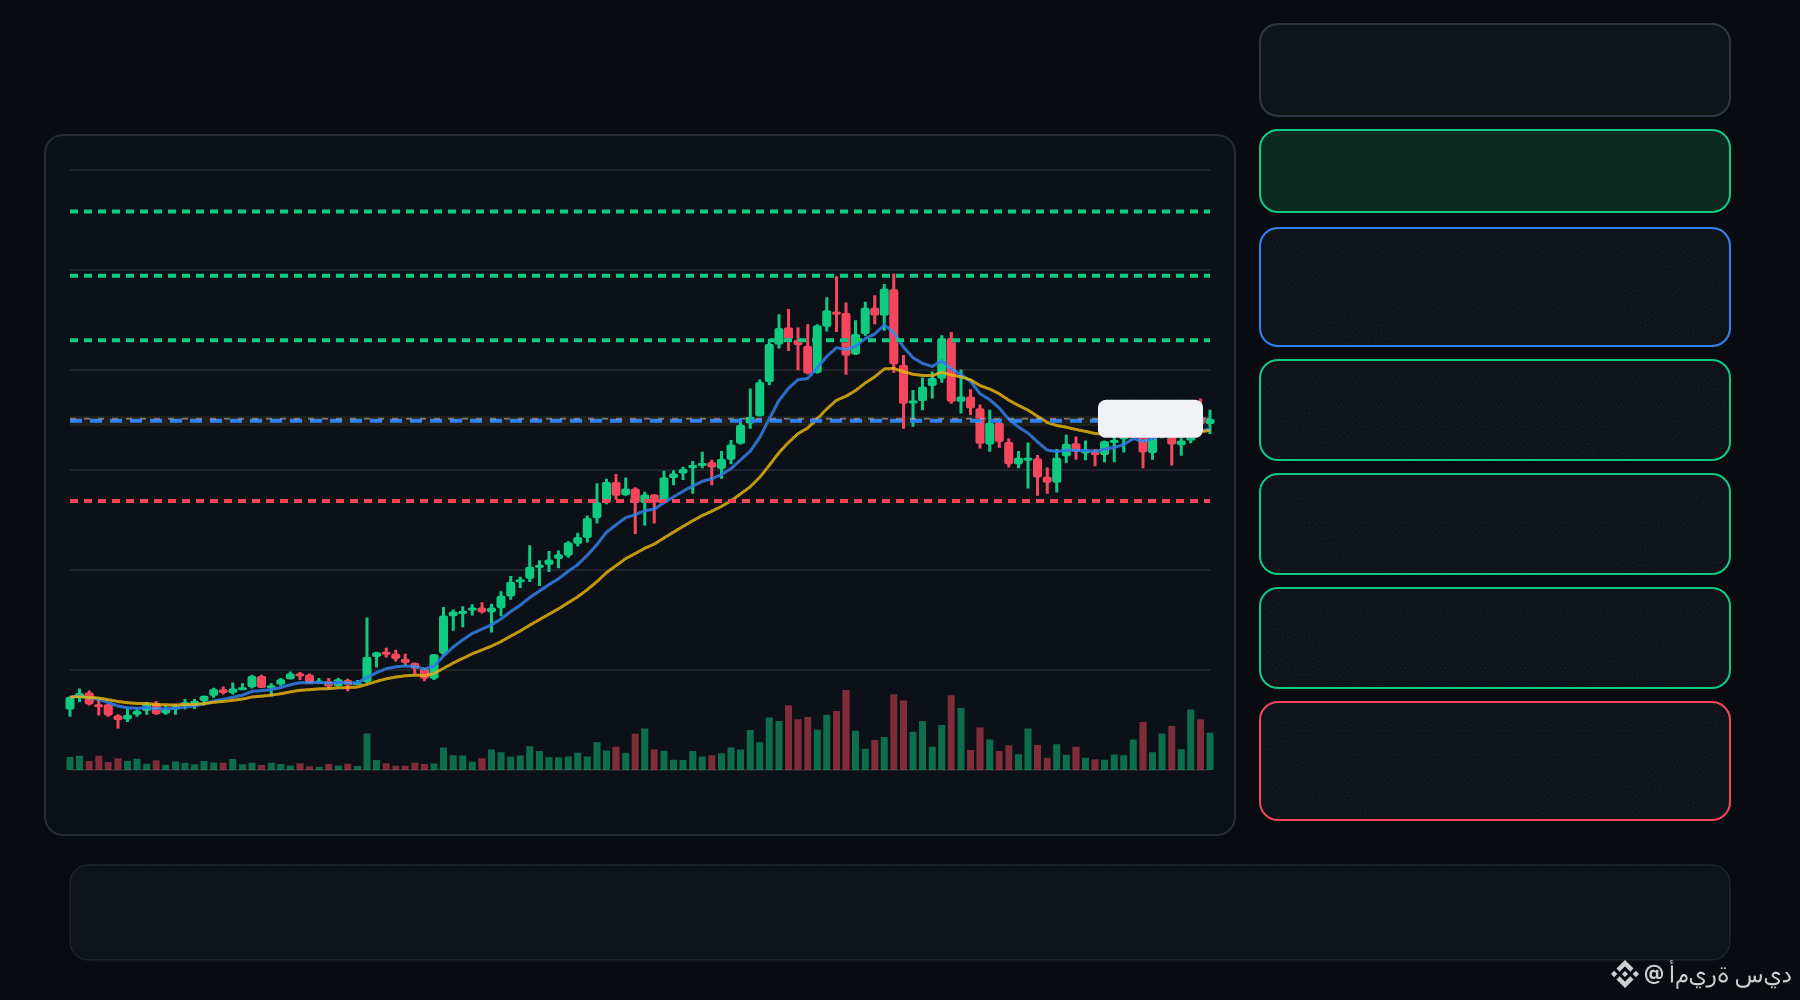
🟢 GWEI bulls are defending the pullback… is continuation setting up ⁉️
🟩 GWEI LONG
Entry: 0.02196 – 0.02210
TP1: 0.02326
TP2: 0.02424
TP3: 0.02521
Stop Loss: 0.02081
The 15M chart shows a bullish structure with momentum and volume confirmation. A controlled retest of the entry zone may give the setup a cleaner trigger.
Plan: Wait for confirmation/rejection inside the entry zone; don’t chase the move.
DYOR | Manage Risk | Avoid Over-Leverage
·
--
Lihat terjemahan
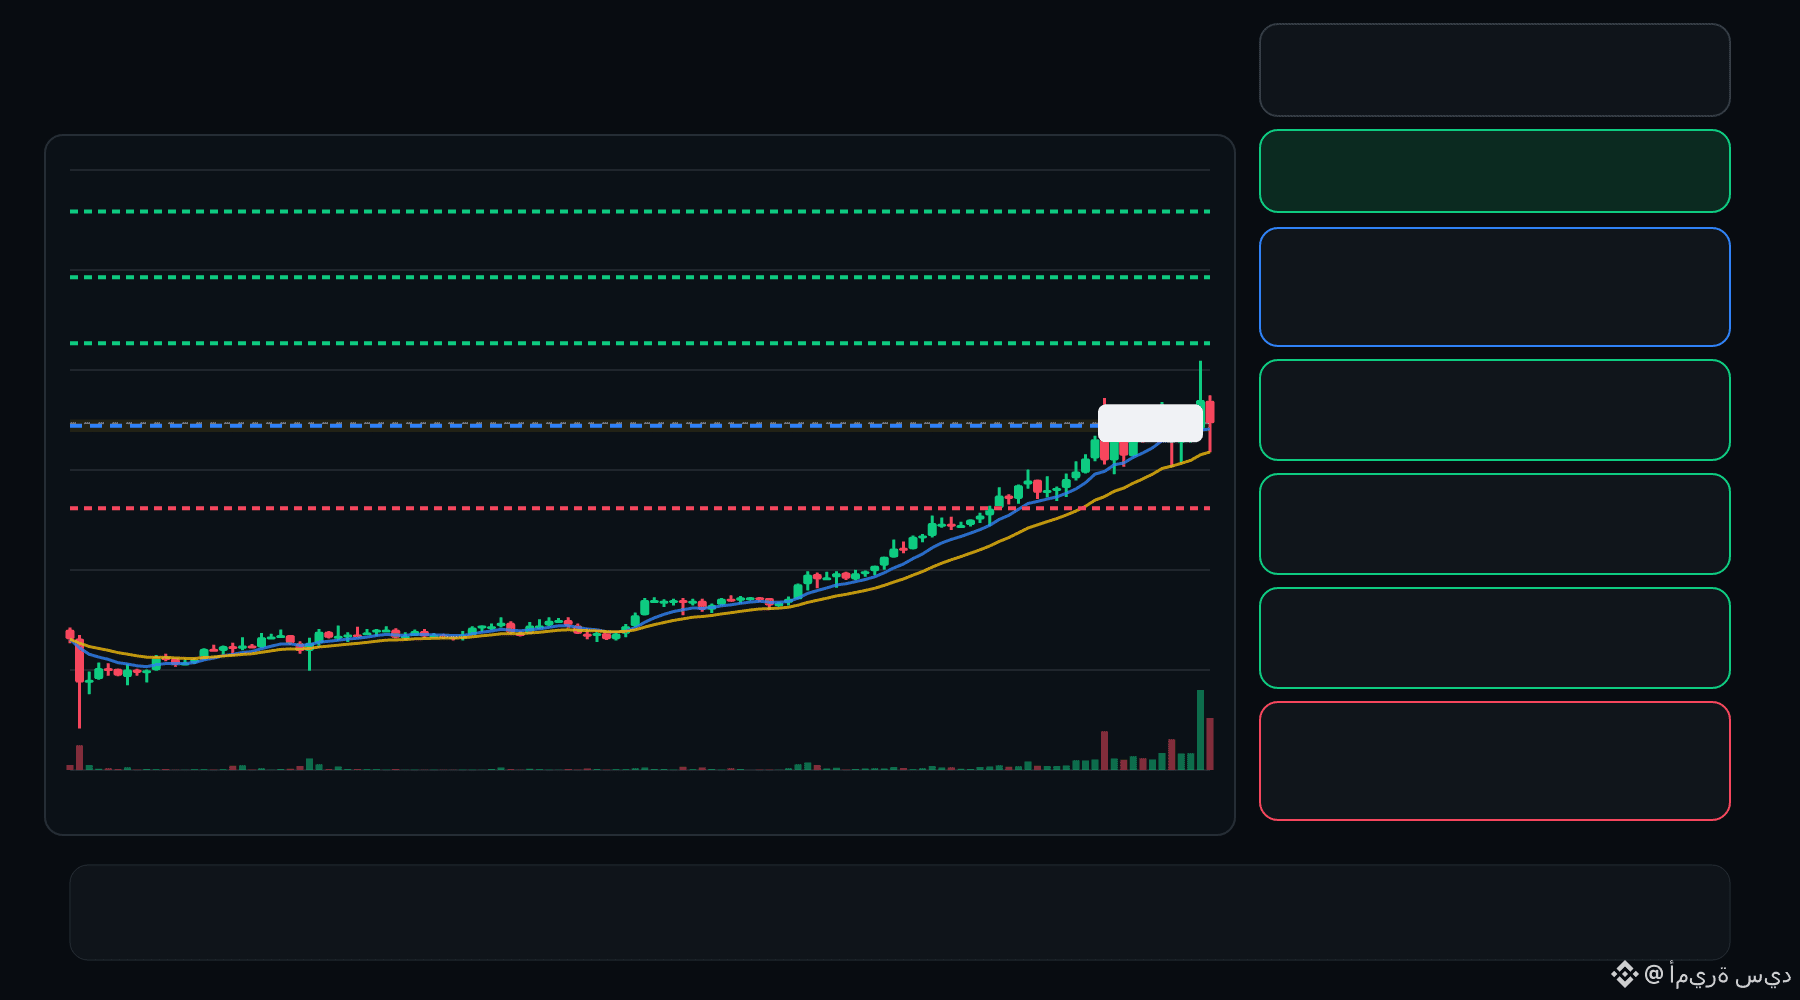
🟢 SPK bulls are defending the pullback… is continuation setting up ⁉️
🟩 SPK LONG
Entry: 0.02006 – 0.02025
TP1: 0.02135
TP2: 0.02231
TP3: 0.02327
Stop Loss: 0.01896
The 15M chart shows a bullish structure with momentum and volume confirmation. A controlled retest of the entry zone may give the setup a cleaner trigger.
Plan: Wait for confirmation/rejection inside the entry zone; don’t chase the move.
DYOR | Manage Risk | Avoid Over-Leverage
·
--
Lihat terjemahan
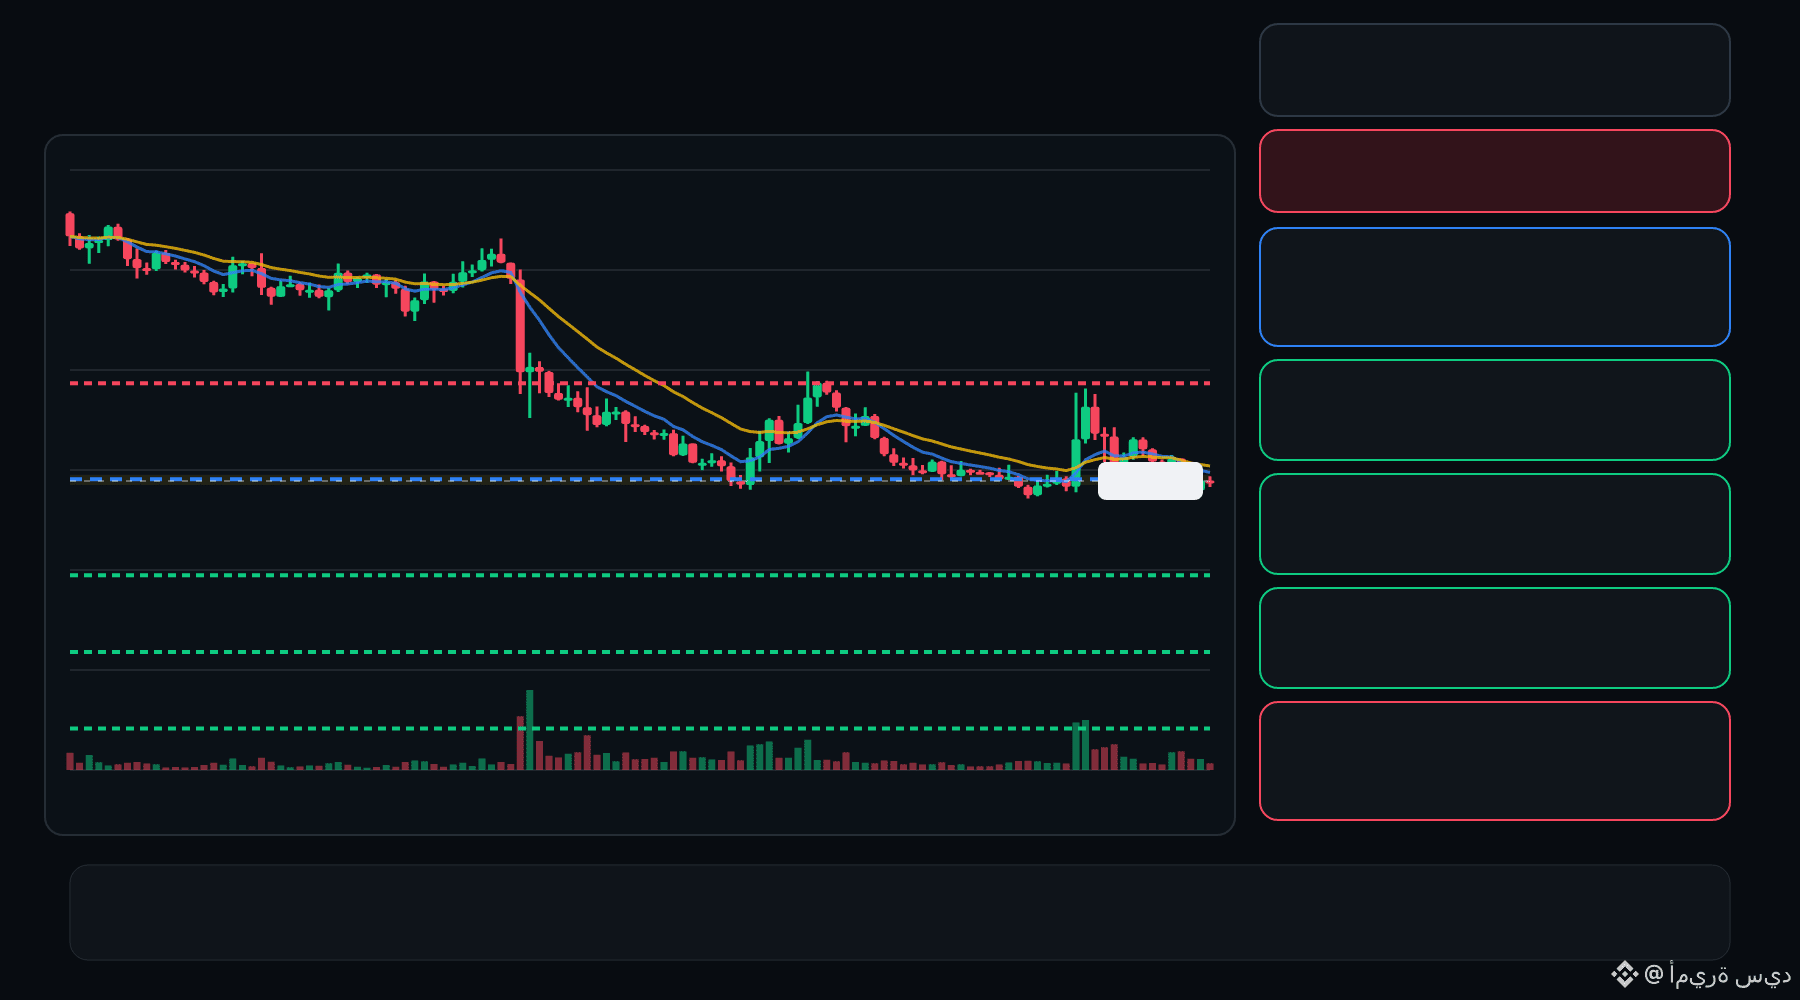
🔴 BTW bears are pressing the pullback… is the rejection getting deeper ⁉️
🔴 BTW SHORT
Entry: 1.129 – 1.145
TP1: 0.9686
TP2: 0.8338
TP3: 0.6990
Stop Loss: 1.306
The 15M chart shows a bearish structure with momentum and volume confirmation. A controlled retest of the entry zone may give the setup a cleaner trigger.
Plan: Wait for confirmation/rejection inside the entry zone; don’t chase the move.
DYOR | Manage Risk | Avoid Over-Leverage
9
·
--
Lihat terjemahan
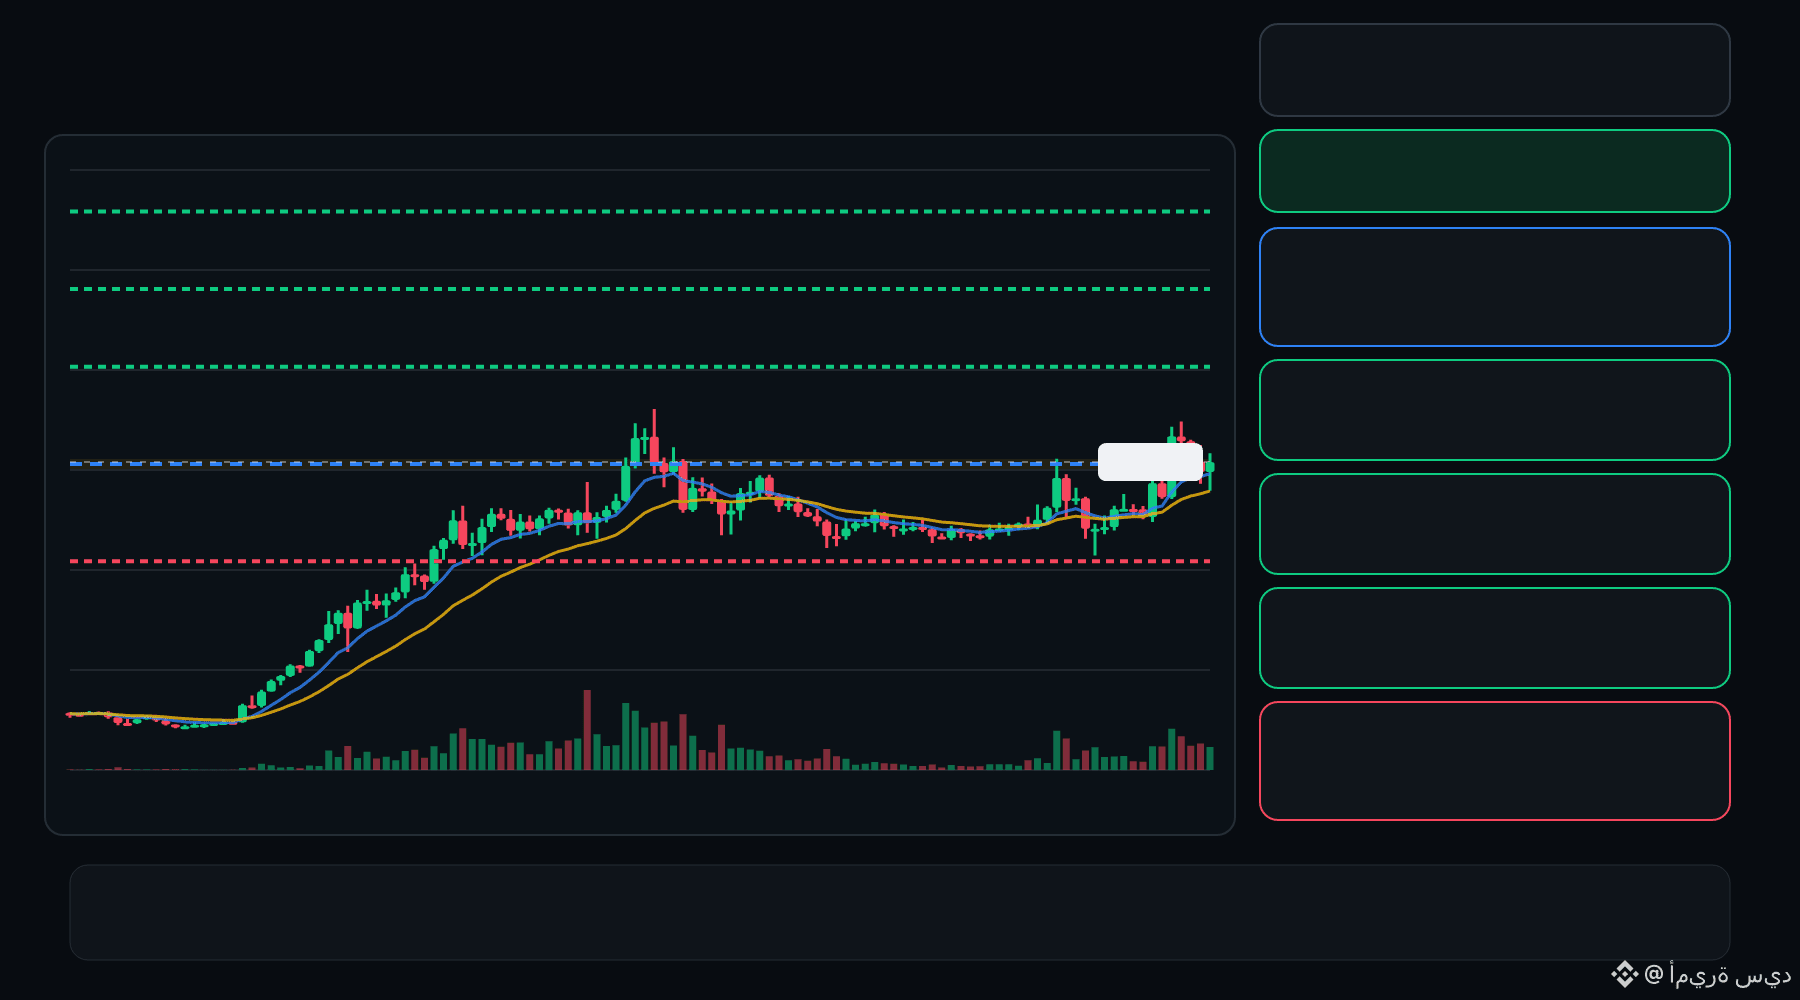
🟢 BEAMX bulls are defending the pullback… is continuation setting up ⁉️
🟩 BEAMX LONG
Entry: 0.005018 – 0.005088
TP1: 0.005724
TP2: 0.006261
TP3: 0.006798
Stop Loss: 0.004382
The 15M chart shows a bullish structure with momentum and volume confirmation. A controlled retest of the entry zone may give the setup a cleaner trigger.
Plan: Wait for confirmation/rejection inside the entry zone; don’t chase the move.
DYOR | Manage Risk | Avoid Over-Leverage
2
·
--
Lihat terjemahan
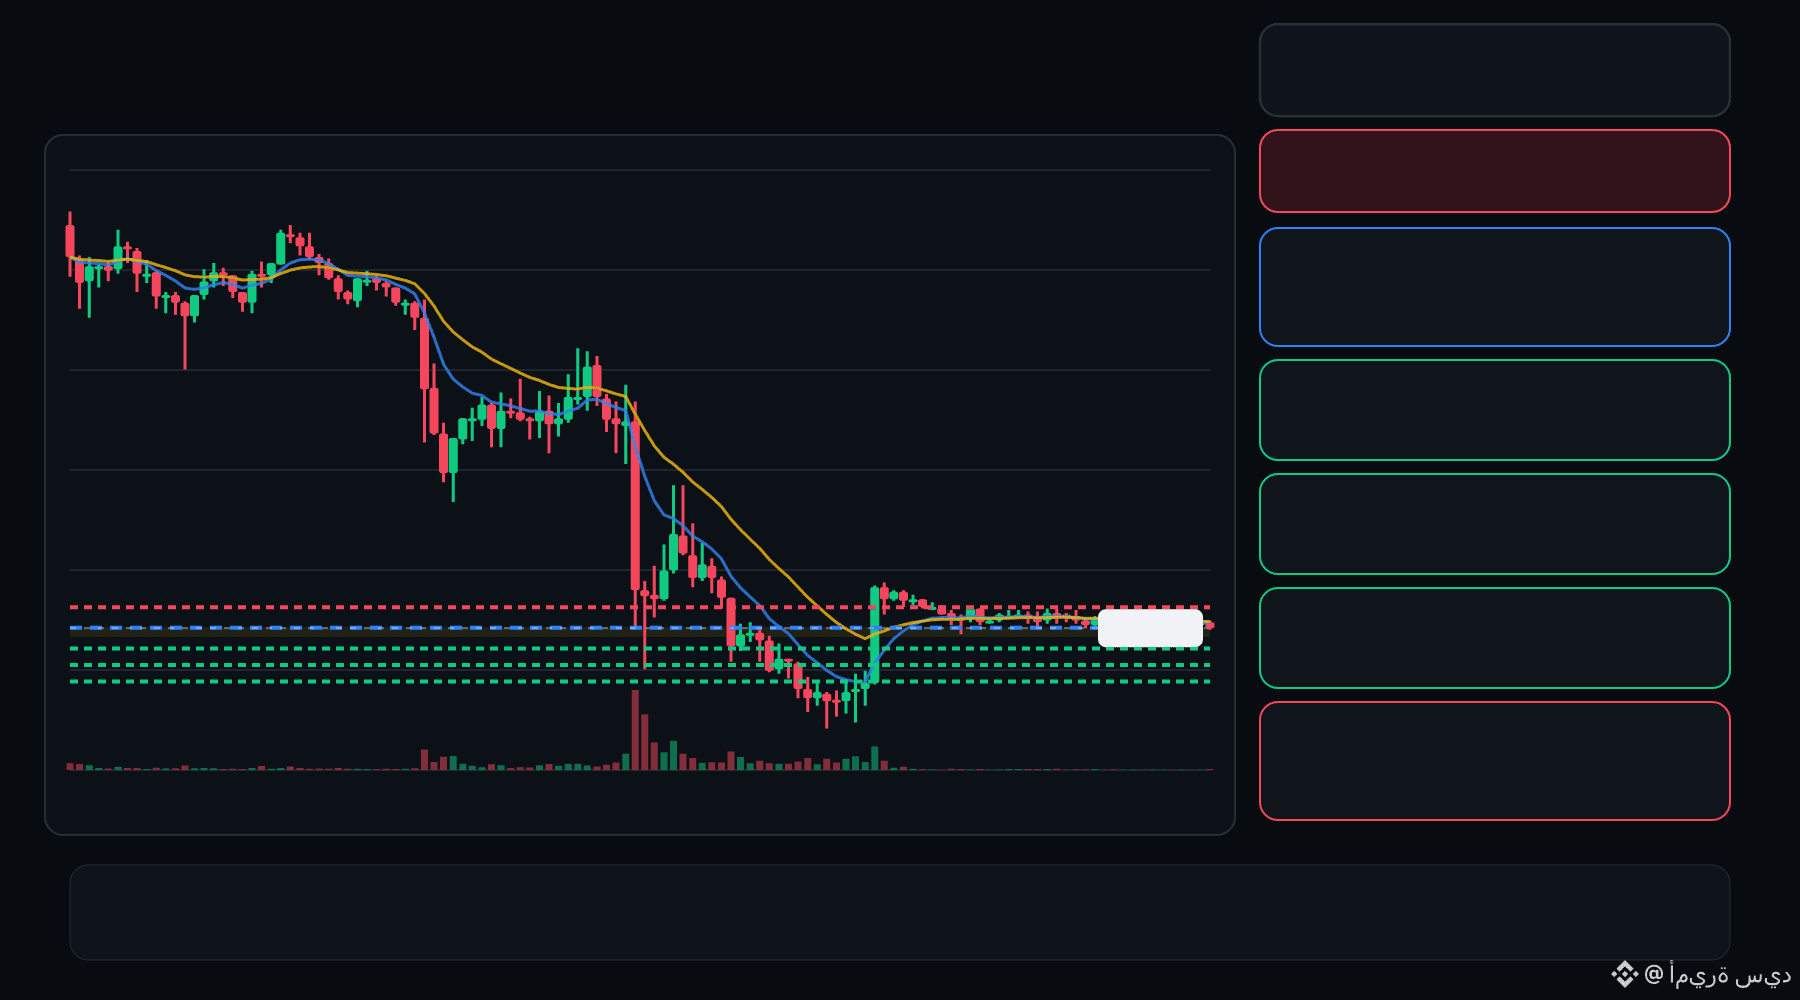
🔴 INTW bears are pressing the pullback… is the rejection getting deeper ⁉️
🔴 INTW SHORT
Entry: 7.265 – 7.280
TP1: 7.137
TP2: 7.029
TP3: 6.920
Stop Loss: 7.408
The 15M chart shows a bearish structure with momentum and volume confirmation. A controlled retest of the entry zone may give the setup a cleaner trigger.
Plan: Wait for confirmation/rejection inside the entry zone; don’t chase the move.
DYOR | Manage Risk | Avoid Over-Leverage
1
·
--
Lihat terjemahan
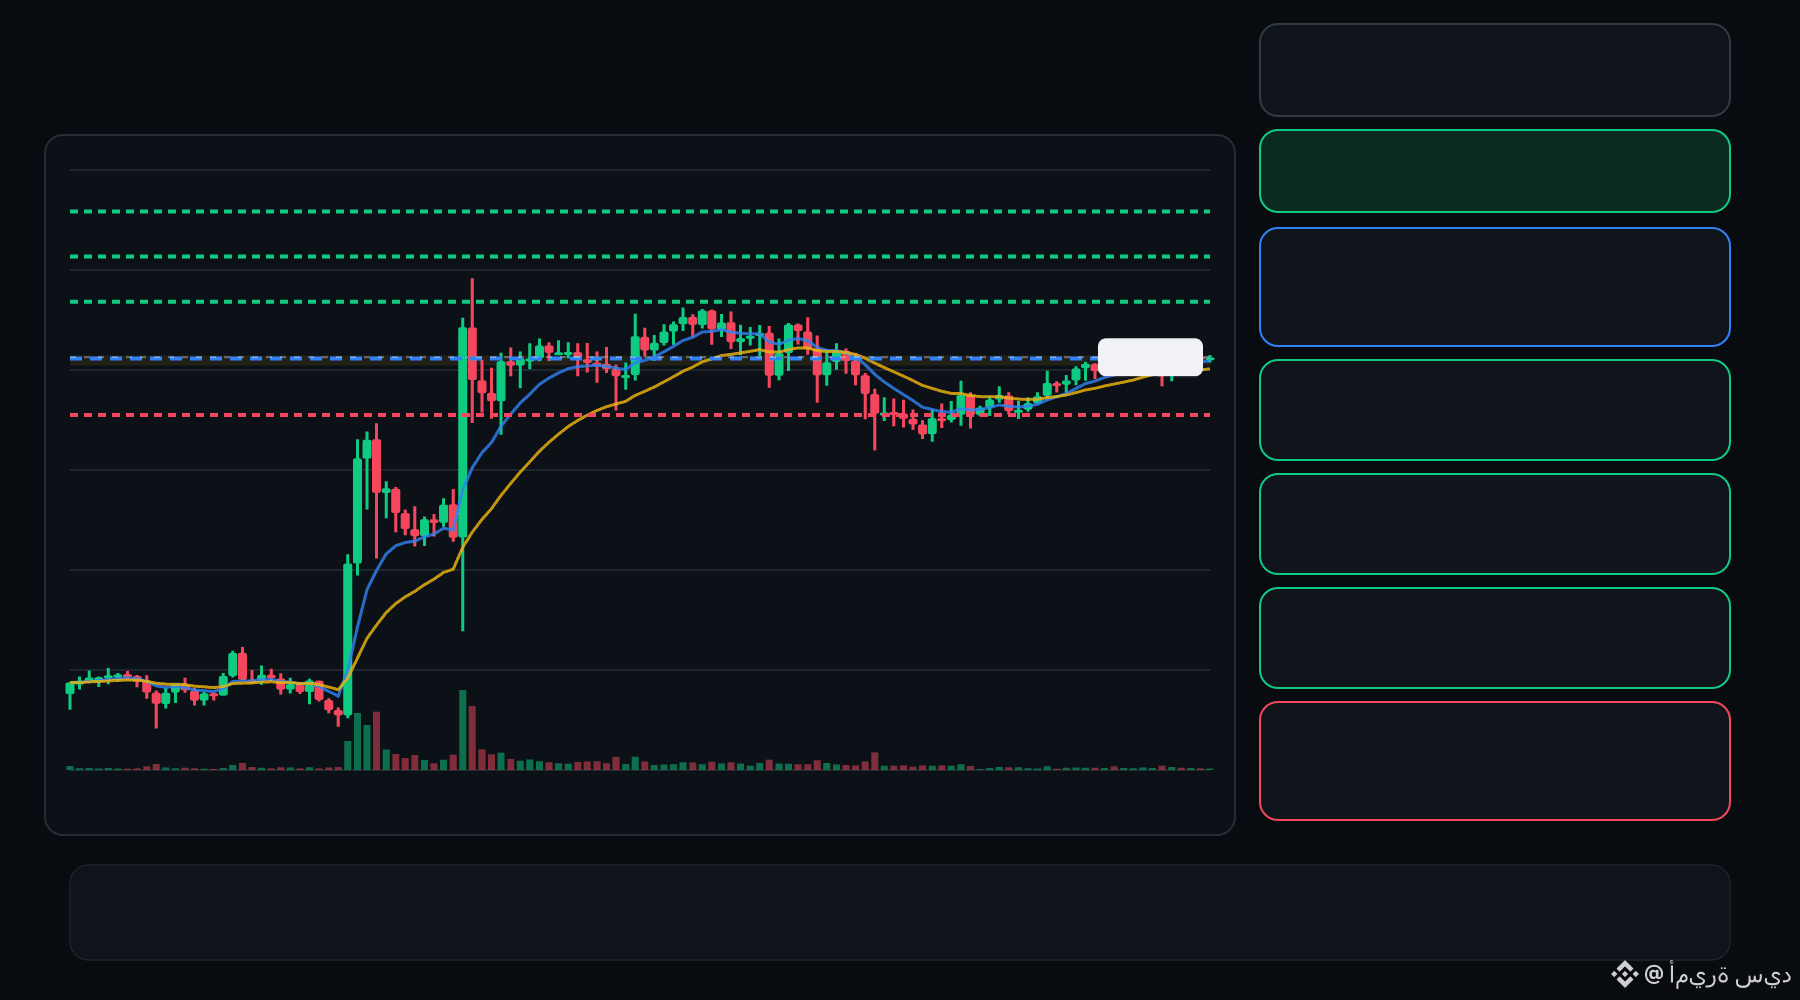
🟢 MAGMA bulls are defending the pullback… is continuation setting up ⁉️
🟩 MAGMA LONG
Entry: 0.3741 – 0.3756
TP1: 0.3895
TP2: 0.4012
TP3: 0.4130
Stop Loss: 0.3601
The 15M chart shows a bullish structure with momentum and volume confirmation. A controlled retest of the entry zone may give the setup a cleaner trigger.
Plan: Wait for confirmation/rejection inside the entry zone; don’t chase the move.
DYOR | Manage Risk | Avoid Over-Leverage
·
--
Lihat terjemahan
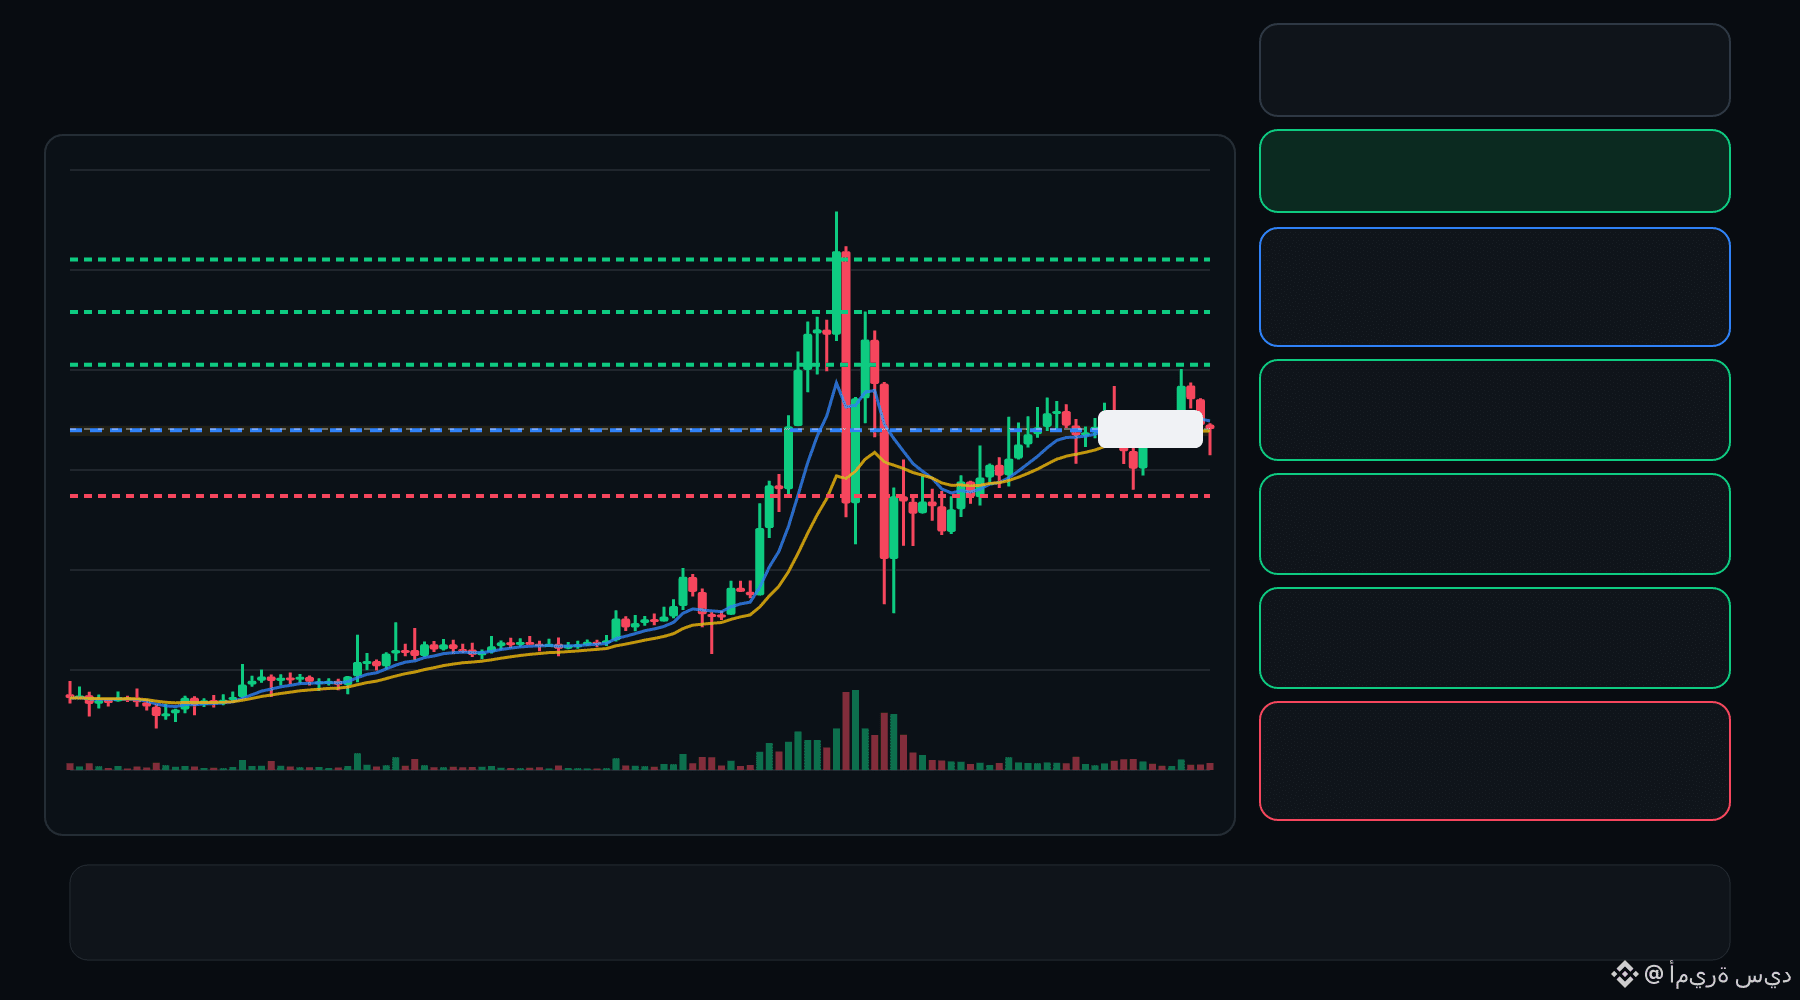
🟢 IDOL bulls are defending the pullback… is continuation setting up ⁉️
🟩 IDOL LONG
Entry: 0.02353 – 0.02386
TP1: 0.02601
TP2: 0.02786
TP3: 0.02972
Stop Loss: 0.02138
The 15M chart shows a bullish structure with momentum and volume confirmation. A controlled retest of the entry zone may give the setup a cleaner trigger.
Plan: Wait for confirmation/rejection inside the entry zone; don’t chase the move.
DYOR | Manage Risk | Avoid Over-Leverage
·
--
Lihat terjemahan
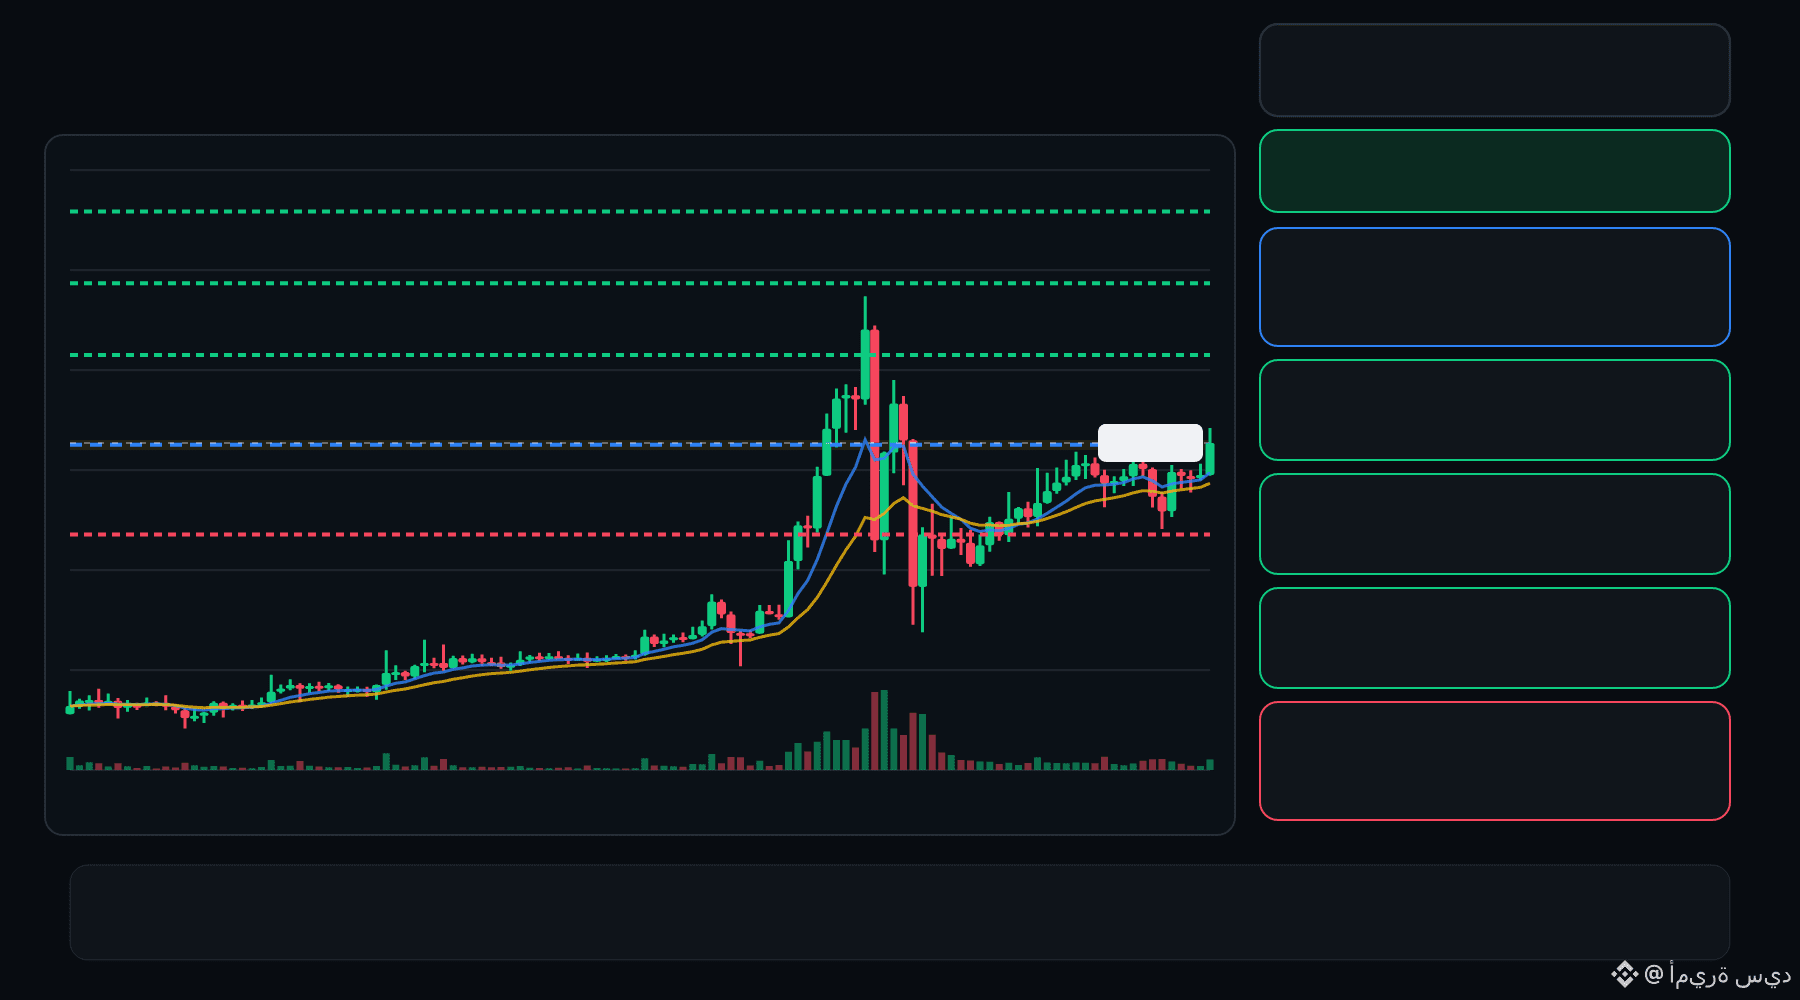
🟢 IDOL bulls are defending the pullback… is continuation setting up ⁉️
🟩 IDOL LONG
Entry: 0.02496 – 0.02536
TP1: 0.02894
TP2: 0.03197
TP3: 0.03499
Stop Loss: 0.02138
The 15M chart shows a bullish structure with momentum and volume confirmation. A controlled retest of the entry zone may give the setup a cleaner trigger.
Plan: Wait for confirmation/rejection inside the entry zone; don’t chase the move.
DYOR | Manage Risk | Avoid Over-Leverage
1
Masuk untuk menjelajahi konten lainnya
Bergabunglah dengan pengguna kripto global di Binance Square
⚡️ Dapatkan informasi terbaru dan berguna tentang kripto.
💬 Dipercayai oleh bursa kripto terbesar di dunia.
👍 Temukan wawasan nyata dari kreator terverifikasi.
Email/Nomor Ponsel
Topik Sedang Tren
BinanceReports80%Recoveryof$6.3BillioninLossesfromHackIncident
16,123 penayangan
151 Berdiskusi
Pembaruan Insiden Keamanan #2 (2026-10-30)
Binance Announcement
·Disukai 1.1k Kali
·1.3M penayangan
HeYiSaysWithdrawalsExpectedtoResumeWithin42Hours
28,151 penayangan
576 Berdiskusi
CZSaysCompensationIsinPlaceUsersAreProtected
33,387 penayangan
464 Berdiskusi