

LearnToEarn
 Square Verified+
Signals hub • Your risk • your call •Market News •Projects •Content Creator • Awarded Creator🏆 | X/Twitter: @LearnToEarn_K

Creator Awards 2024

Traders League Badge Expert

#BinanceTurns7 task 2
Open Trade

XAUT Holder
Frequent Trader
2.8 Years
143 Following
104.9K+ Followers
74.0K+ Liked
4 Badges
Posts
Portfolio
All
Quotes
Videos
Live
PINNED
LearnToEarn
·
--
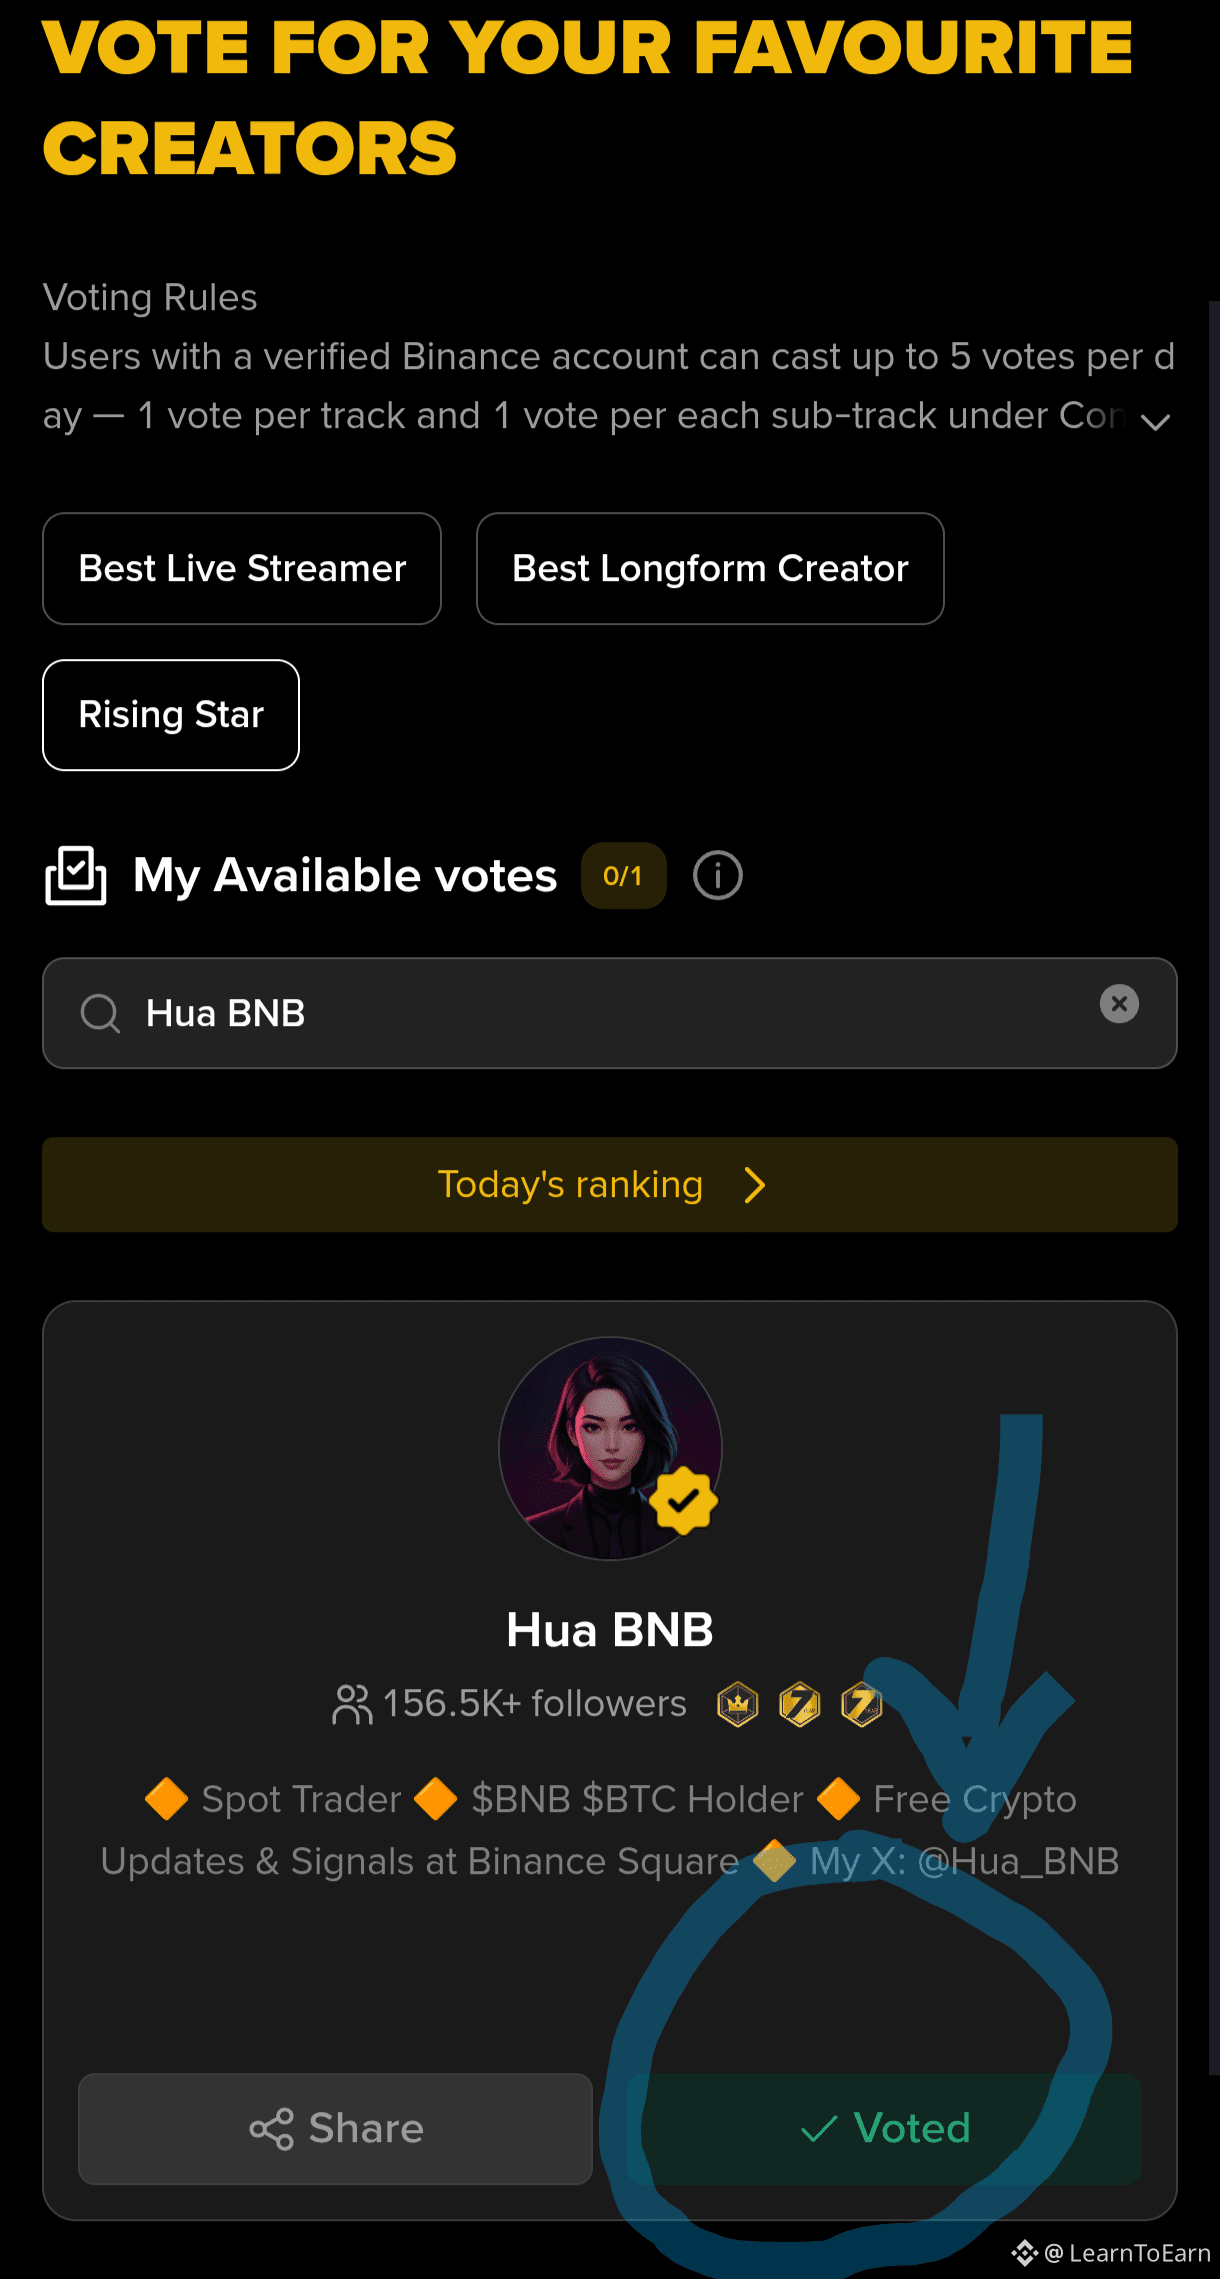
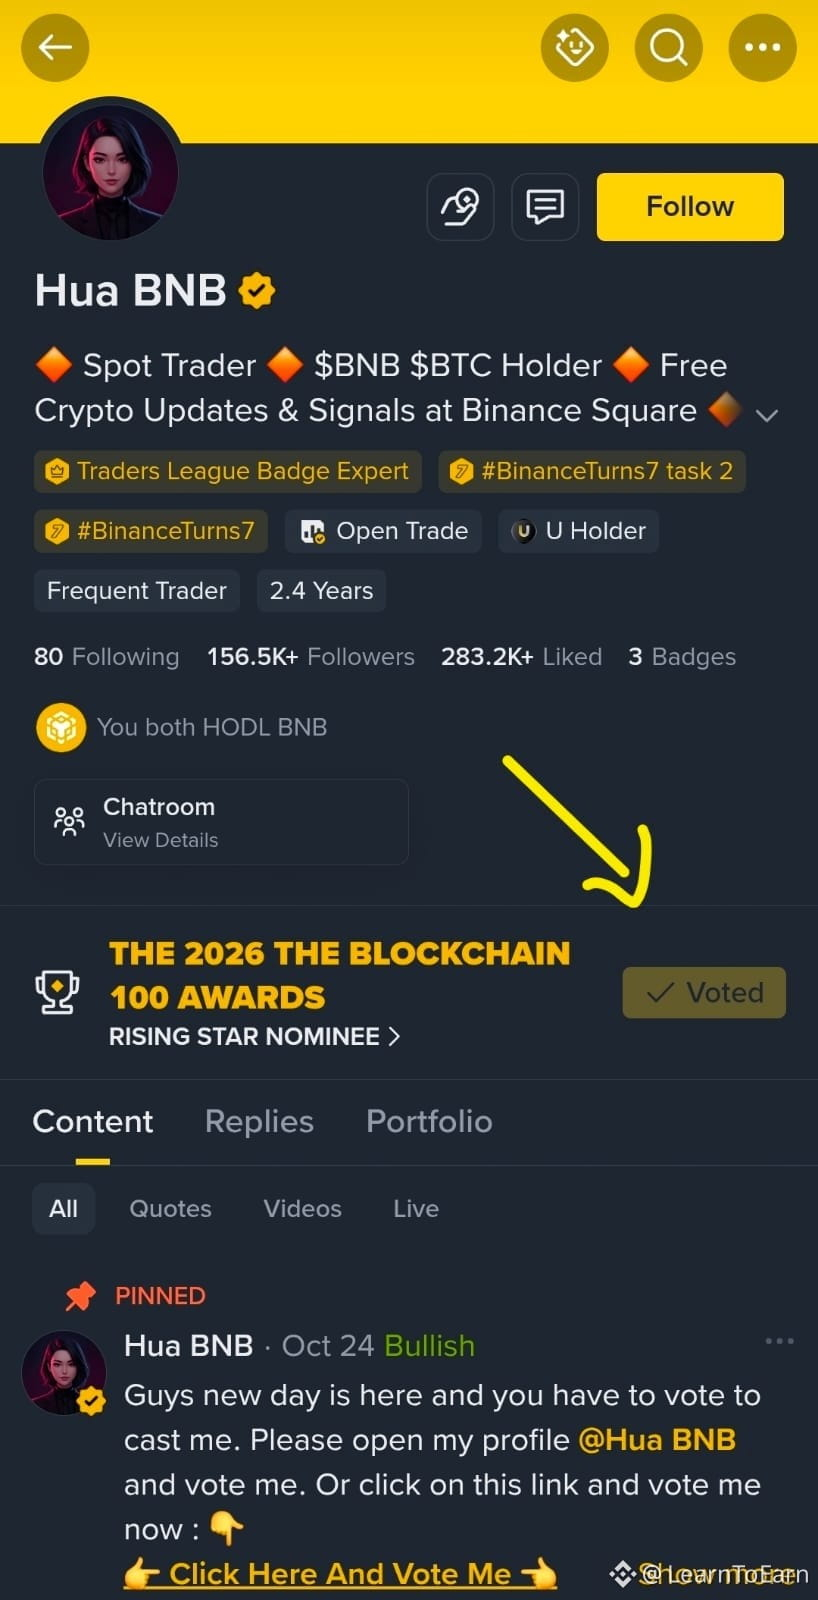
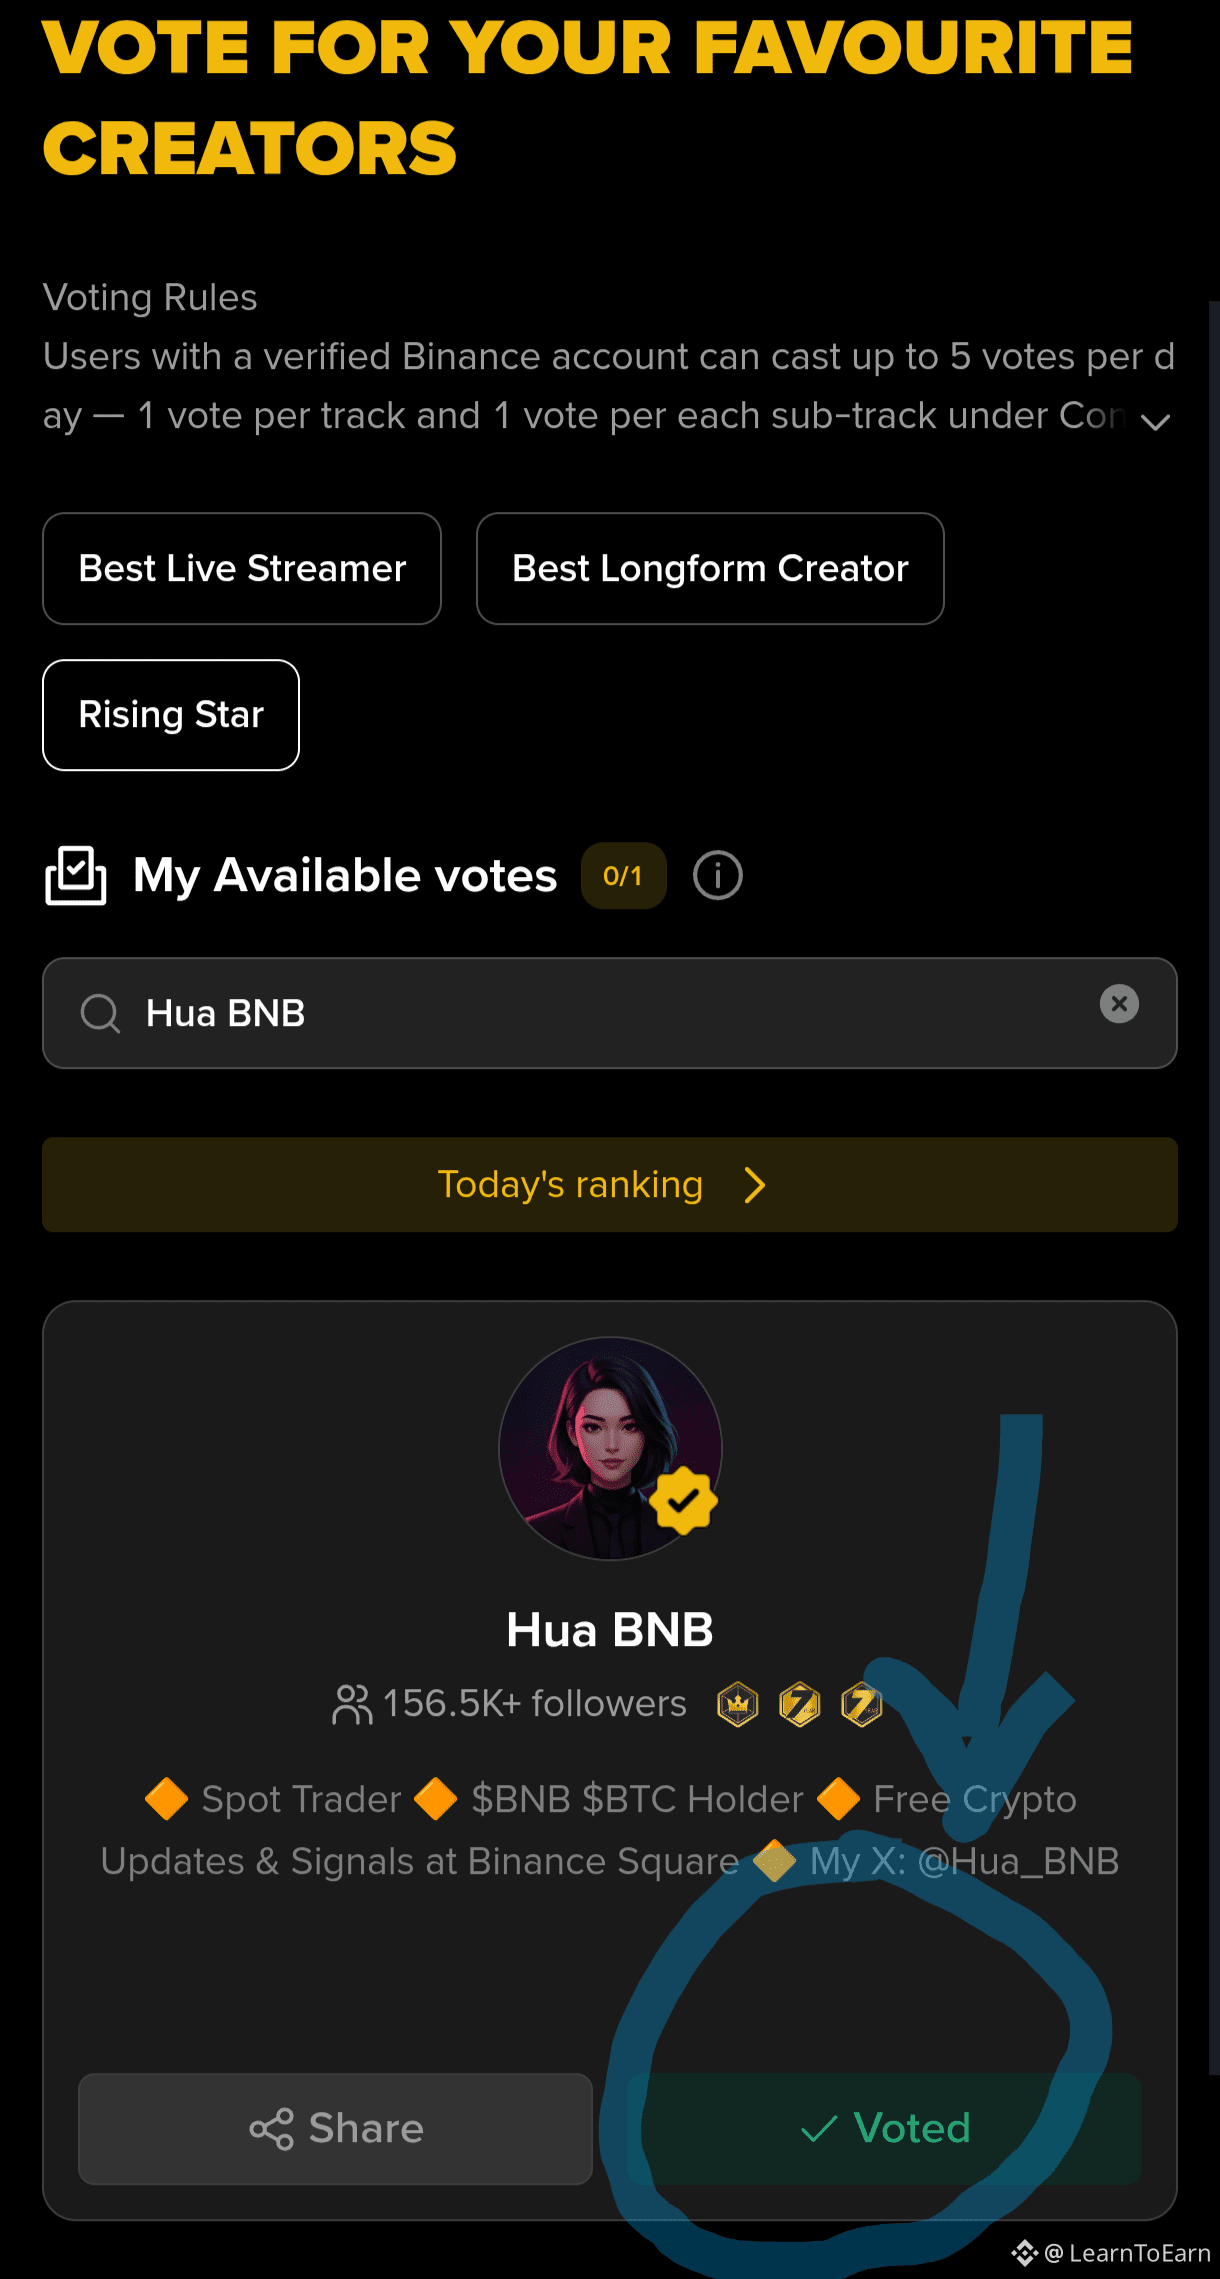
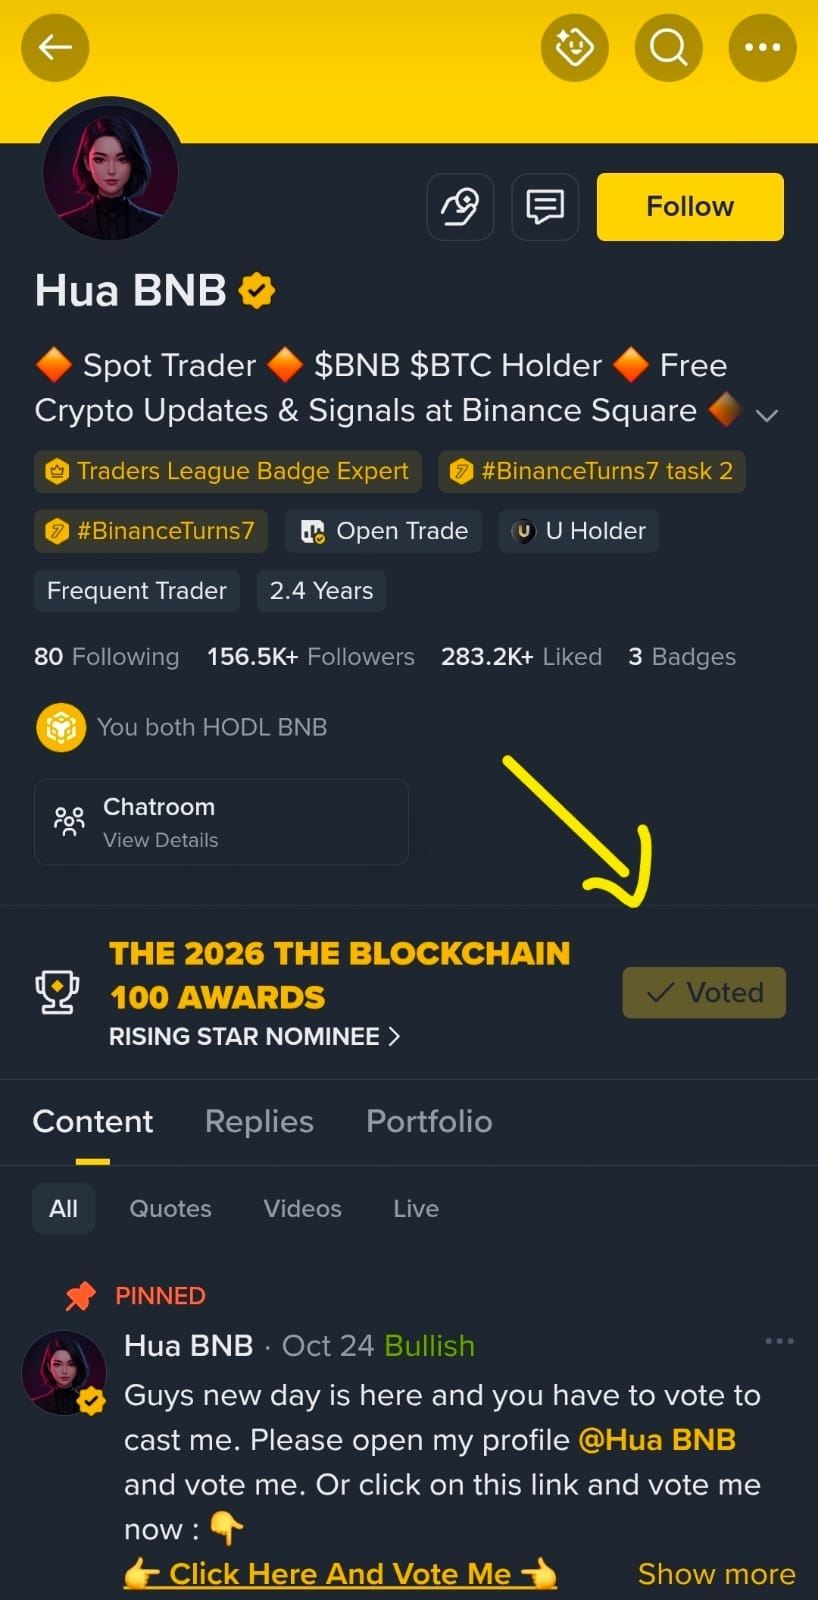
🔥NEW RED Packet 🎁 🎁 only for #Voters of our Deserving Creator @Hua BNB 🥰❤️
how to get
1.Vote Here
2. Send ss in 👇
3. Find the answer or i will reply you with answer
lets start ....
how to get
1.Vote Here
2. Send ss in 👇
3. Find the answer or i will reply you with answer
lets start ....
LearnToEarn
·
--
🎁 DAY 8 OF RED PACKETS IS HERE! 🎁🔥
Another day, another chance to grab a little reward! ❤️ Don't miss out! 👀
Here's how to get your Red Packet 👇
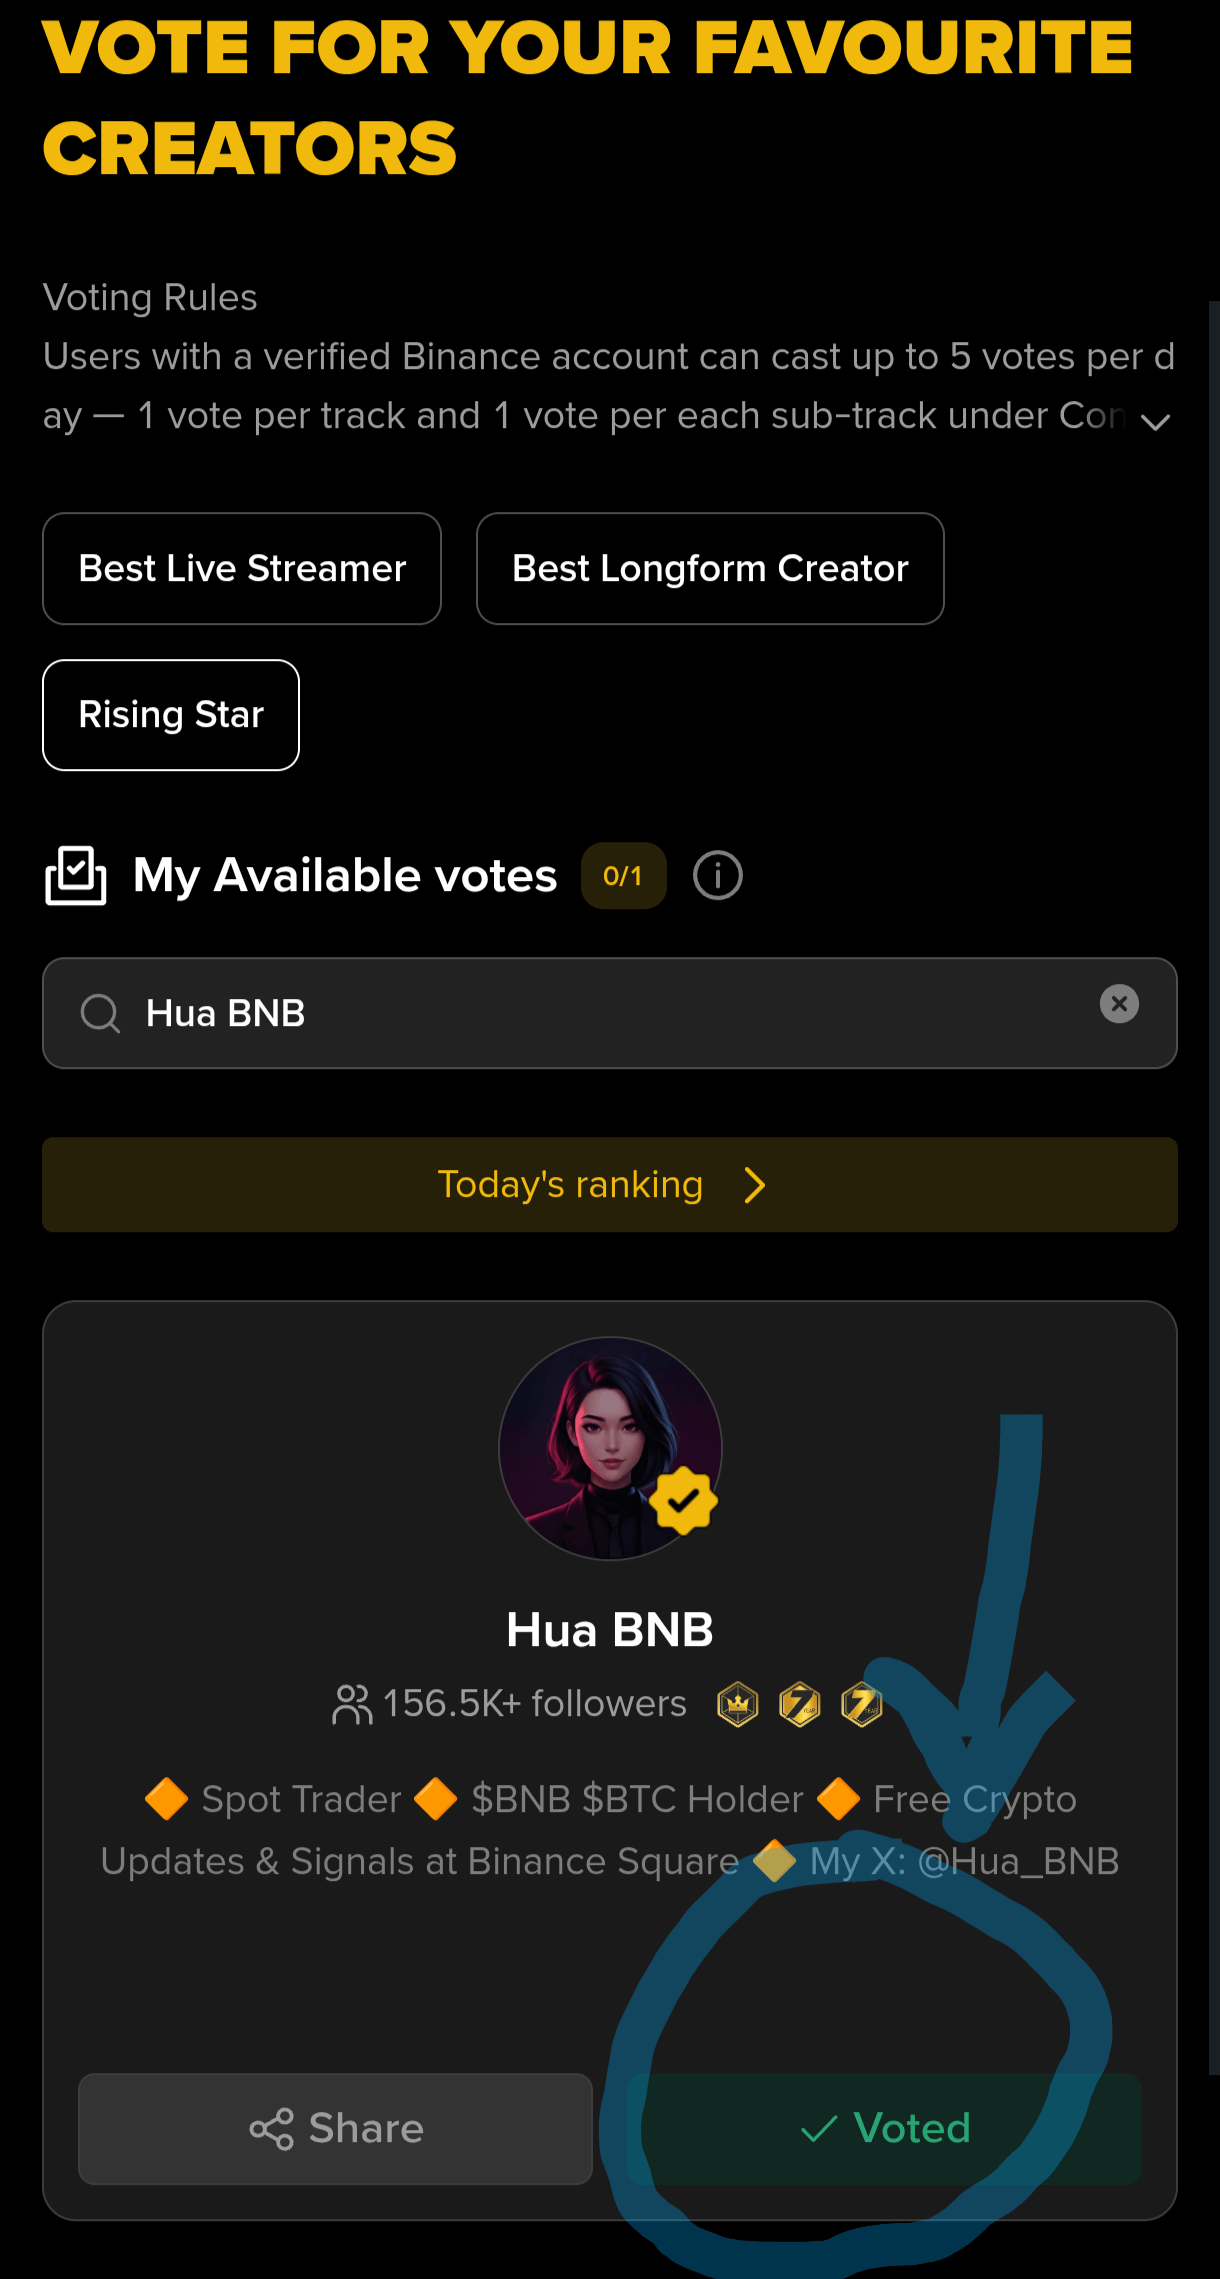
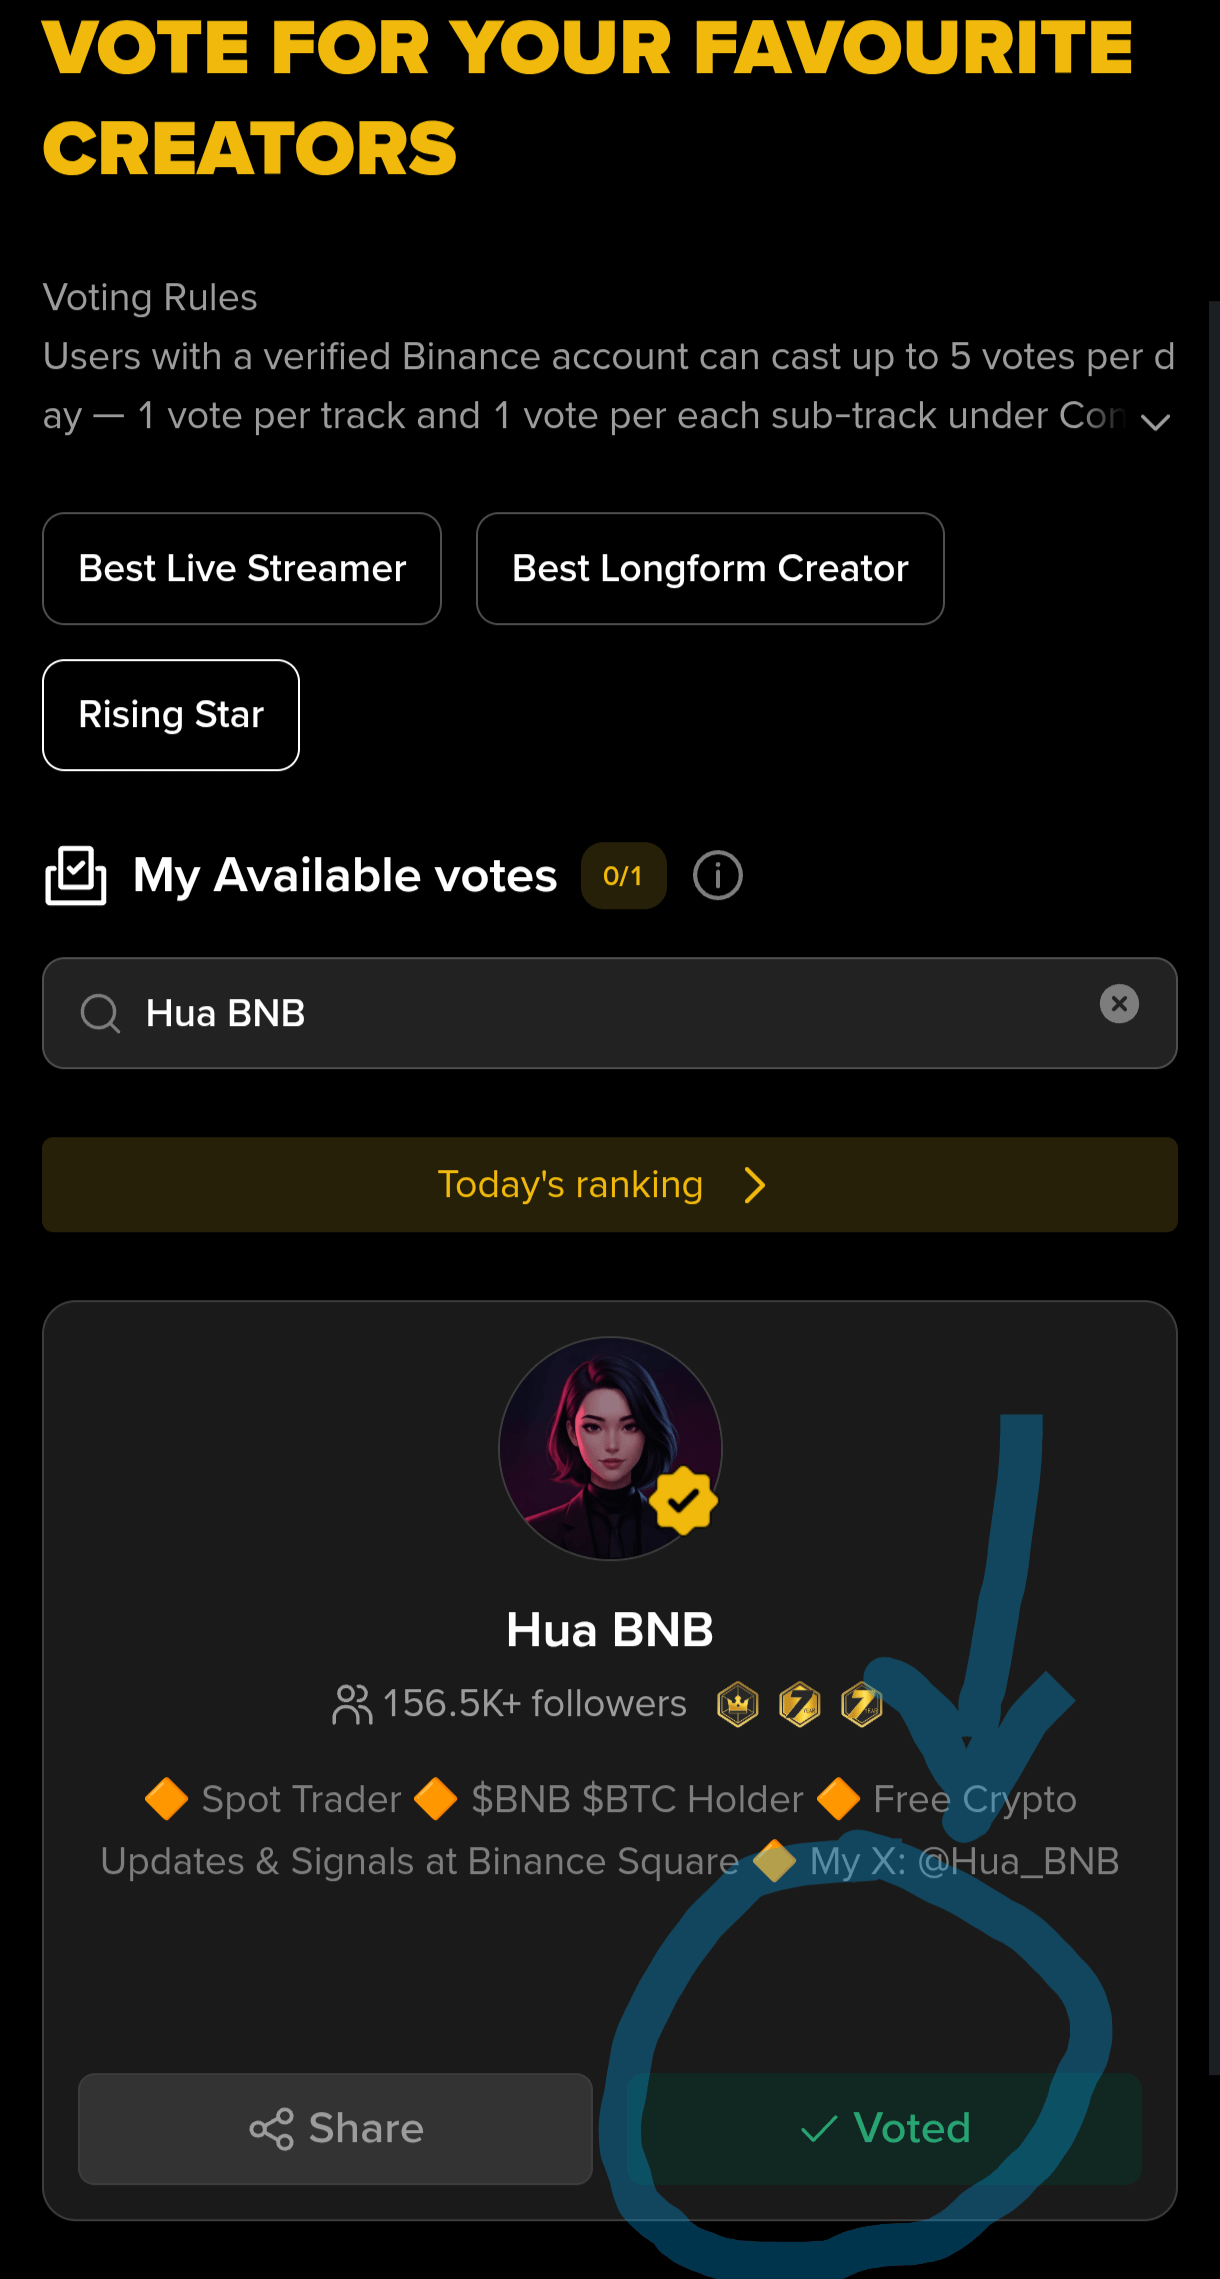
1️⃣ VOTE HERE ❤️
Show your love and support for our deserving creator @Hua BNB 🔥💛
2️⃣ Drop a ss of your vote in the replies 📸
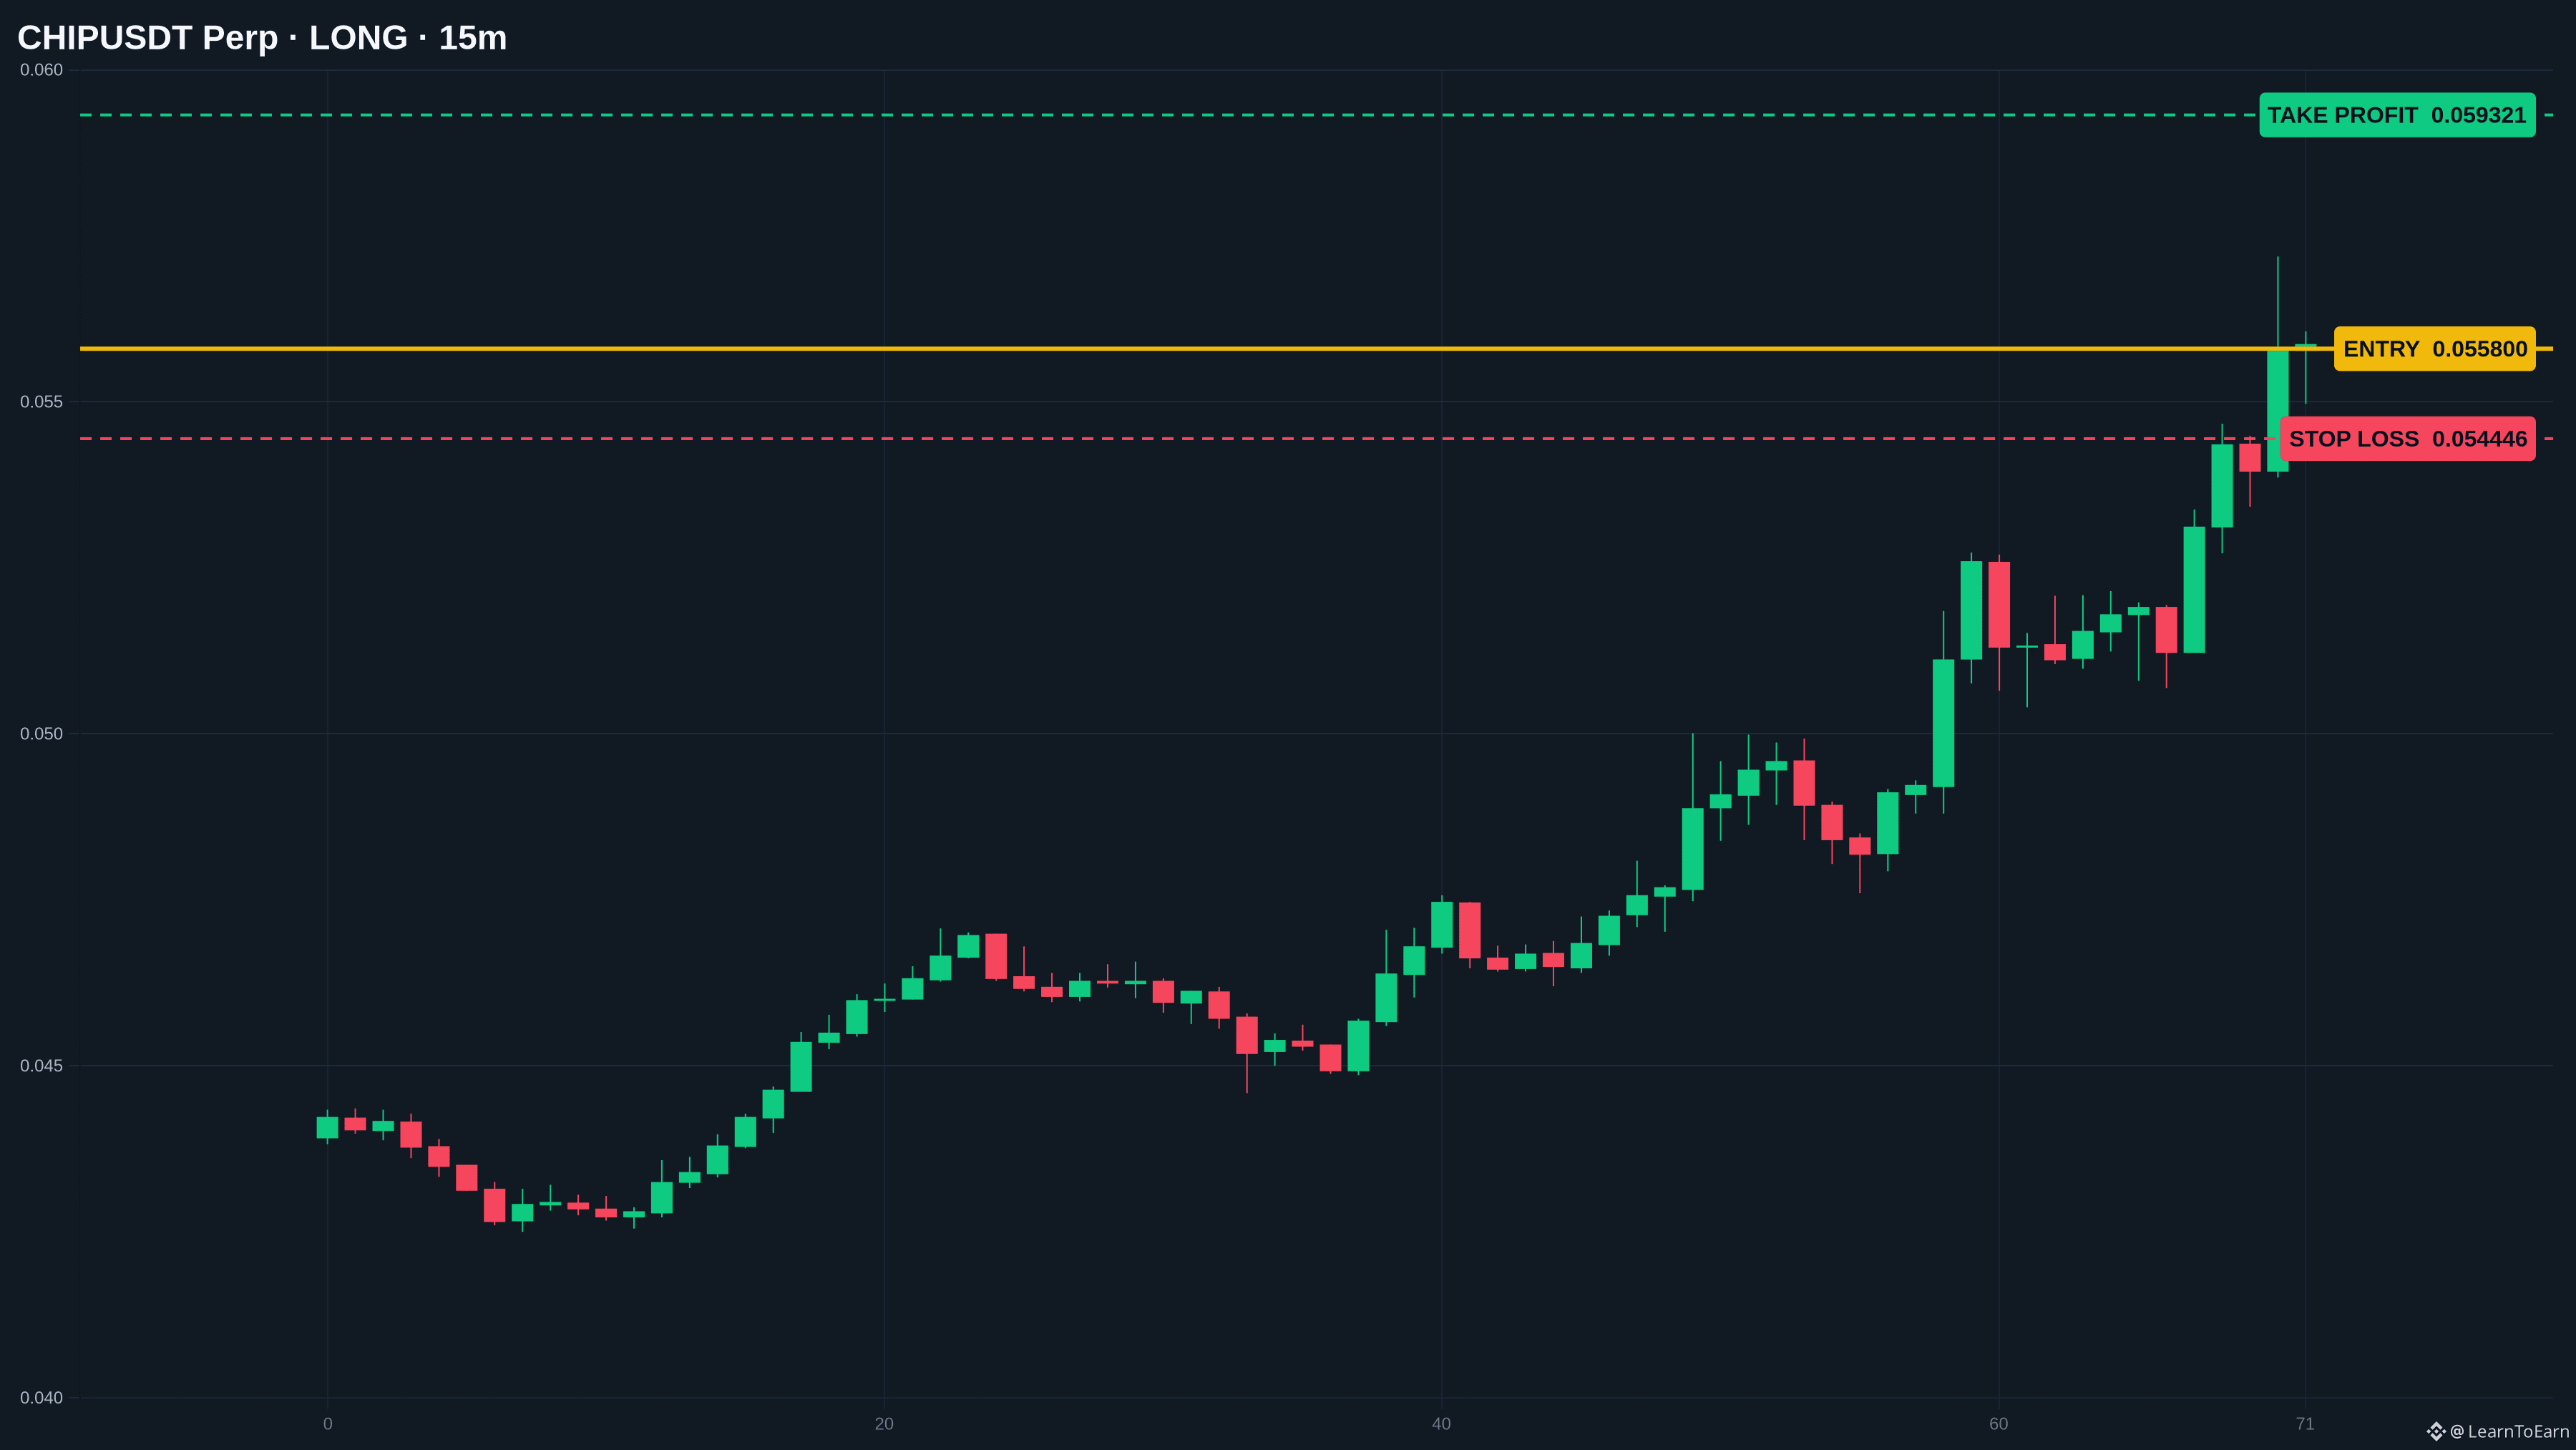
3️⃣ Find the correct answer to the question and get your reward! 🎁
4️⃣ Couldn't find the right answer? No worries! I'll reply to your ss comment with the correct answer so you can still get your Red Packet. ❤️
🔥 DAY 8 IS LIVE! Follow the steps, support our creator, and don't miss your chance to grab a Red Packet! 🎁🚀💛
Another day, another chance to grab a little reward! ❤️ Don't miss out! 👀
Here's how to get your Red Packet 👇
1️⃣ VOTE HERE ❤️
Show your love and support for our deserving creator @Hua BNB 🔥💛
2️⃣ Drop a ss of your vote in the replies 📸
3️⃣ Find the correct answer to the question and get your reward! 🎁
4️⃣ Couldn't find the right answer? No worries! I'll reply to your ss comment with the correct answer so you can still get your Red Packet. ❤️
🔥 DAY 8 IS LIVE! Follow the steps, support our creator, and don't miss your chance to grab a Red Packet! 🎁🚀💛
LearnToEarn
·
--
🎁 DAY 8 OF RED PACKETS IS HERE! 🎁🔥
Another day, another chance to grab a little reward! ❤️ Don't miss out! 👀
Here's how to get your Red Packet 👇
1️⃣ VOTE HERE ❤️
Show your love and support for our deserving creator @Hua BNB 🔥💛
2️⃣ Drop a ss of your vote in the replies 📸
3️⃣ Find the correct answer to the question and get your reward! 🎁
4️⃣ Couldn't find the right answer? No worries! I'll reply to your ss comment with the correct answer so you can still get your Red Packet. ❤️
🔥 DAY 8 IS LIVE! Follow the steps, support our creator, and don't miss your chance to grab a Red Packet! 🎁🚀💛
Another day, another chance to grab a little reward! ❤️ Don't miss out! 👀
Here's how to get your Red Packet 👇
1️⃣ VOTE HERE ❤️
Show your love and support for our deserving creator @Hua BNB 🔥💛
2️⃣ Drop a ss of your vote in the replies 📸
3️⃣ Find the correct answer to the question and get your reward! 🎁
4️⃣ Couldn't find the right answer? No worries! I'll reply to your ss comment with the correct answer so you can still get your Red Packet. ❤️
🔥 DAY 8 IS LIVE! Follow the steps, support our creator, and don't miss your chance to grab a Red Packet! 🎁🚀💛
LearnToEarn
·
--
🎁 DAY 8 OF RED PACKETS IS HERE! 🎁🔥
Another day, another chance to grab a little reward! ❤️ Don't miss out! 👀
Here's how to get your Red Packet 👇
1️⃣ VOTE HERE ❤️
Show your love and support for our deserving creator @Hua BNB 🔥💛
2️⃣ Drop a ss of your vote in the replies 📸
3️⃣ Find the correct answer to the question and get your reward! 🎁
4️⃣ Couldn't find the right answer? No worries! I'll reply to your ss comment with the correct answer so you can still get your Red Packet. ❤️
🔥 DAY 8 IS LIVE! Follow the steps, support our creator, and don't miss your chance to grab a Red Packet! 🎁🚀💛
Another day, another chance to grab a little reward! ❤️ Don't miss out! 👀
Here's how to get your Red Packet 👇
1️⃣ VOTE HERE ❤️
Show your love and support for our deserving creator @Hua BNB 🔥💛
2️⃣ Drop a ss of your vote in the replies 📸
3️⃣ Find the correct answer to the question and get your reward! 🎁
4️⃣ Couldn't find the right answer? No worries! I'll reply to your ss comment with the correct answer so you can still get your Red Packet. ❤️
🔥 DAY 8 IS LIVE! Follow the steps, support our creator, and don't miss your chance to grab a Red Packet! 🎁🚀💛
LearnToEarn
·
--
🎁 DAY 8 OF RED PACKETS IS HERE! 🎁🔥
Another day, another chance to grab a little reward! ❤️ Don't miss out! 👀
Here's how to get your Red Packet 👇
1️⃣ VOTE HERE ❤️
Show your love and support for our deserving creator @Hua BNB 🔥💛
2️⃣ Drop a ss of your vote in the replies 📸
3️⃣ Find the correct answer to the question and get your reward! 🎁
4️⃣ Couldn't find the right answer? No worries! I'll reply to your ss comment with the correct answer so you can still get your Red Packet. ❤️
🔥 DAY 8 IS LIVE! Follow the steps, support our creator, and don't miss your chance to grab a Red Packet! 🎁🚀💛
Another day, another chance to grab a little reward! ❤️ Don't miss out! 👀
Here's how to get your Red Packet 👇
1️⃣ VOTE HERE ❤️
Show your love and support for our deserving creator @Hua BNB 🔥💛
2️⃣ Drop a ss of your vote in the replies 📸
3️⃣ Find the correct answer to the question and get your reward! 🎁
4️⃣ Couldn't find the right answer? No worries! I'll reply to your ss comment with the correct answer so you can still get your Red Packet. ❤️
🔥 DAY 8 IS LIVE! Follow the steps, support our creator, and don't miss your chance to grab a Red Packet! 🎁🚀💛
LearnToEarn
·
--
🎁 DAY 8 OF RED PACKETS IS HERE! 🎁🔥
Another day, another chance to grab a little reward! ❤️ Don't miss out! 👀
Here's how to get your Red Packet 👇
1️⃣ VOTE HERE ❤️
Show your love and support for our deserving creator @Hua BNB 🔥💛
2️⃣ Drop a ss of your vote in the replies 📸
3️⃣ Find the correct answer to the question and get your reward! 🎁
4️⃣ Couldn't find the right answer? No worries! I'll reply to your ss comment with the correct answer so you can still get your Red Packet. ❤️
🔥 DAY 8 IS LIVE! Follow the steps, support our creator, and don't miss your chance to grab a Red Packet! 🎁🚀💛
Another day, another chance to grab a little reward! ❤️ Don't miss out! 👀
Here's how to get your Red Packet 👇
1️⃣ VOTE HERE ❤️
Show your love and support for our deserving creator @Hua BNB 🔥💛
2️⃣ Drop a ss of your vote in the replies 📸
3️⃣ Find the correct answer to the question and get your reward! 🎁
4️⃣ Couldn't find the right answer? No worries! I'll reply to your ss comment with the correct answer so you can still get your Red Packet. ❤️
🔥 DAY 8 IS LIVE! Follow the steps, support our creator, and don't miss your chance to grab a Red Packet! 🎁🚀💛
Log in to explore more content