

Brief content
MetaMask is a crypto wallet that connects to the Ethereum network by default. You can find the extension and mobile app on the official MetaMask website.
To connect to networks like Arbitrum, you need to add blockchain information to MetaMask. This includes the chain ID, configured RPC URL, and network name. To add an Arbitrum token, you also need to import the correct token address.
Adding new blockchains to MetaMask is an important skill that also applies to other EVM networks such as BNB Smart Chain (formerly Binance Smart Chain) and Polygon.
Introduction
To use the Arbitrum blockchain, you will need a compatible crypto wallet such as MetaMask. However, MetaMask does not have Arbitrum in its default blockchain list. Setting up your wallet to connect to Arbitrum is a simple process that can be completed quickly.

Installing and configuring MetaMask
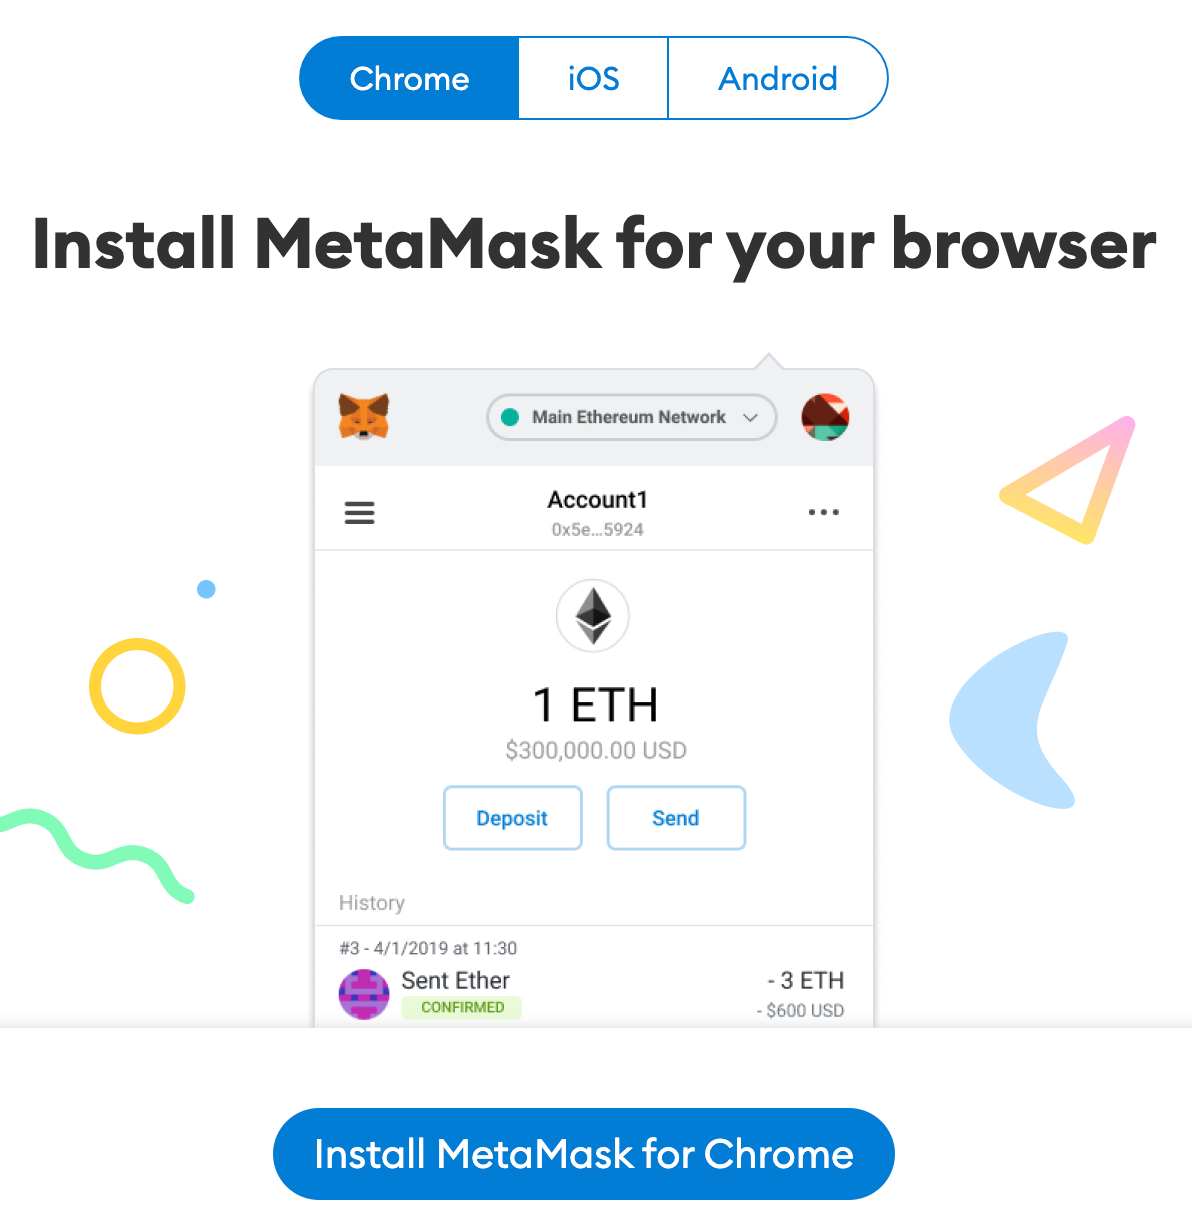
1. MetaMask is available for Chrome, iOS or Android and can be downloaded from the MetaMask website. Be careful and download extensions only from the official website.
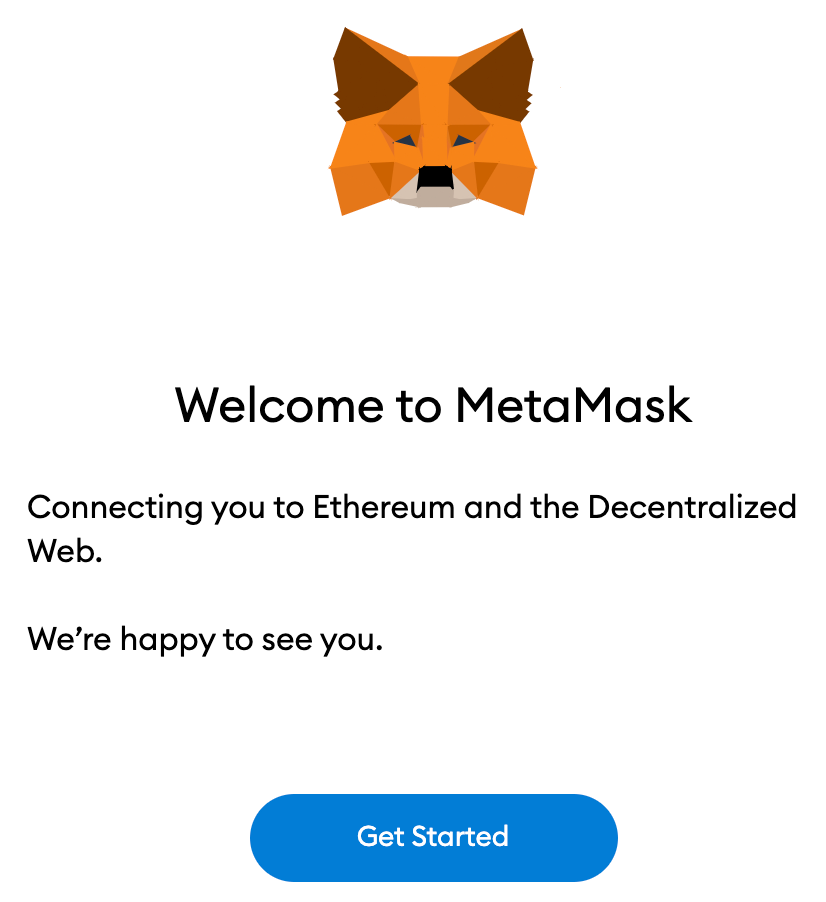
2. After installing the extension, you will see the MetaMask welcome page. Click [Get Started] to get started.
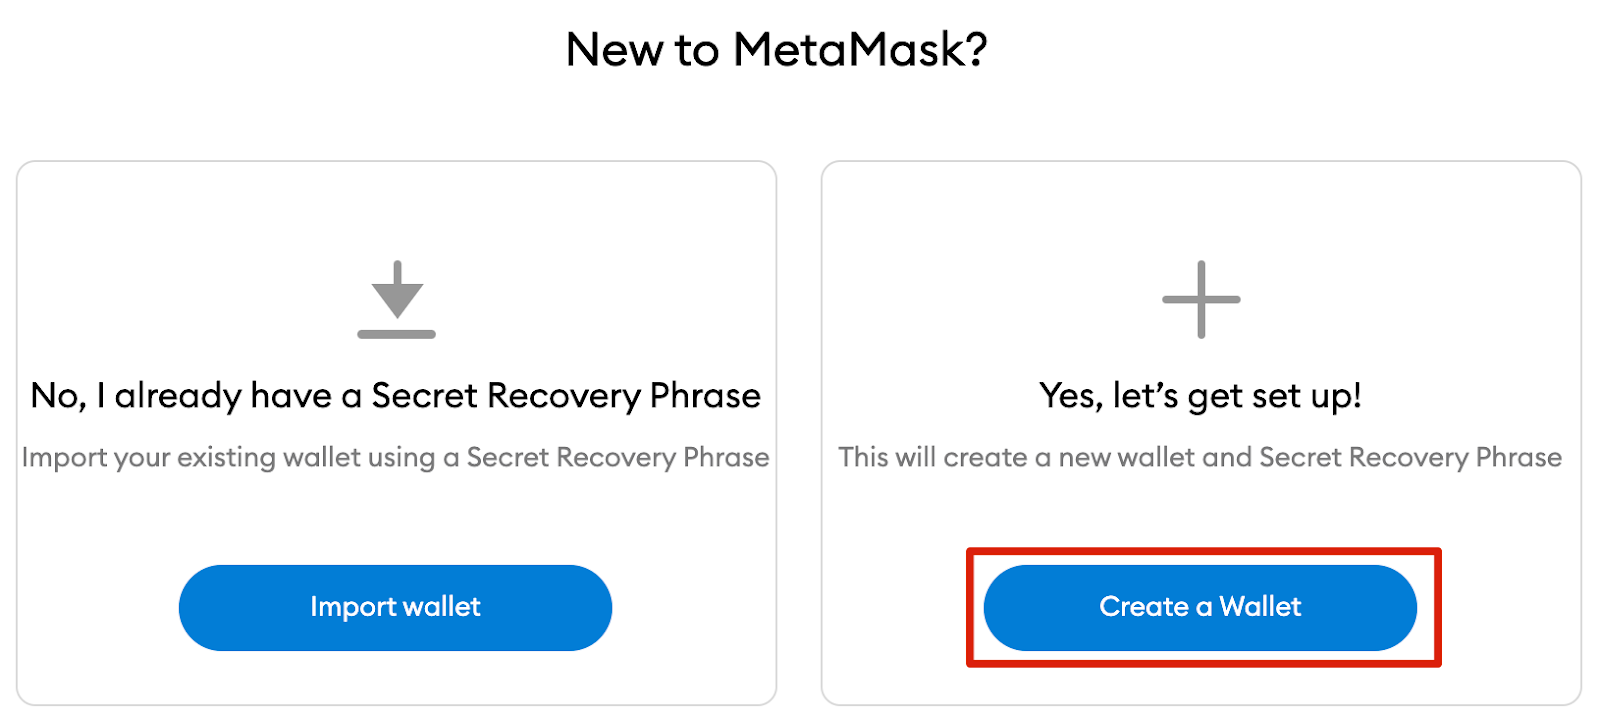
3. If you want to create a new wallet, click the [Create a Wallet] button. You can also import an existing wallet using its seed phrase and the [Import wallet] option.
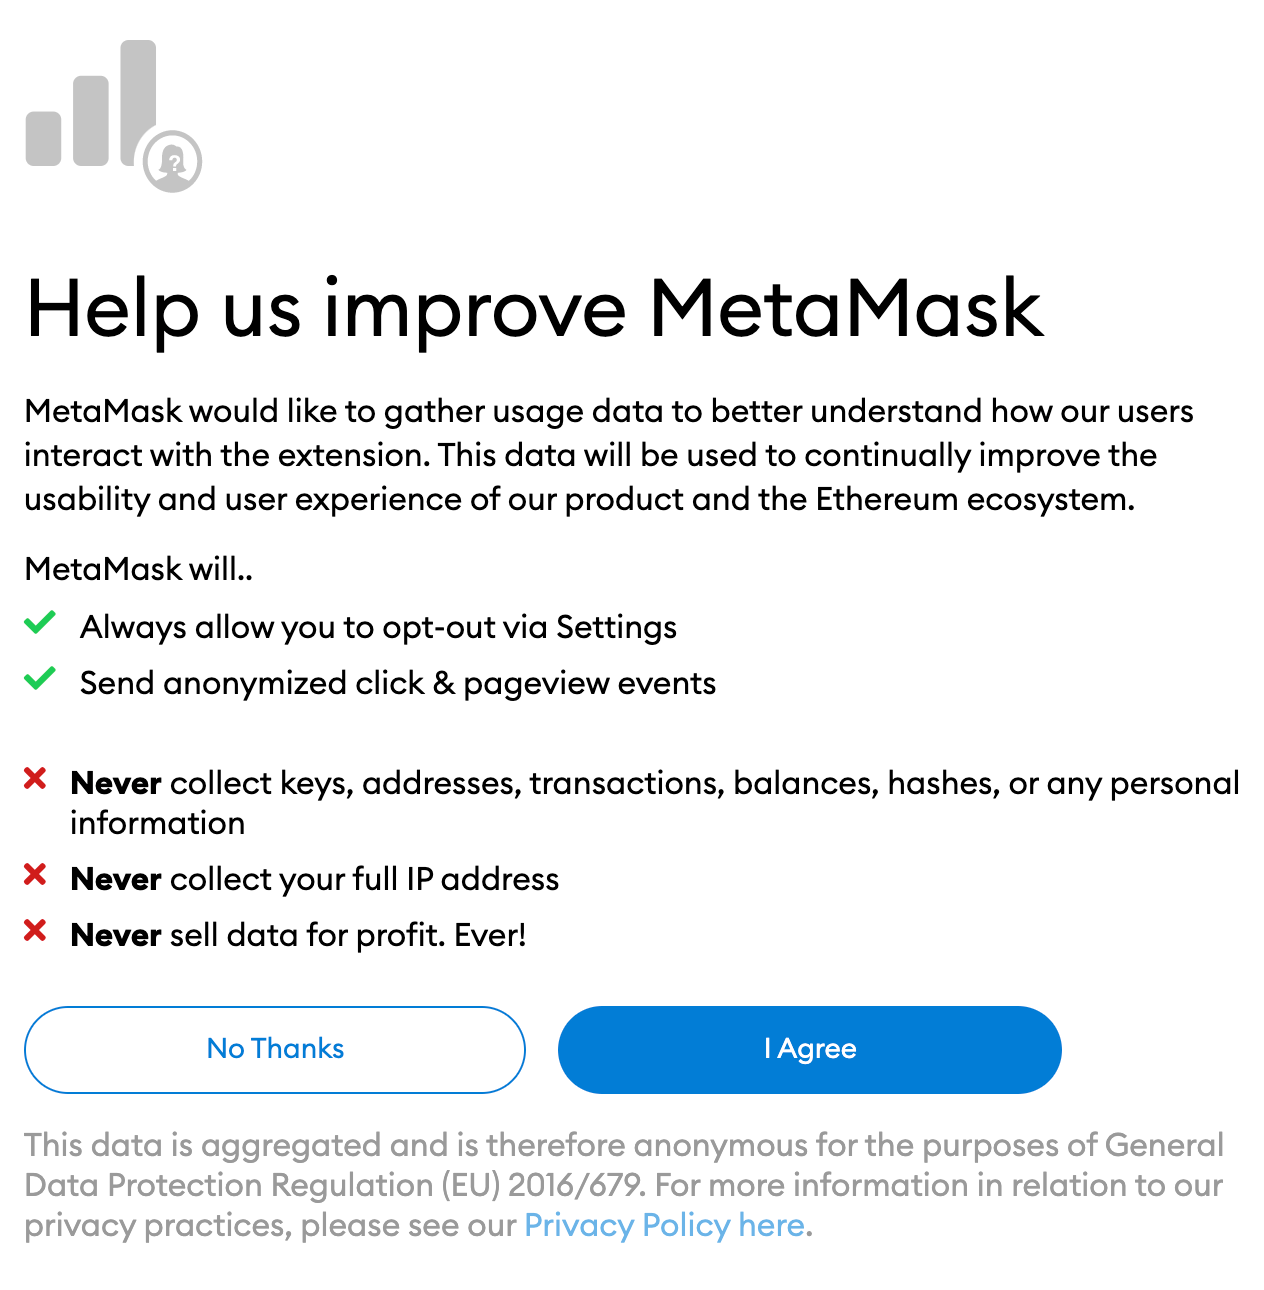
4. If you want to share anonymous data about your use of Metamask, you can do so at this stage. Acceptance or rejection will not affect your use of the wallet.
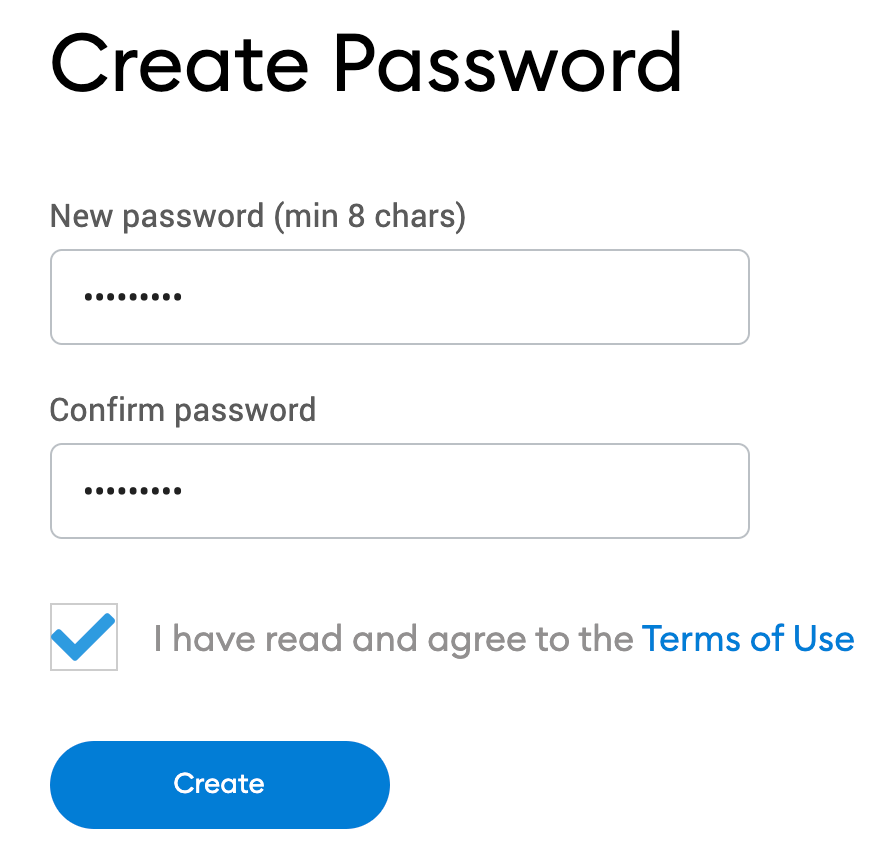
5. Create a secure password for your wallet. Note that this is not your seed phrase. A password simply prevents people from accessing your wallet through your device. If you forget your password, you can always recover your cryptocurrency with your seed phrase.
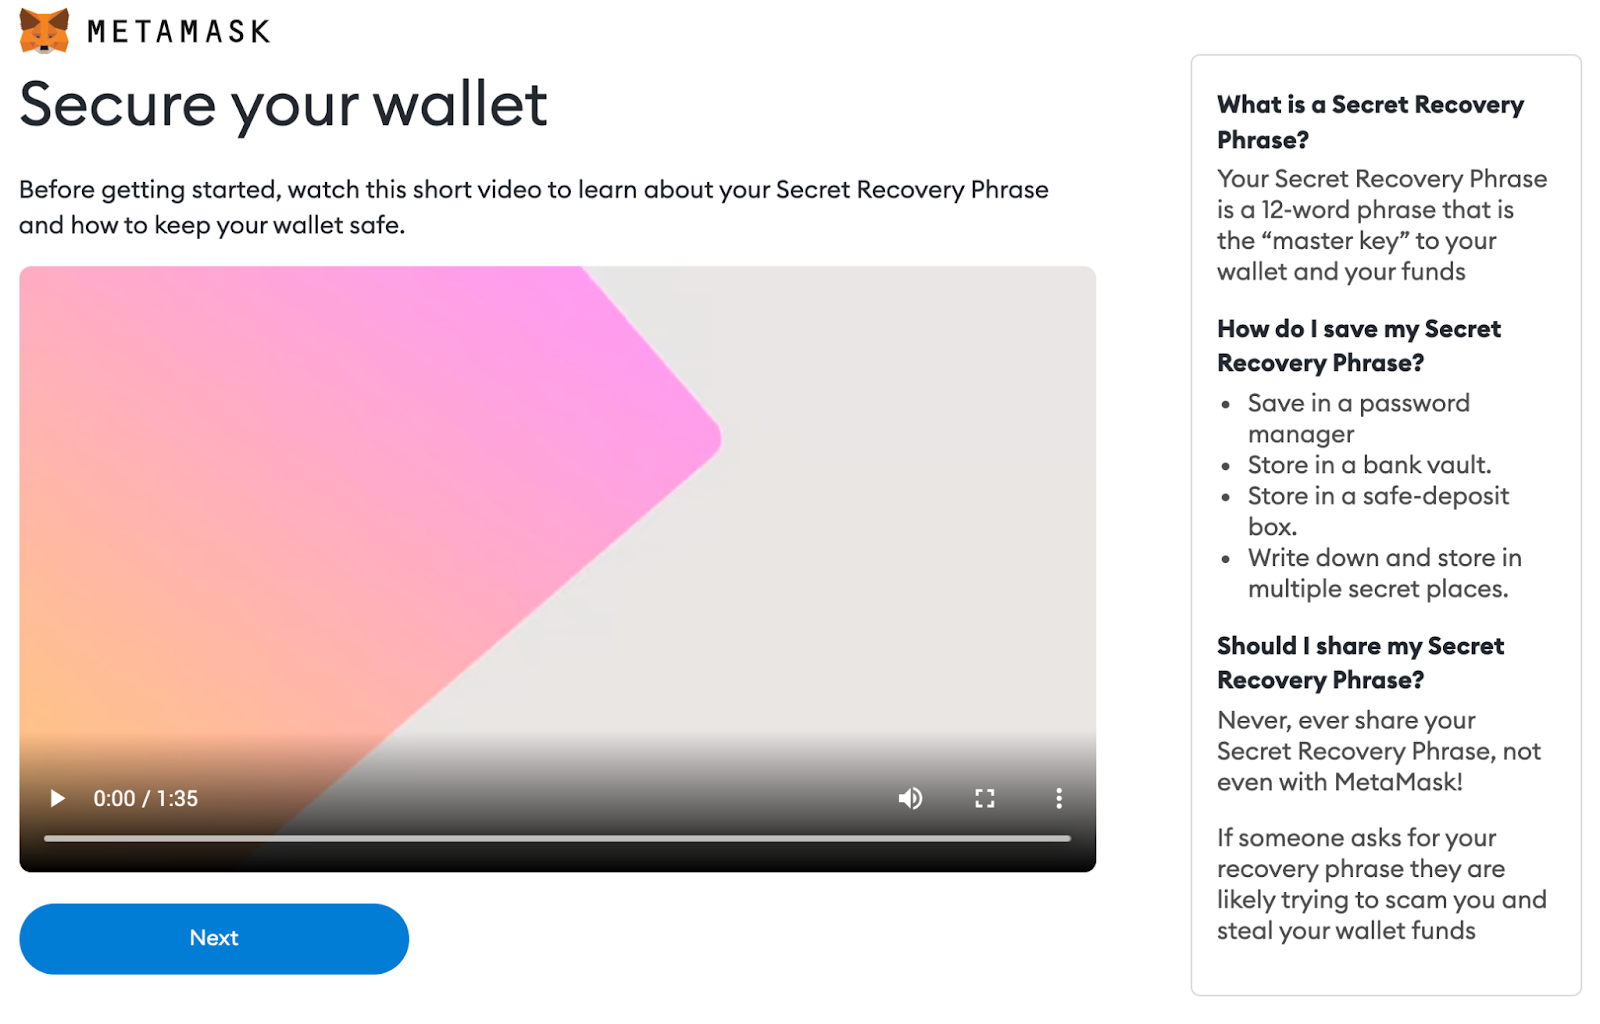
6. After choosing a password, MetaMask will provide some useful information about your wallet's seed phrase. Read it carefully if you are not familiar with how crypto wallets work.
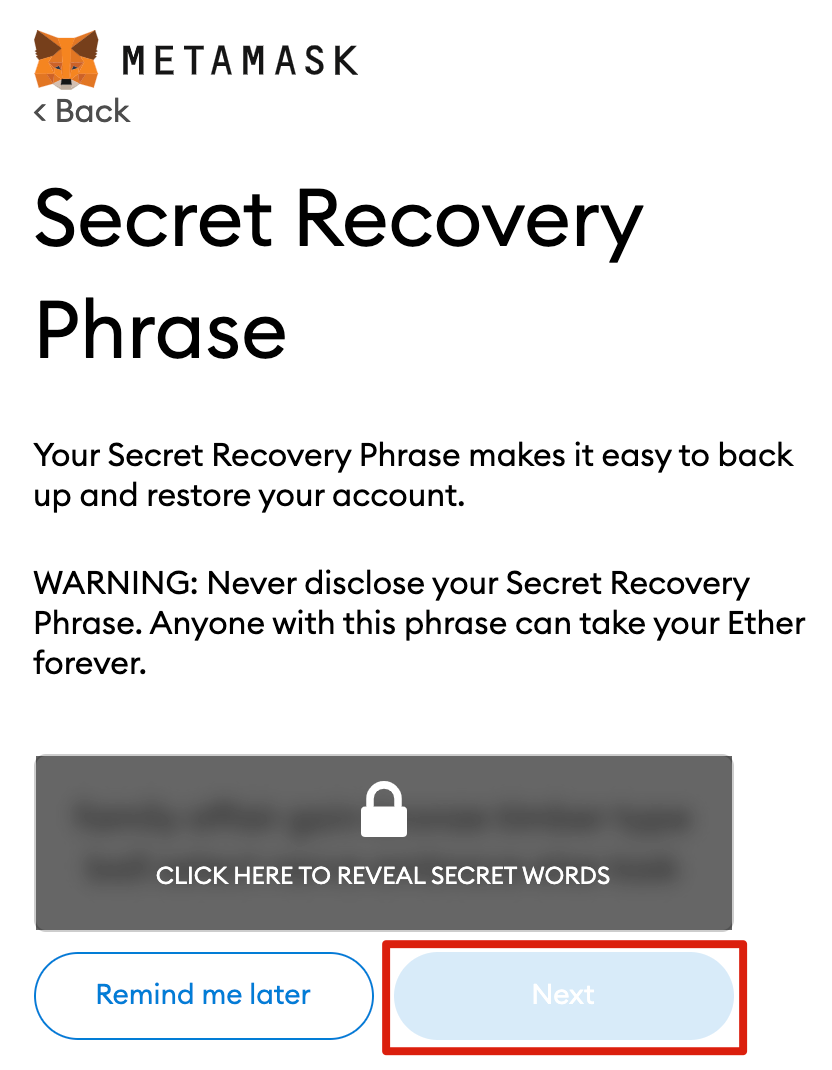
7. Now you will see the seed phrase. Click on the lock to view the phrase and write the words in the correct order. Keep the phrase in a safe place (preferably offline) and do not share it with anyone. This string of words is the final backup of your wallet and its contents. Click [Next] to continue.
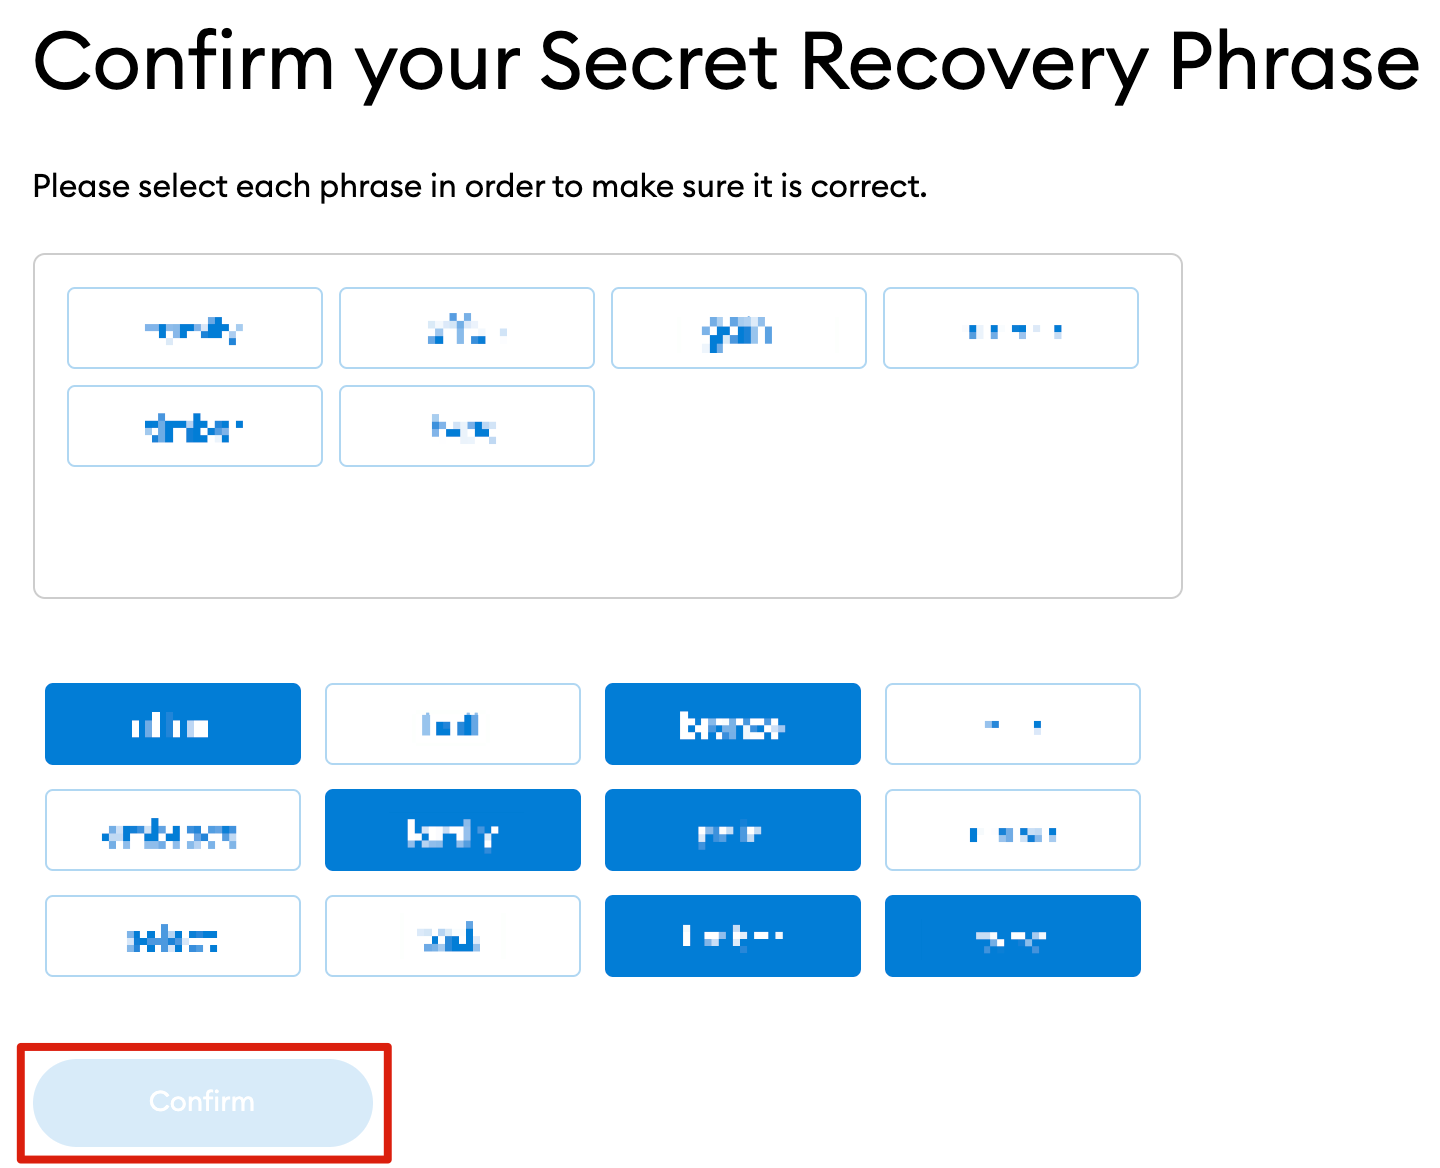
8. You will need to repeat the seed phrase, choosing the words in the correct order. Click [Confirm] when finished.
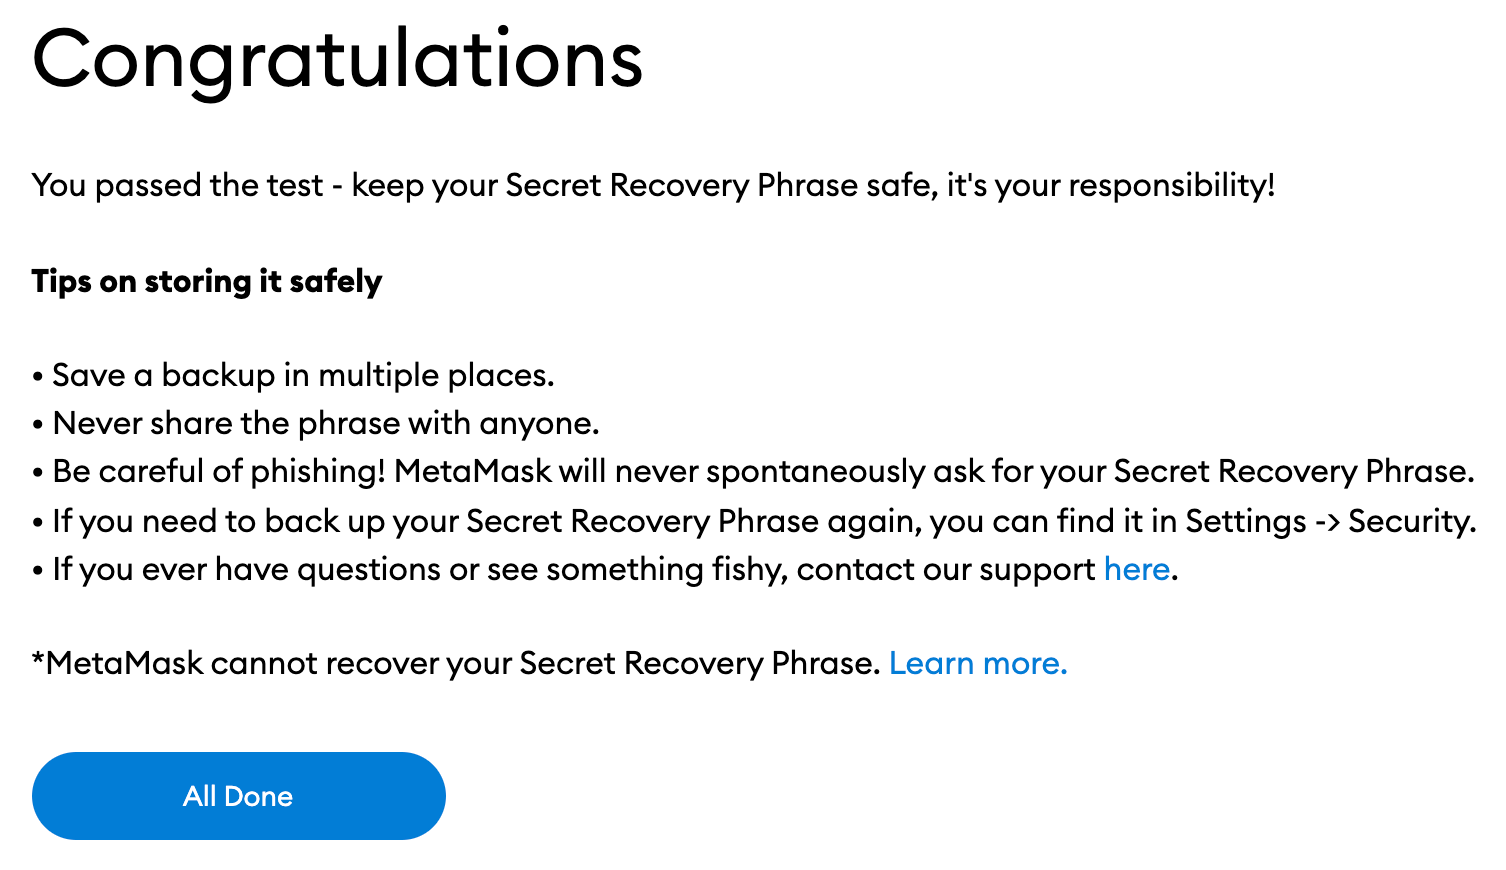
9. Now your MetaMask wallet is ready to use. Click [All Done] to view your new wallet.
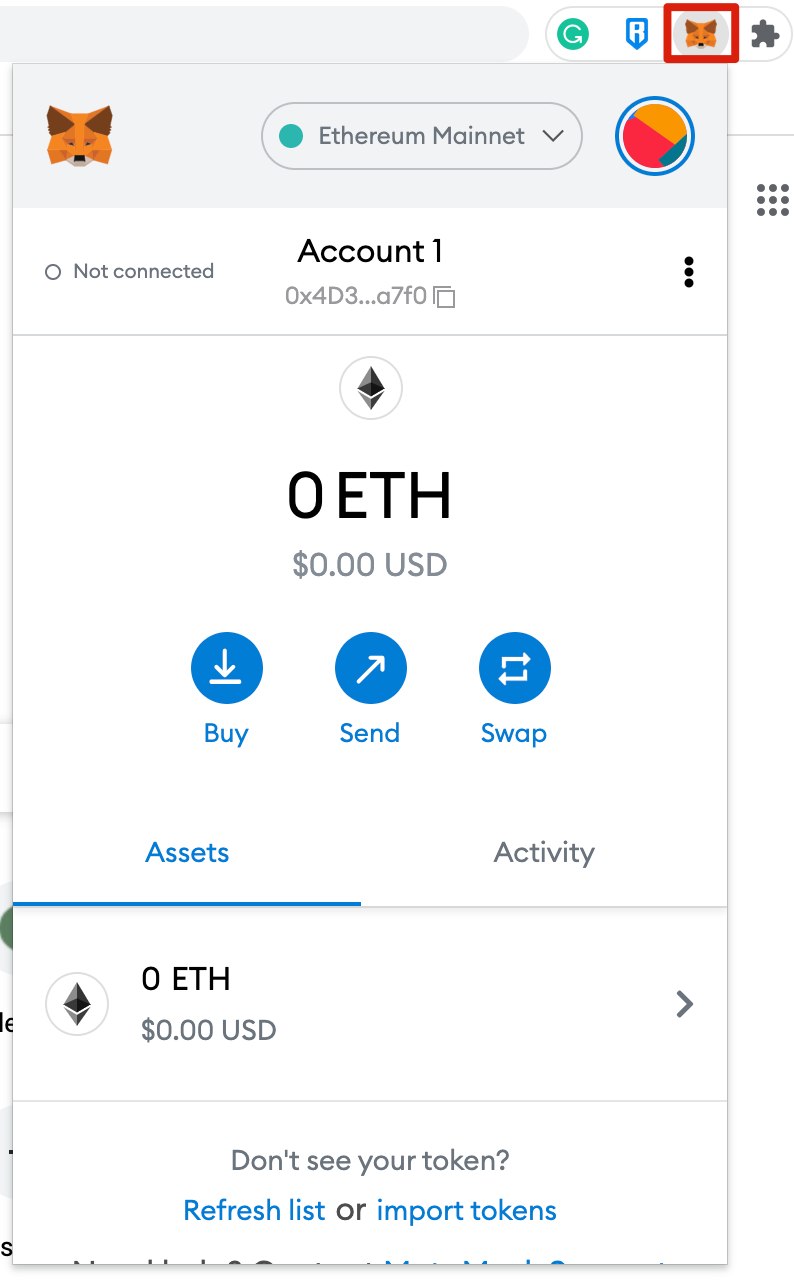
10. You can pin Metamask in Chrome by clicking on the puzzle icon and selecting it. Initially, MetaMask will only be connected to Ethereum. Next, we will look at how to connect Metamask to Arbitrum.
Wallet settings
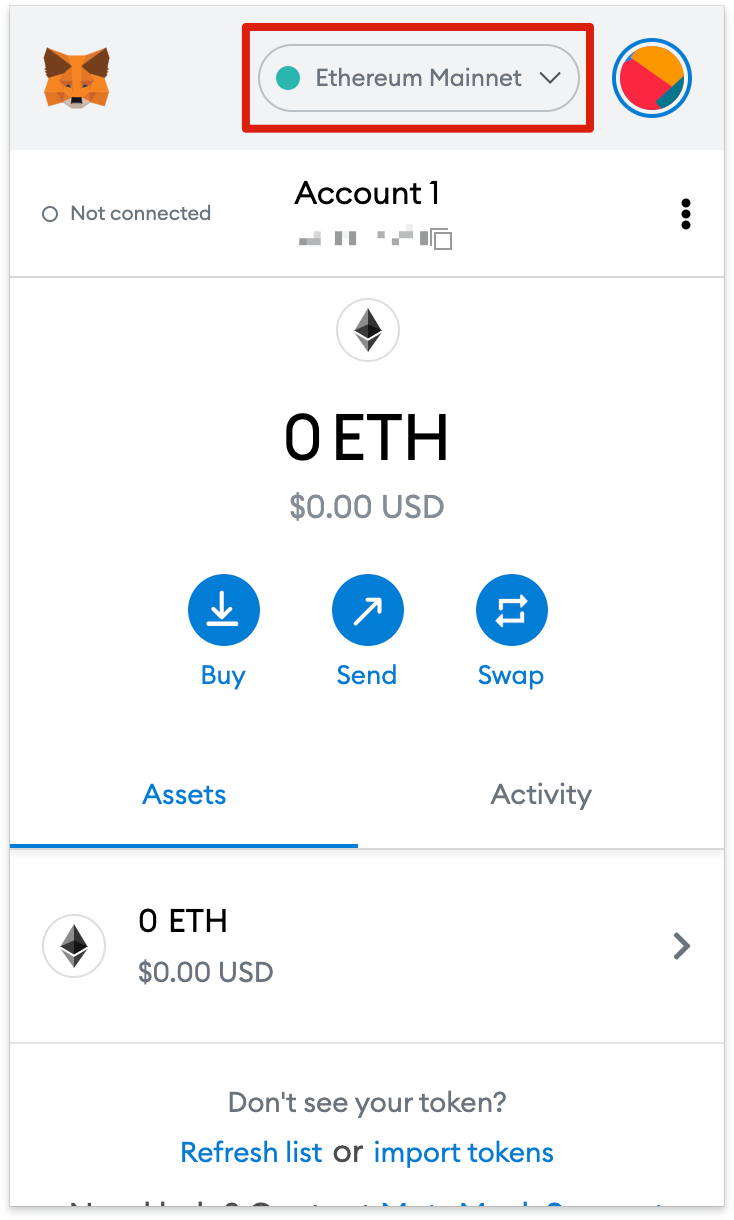
1. Adding Arbitrum functionality to your wallet involves adding some simple network data to Metamask. First, open Metamask and click on the dropdown menu.
2. Now click [Add Network] in the pop-up window.
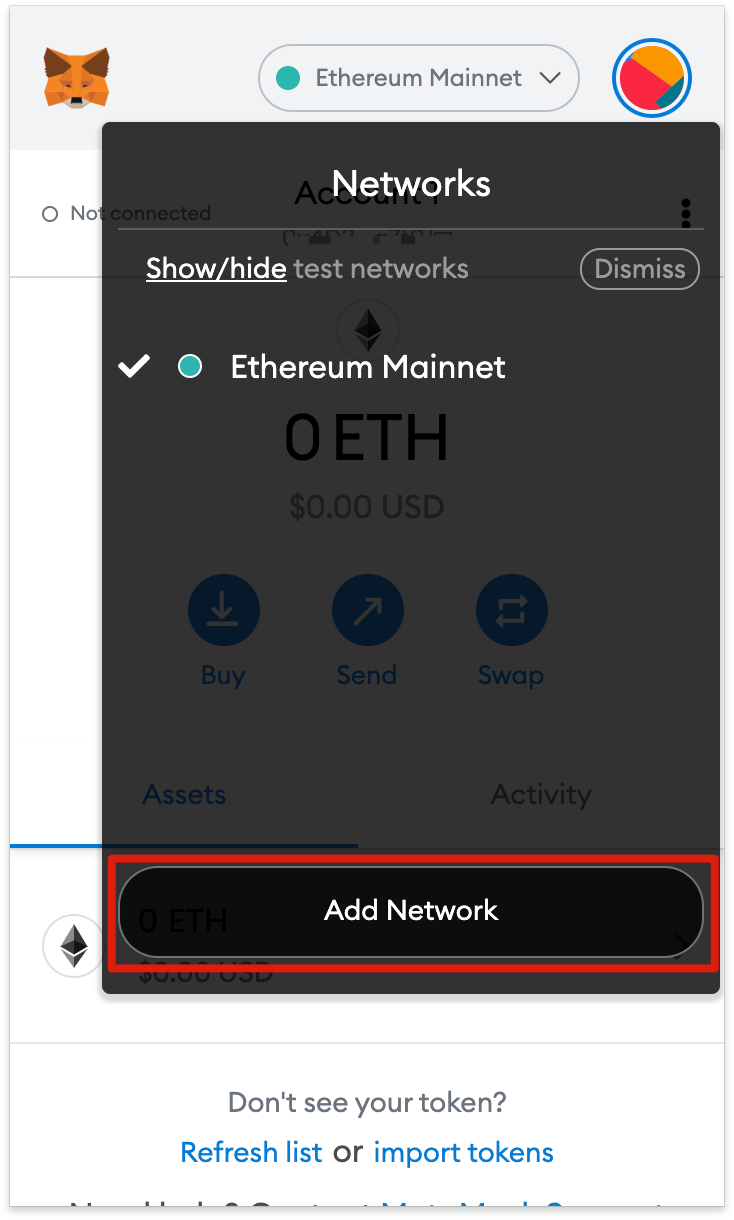
3. You will need to add the following data on the [Add a network] page. Click [Save] when finished.

You are now successfully connected to the Arbitrum network.
Adding Arbitrum tokens to MetaMask
For Arbitrum tokens to appear in the wallet interface, you need to add them manually. Please note that your wallet will still receive tokens that were not imported, but they will simply not be displayed.
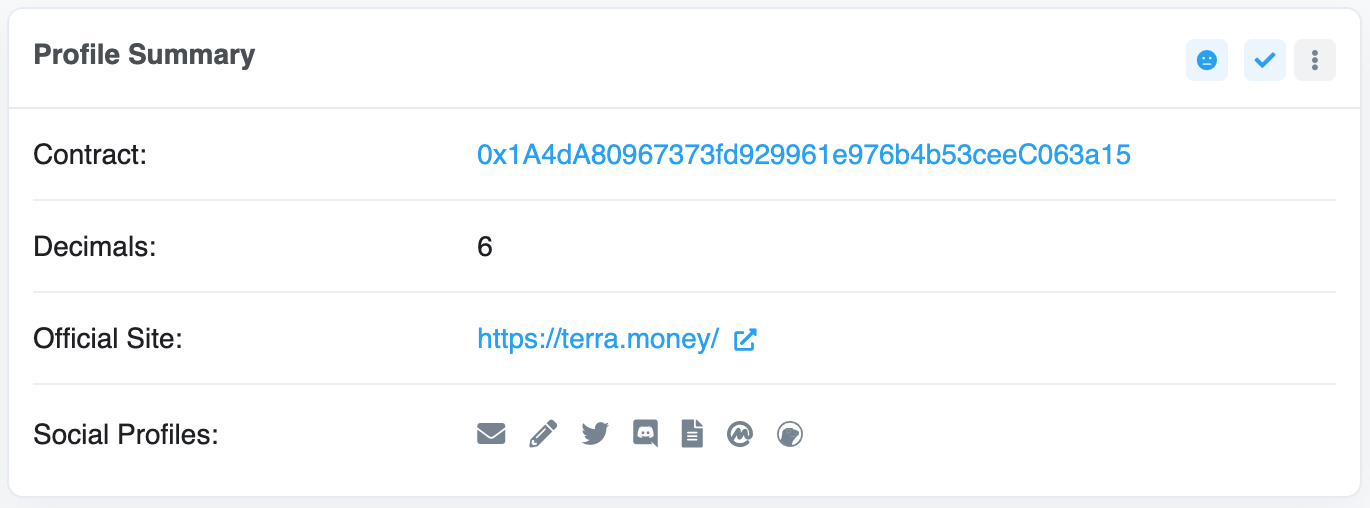
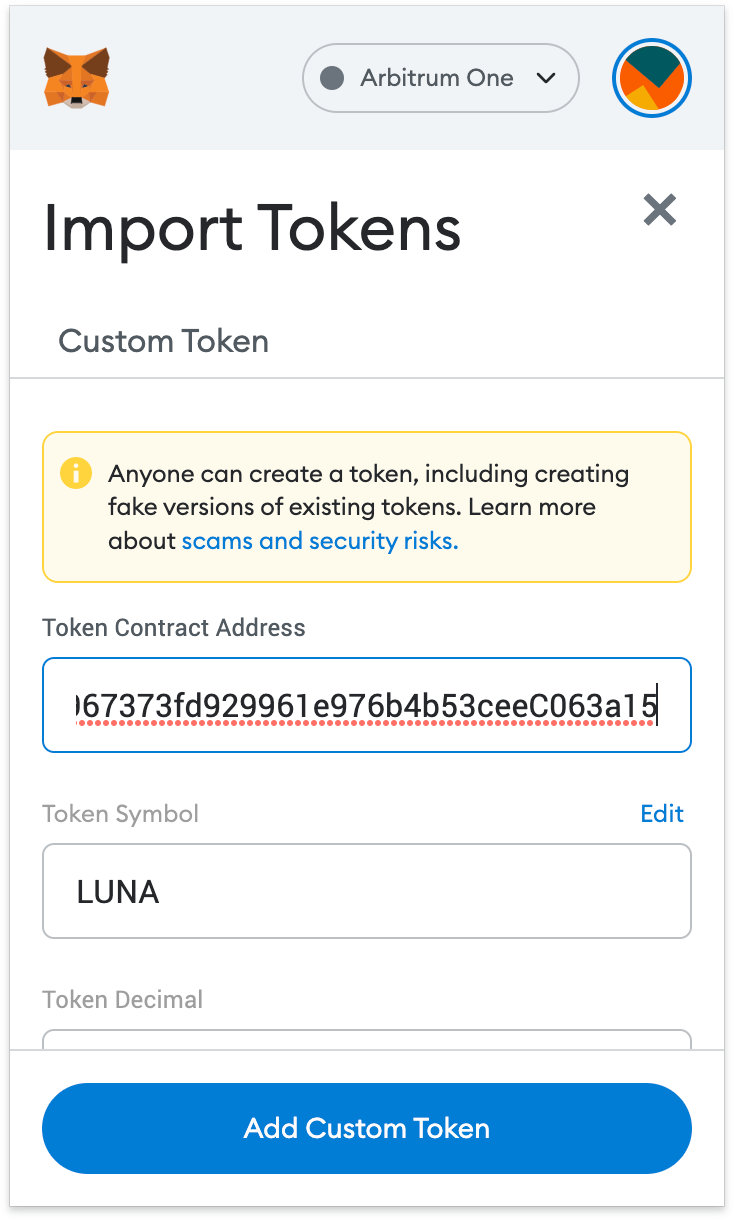
1. First, go to the Arbiscan website and find the token contract and details of the token you want to add. If the token is not on Arbiscan, get the contract address from the project's official website. You should always be aware of the existence of fake contracts created by fraudsters.
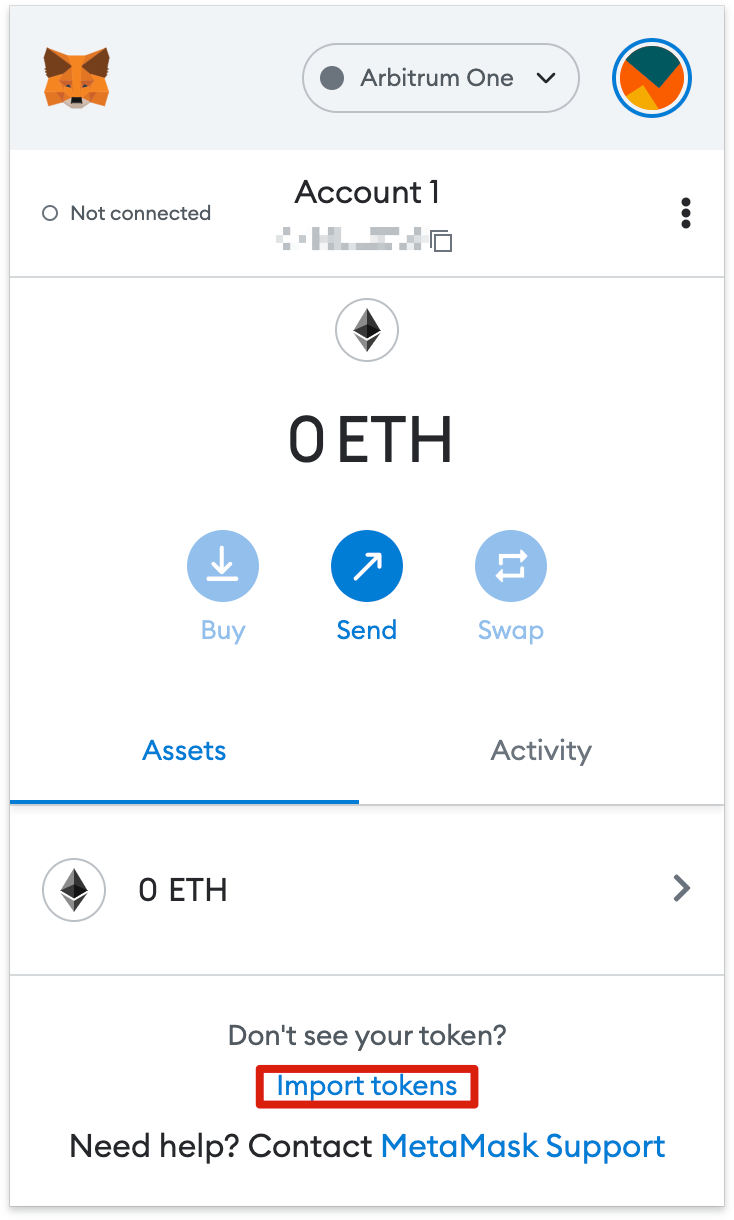
2. Return to MetaMask and click [Import tokens].

3. Insert the token contract address and MetaMask will fill in the rest. If not, add them manually. Click [Add Custom Token] to finish.
4. Click [Import Tokens].
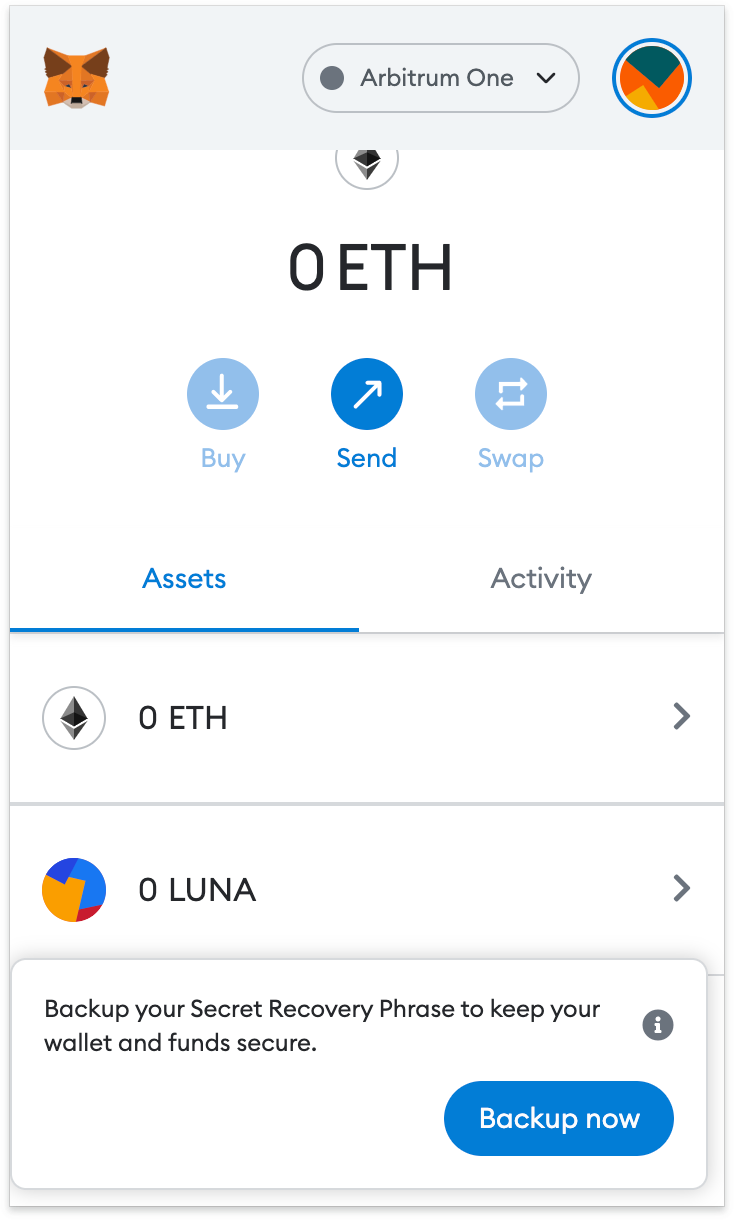
5. Your wallet will now display the balance of the newly added token.

Final thoughts
After setting up the Arbitrum mainnet in MetaMask, you can start sending cryptocurrency, collecting NFTs and using DeFi DApp smart contracts. You can even exchange tokens inside the extension. However, make sure you have ETH in your wallet to pay the transaction fees. You can get them by using the Arbitrum bridge for your ETH on the Ethereum network.
MetaMask is not only suitable for Ethereum and Arbitrum. The wallet actually supports the entire Ethereum Virtual Machine (EVM) ecosystem, including the BNB Smart Chain. With the skills described in this guide, you can now add more circuits and start using them for their intended purpose.