Standalone TON Connect Mode in the STON.fi Omniston Widget Explained
The STON.fi Omniston Widget can run standalone TON Connect mode by reading your public manifest URL and starting its own wallet layer, so a separate TON Connect package is not required just to ship a swap widget.
🔥 Why this mode exists
- It keeps wallet setup inside the widget instead of your app stack.
- You only host the manifest and mount the Omniston Widget on the page.
- Users still approve connection and swap requests in their own wallet.
🚀 Setup flow that actually works
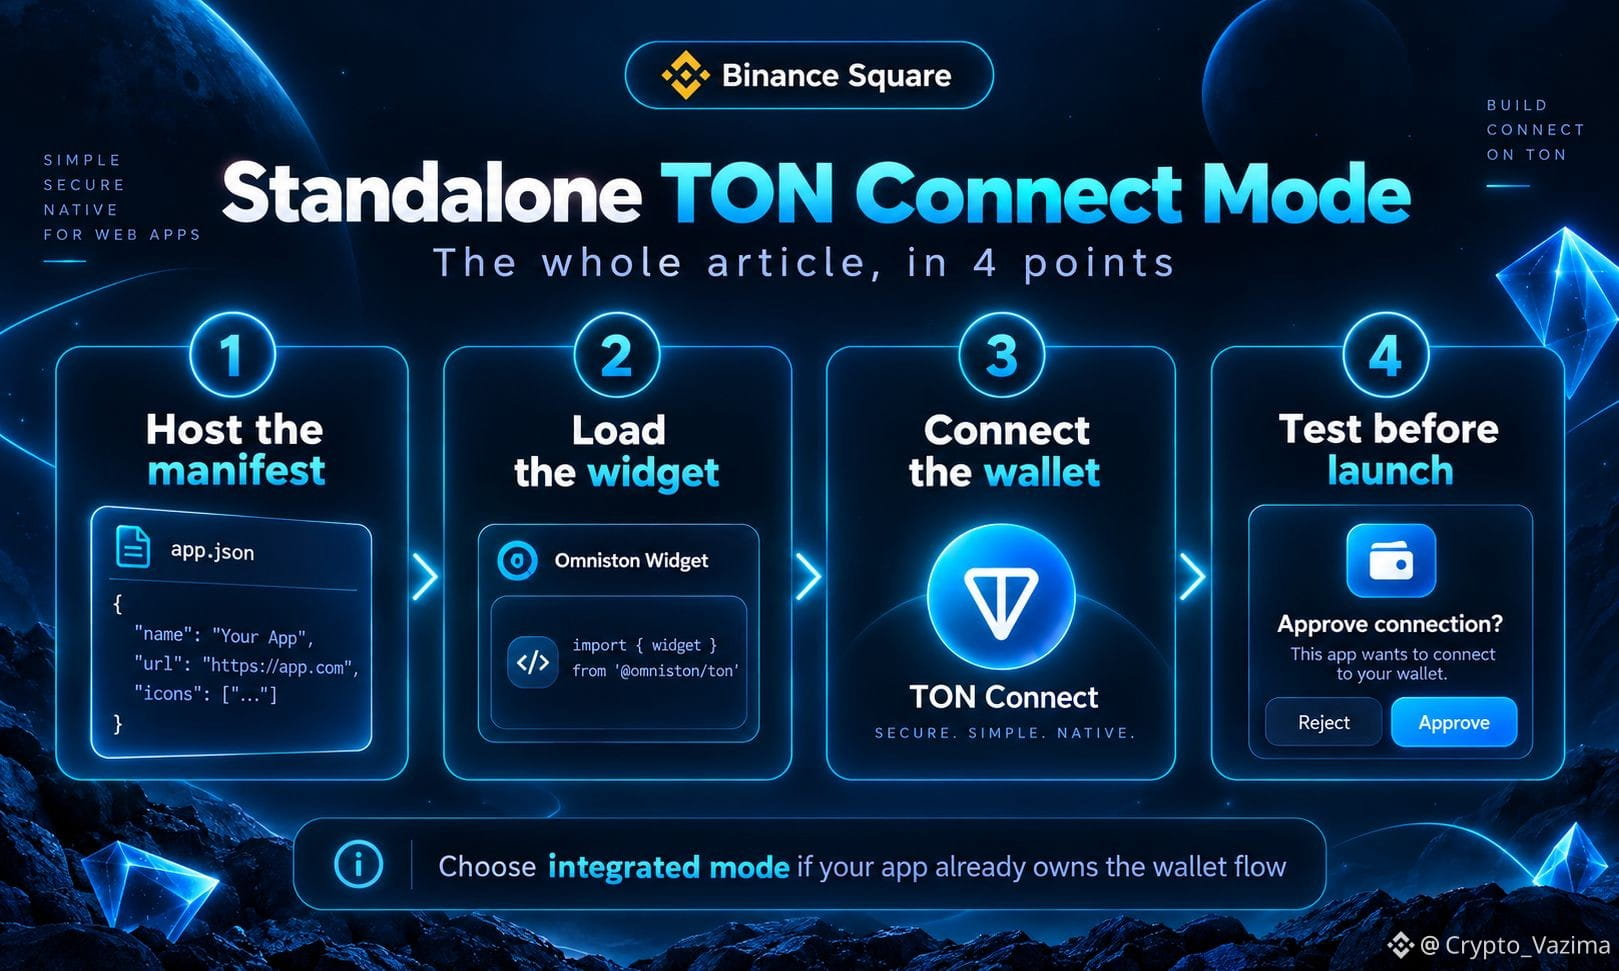
1. Publish tonconnect-manifest.json with url, name and iconUrl on HTTPS.
2. Load OmnistonWidget from the npm loader or widget.ston.fi CDN script.
3. Set tonconnect.type to standalone and pass options.manifestUrl.
4. Call mount on a container element and test connect plus a small swap.
🧠 When to stay standalone
Use standalone mode on landing pages, simple dashboards and lightweight sites where the Omniston Widget is the only feature that needs a TON wallet. The moment your app already has a shared TON Connect instance, STON.fi says to switch to integrated mode.
⚡ Common break points
- The manifest is not public, not JSON, or blocked by CORS or auth.
- The icon URL or app URL inside the manifest is wrong or unreachable.
- Two TON Connect instances fight because standalone was used in a shared wallet app.
My take is straightforward: standalone mode is the cleanest path when the STON.fi Omniston Widget owns the session. Keep the manifest production-ready and do not invent a second wallet layer.
Would you ship the Omniston Widget with standalone TON Connect first? 👇
Comment the first error you hit when connecting a wallet.
Not investment advice - research on your own! 🚀
$GRAM @STONfi DEX
The STON.fi Omniston Widget can run standalone TON Connect mode by reading your public manifest URL and starting its own wallet layer, so a separate TON Connect package is not required just to ship a swap widget.
🔥 Why this mode exists
- It keeps wallet setup inside the widget instead of your app stack.
- You only host the manifest and mount the Omniston Widget on the page.
- Users still approve connection and swap requests in their own wallet.
🚀 Setup flow that actually works
1. Publish tonconnect-manifest.json with url, name and iconUrl on HTTPS.
2. Load OmnistonWidget from the npm loader or widget.ston.fi CDN script.
3. Set tonconnect.type to standalone and pass options.manifestUrl.
4. Call mount on a container element and test connect plus a small swap.
🧠 When to stay standalone
Use standalone mode on landing pages, simple dashboards and lightweight sites where the Omniston Widget is the only feature that needs a TON wallet. The moment your app already has a shared TON Connect instance, STON.fi says to switch to integrated mode.
⚡ Common break points
- The manifest is not public, not JSON, or blocked by CORS or auth.
- The icon URL or app URL inside the manifest is wrong or unreachable.
- Two TON Connect instances fight because standalone was used in a shared wallet app.
My take is straightforward: standalone mode is the cleanest path when the STON.fi Omniston Widget owns the session. Keep the manifest production-ready and do not invent a second wallet layer.
Would you ship the Omniston Widget with standalone TON Connect first? 👇
Comment the first error you hit when connecting a wallet.
Not investment advice - research on your own! 🚀
$GRAM @STONfi DEX