
Résumé
MetaMask is a cryptocurrency wallet application and browser extension that is by default connected to the Ethereum mainnet. You can find the extension on the official MetaMask website, which will direct you to the right place to download it.
To connect to other networks like Polygon, you will need to add some basic blockchain information to MetaMask. This includes a custom RPC URL, channel ID, and network name. To add Polygon tokens, you must import a token address.
Learning how to add a new blockchain to MetaMask is a useful skill that can be used to add other EVM networks like Binance Smart Chain.
Introduction
Interacting with the Polygon blockchain requires a compatible crypto wallet such as MetaMask. However, Polygon is not added to MetaMask as a network by default. Setting up your browser wallet to connect to Polygon is simple and can be done in just a few minutes.
Installation et configuration de MetaMask
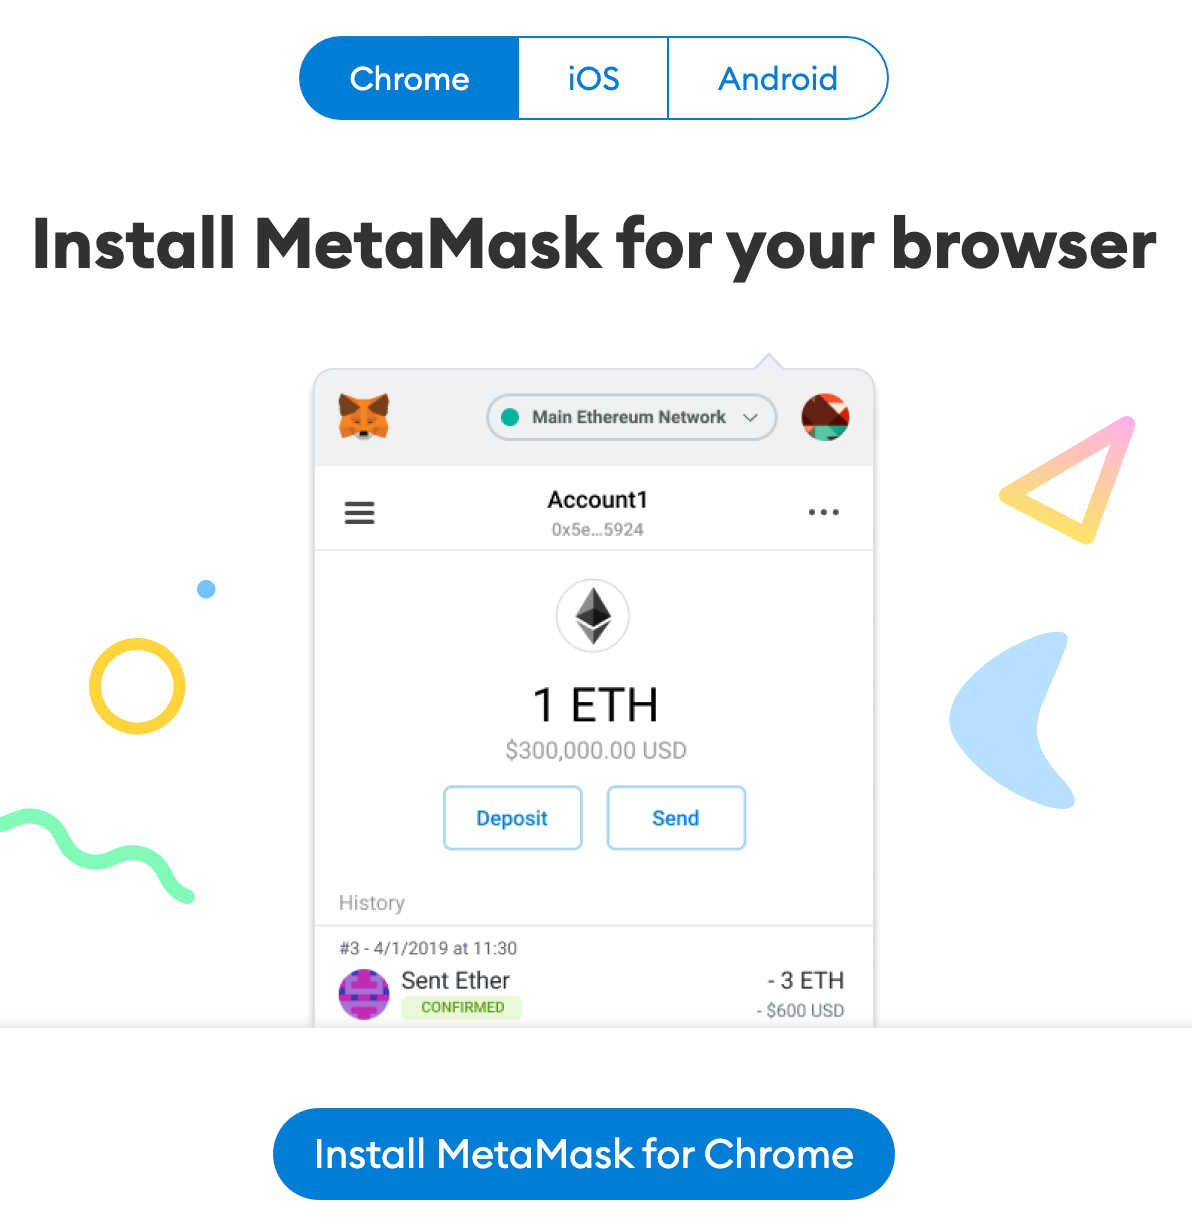
MetaMask can be downloaded and installed on Chrome, iOS or Android via the MetaMask website. Always check if you are using the official website to make sure you are downloading the real MetaMask extension.
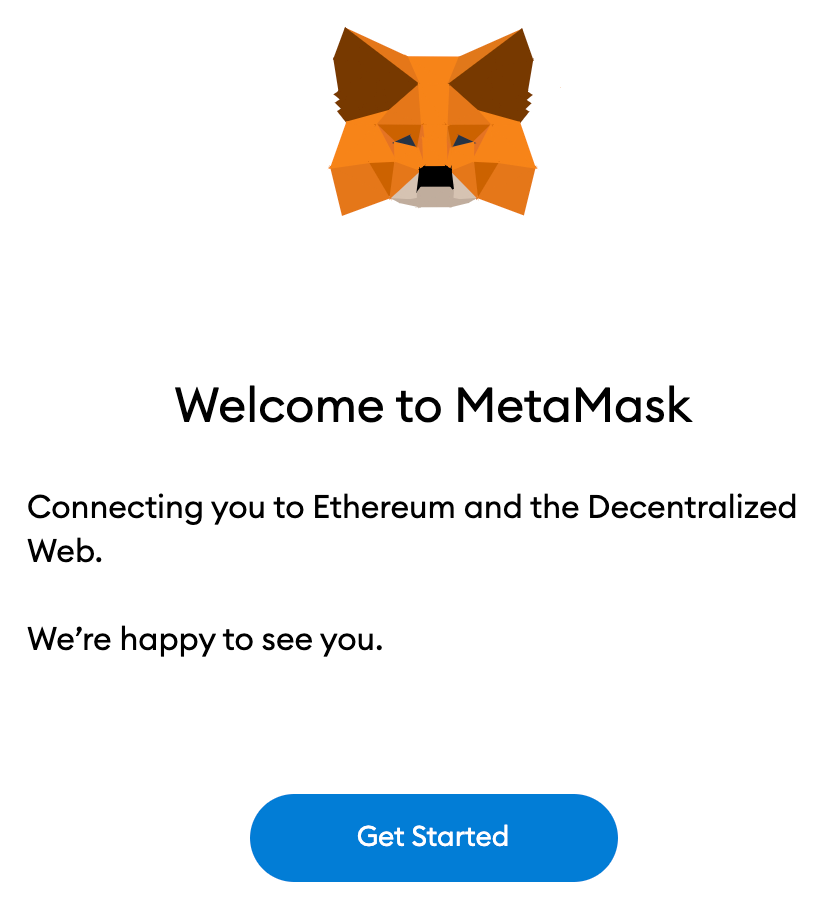
After downloading and installing the extension, you will be greeted by the MetaMask welcome page. Click [Get started] to continue.
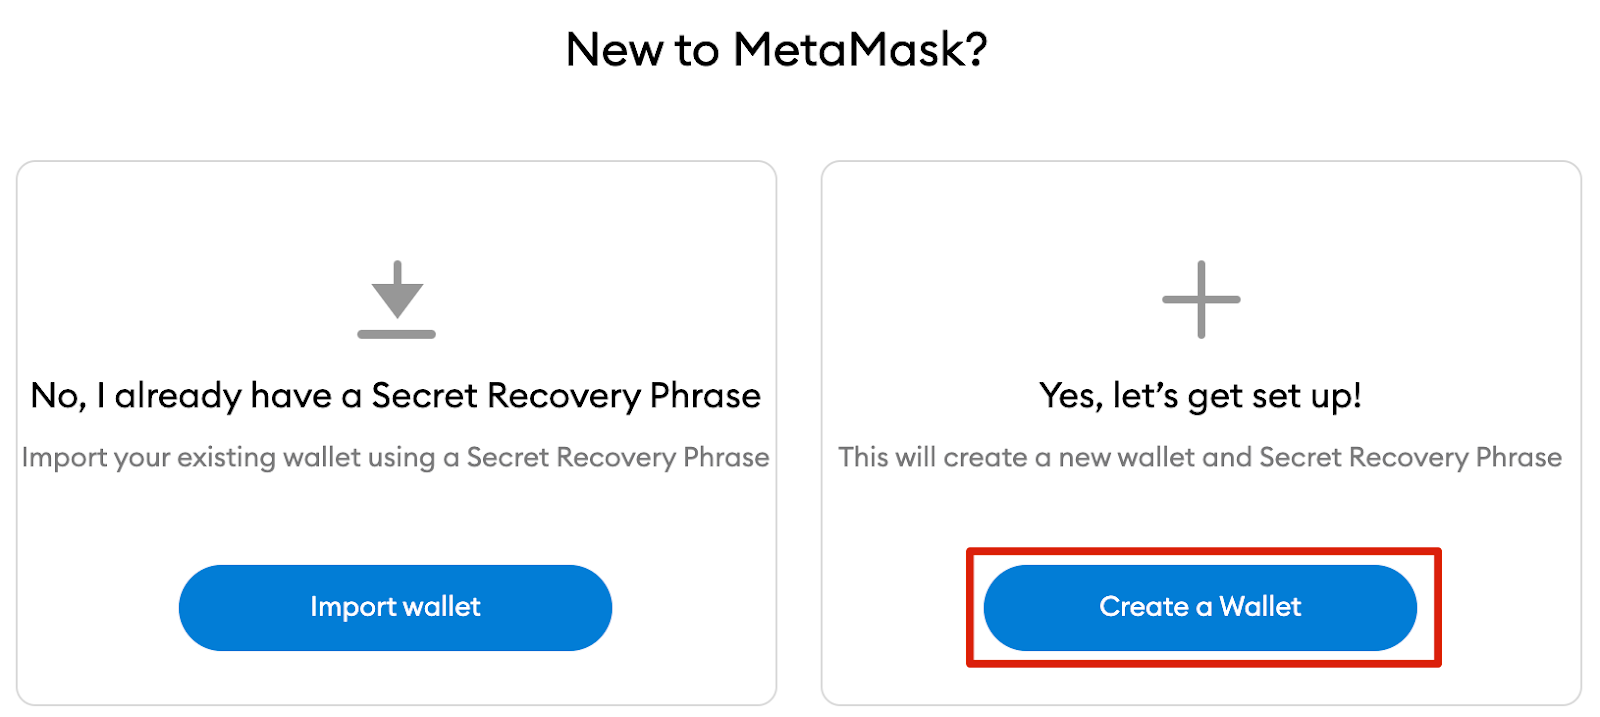
If you are creating a new wallet, click the [Create a Wallet] button. You can also import an old wallet using its mnemonic phrase with the [Import wallet] option.
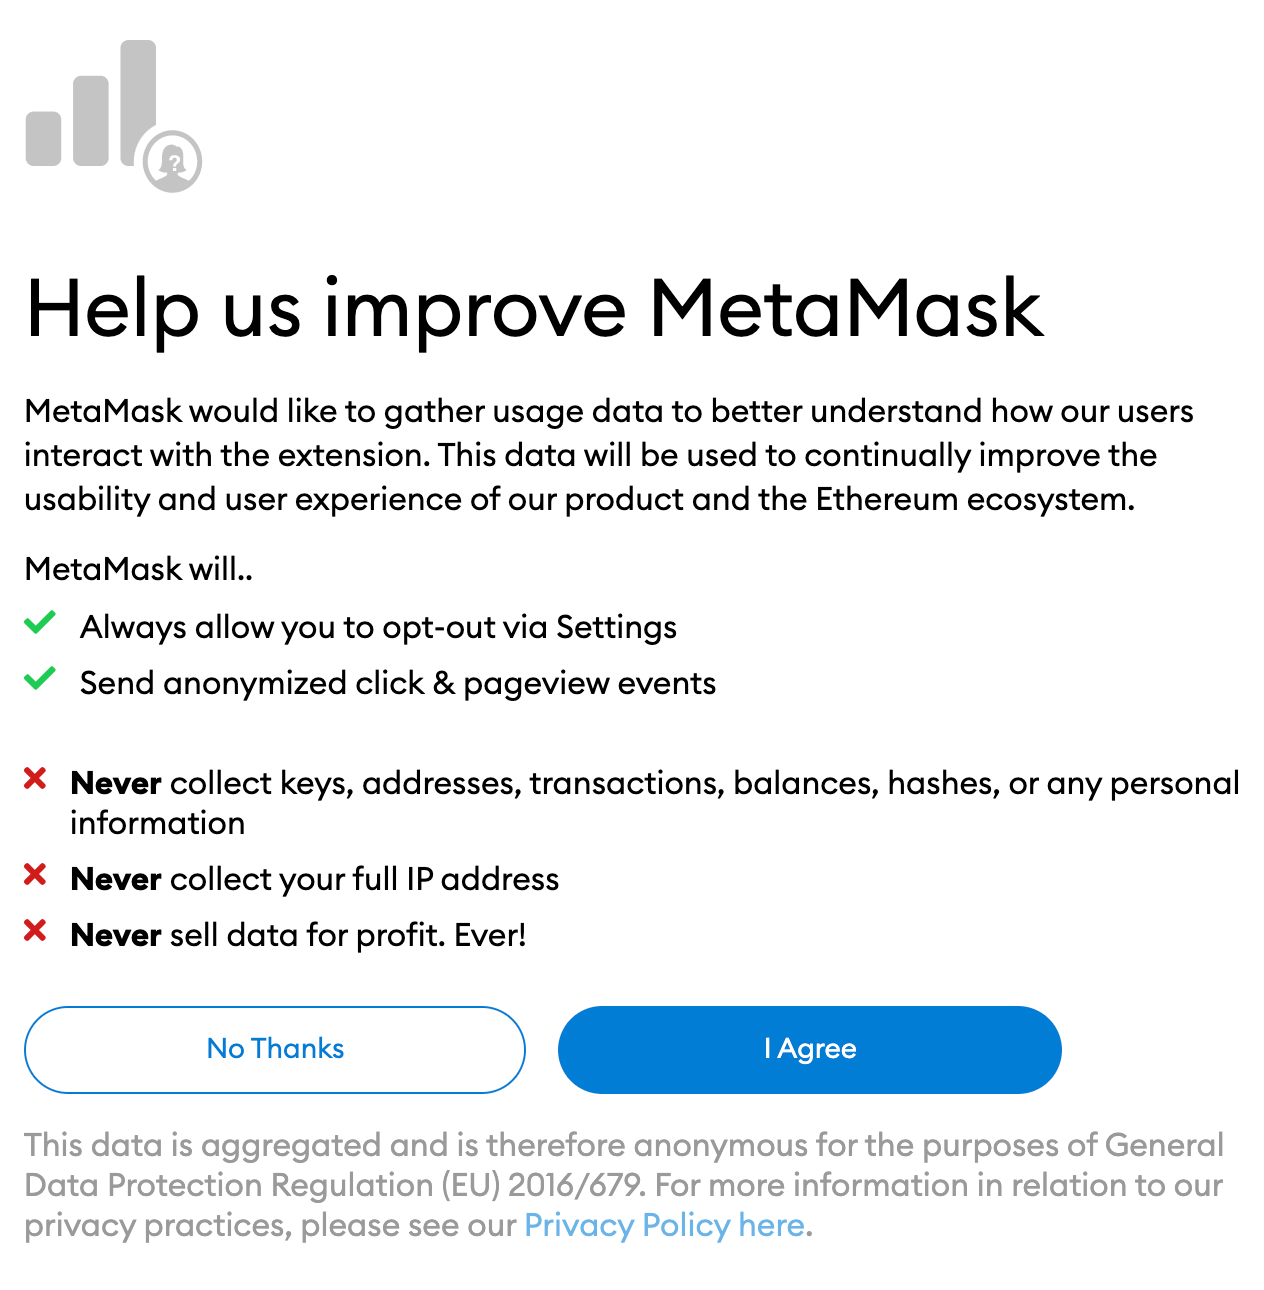
MetaMask will ask you if you want to share anonymous usage data with them to help improve the extension. Accepting or declining this will not affect your use of MetaMask.
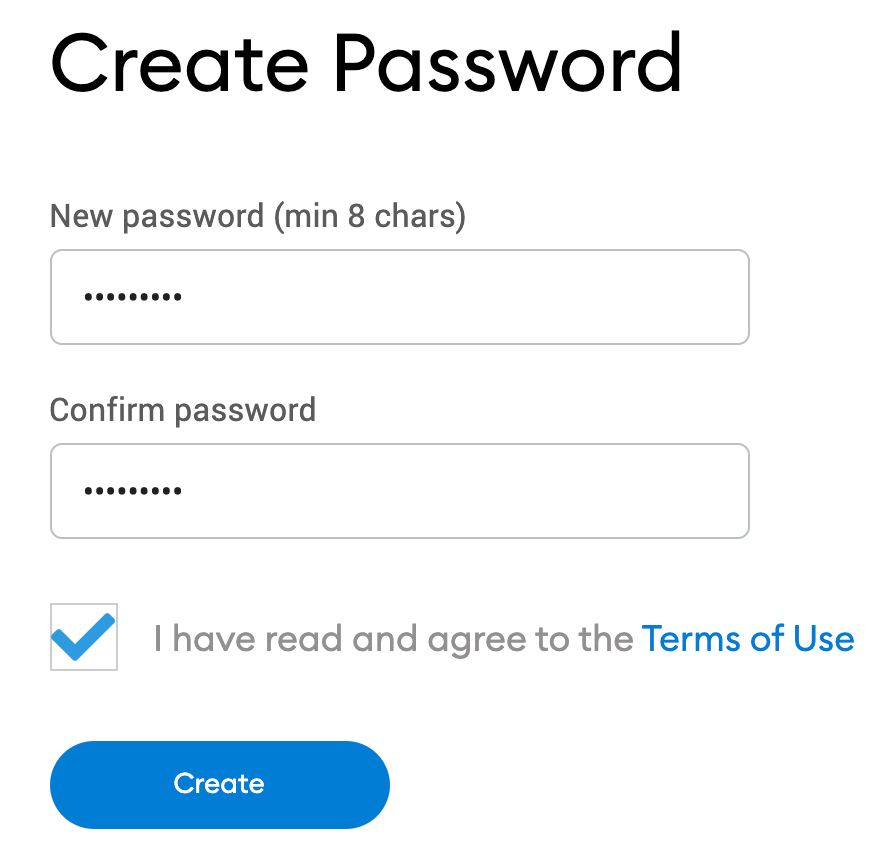
Choose a secure password to log into your wallet from your browser. Note that this is not your recovery phrase. The password is a security measure to prevent anyone using your device from accessing your wallet. If you forget your password, you can still access your crypto with your recovery phrase.
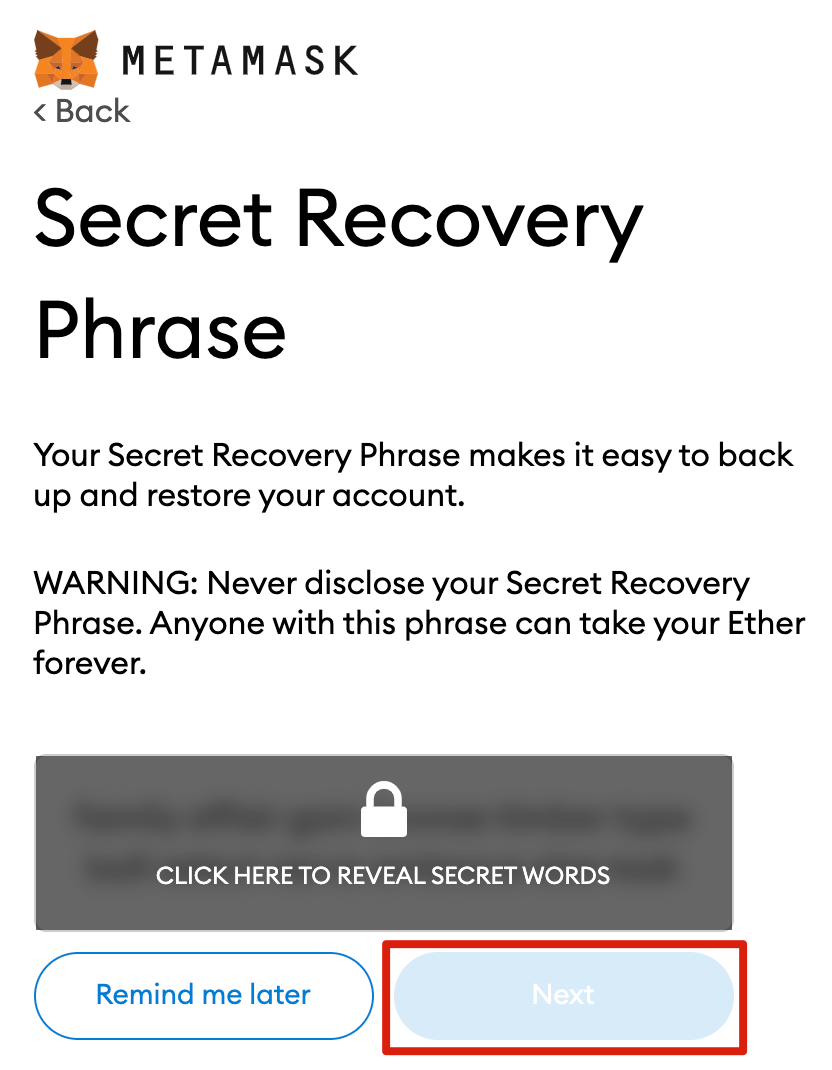
After choosing your password, MetaMask will present you with information regarding your wallet recovery phrase. Be sure to read it if you are unfamiliar with how a cryptocurrency wallet works.

You will now be presented with your initial sentence. Click on the padlock to display the words and write them down in the correct order. Keep the expression in a secure place (preferably offline) and never share it with anyone. This string of numbers is the final backup of your wallet and its contents. Press [Next] to continue.
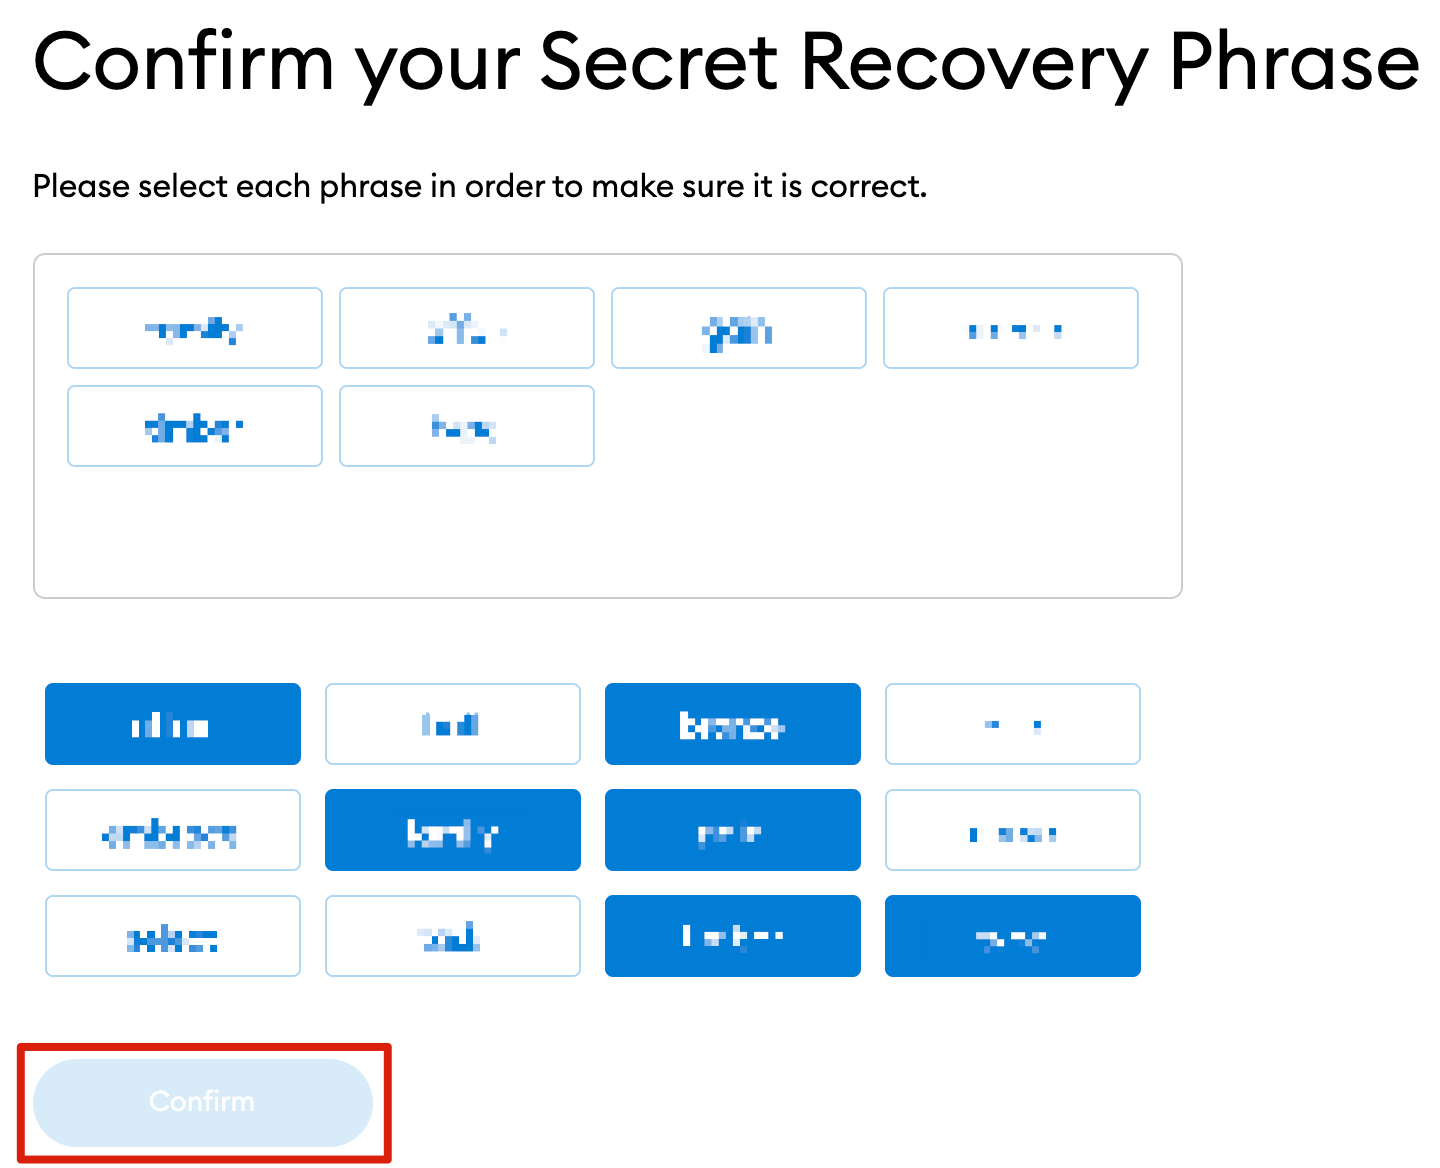
Now you need to repeat your recovery phrase by selecting the words at the bottom of the screen in the correct order. Click [Confirm] once it is finished.
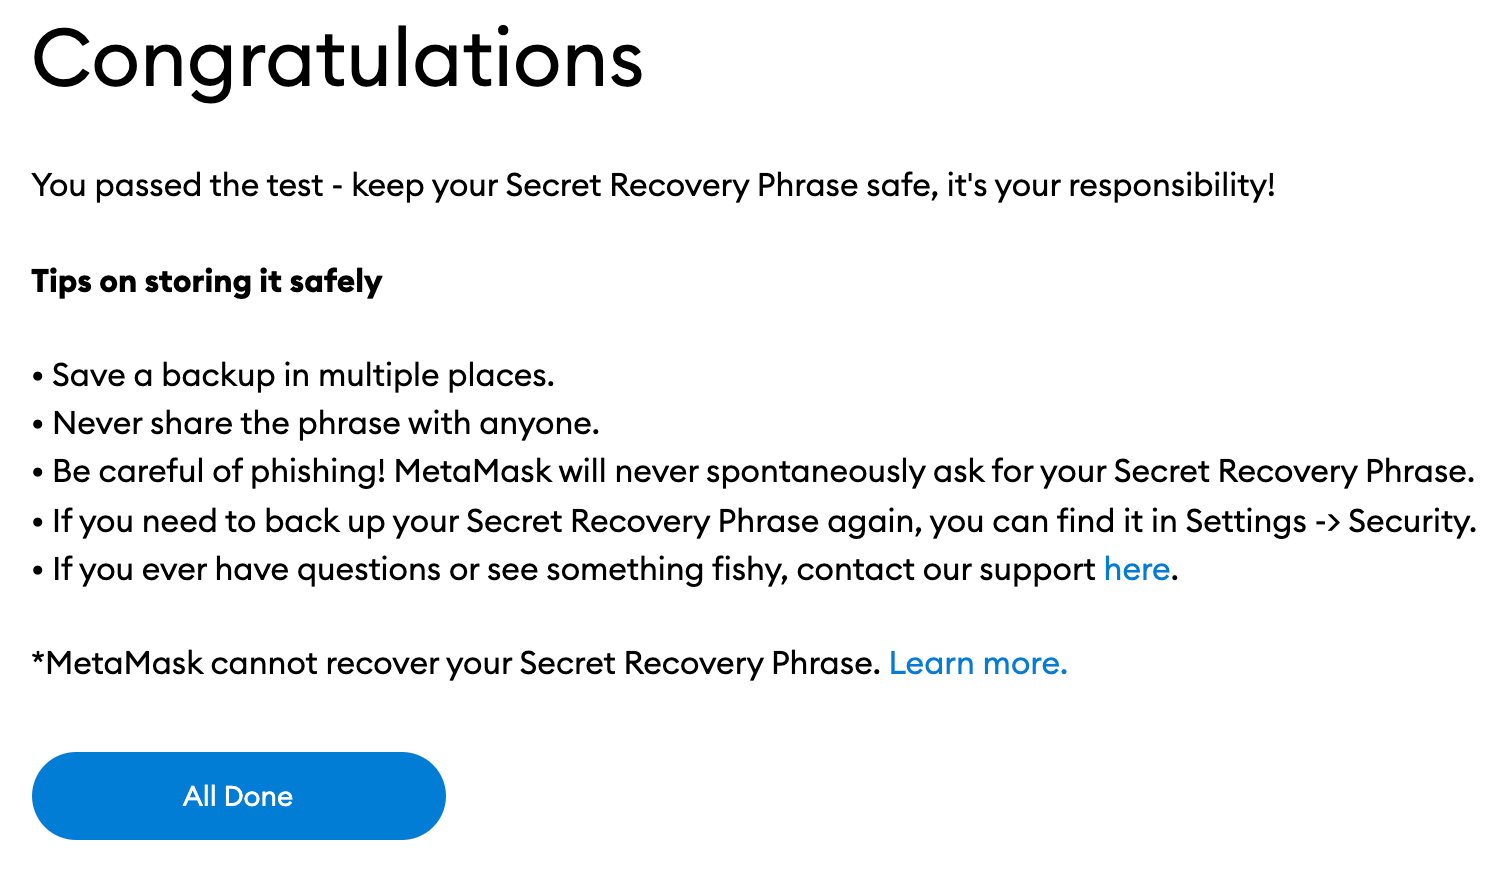
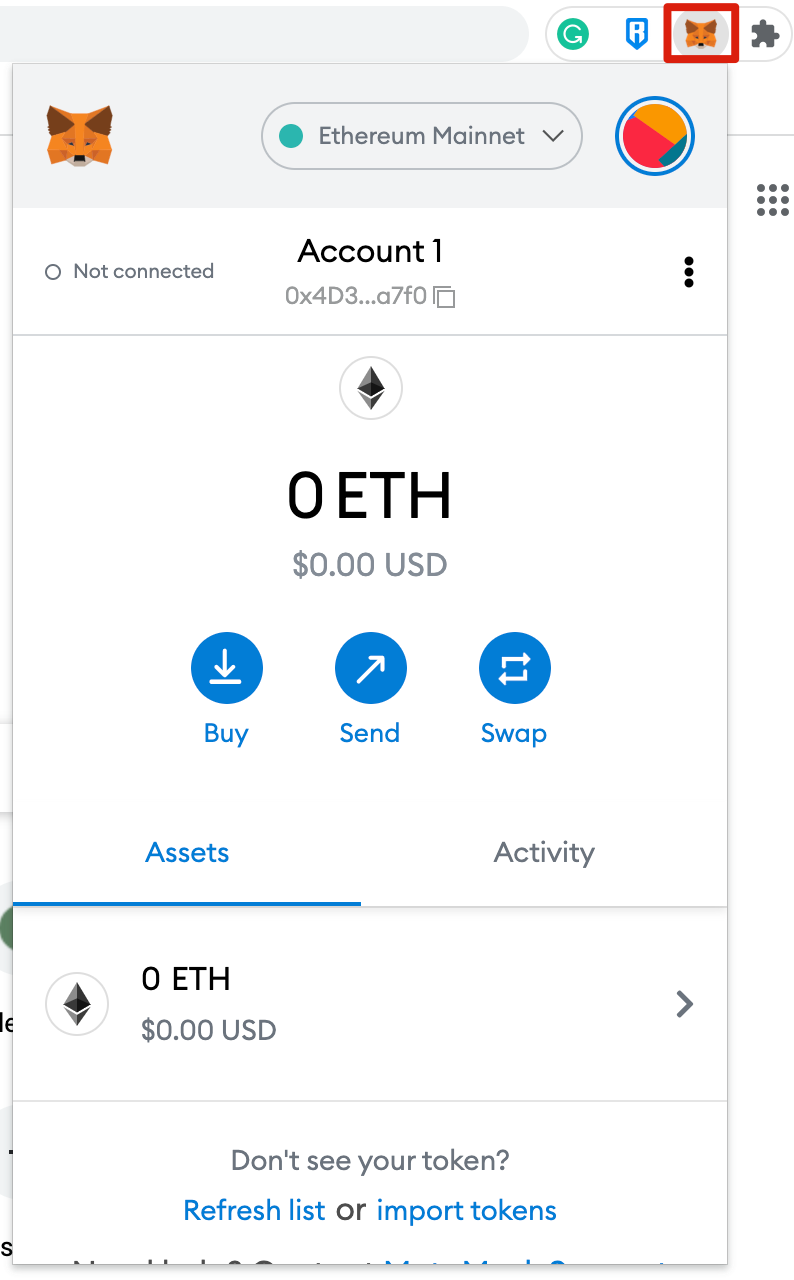
Your MetaMask wallet is now ready to use. Click [All Done] to view your portfolio.
To make MetaMask easier to access, you can pin it to your Chrome browser by clicking on the puzzle icon and pinning MetaMask to the toolbar. After initial setup, MetaMask will only be connected to Ethereum. Next, we will see how to connect Metamask to Polygon.
Wallet setup
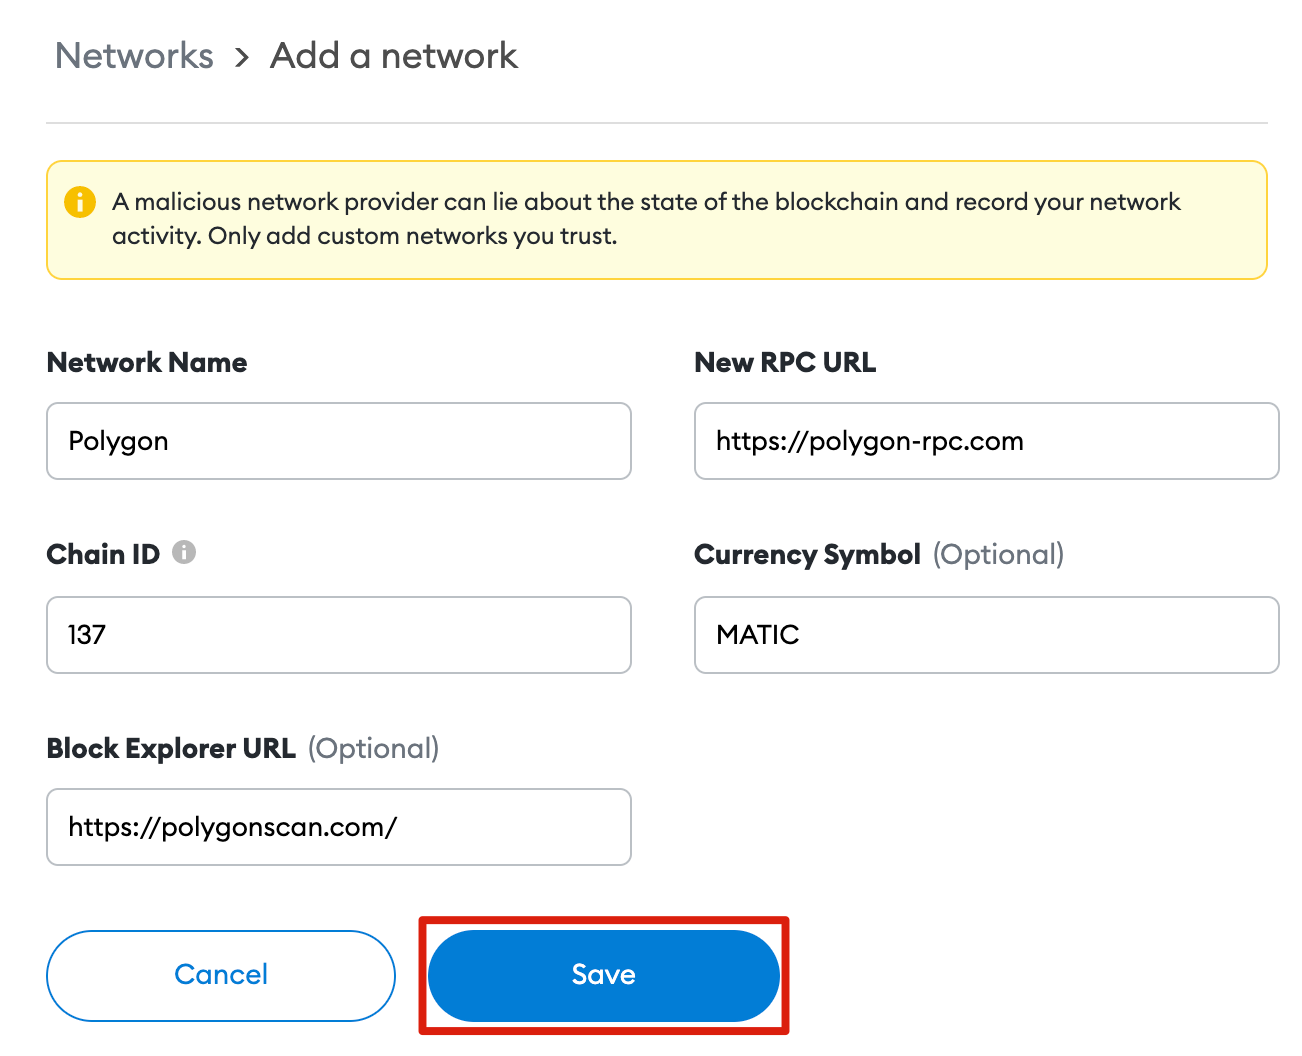
Adding Polygon support to your portfolio involves adding some networking details to the extension. First, open MetaMask and click on the network drop-down menu.

Then click [Add Network] in the pop-up window.

You will need to add the following details on the [Add a network] page that will open. Click [Save] when finished.
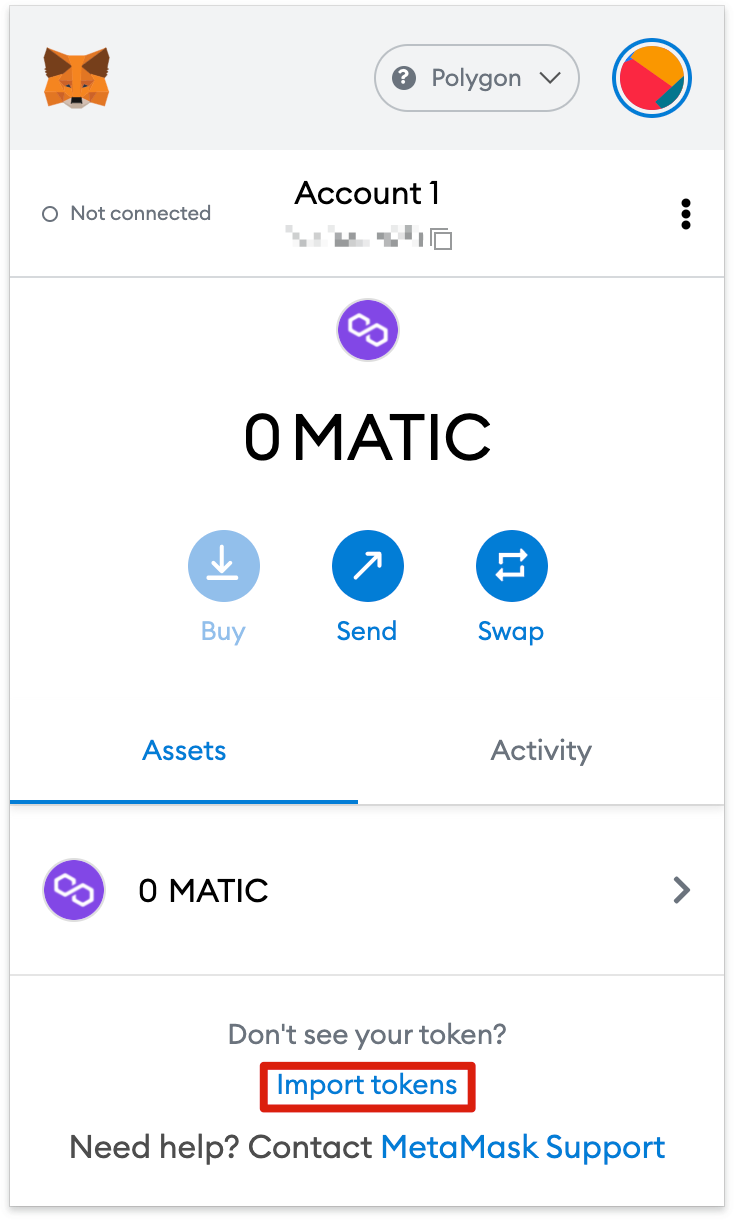
You are now successfully connected to the Polygon network.
Adding Polygon tokens to MetaMask
For Polygon tokens other than MATIC to appear on the wallet UI, you must add them manually. Note that your wallet may still receive tokens that have not been imported.
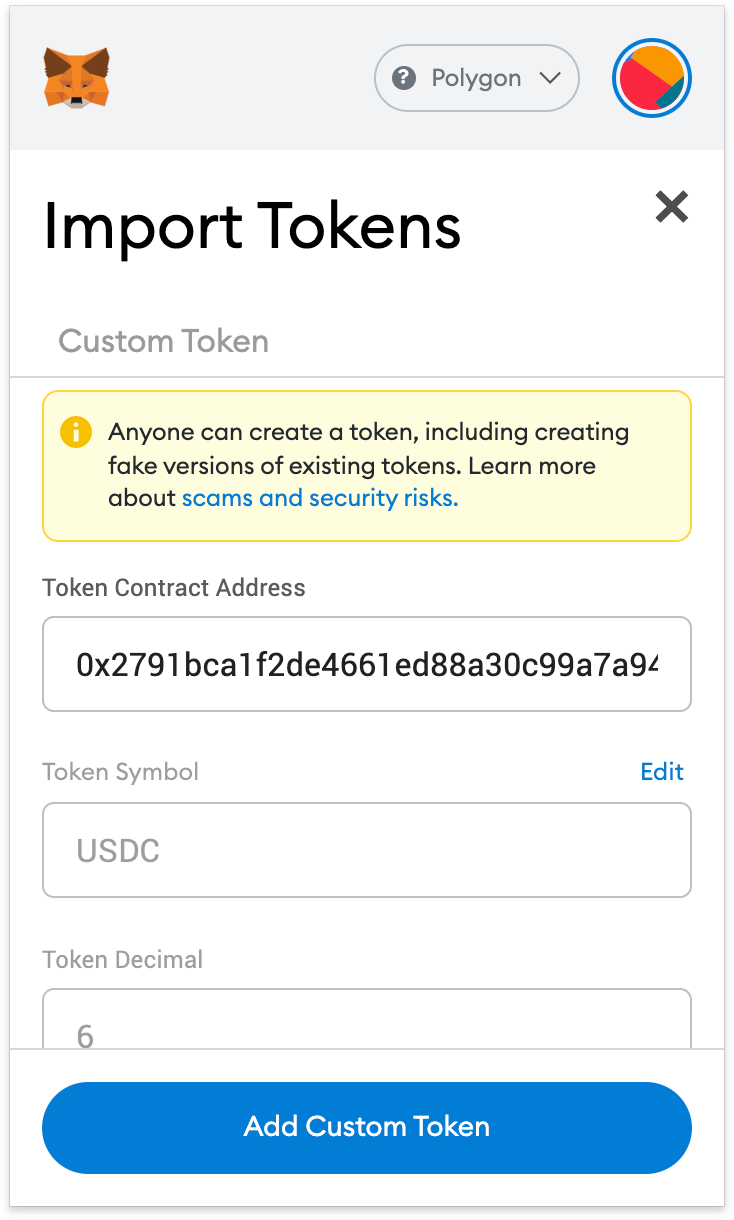
First, go to PolygonScan and find the contract and details of the token you want to add. If the token is not on PolygonScan, be sure to get the contract address from the official project website or social media. Be careful of fake contracts created by scammers.

Return to MetaMask and click [Import tokens].
Copy the token contract address and MetaMask should automatically fill in the rest of the details. If not, add them manually. To finish, click [Add Custom Token].
Click [Import Tokens].
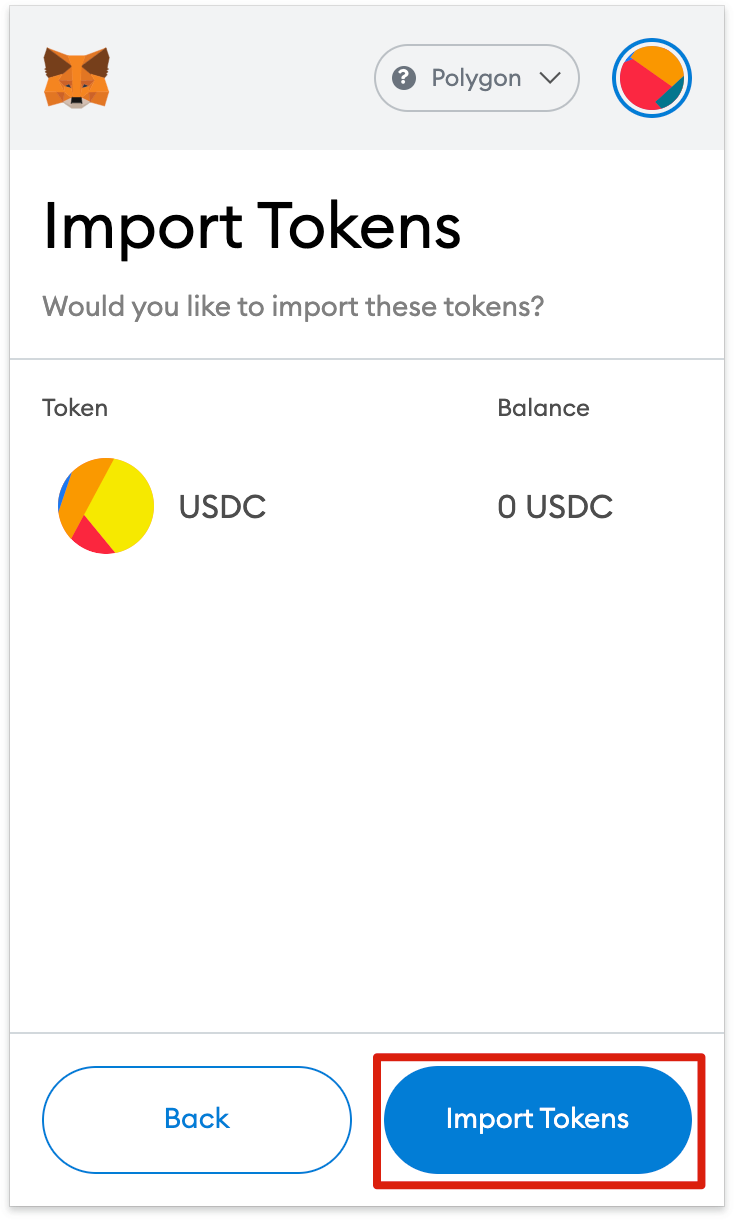
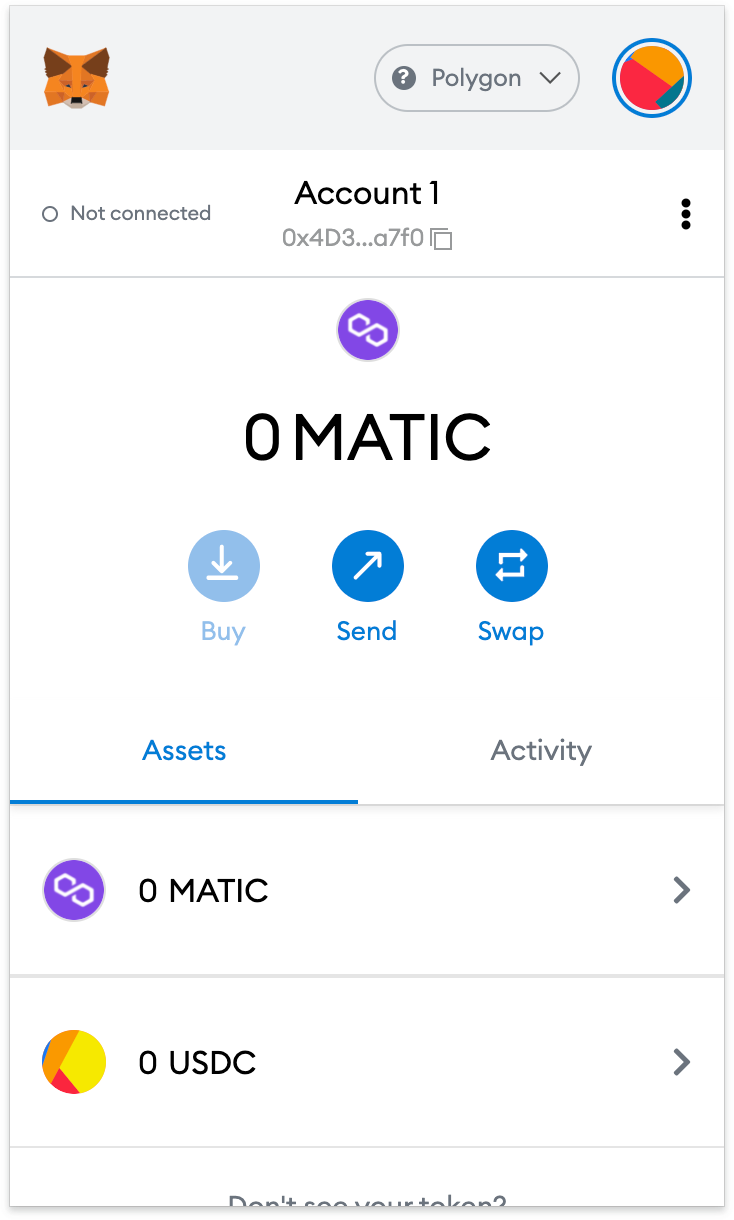
Your wallet will now successfully display the balance of the added token.

To conclude
Once Polygon is set up in MetaMask, you are free to start transacting, collecting NFTs, interacting with DeFi DApps, and managing your crypto. You can even trade tokens without leaving the extension. MetaMask is not just for the Ethereum and Polygon network, it also supports the entire blockchain ecosystem supporting the Ethereum Virtual Machine (EVM), including the Binance Smart Chain. By following our guide, you are now ready to add even more channels and start exploring.