
TL;DR (SUMMARY)
MetaMask is a cryptocurrency wallet that can be downloaded on Chrome and Firefox as a browser extension or as an app on iOS and Android devices. It allows users to store and transact crypto through a simple interface.
MetaMask allows users to interact with DeFi ecosystems on Ethereum and other blockchain networks, such as Binance Smart Chain, Polygon, and Avalanche. In this guide we will teach you how to connect your MetaMask to the Avalanche network.
If you are already using the Avalanche network, please note that only the C-Chain wallet supports MetaMask. So, to transfer AVAX from your Avalanche wallet, the tokens must be in your C-Chain wallet. You can also transfer your AVAX to MetaMask from an exchange wallet that has C-Chain integrated, such as Binance.
Introduction
To interact with the Avalanche blockchain and DApps, you need a compatible cryptocurrency wallet, such as MetaMask. But before you can use Avalanche tokens in MetaMask, you need to add the Avalanche network to your wallet. In this guide we will show you how to do it.

How to configure MetaMask?
If you already have a MetaMask wallet, skip ahead to the next section to see how to connect your wallet to Avalanche and add AVAX tokens. If you don't have a MetaMask wallet yet, follow these steps to set it up.
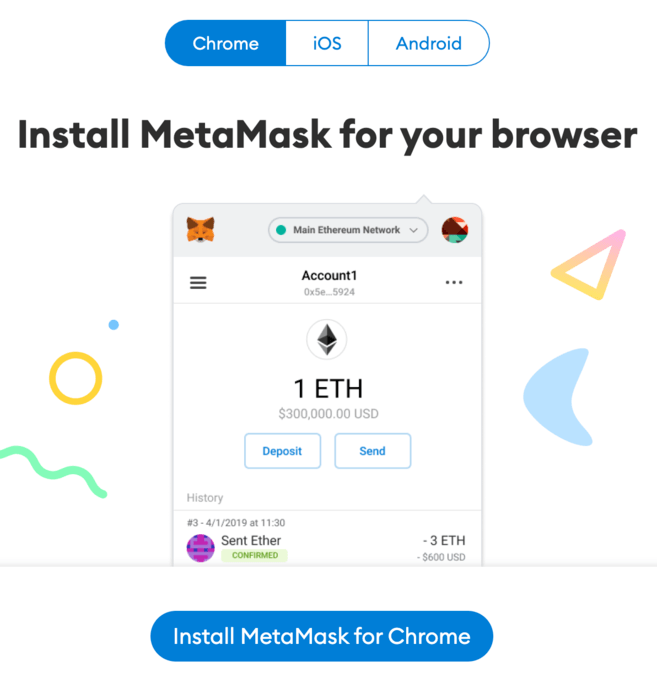
1. Download and install the MetaMask extension on Chrome, iOS or Android via the official MetaMask website. Make sure you are using the official website before downloading the extension.
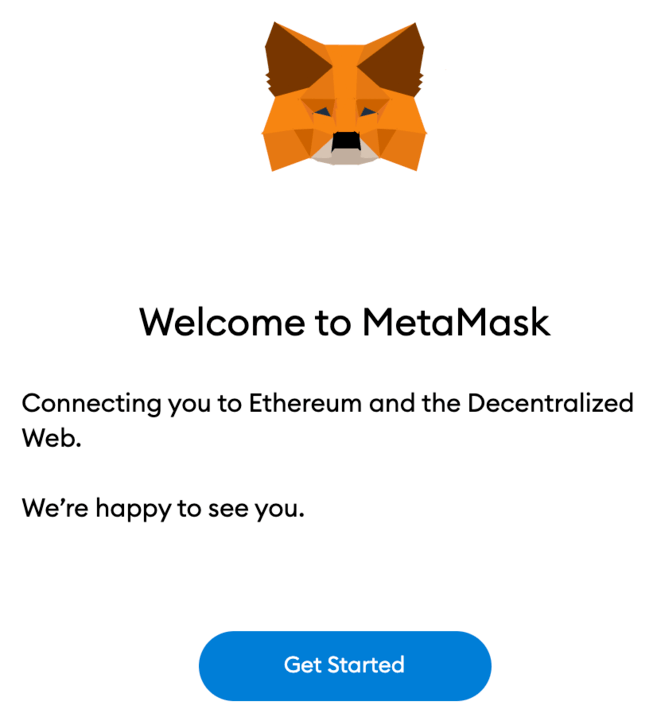
2. You should see the MetaMask fox on the welcome screen after installation. Click [Start].
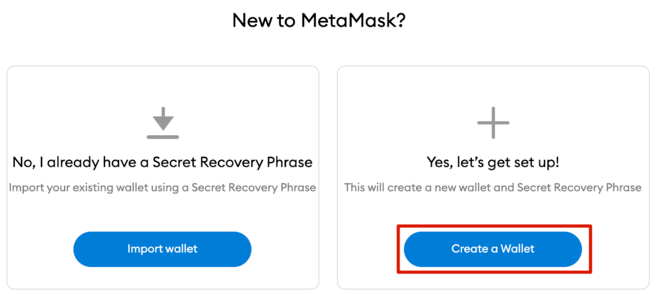
3. Click [Create a wallet] to create your MetaMask wallet, or click [Import wallet] to import an old wallet using your seed phrase.
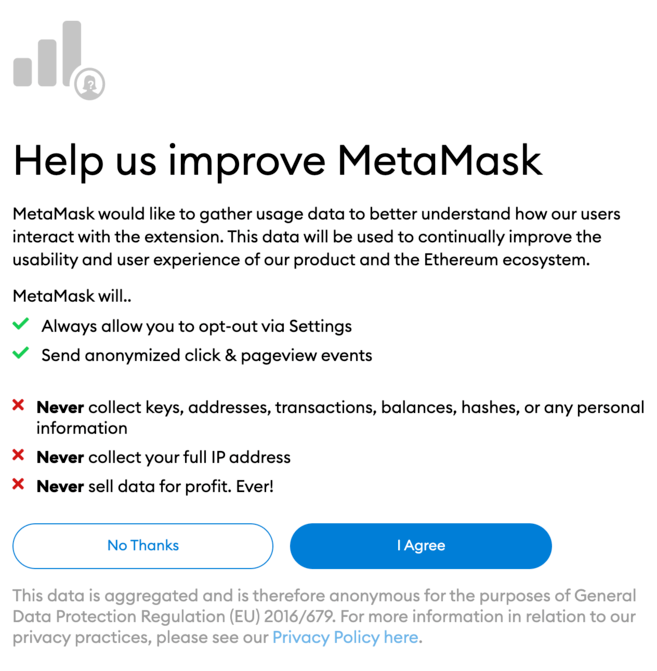
4. You will be asked if you want to share anonymous usage data with MetaMask to help improve the extension. Regardless of your choice, this will not affect your use of MetaMask.
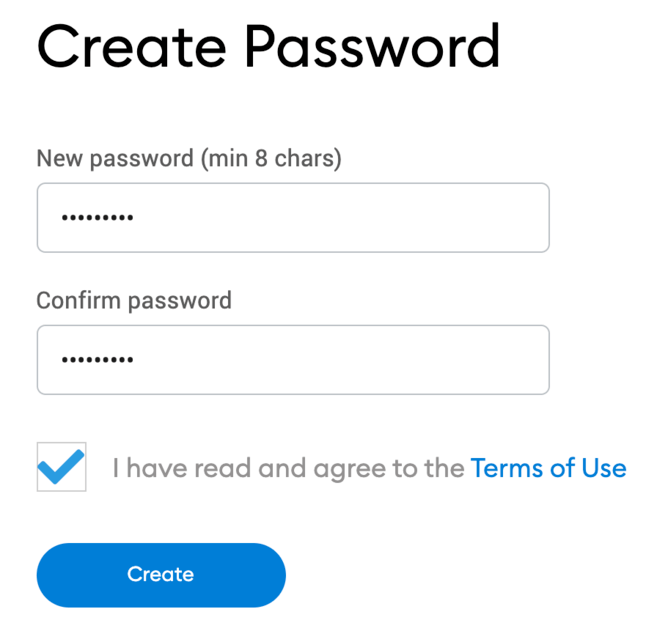
5. Now create a strong password for your wallet.
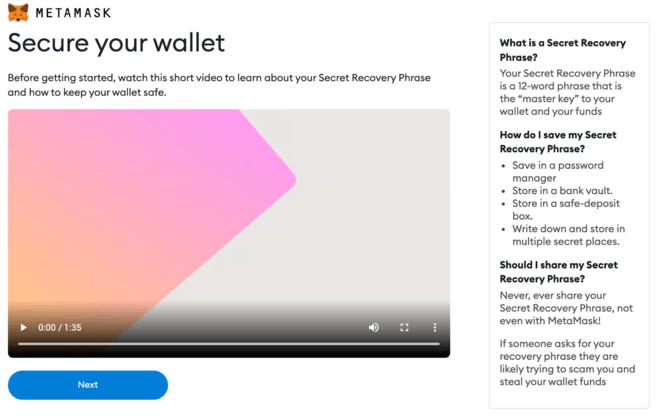
6. Before you start, you need to backup your wallet seed phrase. This phrase allows you to restore your wallet if you lose access to your device or forget your password. If you are not familiar with how a crypto wallet works, be sure to watch the video and read the information. When you are ready, click [Next].
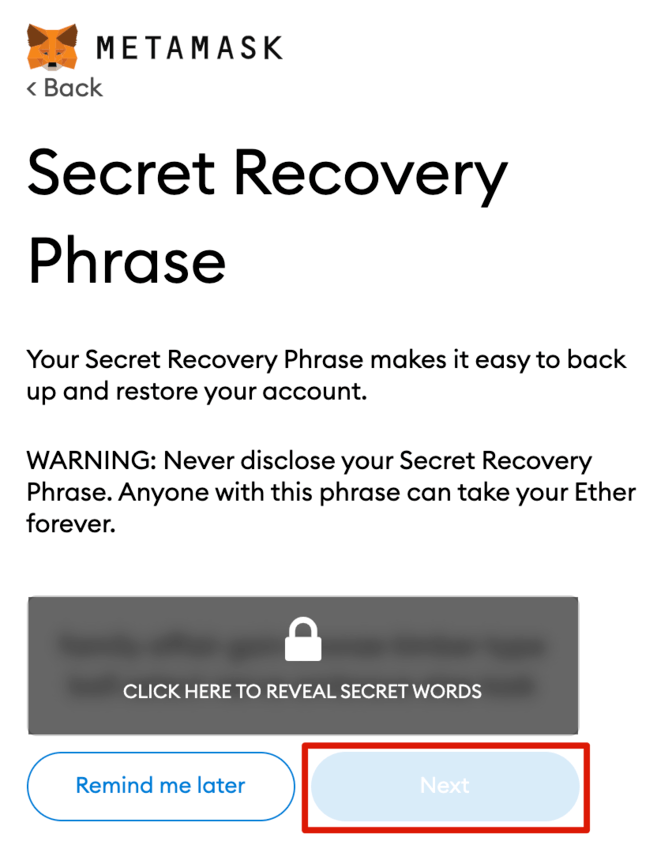
7. Next, you will receive your seed phrase. Click to reveal the words and write them in the correct order. You should keep your seed phrase in some safe locations without an Internet connection, and never share it with anyone.
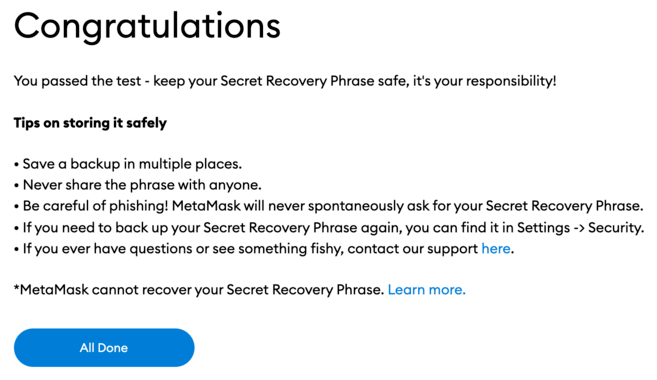
8. To ensure that you have created a backup copy of the seed phrase correctly, you must repeat the phrase by selecting the words that appear at the bottom in the correct order. Click [Confirm] to continue.

9. Your MetaMask wallet is now ready to use. Click [All set] to view your wallet.
10. You can pin your MetaMask wallet to your Chrome browser for easy access. Click the puzzle icon. Next, click the pin icon next to [MetaMask] to pin it to the toolbar.
How to connect Avalanche to MetaMask?
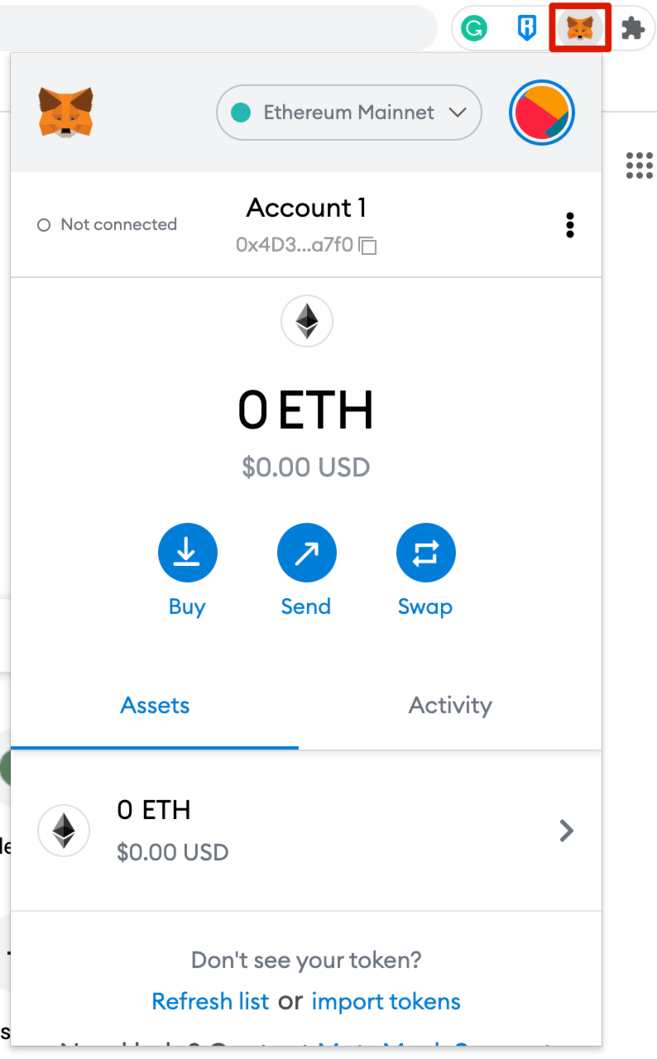
By default, the MetaMask wallet is connected to the Ethereum mainnet. To add Avalanche to your wallet, you need to add its network details to the extension.
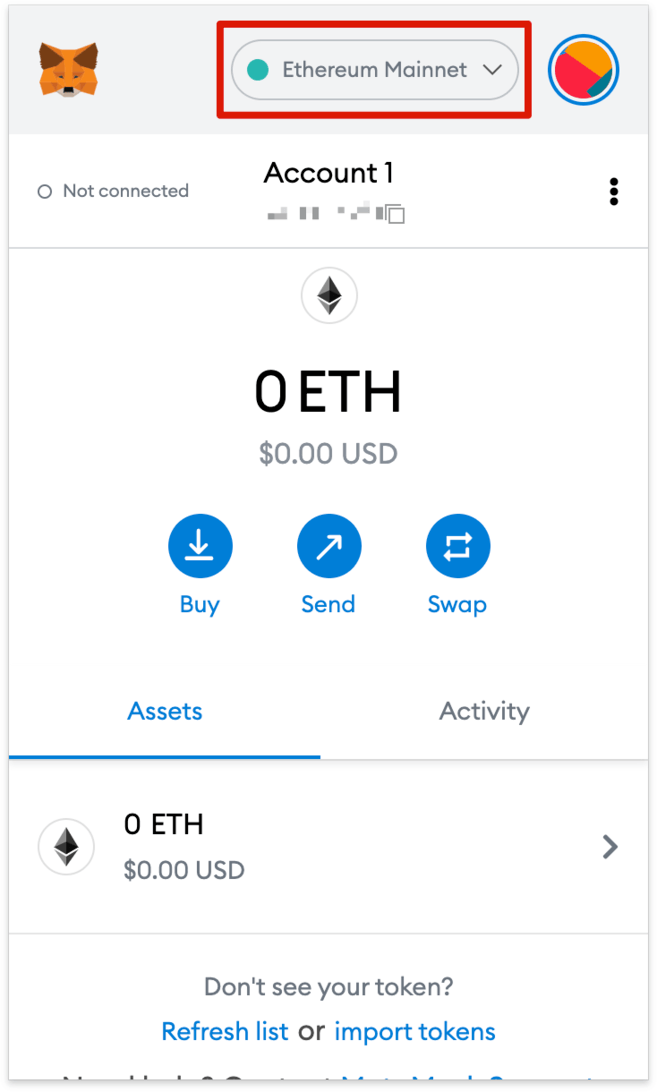
1. Open your wallet extension and click on the network dropdown menu.
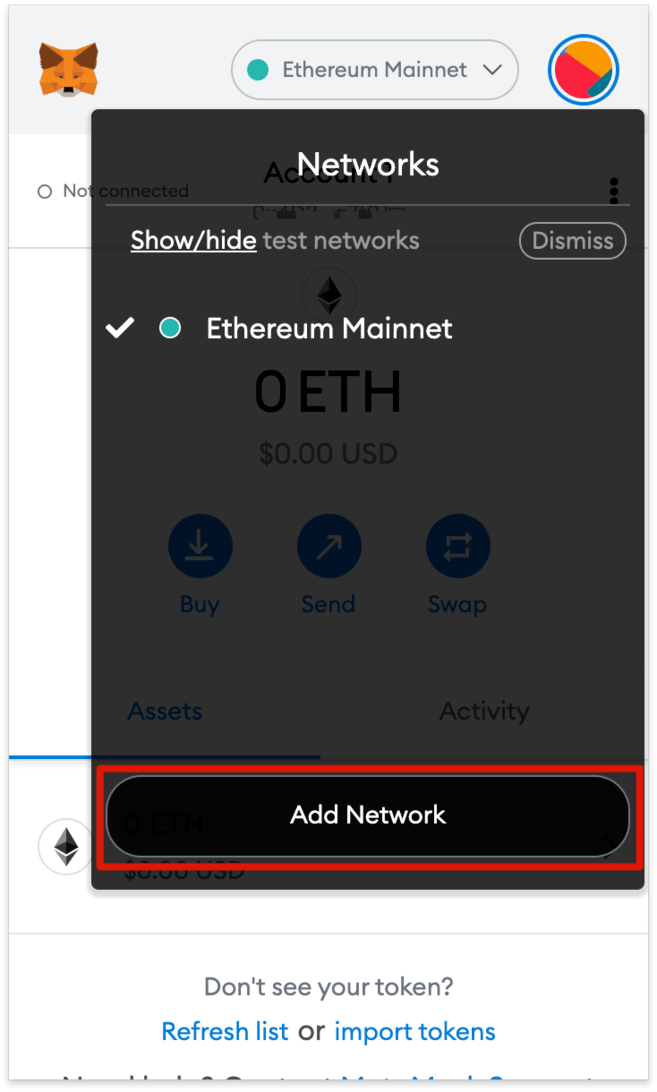
2. Click [Add Network].
3. You will be redirected to the [Add a Network] page. Copy and paste the following information and click [Save].
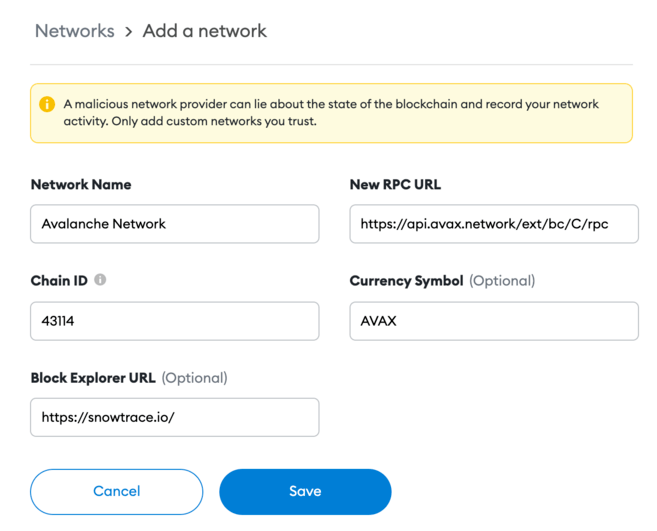
4. Your MetaMask wallet is now connected to the Avalanche network.
How to send AVAX tokens to MetaMask?
After connecting the Avalanche network, you can send your Avalanche (AVAX) tokens from another Avalanche wallet to MetaMask.
There are 3 blockchains on the Avalanche network: the exchange chain (X-Chain), the contract chain (C-Chain), and the platform chain (P-Chain).
Please note that only C-Chain is compatible with MetaMask, which means you can only use C-Chain to transfer AVAX to your MetaMask wallet. Be careful! If you select the wrong chain, you could lose your tokens.
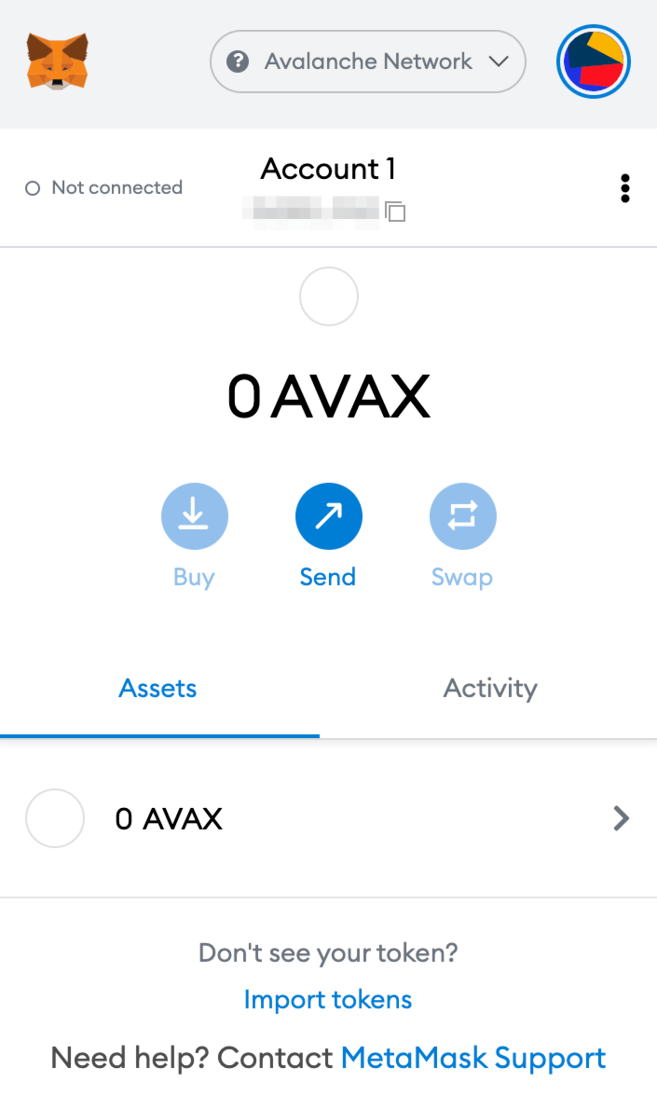
1. Log in to your Avalanche wallet and check the origin of your AVAX in the [Balance] box at the top.
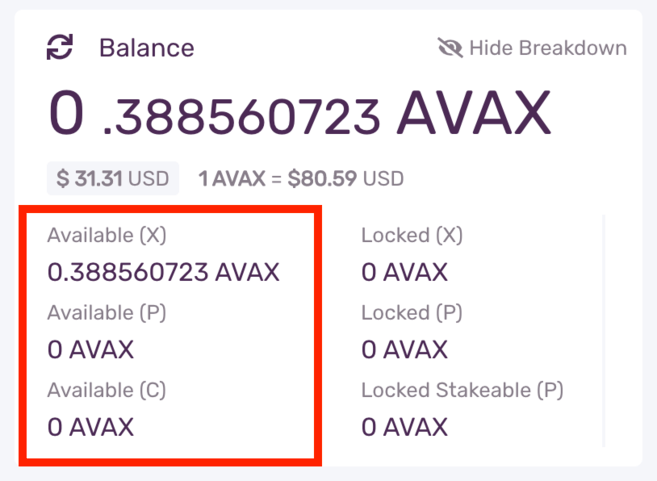
If your AVAX tokens are in your X-Chain wallet, you must transfer them to your C-Chain wallet before you can send them to MetaMask.
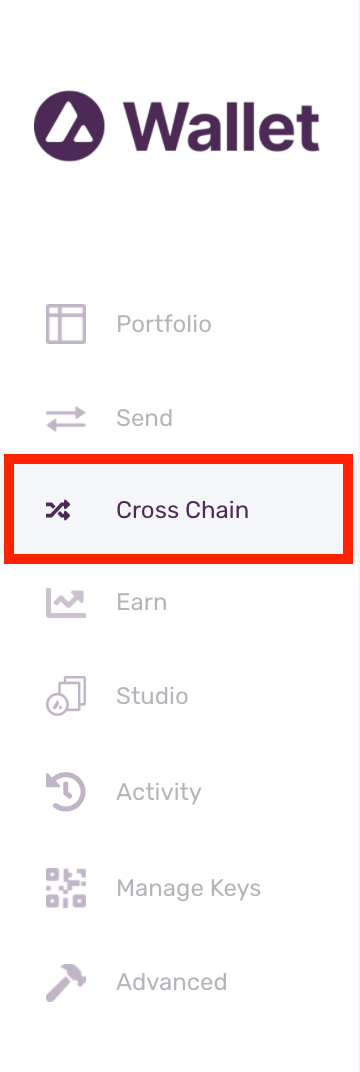
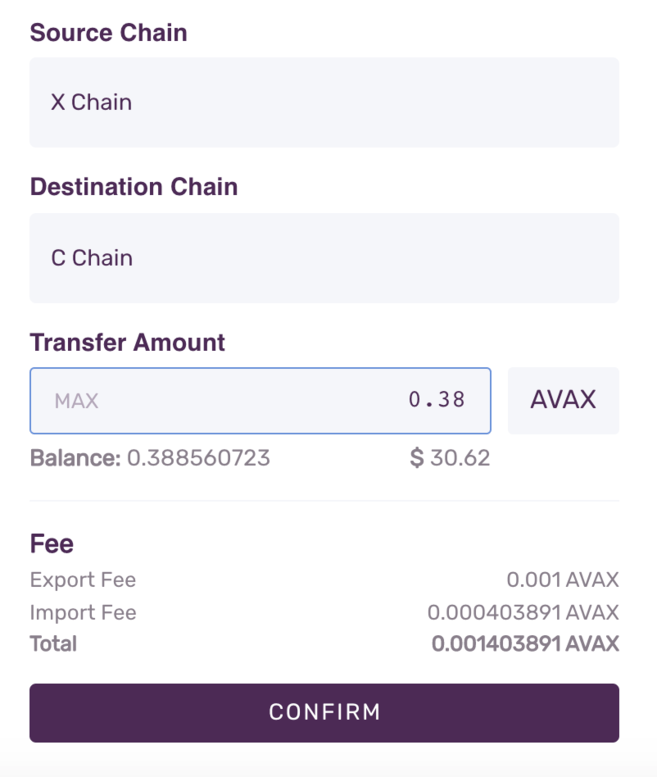
1.1. Click [Cross Chain] on the left menu bar.
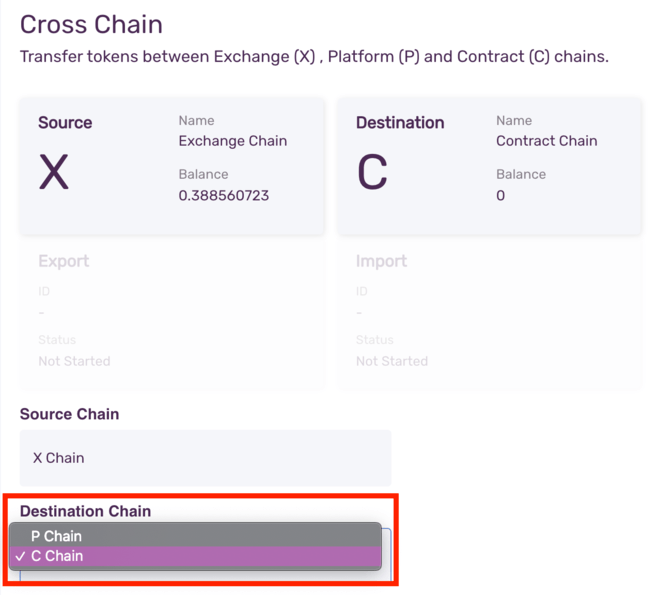
1.2. Select [C Chain] as the destination chain. Then, enter the amount you want to transfer from your X-Chain wallet and click [Confirm]. Please note that you will have to pay a small transaction fee.
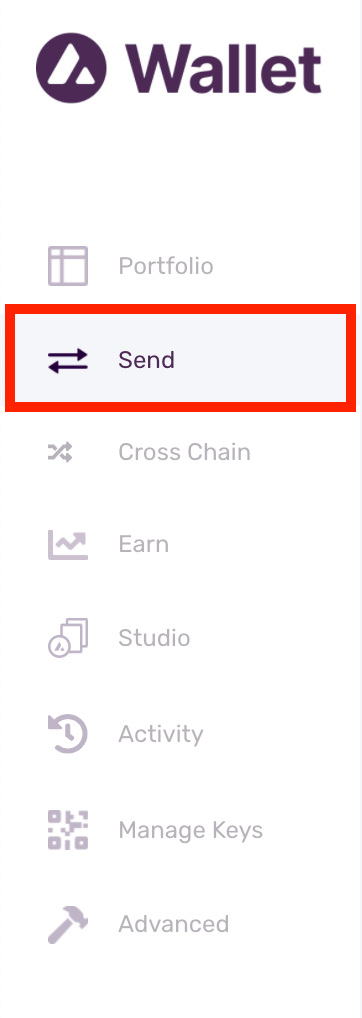
2. Now go to [Send] in the left menu bar.
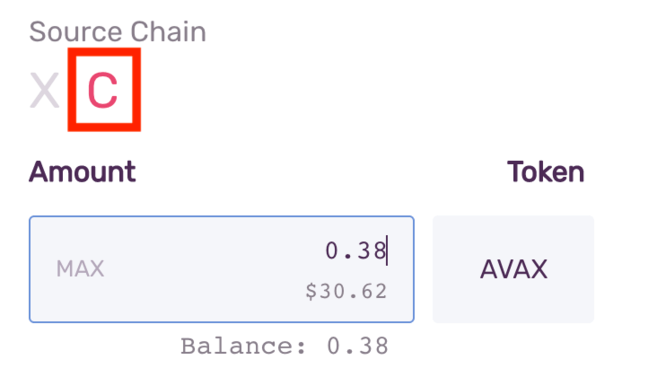
3. Select [C] as the source string. Enter the amount you want to send to MetaMask.
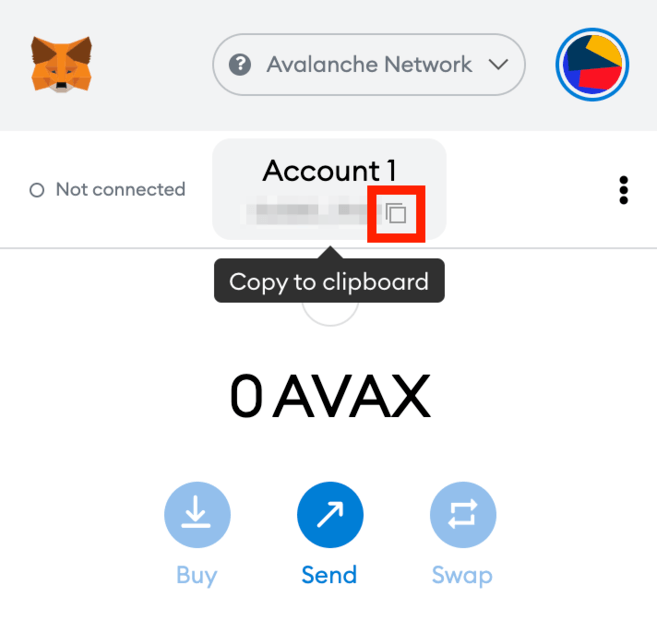
4. Now go to your MetaMask wallet and copy the address.
5. Go back to your Avalanche wallet, find the [To address] field and paste the MetaMask wallet address. Check the gas fee and click [Confirm] to transfer. As soon as the transaction is confirmed, you will see your AVAX in the MetaMask wallet.

How to send AVAX tokens to MetaMask from Binance
You can also send AVAX from the Binance exchange to MetaMask.
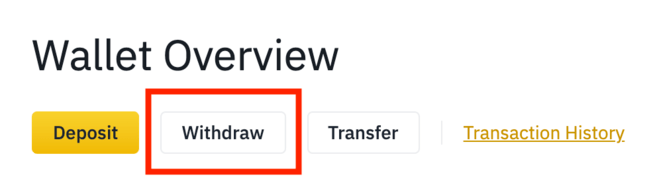
1. Log in to your Binance account and go to > [Wallet Overview]. Click [Withdraw].
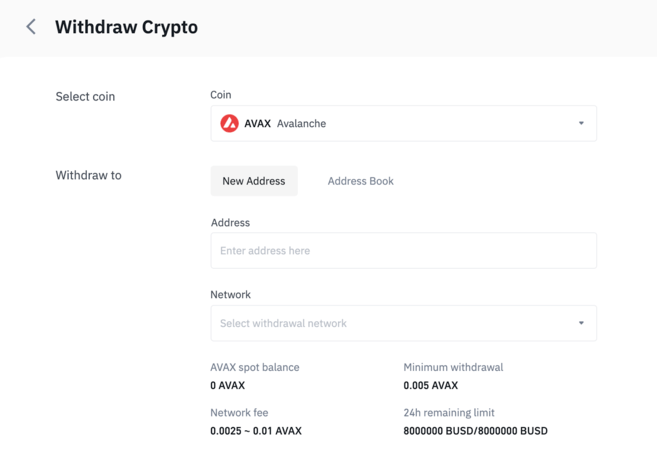
2. Select [AVAX].
3. Go to your MetaMask wallet and copy the address.

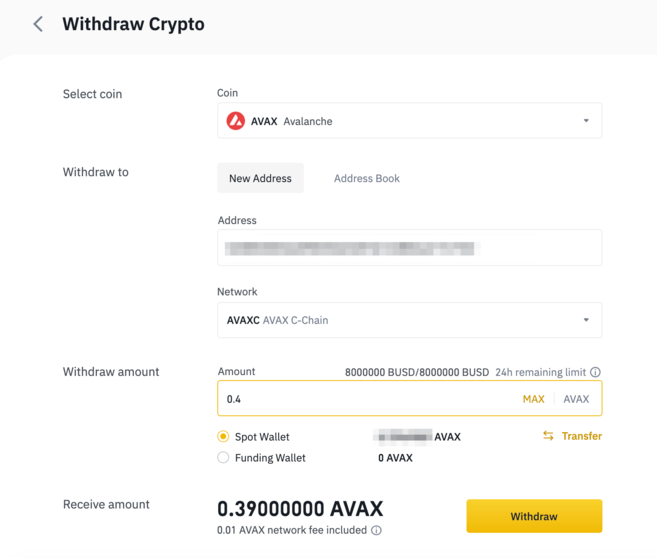
4. Now go back to Binance and paste the MetaMask address into the [Address] field. Then, select the network and enter the transfer amount. Make sure you select a supported network or you could lose your assets. Click [Withdraw] to continue.
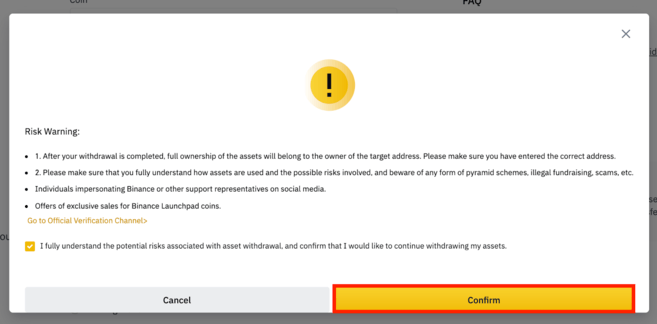
5. Before continuing, you must confirm that you understand the potential risks associated with making withdrawals. Read and check the box before clicking [Confirm].
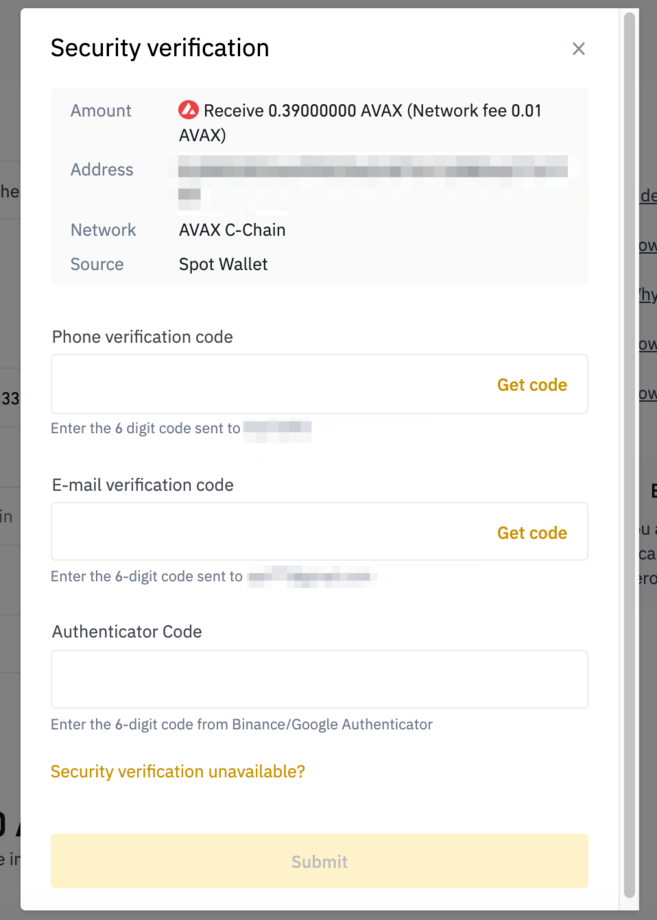
6. You will see a pop-up window with your withdrawal details. You should check the details carefully before proceeding.

7. Now, you will need to verify the transaction with 2FA devices. Click [Send] and your AVAX will be sent to your MetaMask wallet.

Conclusions
While MetaMask was initially created for Ethereum, you can now use it on multiple blockchain networks, such as Avalanche, Binance Smart Chain, Polygon, and others. Learning how to add each network manually will allow you to explore the various DeFi platforms and DApps of each blockchain ecosystem, such as PancakeSwap, Uniswap, SushiSwap, and OpenSea.