

أميرة سيد
2.6k Posts

أميرة سيد
Report
Block User
Professional Trader | Free Chart Analysis | Signal & Update about Crypto |
Open Trade
Occasional Trader
1.3 Years
29 Following
1.0K+ Followers
499 Liked
Posts
Portfolio
All
Quotes
·
--
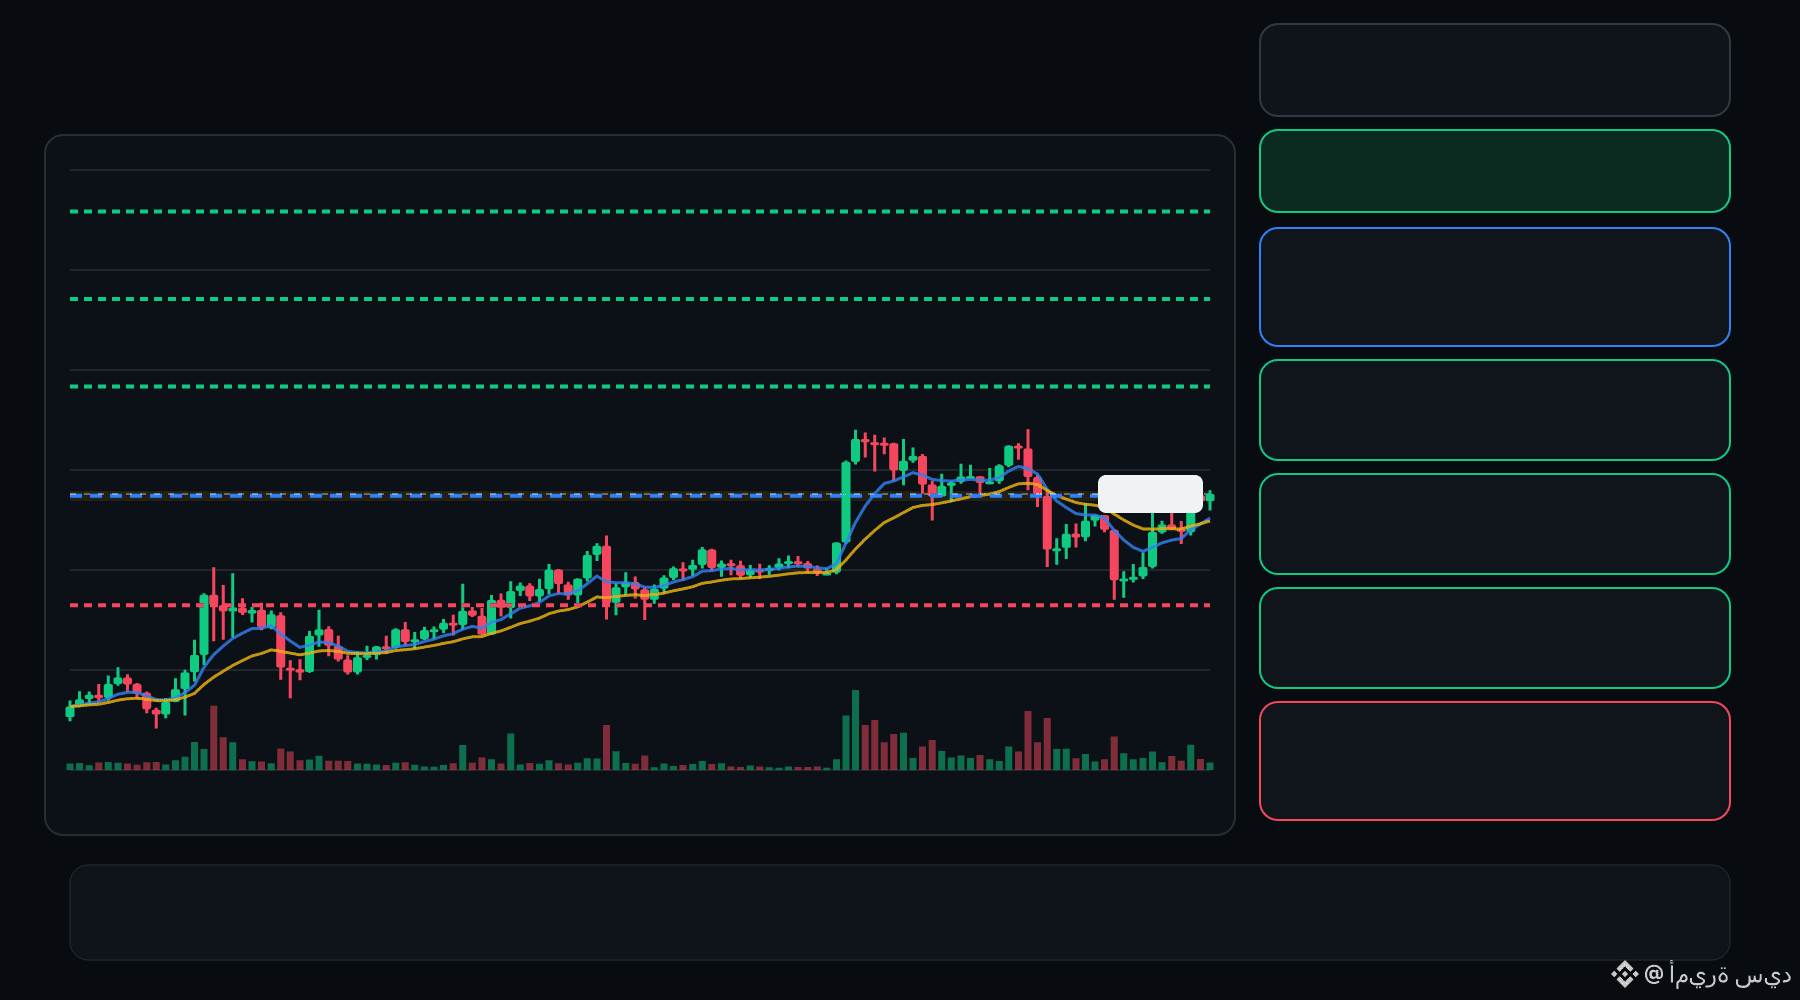
🟢 EVAA bulls are defending the pullback… is continuation setting up ⁉️
🟩 EVAA LONG
Entry: 1.368 – 1.379
TP1: 1.499
TP2: 1.600
TP3: 1.701
Stop Loss: 1.248
The 15M chart shows a bullish structure with momentum and volume confirmation. A controlled retest of the entry zone may give the setup a cleaner trigger.
Plan: Wait for confirmation/rejection inside the entry zone; don’t chase the move.
DYOR | Manage Risk | Avoid Over-Leverage
1
·
--
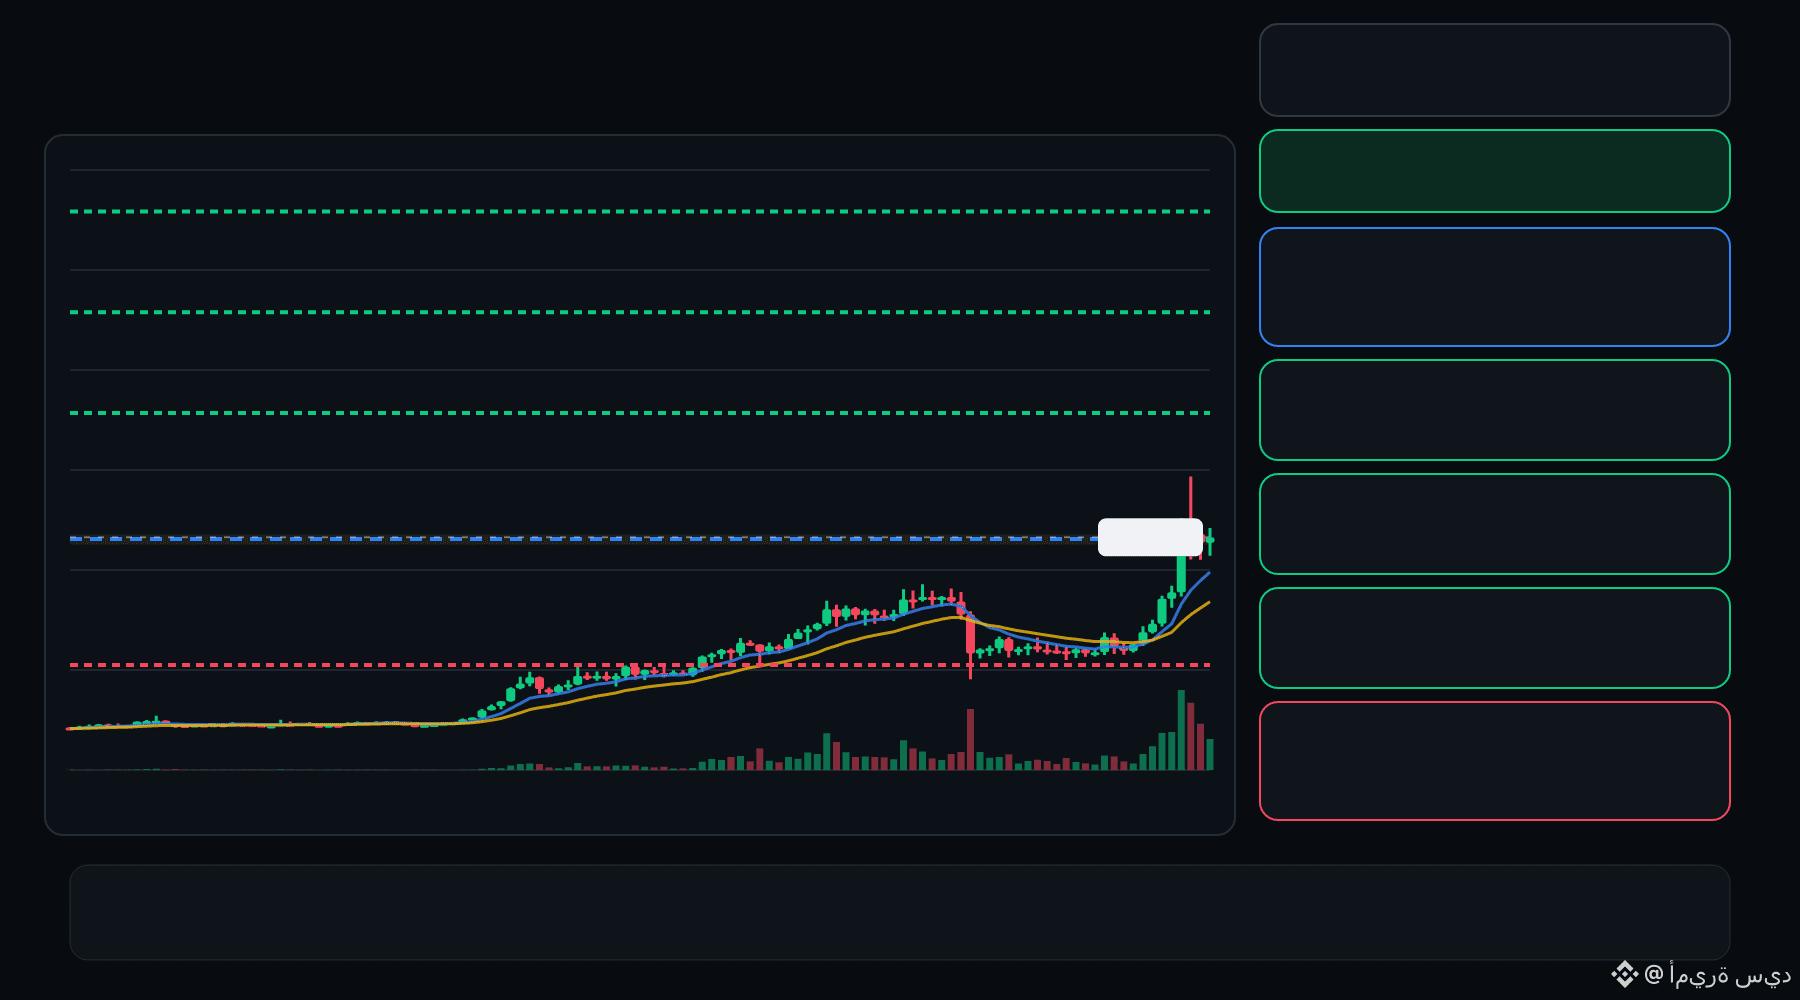
🟢 ESPORTS bulls are defending the pullback… is continuation setting up ⁉️
🟩 ESPORTS LONG
Entry: 0.01118 – 0.01138
TP1: 0.01412
TP2: 0.01639
TP3: 0.01866
Stop Loss: 0.008440
The 15M chart shows a bullish structure with momentum and volume confirmation. A controlled retest of the entry zone may give the setup a cleaner trigger.
Plan: Wait for confirmation/rejection inside the entry zone; don’t chase the move.
DYOR | Manage Risk | Avoid Over-Leverage
·
--
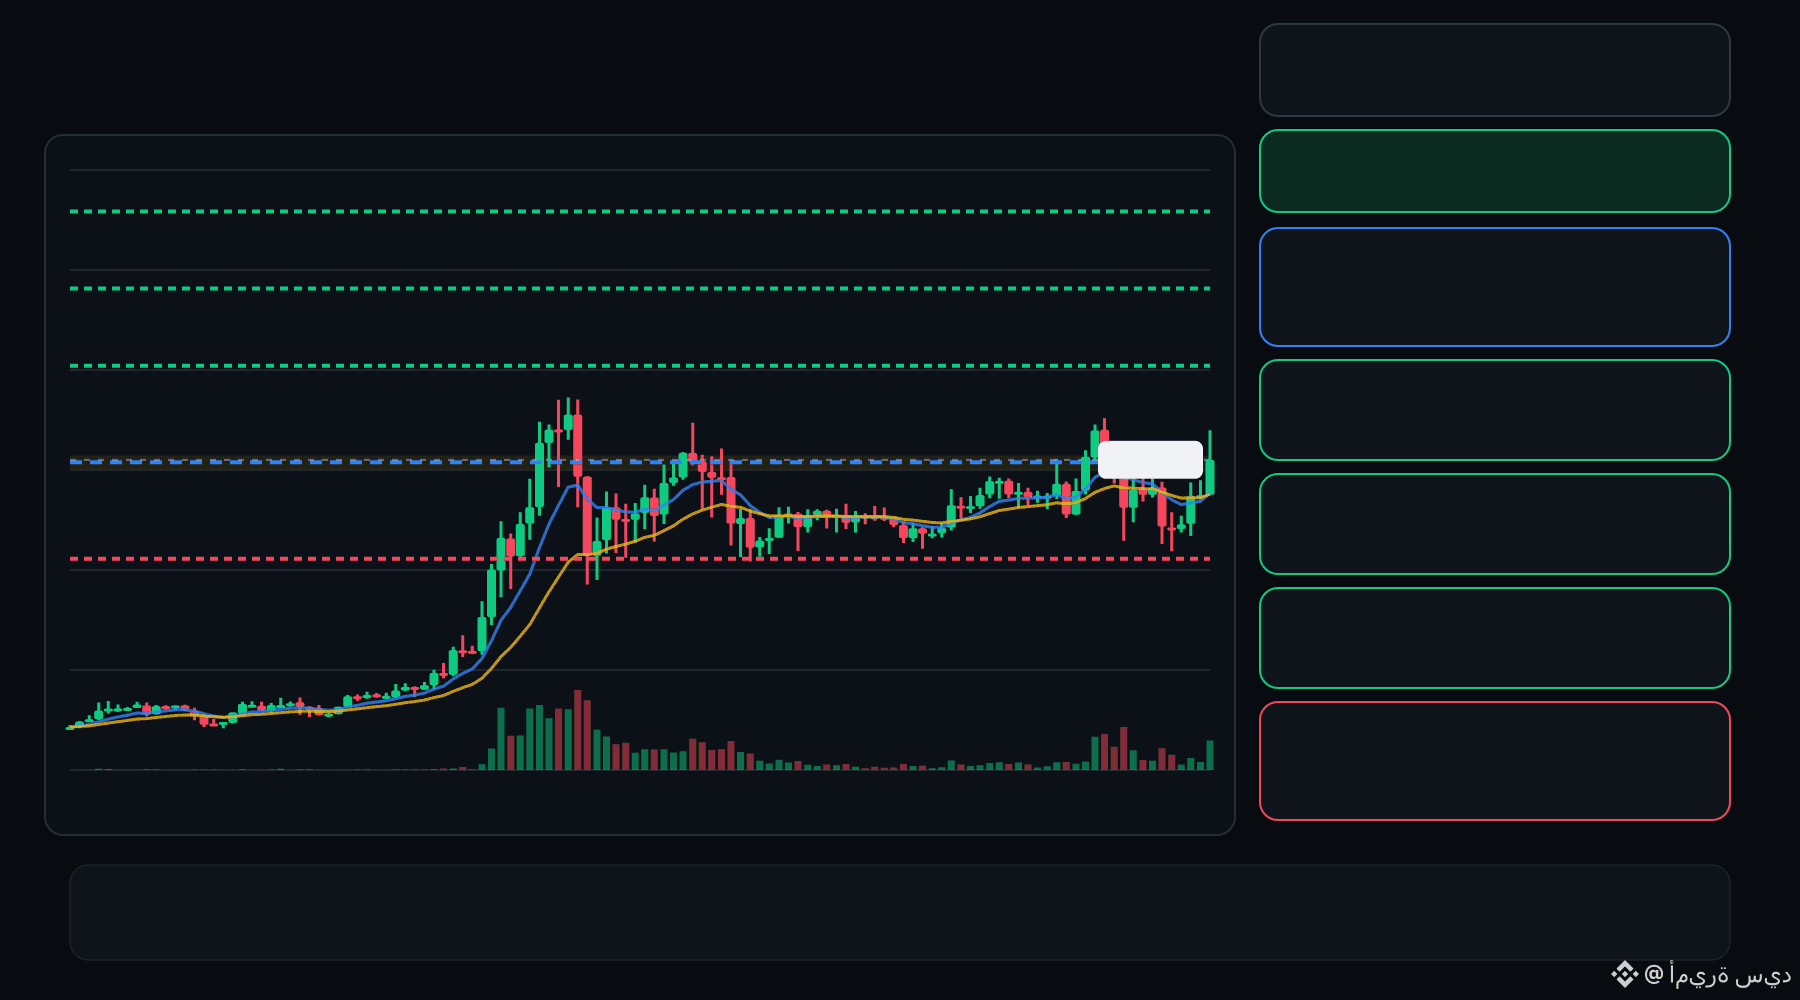
🟢 AIOT bulls are defending the pullback… is continuation setting up ⁉️
🟩 AIOT LONG
Entry: 0.08928 – 0.09022
TP1: 0.09653
TP2: 0.1019
TP3: 0.1074
Stop Loss: 0.08298
The 15M chart shows a bullish structure with momentum and volume confirmation. A controlled retest of the entry zone may give the setup a cleaner trigger.
Plan: Wait for confirmation/rejection inside the entry zone; don’t chase the move.
DYOR | Manage Risk | Avoid Over-Leverage
3
·
--
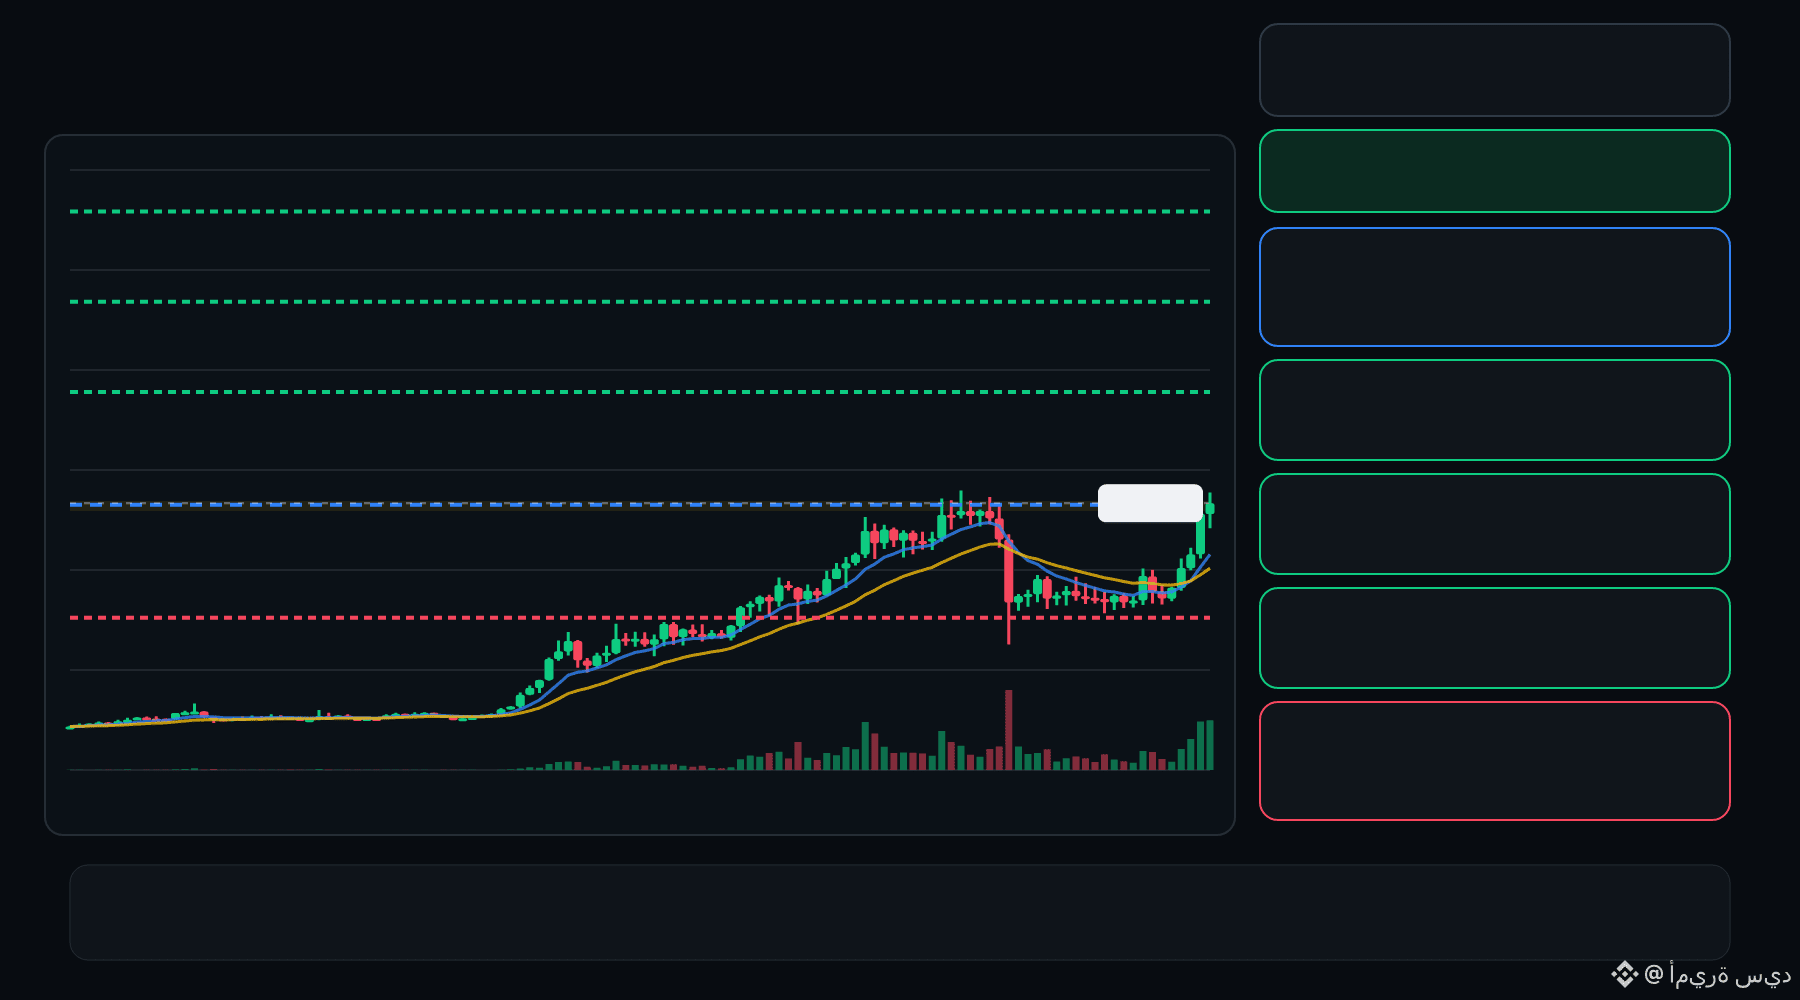
🟢 ESPORTS bulls are defending the pullback… is continuation setting up ⁉️
🟩 ESPORTS LONG
Entry: 0.01000 – 0.01011
TP1: 0.01163
TP2: 0.01288
TP3: 0.01414
Stop Loss: 0.008490
The 15M chart shows a bullish structure with momentum and volume confirmation. A controlled retest of the entry zone may give the setup a cleaner trigger.
Plan: Wait for confirmation/rejection inside the entry zone; don’t chase the move.
DYOR | Manage Risk | Avoid Over-Leverage
1
·
--
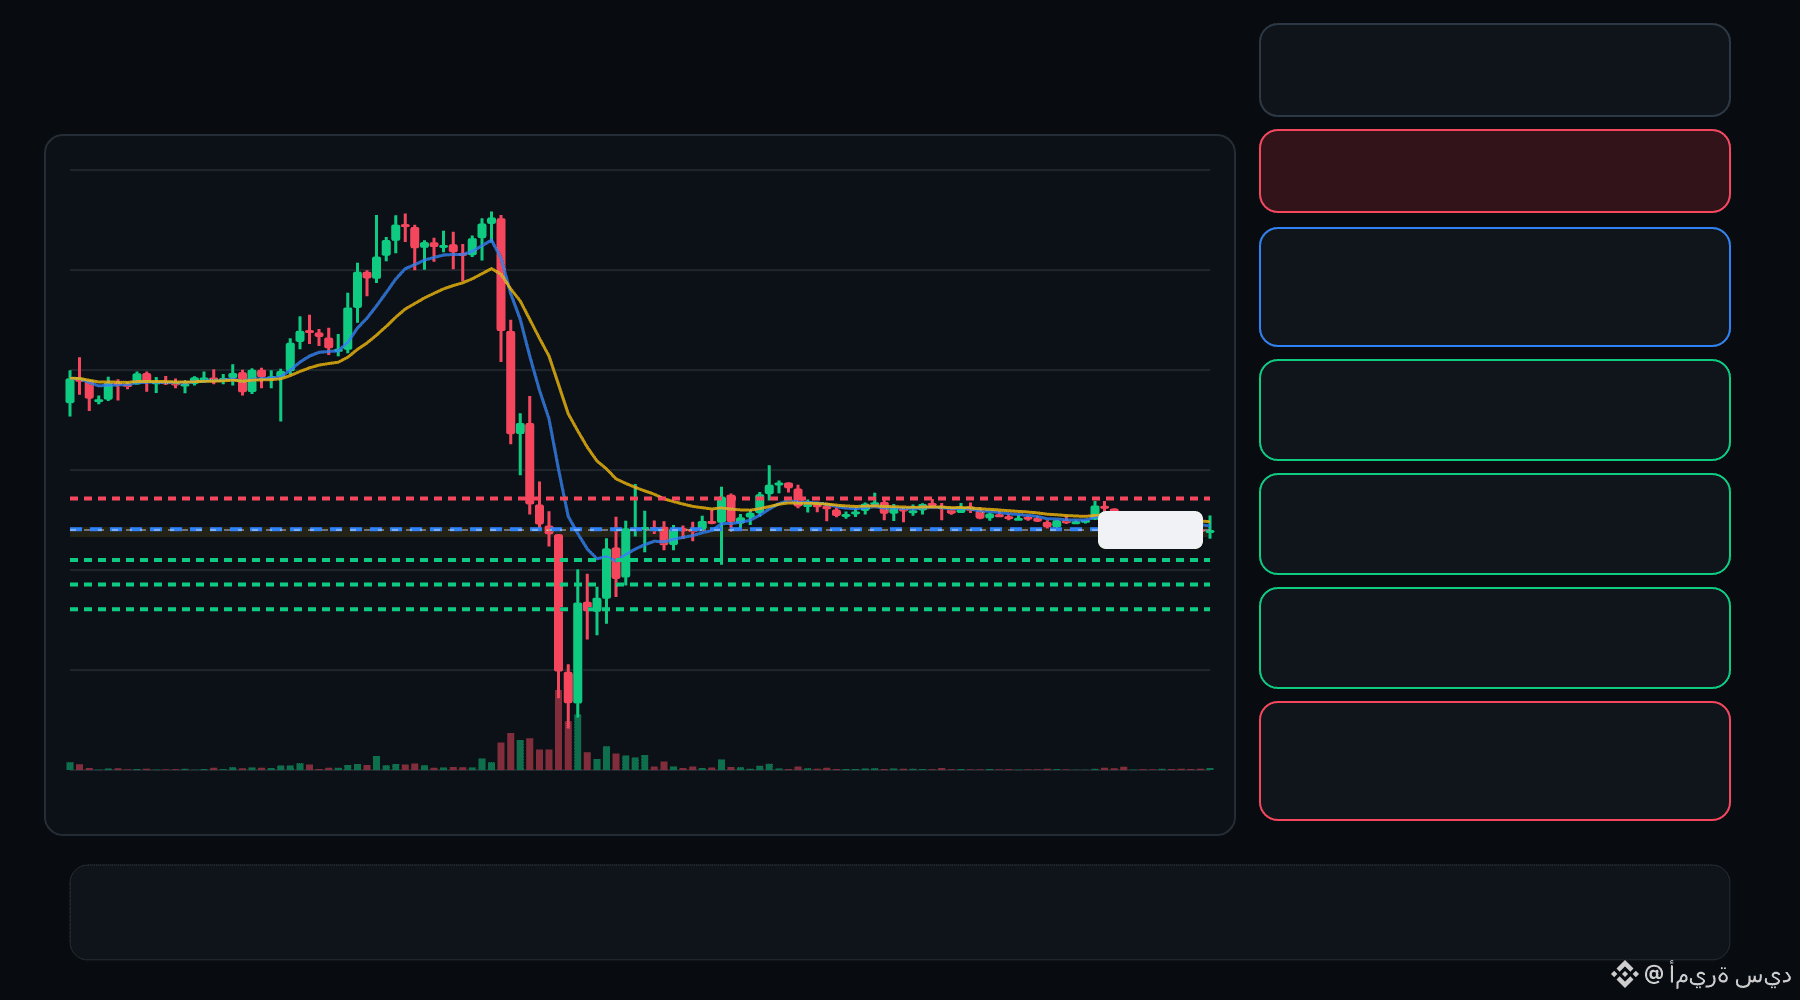
🔴 BULLA bears are pressing the pullback… is the rejection getting deeper ⁉️
🔴 BULLA SHORT
Entry: 0.06800 – 0.06826
TP1: 0.06631
TP2: 0.06486
TP3: 0.06340
Stop Loss: 0.06995
The 15M chart shows a bearish structure with momentum and volume confirmation. A controlled retest of the entry zone may give the setup a cleaner trigger.
Plan: Wait for confirmation/rejection inside the entry zone; don’t chase the move.
DYOR | Manage Risk | Avoid Over-Leverage
5
·
--
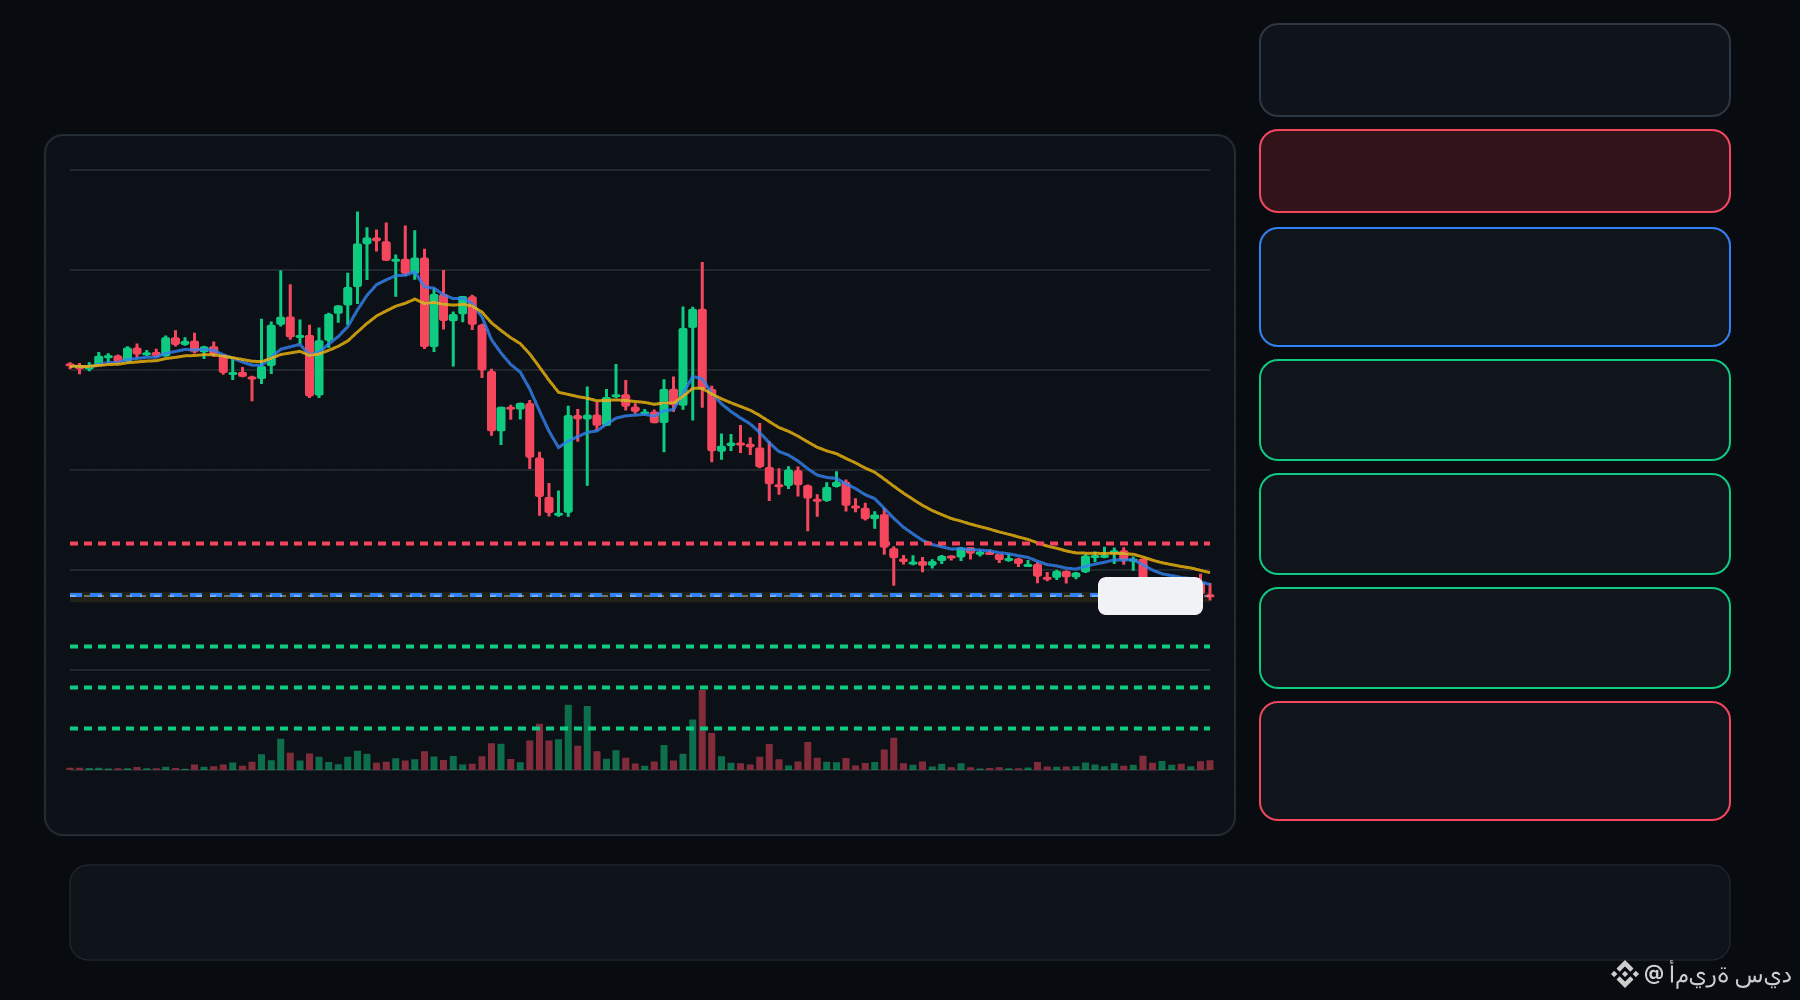
🔴 JCT bears are pressing the pullback… is the rejection getting deeper ⁉️
🔴 JCT SHORT
Entry: 0.004662 – 0.004685
TP1: 0.004459
TP2: 0.004287
TP3: 0.004115
Stop Loss: 0.004888
The 15M chart shows a bearish structure with momentum and volume confirmation. A controlled retest of the entry zone may give the setup a cleaner trigger.
Plan: Wait for confirmation/rejection inside the entry zone; don’t chase the move.
DYOR | Manage Risk | Avoid Over-Leverage
5
·
--
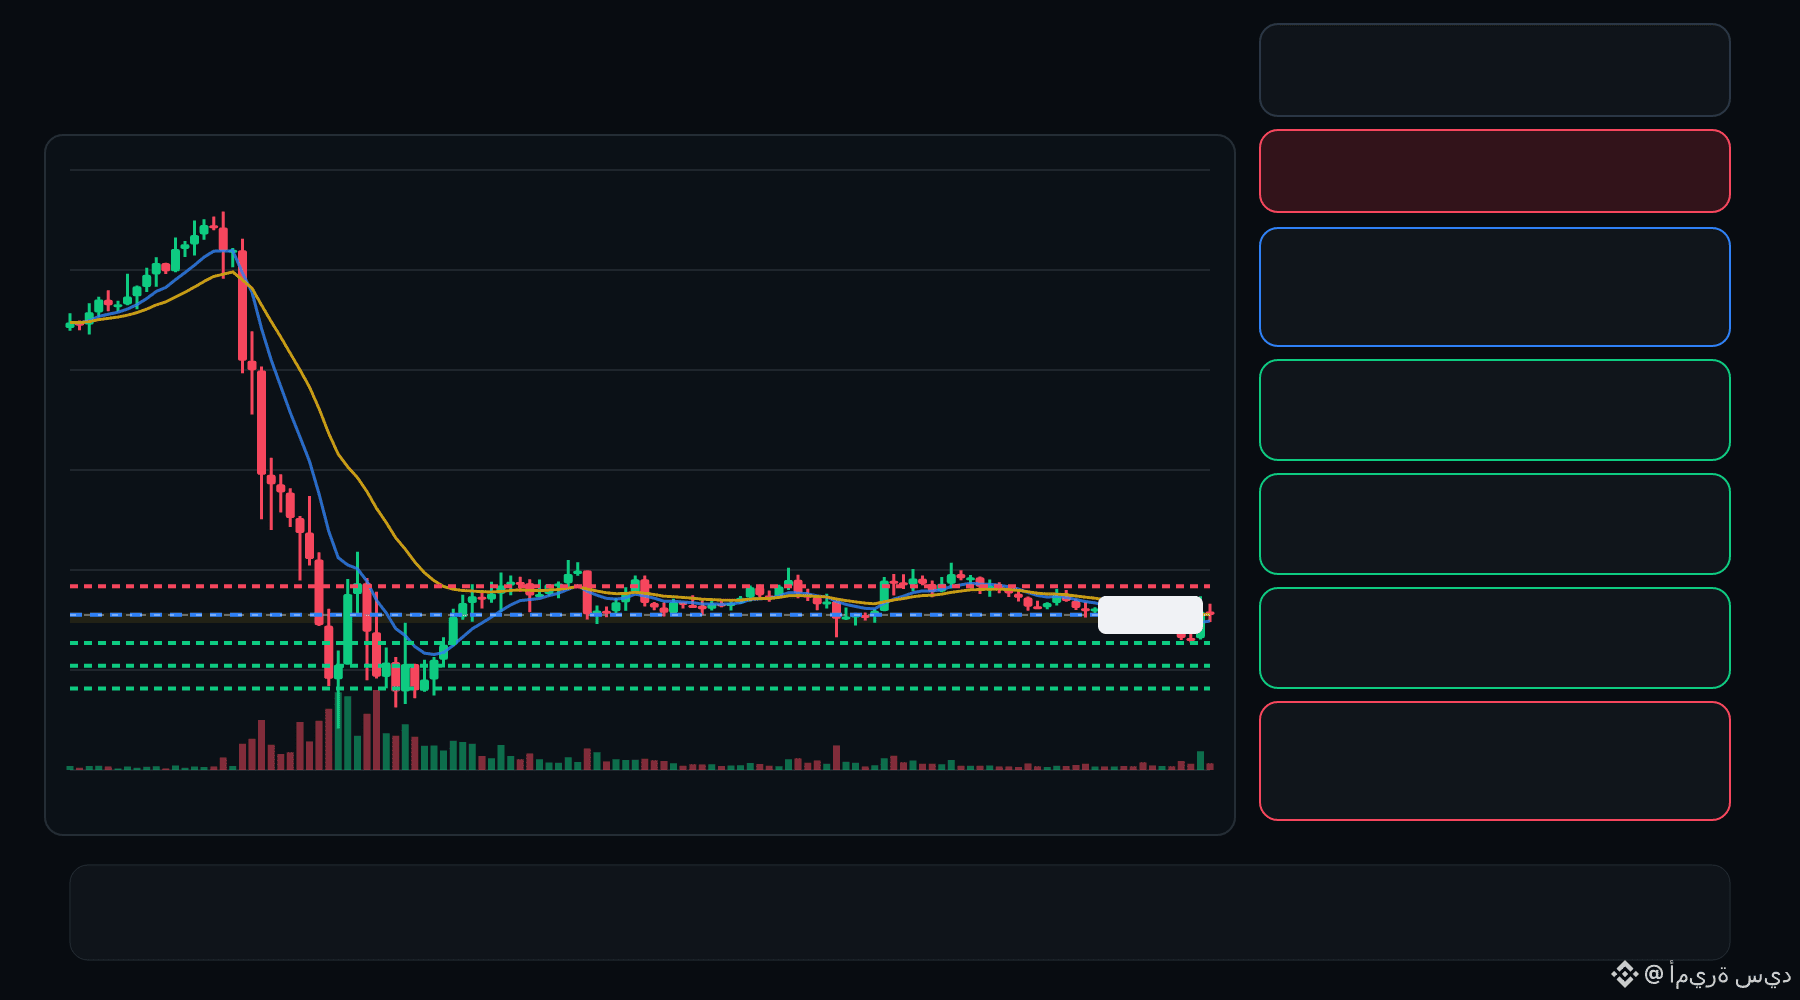
🔴 Q bears are pressing the pullback… is the rejection getting deeper ⁉️
🔴 Q SHORT
Entry: 0.03137 – 0.03152
TP1: 0.03014
TP2: 0.02909
TP3: 0.02804
Stop Loss: 0.03275
The 15M chart shows a bearish structure with momentum and volume confirmation. A controlled retest of the entry zone may give the setup a cleaner trigger.
Plan: Wait for confirmation/rejection inside the entry zone; don’t chase the move.
DYOR | Manage Risk | Avoid Over-Leverage
34
·
--
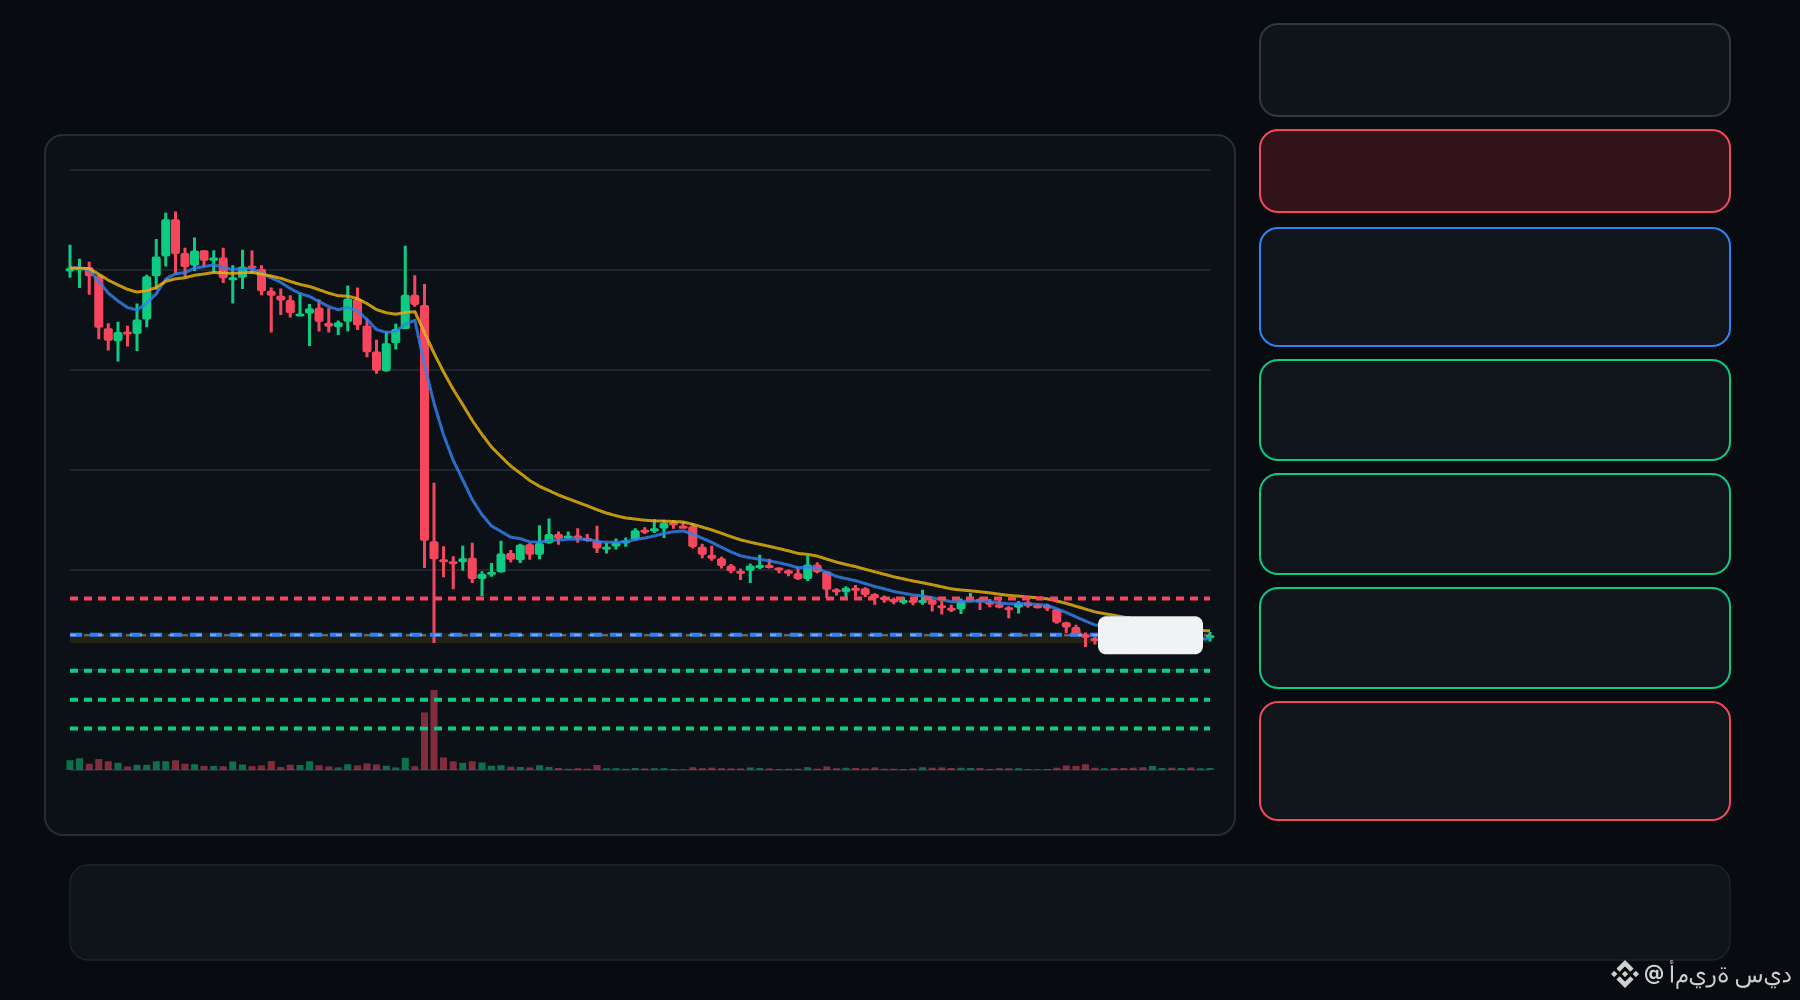
🔴 SOPH bears are pressing the pullback… is the rejection getting deeper ⁉️
🔴 SOPH SHORT
Entry: 0.001437 – 0.001444
TP1: 0.001366
TP2: 0.001306
TP3: 0.001246
Stop Loss: 0.001515
The 15M chart shows a bearish structure with momentum and volume confirmation. A controlled retest of the entry zone may give the setup a cleaner trigger.
Plan: Wait for confirmation/rejection inside the entry zone; don’t chase the move.
DYOR | Manage Risk | Avoid Over-Leverage
27
·
--
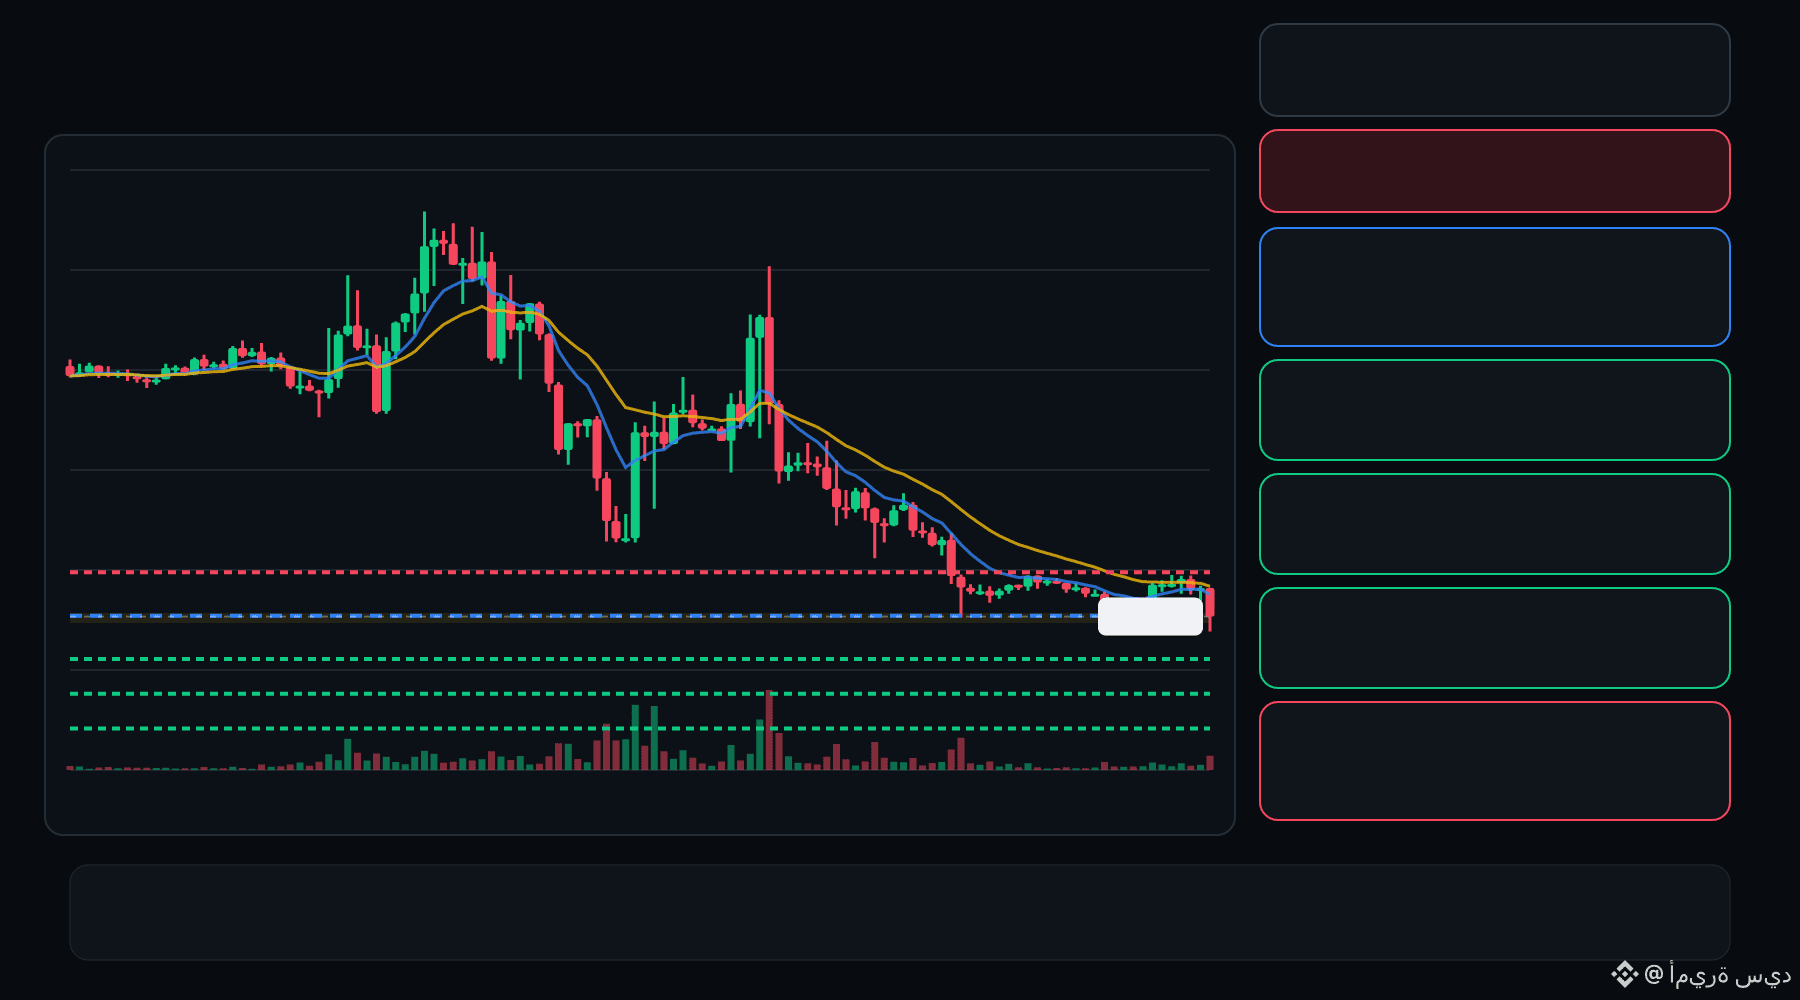
🔴 JCT bears are pressing the pullback… is the rejection getting deeper ⁉️
🔴 JCT SHORT
Entry: 0.004709 – 0.004729
TP1: 0.004551
TP2: 0.004417
TP3: 0.004283
Stop Loss: 0.004886
The 15M chart shows a bearish structure with momentum and volume confirmation. A controlled retest of the entry zone may give the setup a cleaner trigger.
Plan: Wait for confirmation/rejection inside the entry zone; don’t chase the move.
DYOR | Manage Risk | Avoid Over-Leverage
38
·
--
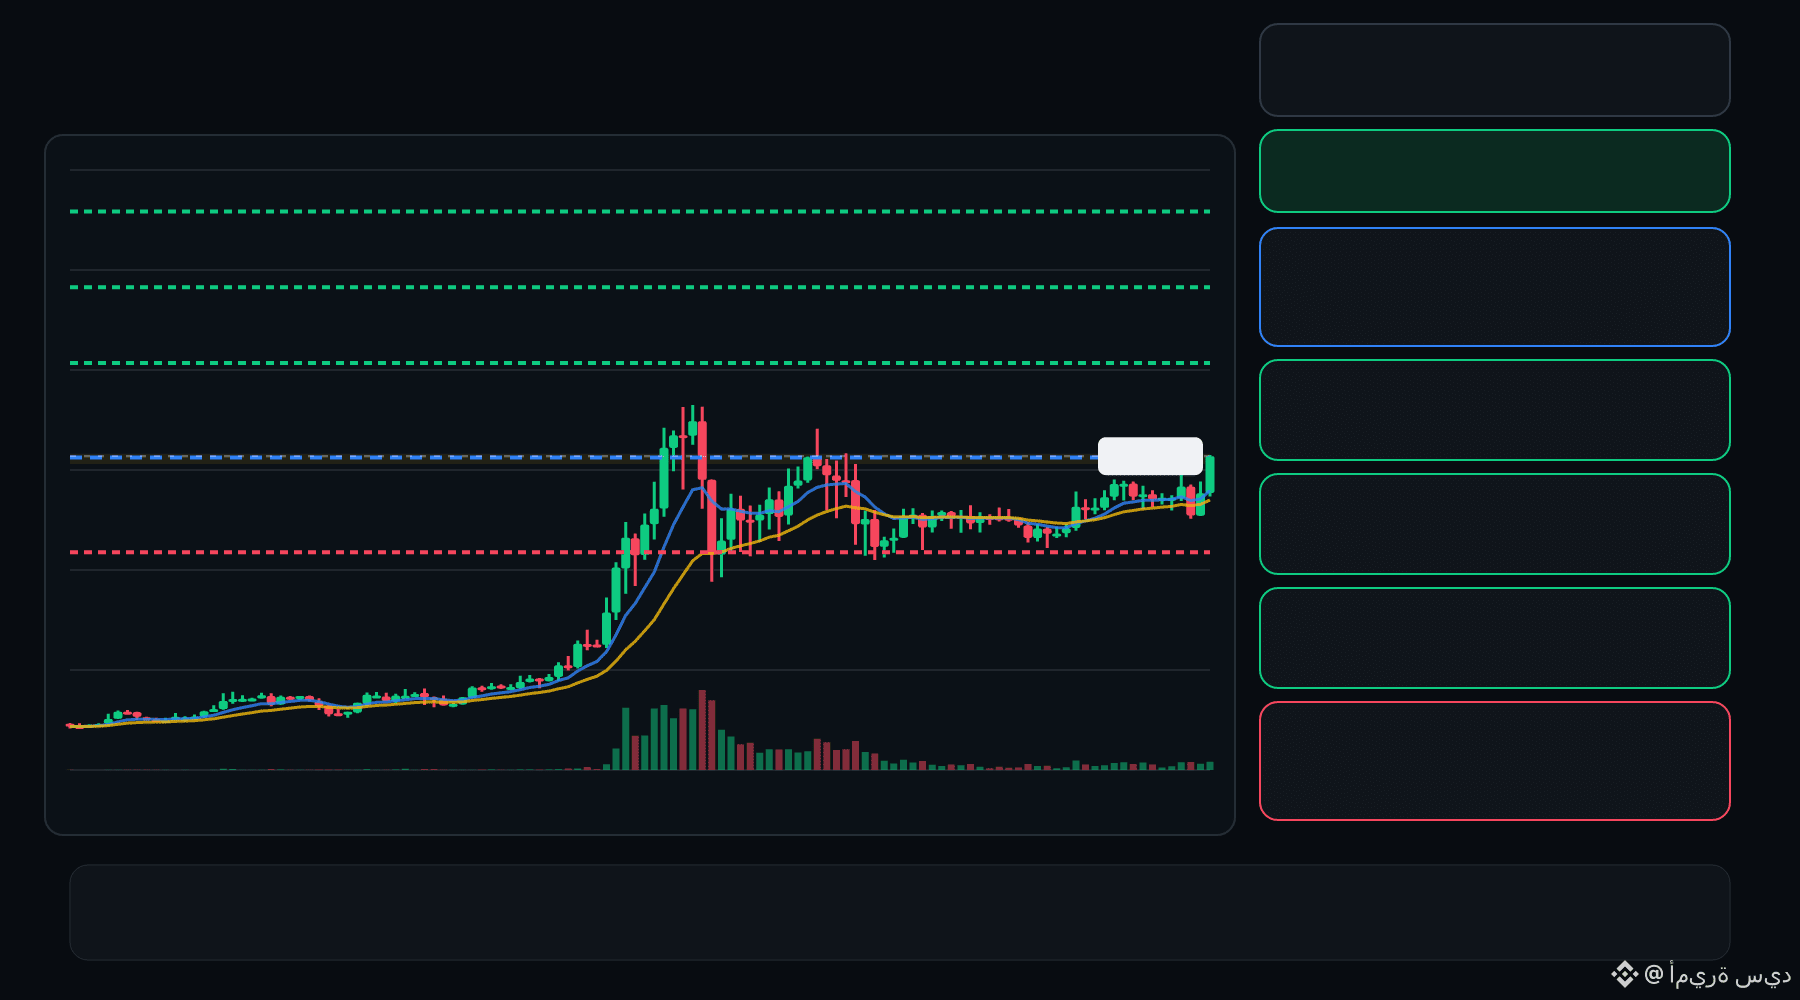
🟢 AIOT bulls are defending the pullback… is continuation setting up ⁉️
🟩 AIOT LONG
Entry: 0.09011 – 0.09068
TP1: 0.09743
TP2: 0.1030
TP3: 0.1087
Stop Loss: 0.08336
The 15M chart shows a bullish structure with momentum and volume confirmation. A controlled retest of the entry zone may give the setup a cleaner trigger.
Plan: Wait for confirmation/rejection inside the entry zone; don’t chase the move.
DYOR | Manage Risk | Avoid Over-Leverage
65
·
--
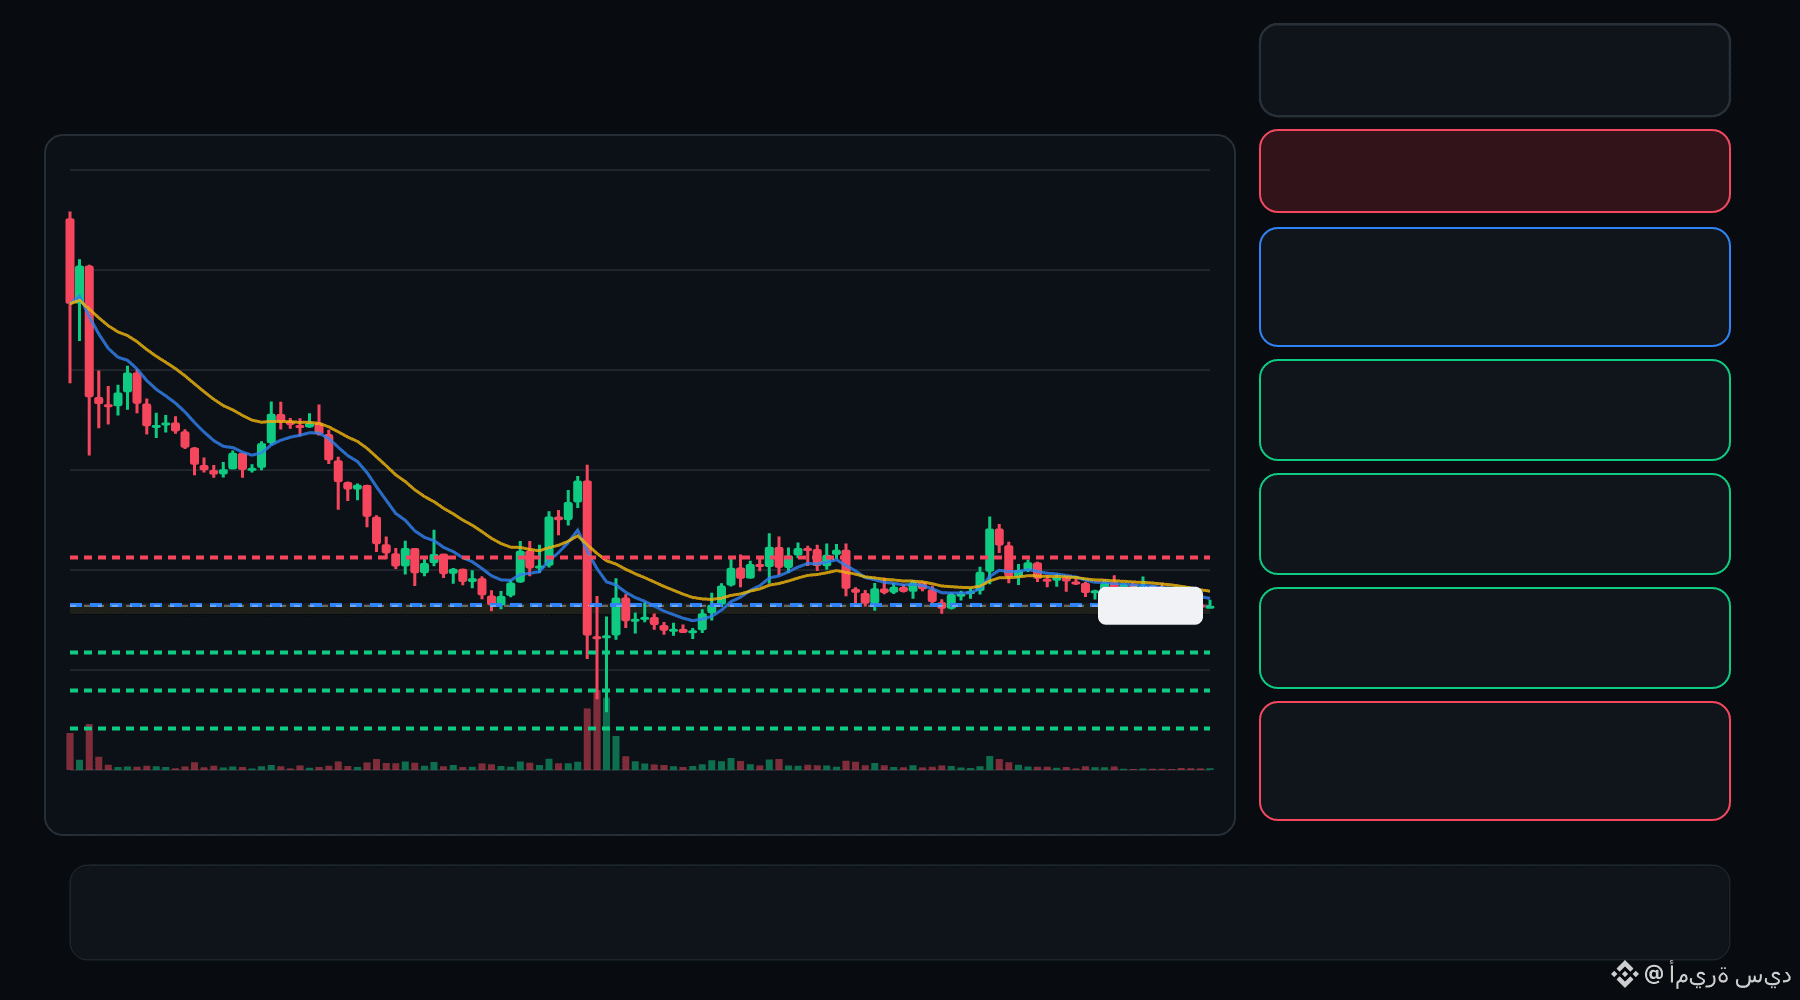
🔴 AKE bears are pressing the pullback… is the rejection getting deeper ⁉️
🔴 AKE SHORT
Entry: 0.01089 – 0.01095
TP1: 0.01013
TP2: 0.009502
TP3: 0.008872
Stop Loss: 0.01171
The 15M chart shows a bearish structure with momentum and volume confirmation. A controlled retest of the entry zone may give the setup a cleaner trigger.
Plan: Wait for confirmation/rejection inside the entry zone; don’t chase the move.
DYOR | Manage Risk | Avoid Over-Leverage
77
·
--
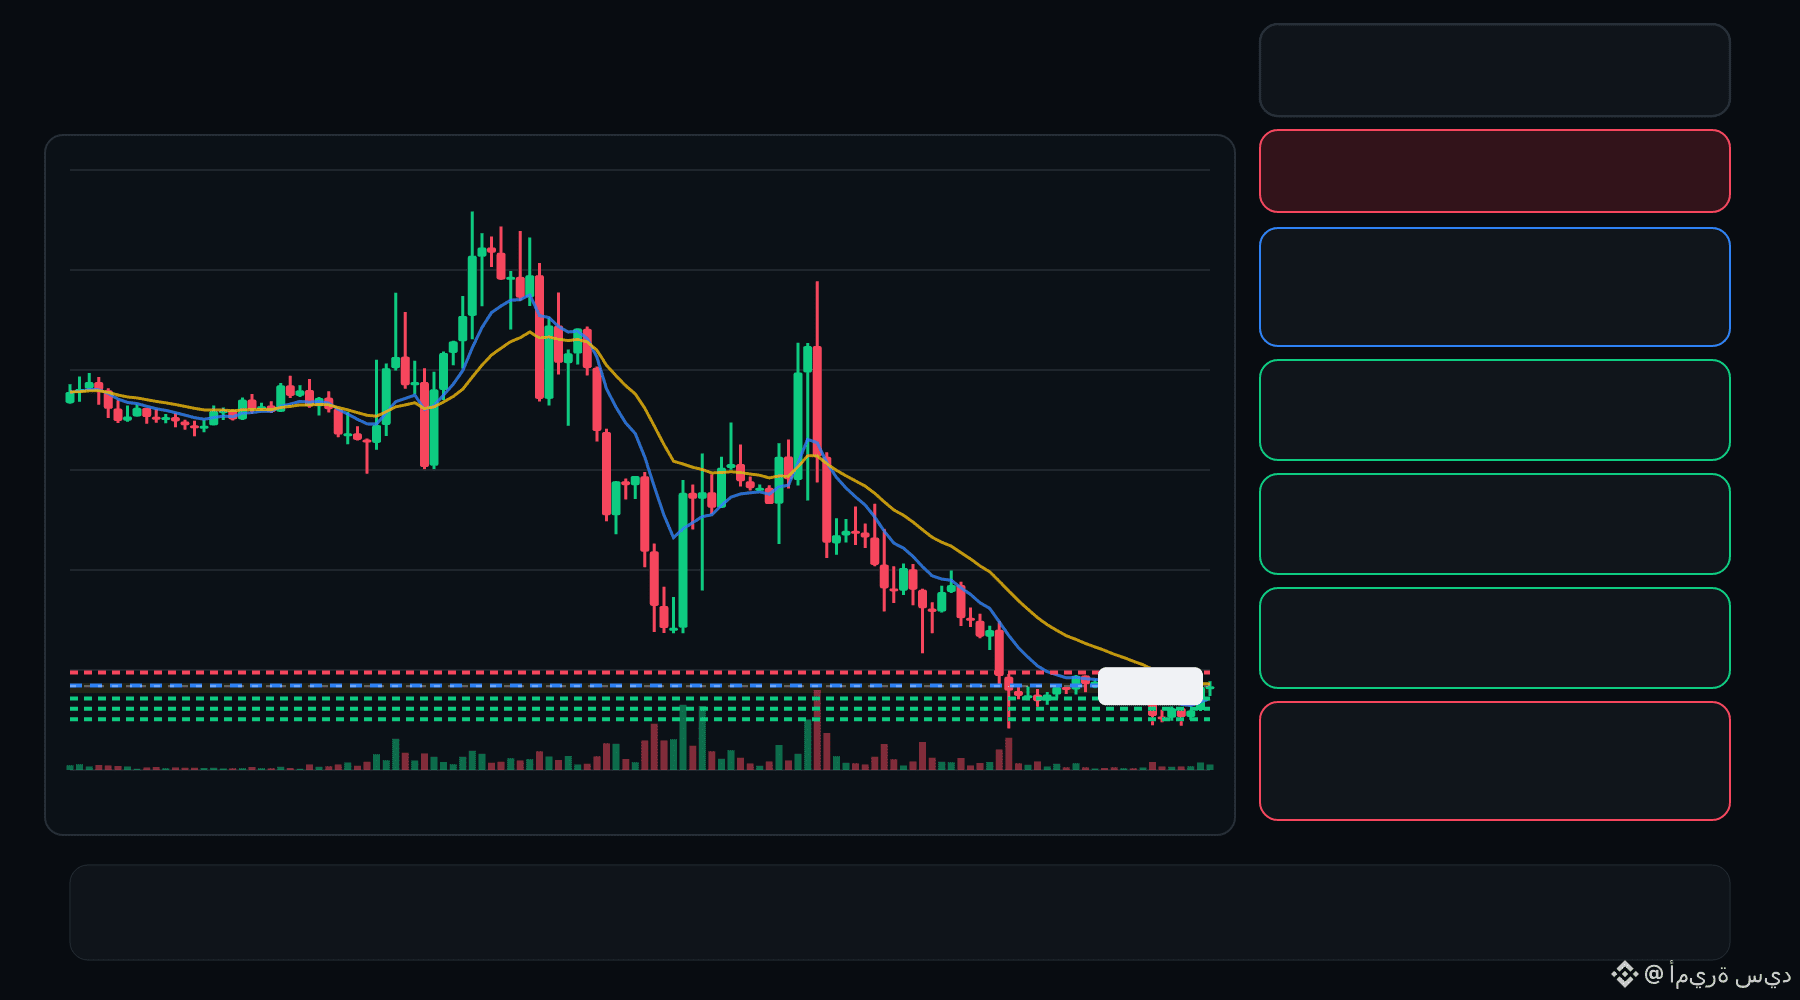
🔴 JCT bears are pressing the pullback… is the rejection getting deeper ⁉️
🔴 JCT SHORT
Entry: 0.004836 – 0.004850
TP1: 0.004803
TP2: 0.004772
TP3: 0.004741
Stop Loss: 0.004882
The 15M chart shows a bearish structure with momentum and volume confirmation. A controlled retest of the entry zone may give the setup a cleaner trigger.
Plan: Wait for confirmation/rejection inside the entry zone; don’t chase the move.
DYOR | Manage Risk | Avoid Over-Leverage
7
·
--
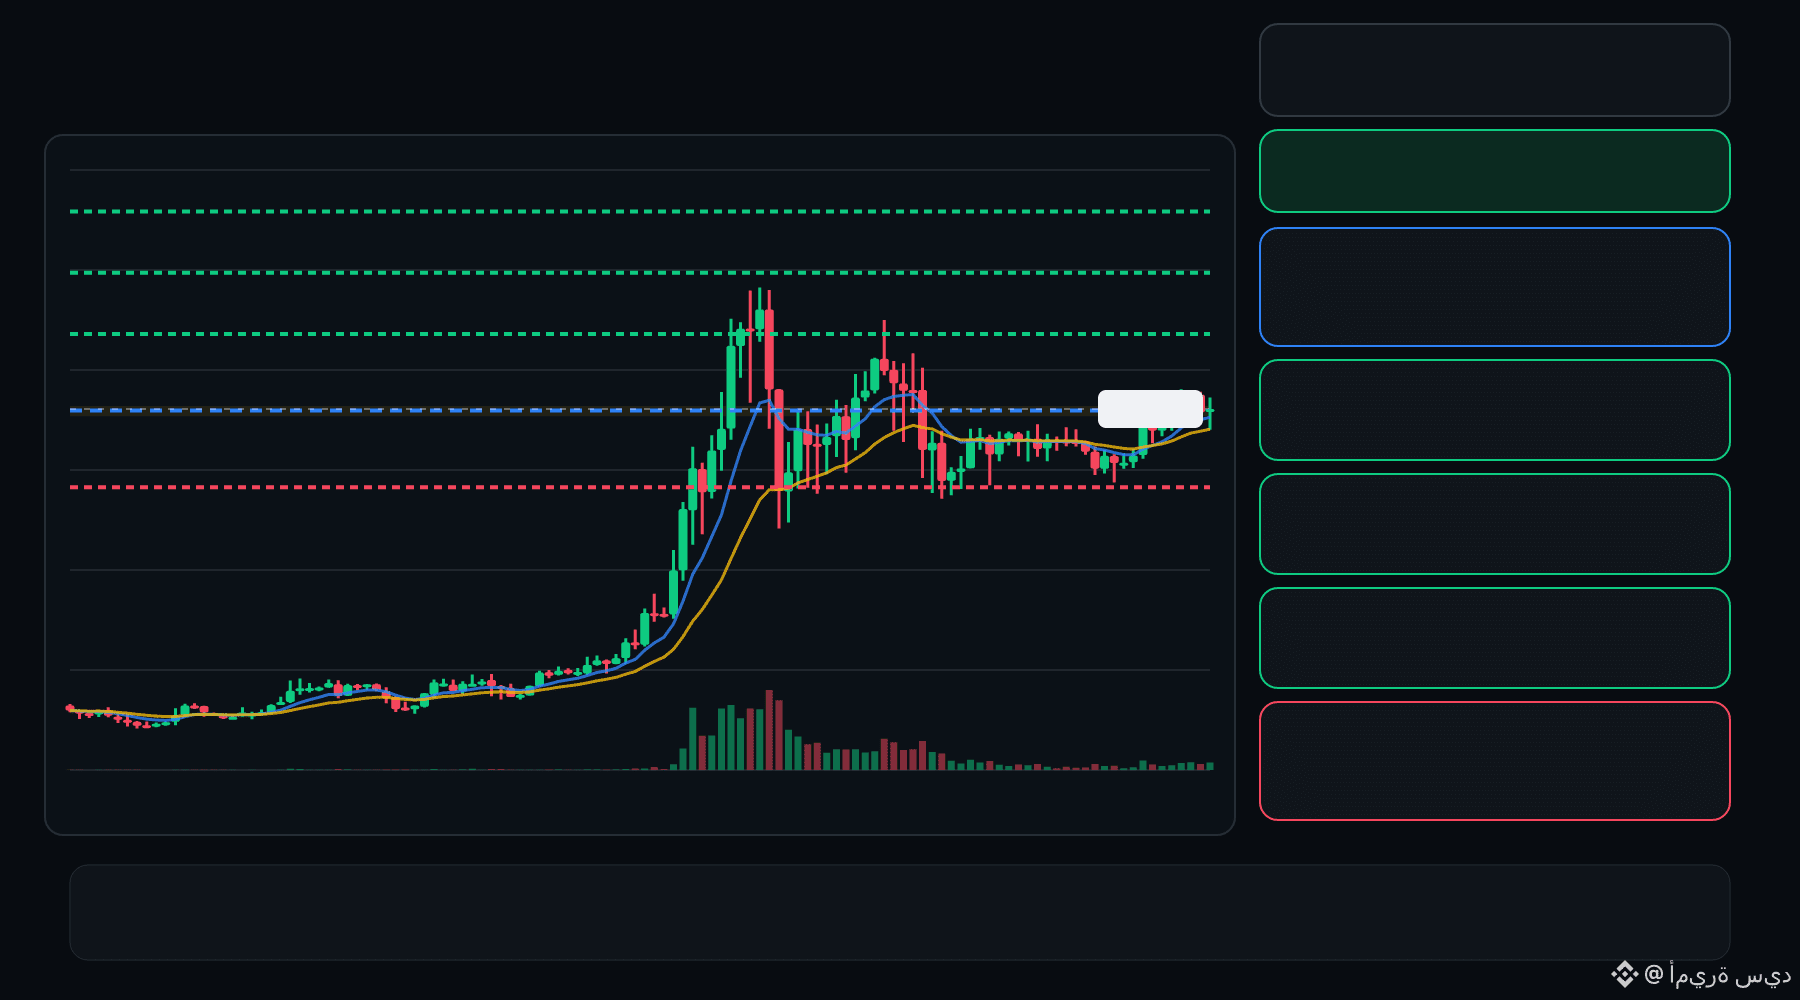
🟢 AIOT bulls are defending the pullback… is continuation setting up ⁉️
🟩 AIOT LONG
Entry: 0.08736 – 0.08782
TP1: 0.09177
TP2: 0.09510
TP3: 0.09844
Stop Loss: 0.08342
The 15M chart shows a bullish structure with momentum and volume confirmation. A controlled retest of the entry zone may give the setup a cleaner trigger.
Plan: Wait for confirmation/rejection inside the entry zone; don’t chase the move.
DYOR | Manage Risk | Avoid Over-Leverage
1
·
--
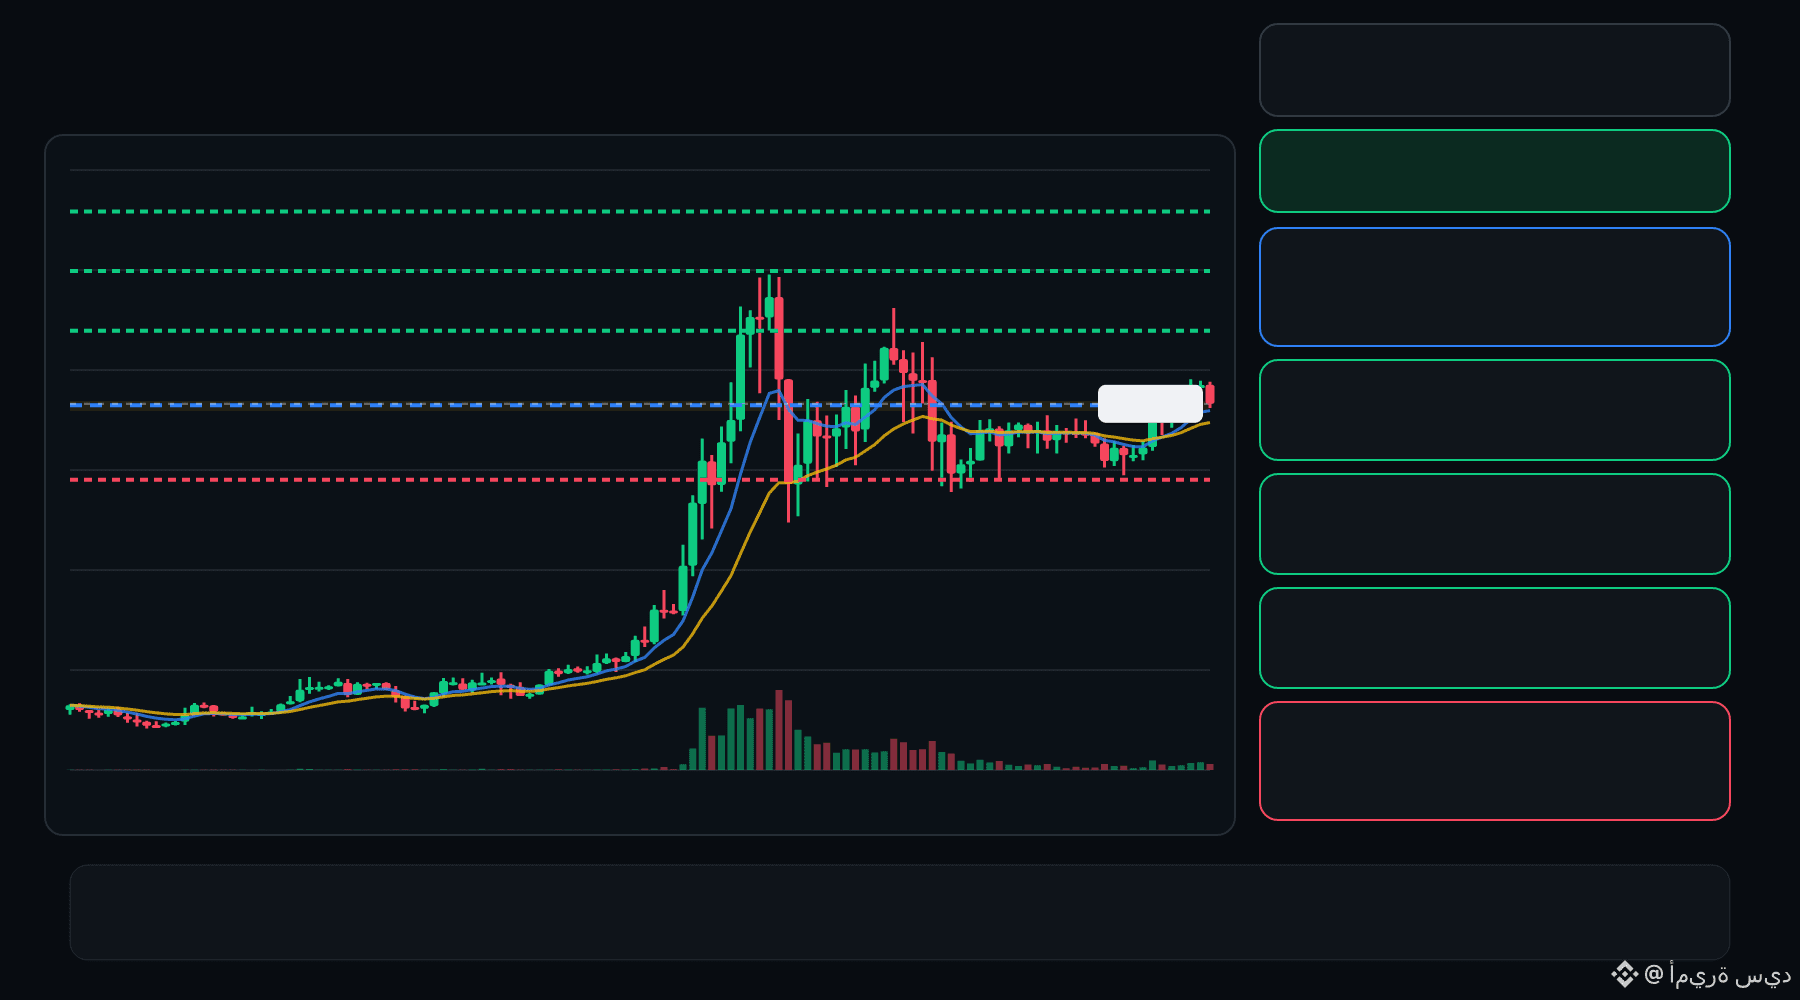
🟢 AIOT bulls are defending the pullback… is continuation setting up ⁉️
🟩 AIOT LONG
Entry: 0.08716 – 0.08760
TP1: 0.09132
TP2: 0.09448
TP3: 0.09764
Stop Loss: 0.08343
The 15M chart shows a bullish structure with momentum and volume confirmation. A controlled retest of the entry zone may give the setup a cleaner trigger.
Plan: Wait for confirmation/rejection inside the entry zone; don’t chase the move.
DYOR | Manage Risk | Avoid Over-Leverage
1
·
--
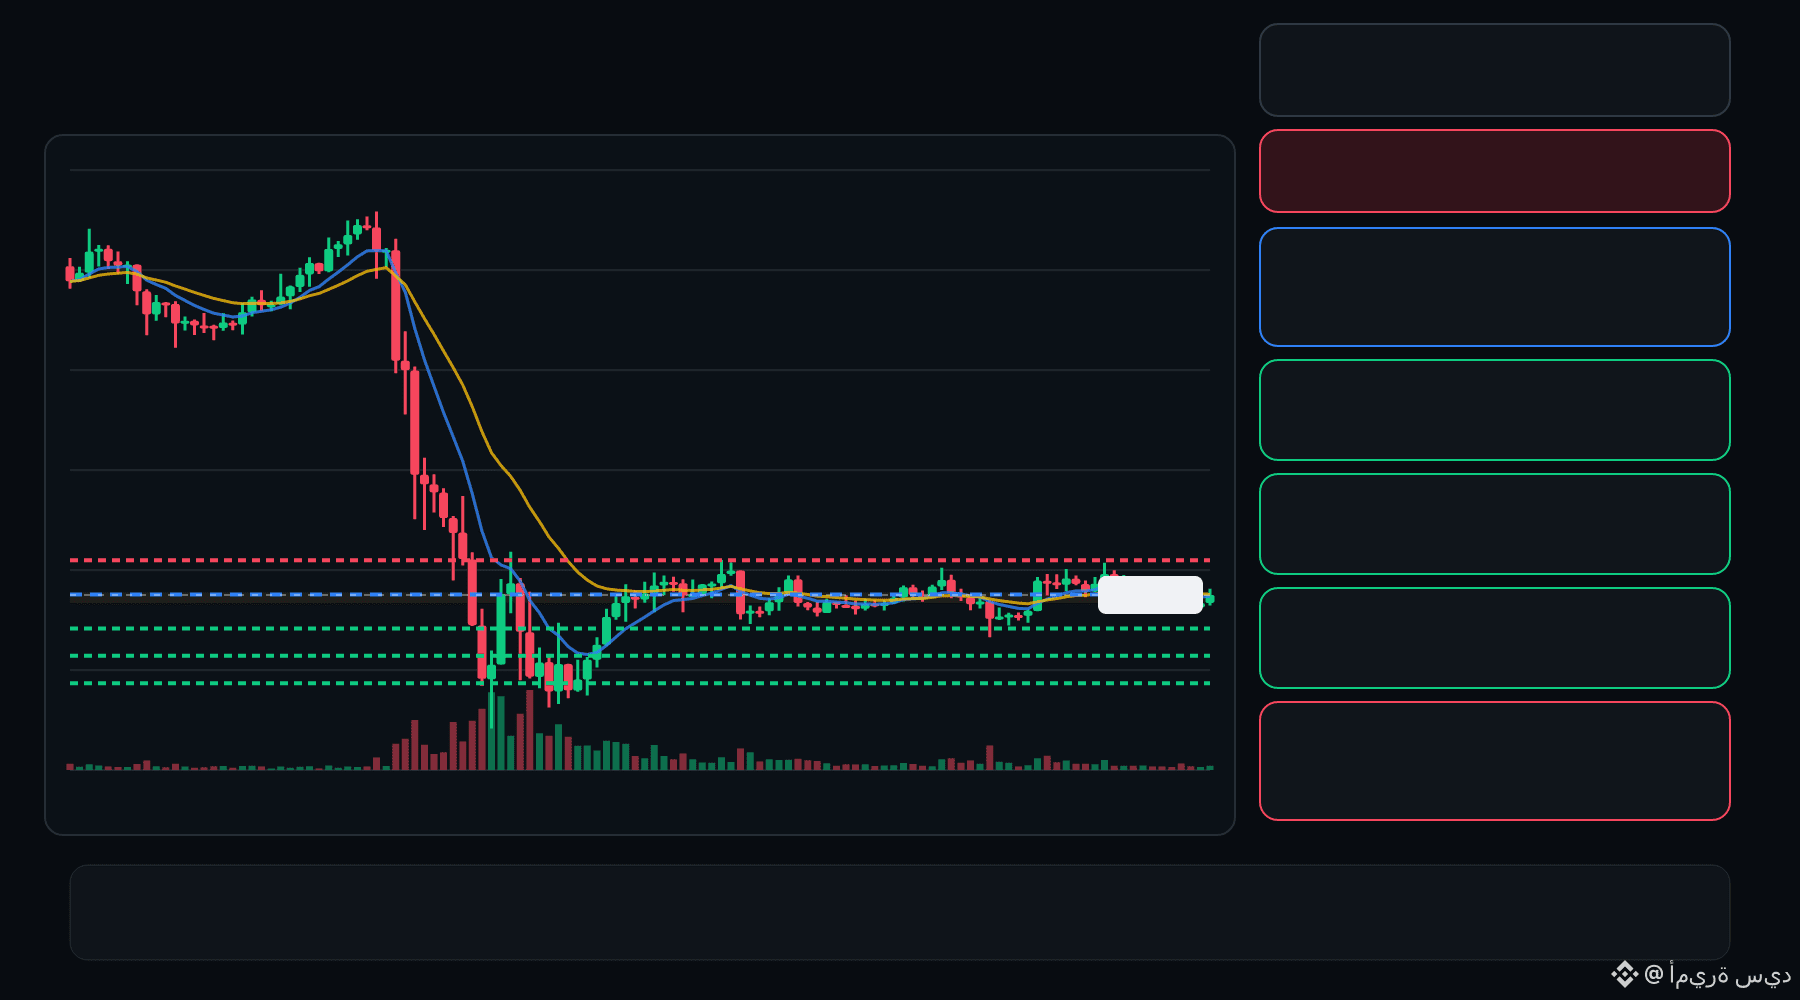
🔴 Q bears are pressing the pullback… is the rejection getting deeper ⁉️
🔴 Q SHORT
Entry: 0.03229 – 0.03246
TP1: 0.03080
TP2: 0.02955
TP3: 0.02829
Stop Loss: 0.03394
The 15M chart shows a bearish structure with momentum and volume confirmation. A controlled retest of the entry zone may give the setup a cleaner trigger.
Plan: Wait for confirmation/rejection inside the entry zone; don’t chase the move.
DYOR | Manage Risk | Avoid Over-Leverage
11
·
--
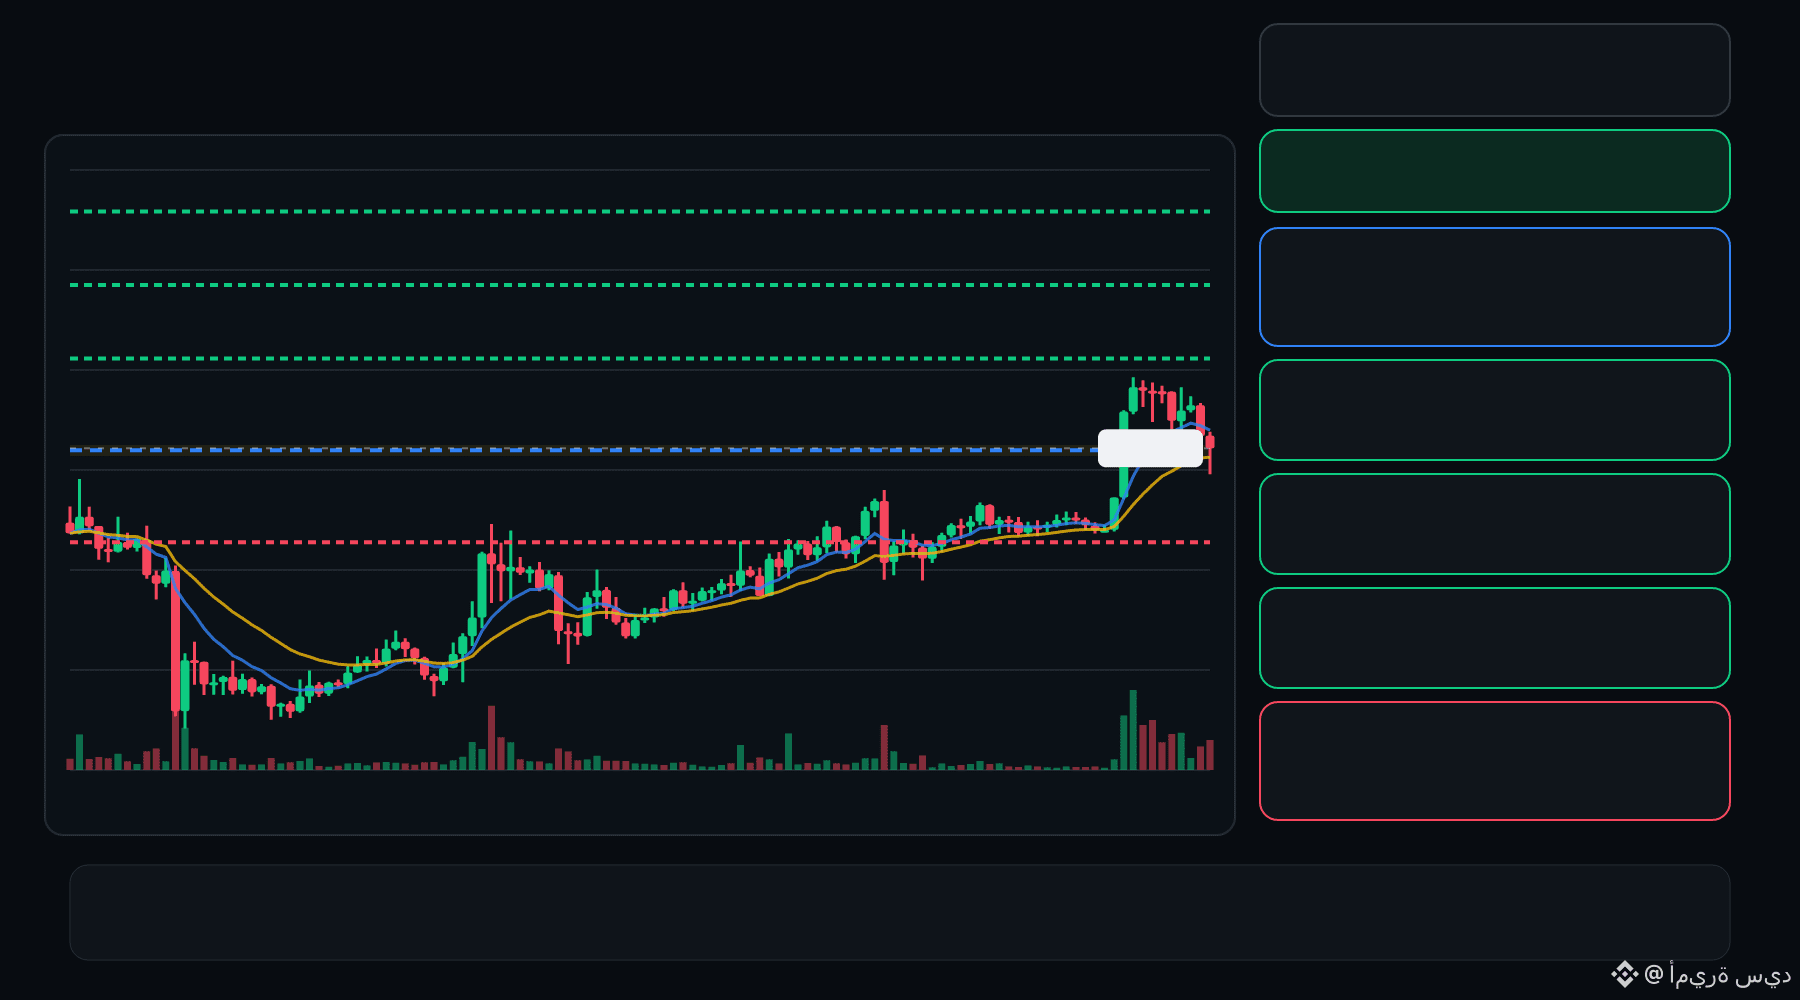
🟢 EVAA bulls are defending the pullback… is continuation setting up ⁉️
🟩 EVAA LONG
Entry: 1.365 – 1.377
TP1: 1.470
TP2: 1.549
TP3: 1.628
Stop Loss: 1.272
The 15M chart shows a bullish structure with momentum and volume confirmation. A controlled retest of the entry zone may give the setup a cleaner trigger.
Plan: Wait for confirmation/rejection inside the entry zone; don’t chase the move.
DYOR | Manage Risk | Avoid Over-Leverage
8
·
--
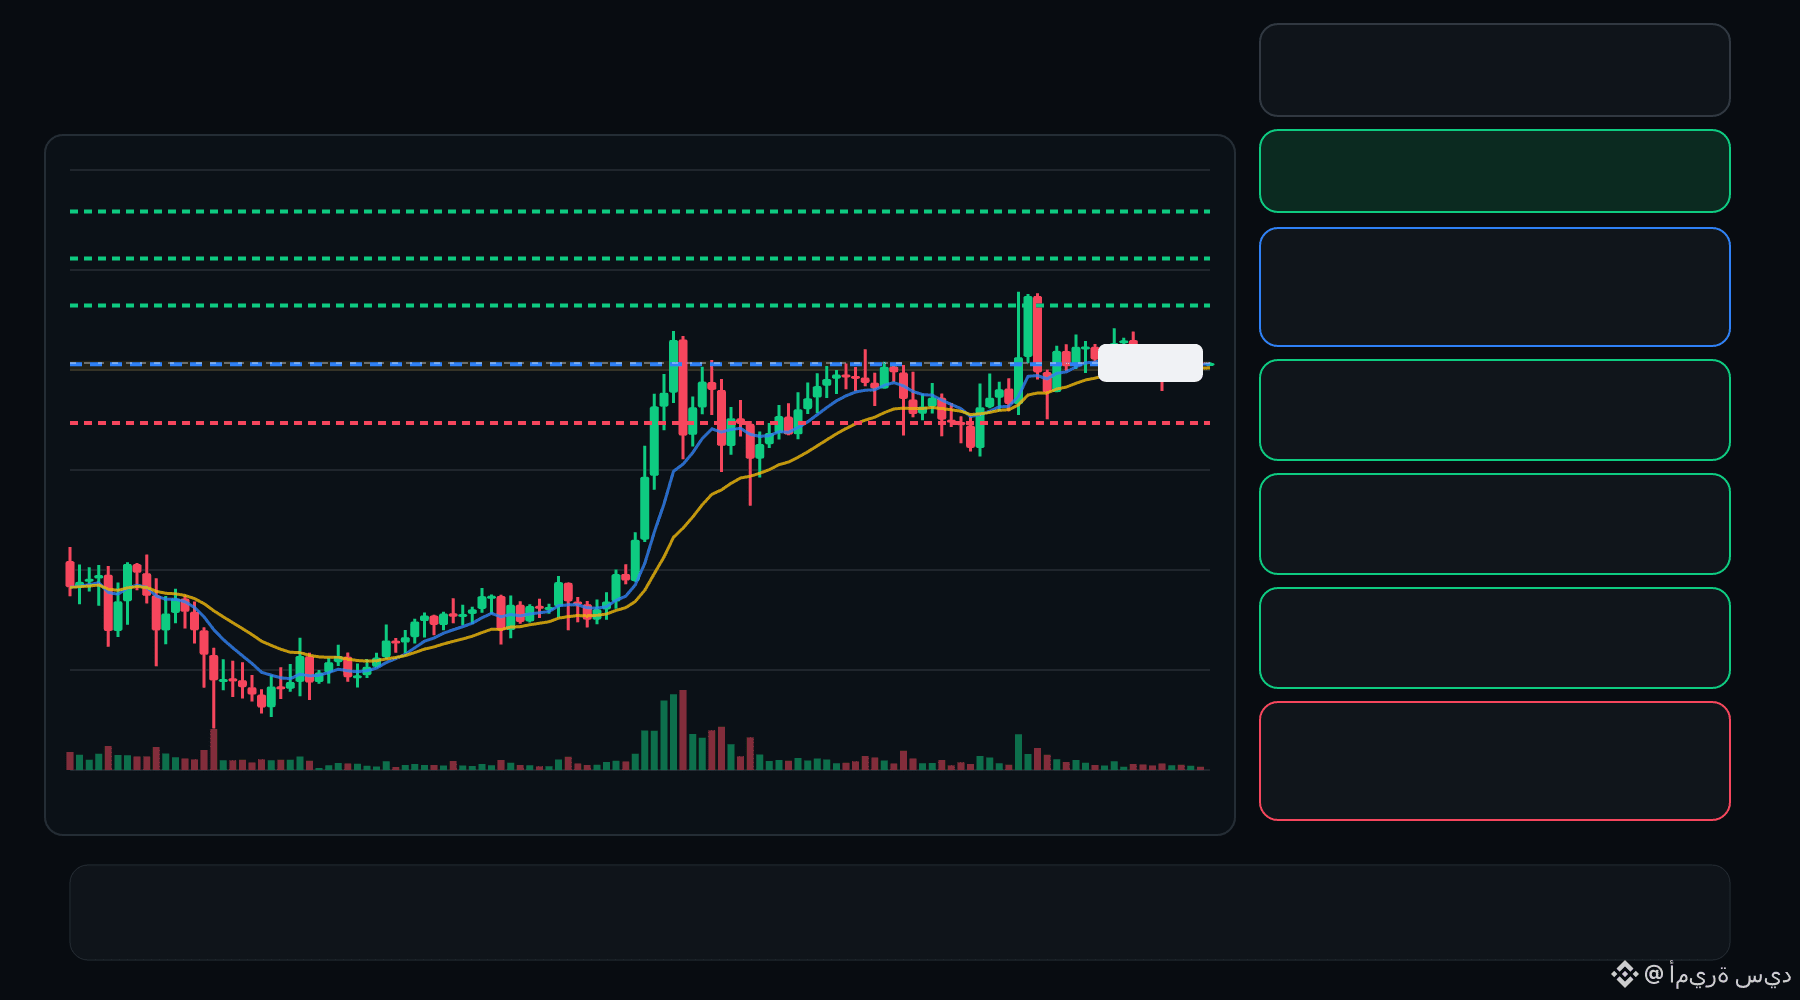
🟢 MAGMA bulls are defending the pullback… is continuation setting up ⁉️
🟩 MAGMA LONG
Entry: 0.4227 – 0.4240
TP1: 0.4351
TP2: 0.4444
TP3: 0.4538
Stop Loss: 0.4117
The 15M chart shows a bullish structure with momentum and volume confirmation. A controlled retest of the entry zone may give the setup a cleaner trigger.
Plan: Wait for confirmation/rejection inside the entry zone; don’t chase the move.
DYOR | Manage Risk | Avoid Over-Leverage
·
--
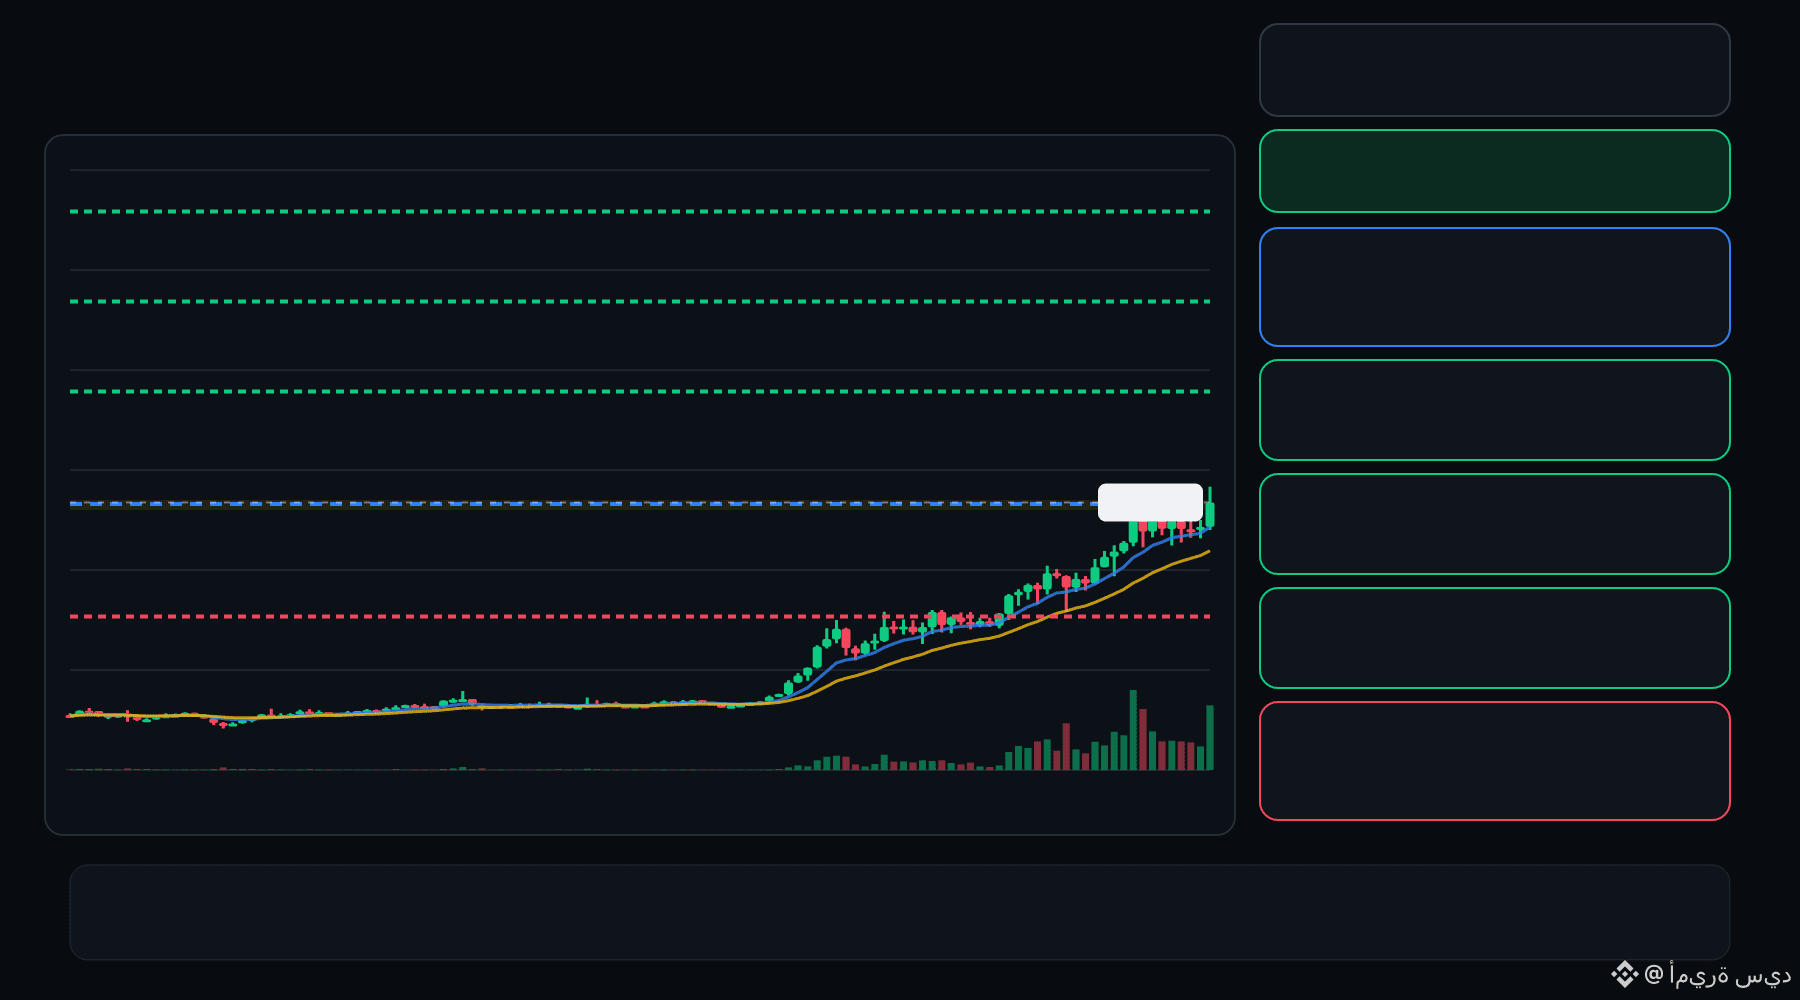
🟢 ESPORTS bulls are defending the pullback… is continuation setting up ⁉️
🟩 ESPORTS LONG
Entry: 0.009853 – 0.009964
TP1: 0.01148
TP2: 0.01274
TP3: 0.01399
Stop Loss: 0.008338
The 15M chart shows a bullish structure with momentum and volume confirmation. A controlled retest of the entry zone may give the setup a cleaner trigger.
Plan: Wait for confirmation/rejection inside the entry zone; don’t chase the move.
DYOR | Manage Risk | Avoid Over-Leverage
19
·
--
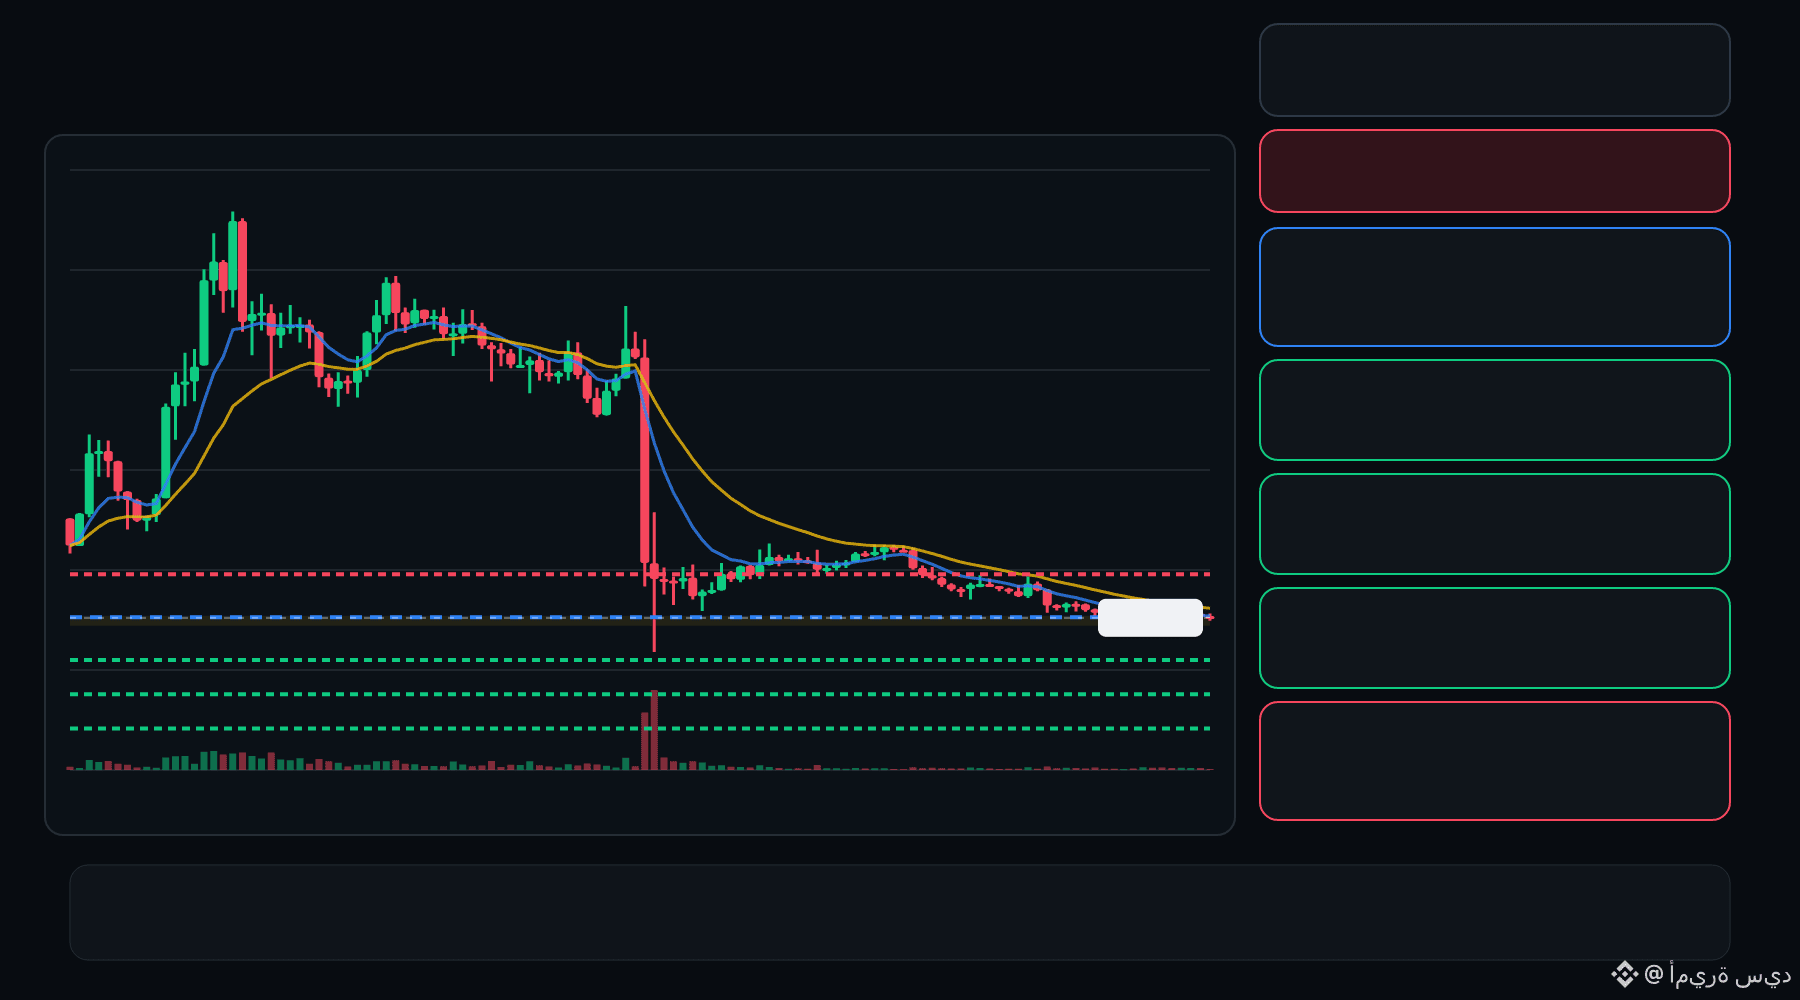
🔴 SOPH bears are pressing the pullback… is the rejection getting deeper ⁉️
🔴 SOPH SHORT
Entry: 0.001502 – 0.001509
TP1: 0.001404
TP2: 0.001322
TP3: 0.001241
Stop Loss: 0.001607
The 15M chart shows a bearish structure with momentum and volume confirmation. A controlled retest of the entry zone may give the setup a cleaner trigger.
Plan: Wait for confirmation/rejection inside the entry zone; don’t chase the move.
DYOR | Manage Risk | Avoid Over-Leverage
3
·
--
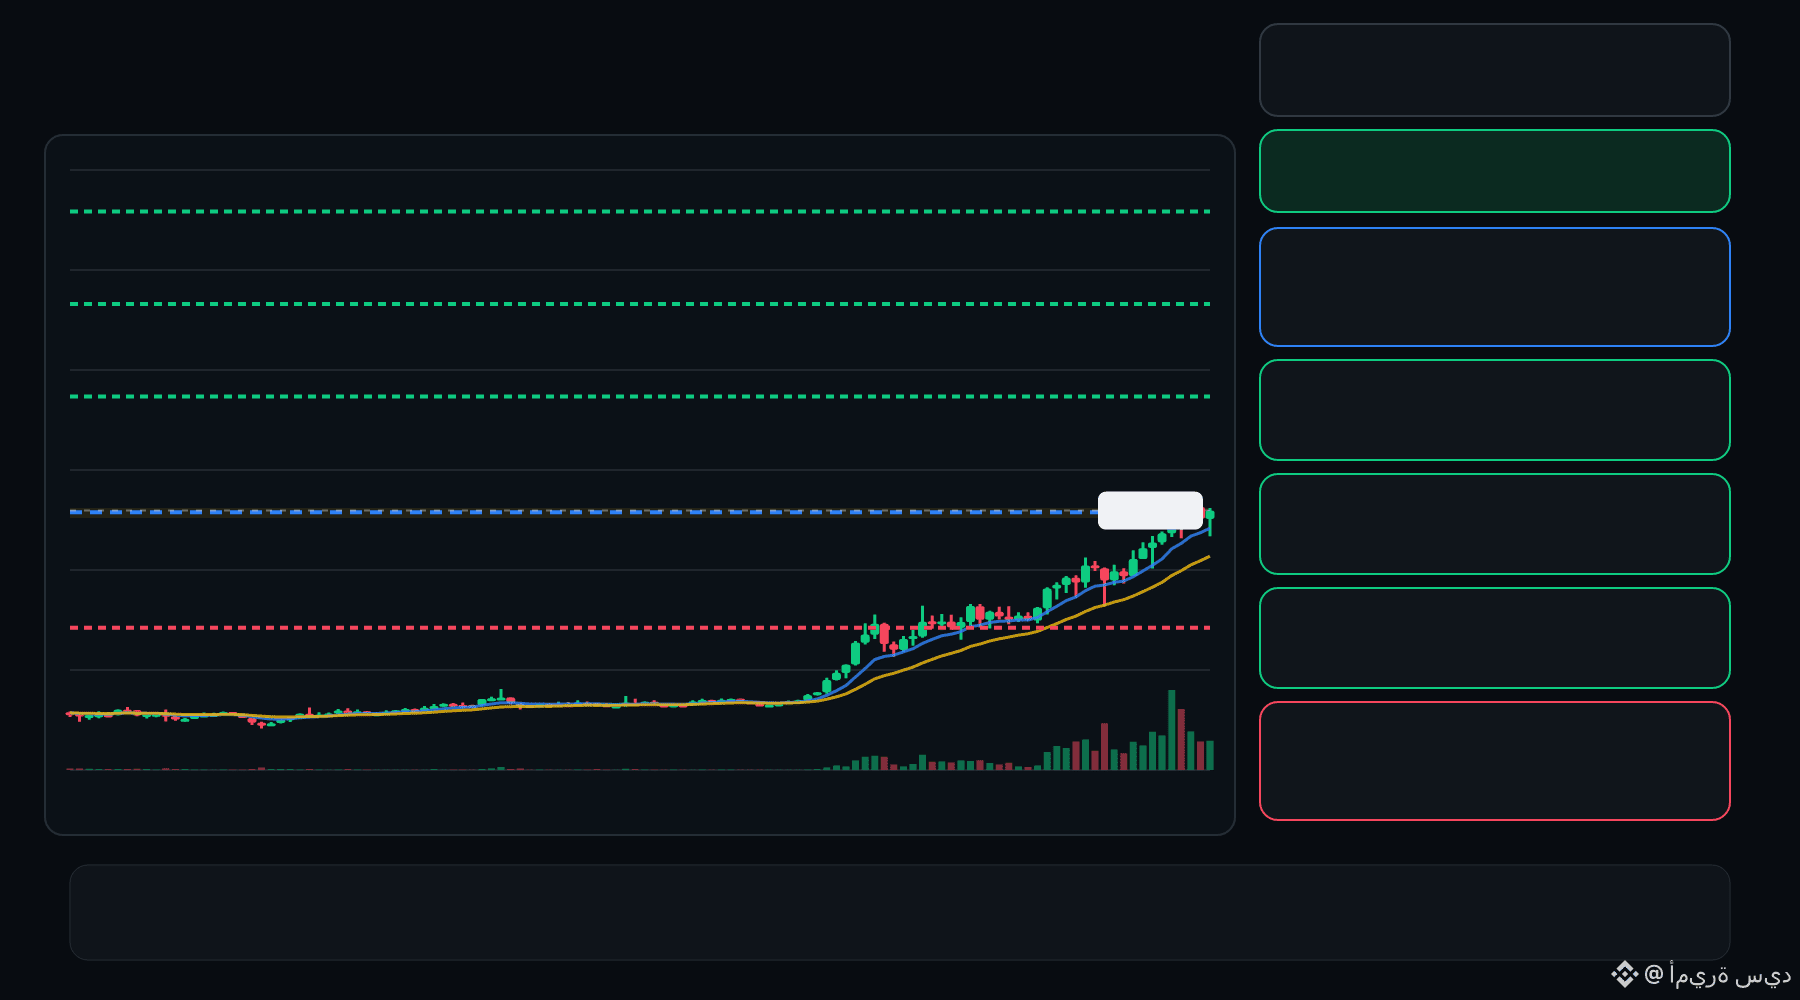
🟢 ESPORTS bulls are defending the pullback… is continuation setting up ⁉️
🟩 ESPORTS LONG
Entry: 0.009595 – 0.009704
TP1: 0.01119
TP2: 0.01242
TP3: 0.01365
Stop Loss: 0.008113
The 15M chart shows a bullish structure with momentum and volume confirmation. A controlled retest of the entry zone may give the setup a cleaner trigger.
Plan: Wait for confirmation/rejection inside the entry zone; don’t chase the move.
DYOR | Manage Risk | Avoid Over-Leverage
3
Log in to explore more content
Join global crypto users on Binance Square
⚡️ Get latest and useful information about crypto.
💬 Trusted by the world’s largest crypto exchange.
👍 Discover real insights from verified creators.
Email / Phone number
Trending Topics
BinanceToResumePhaseOneOfWithdrawals
2,308 views
169 Discussing
Security Incident | Recovery Update #4: Withdrawals Resume in Phases (2026-11-01)
Binance Announcement
·169 Likes
·176.3k views
BinanceHadAlreadyCovered$6BofHackLoss
1,026 views
38 Discussing
FBIConfirmsNorthKoreaIsResponsibleForBinanceCryptoHack
5,467 views
48 Discussing