

Trade hunterr
219 Posts

Trade hunterr
Crypto Influence|zoro | Crypto Samurai | Deep studying crypto Projects.
Frequent Trader
7.5 Years
9 Following
30 Followers
64 Liked
Posts
All
Quotes
Videos
Trade hunterr
·
--
$SKYAI next move 🧾 Long or Short position 💡✅
$SKYAI
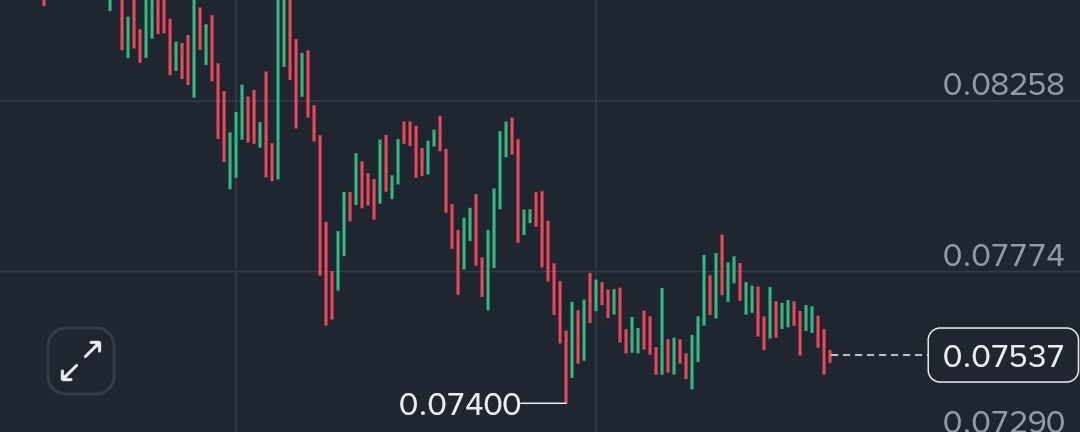
Short-term bearish / weak bounce structure.
Why:
4H trend is in a clear downtrend from the recent higher zone
1H is trying to stabilize near 0.074–0.076
bounces are getting sold
unless it reclaims 0.0788–0.0800, upside looks limited
Long position setup✅💡
Dip long
Entry: 0.0745 – 0.0758
Stop loss: 0.0728
Targets:
0.0778
0.0805
0.0843
Breakout long
Entry: hold above 0.0800
Stop loss: 0.0772
Targets:
0.0838
0.0866
0.0919
Long only works if support holds and price reclaims momentum.
Short trade setup🧾💡✅
Rejection short
Entry: 0.0778 – 0.0795
Stop loss: 0.0812
Targets:
0.0750
0.0732
0.0700
Breakdown short
Entry: lose 0.0742
Stop loss: 0.0760
Targets:
0.0720
0.0695
0.0660
Key levels
Resistance: 0.0778 / 0.0800 / 0.0843 / 0.0919
Support: 0.0742 / 0.0720 / 0.0695 / 0.0660
My call
Better setup right now: short on failed bounce, not blind long.
Because:
current structure is still below reclaim levels
1H/4H trend is weak
price is sitting close to support, so breakdown can accelerate
Ultra-short version
Long: 0.0745–0.0758 | SL 0.0728 | TP 0.0778 / 0.0805 / 0.0843
Short: 0.0778–0.0795 | SL 0.0812 | TP 0.0750 / 0.0732 / 0.0700
#trading #TradingCommunity
Short-term bearish / weak bounce structure.
Why:
4H trend is in a clear downtrend from the recent higher zone
1H is trying to stabilize near 0.074–0.076
bounces are getting sold
unless it reclaims 0.0788–0.0800, upside looks limited
Long position setup✅💡
Dip long
Entry: 0.0745 – 0.0758
Stop loss: 0.0728
Targets:
0.0778
0.0805
0.0843
Breakout long
Entry: hold above 0.0800
Stop loss: 0.0772
Targets:
0.0838
0.0866
0.0919
Long only works if support holds and price reclaims momentum.
Short trade setup🧾💡✅
Rejection short
Entry: 0.0778 – 0.0795
Stop loss: 0.0812
Targets:
0.0750
0.0732
0.0700
Breakdown short
Entry: lose 0.0742
Stop loss: 0.0760
Targets:
0.0720
0.0695
0.0660
Key levels
Resistance: 0.0778 / 0.0800 / 0.0843 / 0.0919
Support: 0.0742 / 0.0720 / 0.0695 / 0.0660
My call
Better setup right now: short on failed bounce, not blind long.
Because:
current structure is still below reclaim levels
1H/4H trend is weak
price is sitting close to support, so breakdown can accelerate
Ultra-short version
Long: 0.0745–0.0758 | SL 0.0728 | TP 0.0778 / 0.0805 / 0.0843
Short: 0.0778–0.0795 | SL 0.0812 | TP 0.0750 / 0.0732 / 0.0700
#trading #TradingCommunity
Trade hunterr
·
--
$BASED next move 🧾 Long or Short 🚀🤯
$BASED
Top 10 holders: 77.2%
Bundler holding: 25.93%
New wallet holding: 19.93%
Bias
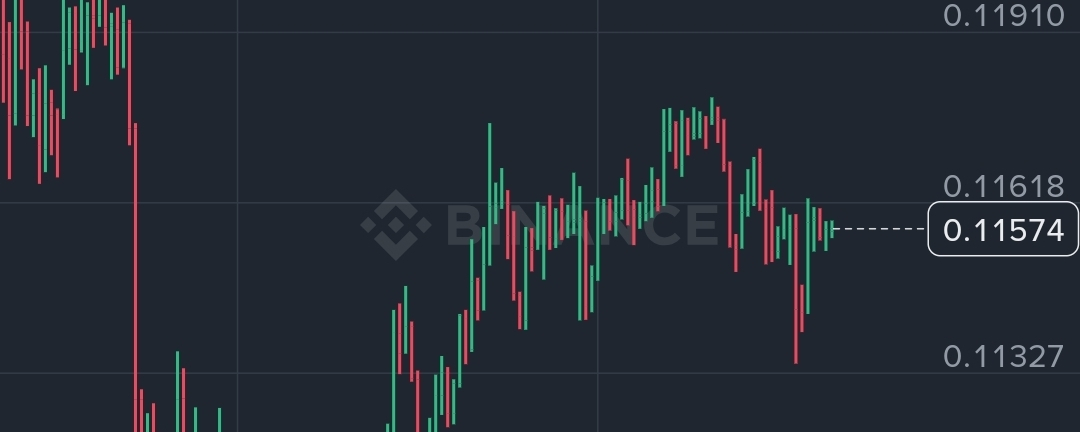
Bullish momentum, but very dangerous chase zone.
Why:
strong breakout from the 0.08–0.09 base
price expanded hard into 0.12+
now sitting after a vertical move, so late longs are risky
concentration is still high, so this can wick both sides hard
Long setup🤯🚀🧾
1) Pullback long
Entry zone: 0.106 – 0.111
Stop loss: 0.099
Targets:
TP1: 0.118
TP2: 0.124
TP3: 0.132
2) Breakout long
Entry: confirmed hold above 0.1246
Stop loss: 0.116
Targets:
TP1: 0.132
TP2: 0.140
TP3: 0.150
Long thesis: valid only if price holds above the breakout area and does not lose 0.104–0.106.
Short setup🤯🚀
1) Rejection short
Entry zone: 0.123 – 0.127
Stop loss: 0.131
Targets:
TP1: 0.116
TP2: 0.109
TP3: 0.101
2) Breakdown short
Entry: lose 0.104 with momentum / weak retest
Stop loss: 0.111
Targets:
TP1: 0.098
TP2: 0.091
TP3: 0.084
Short thesis: after a +22% day, if momentum stalls and 0.124–0.125 keeps rejecting, a fast retrace is possible.
Key levels
Resistance: 0.118 / 0.1246 / 0.132 / 0.140
Support: 0.111 / 0.104 / 0.098 / 0.091 / 0.084
Best plan
Above 0.1246: breakout continuation possible
Between 0.106 and 0.124: volatile range / pullback zone
Below 0.104: short setup gets cleaner
My call
Preferred setup right now: pullback long, not chase long.
Because:
trend is strong
4H structure improved sharply
but price already had a big expansion and is close to local supply
high holder concentration + bundler ownership means sharp flushes are very possible
#TradingCommunity #TradingSignal
Top 10 holders: 77.2%
Bundler holding: 25.93%
New wallet holding: 19.93%
Bias
Bullish momentum, but very dangerous chase zone.
Why:
strong breakout from the 0.08–0.09 base
price expanded hard into 0.12+
now sitting after a vertical move, so late longs are risky
concentration is still high, so this can wick both sides hard
Long setup🤯🚀🧾
1) Pullback long
Entry zone: 0.106 – 0.111
Stop loss: 0.099
Targets:
TP1: 0.118
TP2: 0.124
TP3: 0.132
2) Breakout long
Entry: confirmed hold above 0.1246
Stop loss: 0.116
Targets:
TP1: 0.132
TP2: 0.140
TP3: 0.150
Long thesis: valid only if price holds above the breakout area and does not lose 0.104–0.106.
Short setup🤯🚀
1) Rejection short
Entry zone: 0.123 – 0.127
Stop loss: 0.131
Targets:
TP1: 0.116
TP2: 0.109
TP3: 0.101
2) Breakdown short
Entry: lose 0.104 with momentum / weak retest
Stop loss: 0.111
Targets:
TP1: 0.098
TP2: 0.091
TP3: 0.084
Short thesis: after a +22% day, if momentum stalls and 0.124–0.125 keeps rejecting, a fast retrace is possible.
Key levels
Resistance: 0.118 / 0.1246 / 0.132 / 0.140
Support: 0.111 / 0.104 / 0.098 / 0.091 / 0.084
Best plan
Above 0.1246: breakout continuation possible
Between 0.106 and 0.124: volatile range / pullback zone
Below 0.104: short setup gets cleaner
My call
Preferred setup right now: pullback long, not chase long.
Because:
trend is strong
4H structure improved sharply
but price already had a big expansion and is close to local supply
high holder concentration + bundler ownership means sharp flushes are very possible
#TradingCommunity #TradingSignal
Trade hunterr
·
--
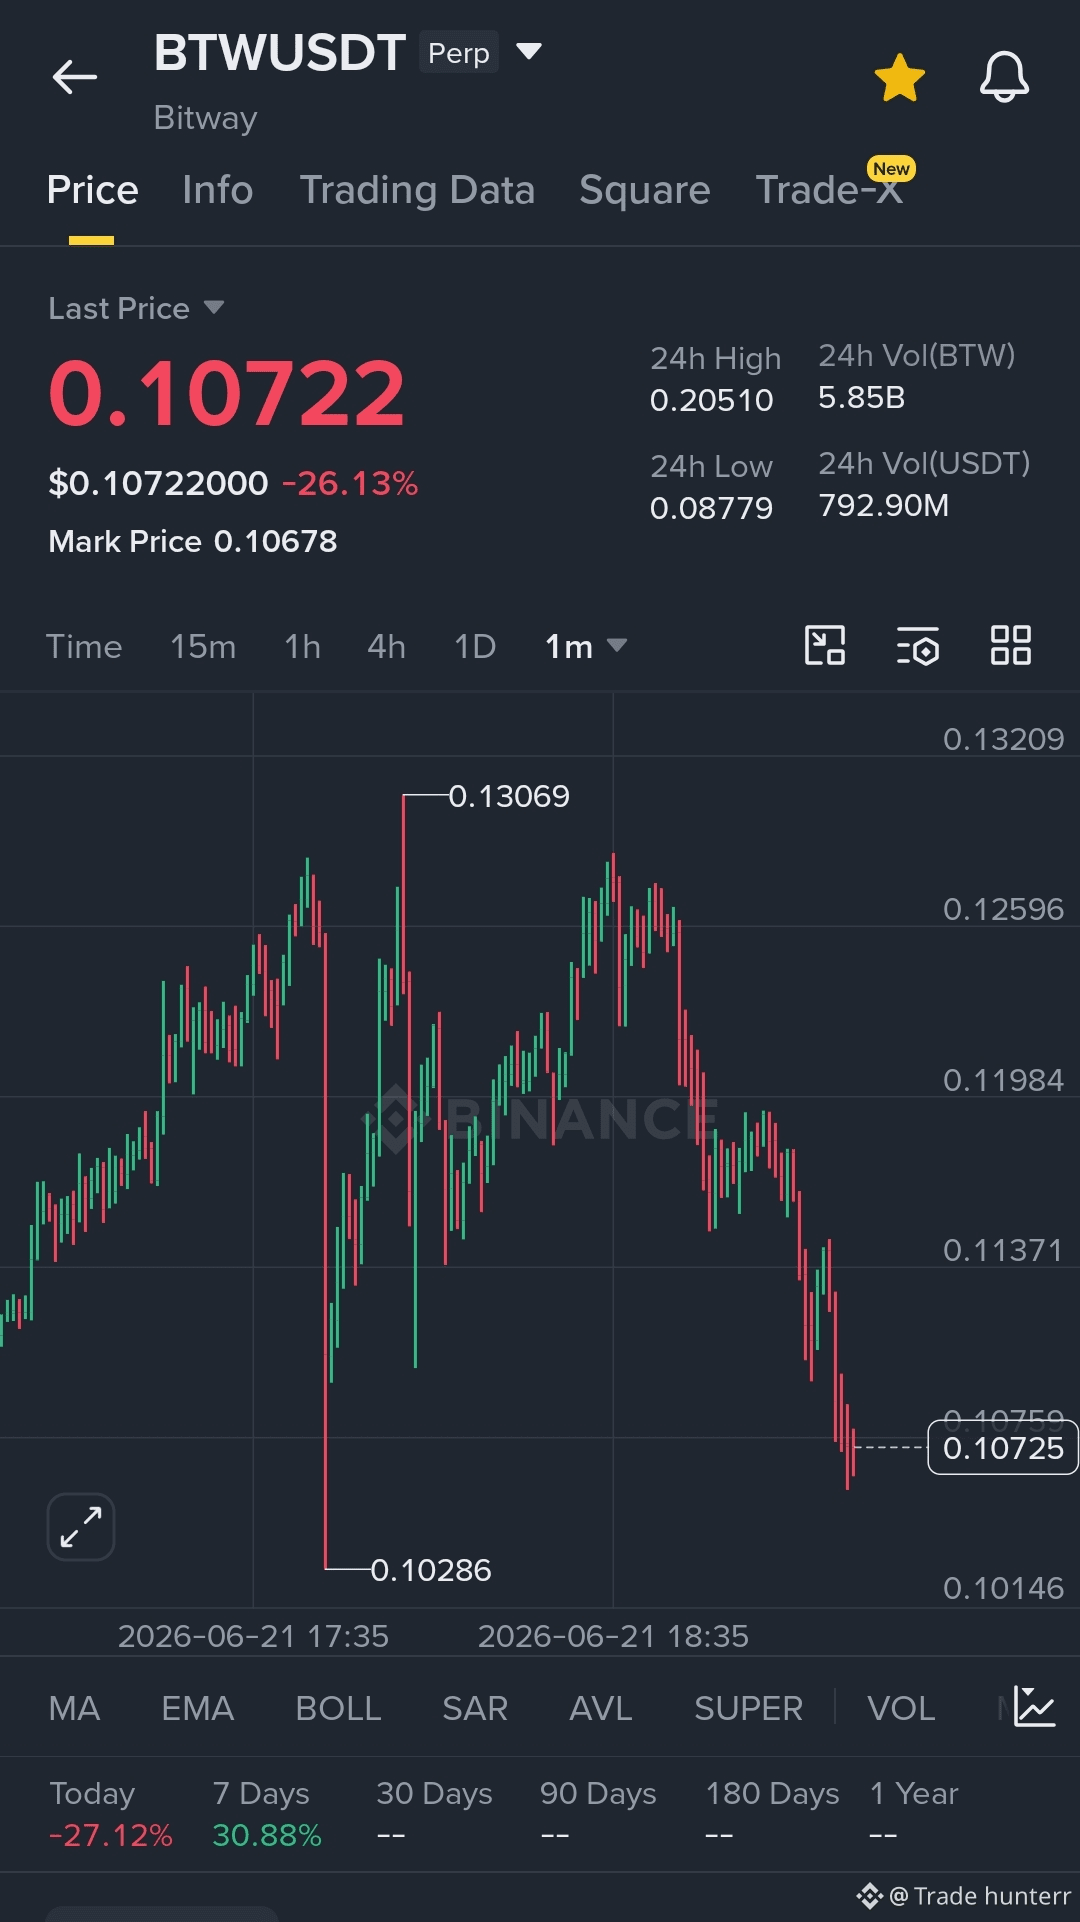
New Article for $BTW , NEXT Move 🧾 Long or Short position 💡
Bias
Right now my bias is:
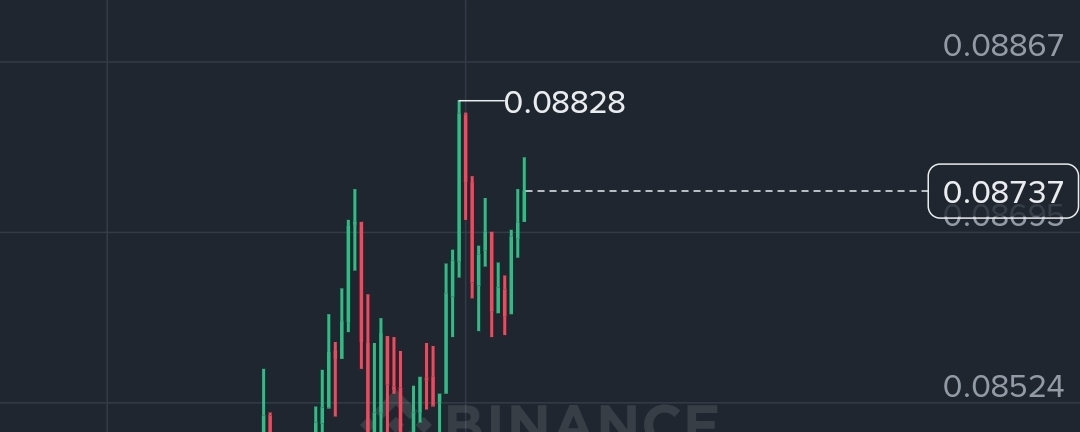
Short-term: neutral to slightly bullish bounce
Swing bias: still cautious / sell-the-rally until BTW reclaims higher resistance cleanly
This is not a clean trend-following long yet. It’s more of a high-volatility reaction market.
Long setup💡✅
Long idea 1: pullback scalp long
Entry zone: 0.078 – 0.082
This zone has been acting like a reactive support band after the heavy selloff.
Stop loss: 0.0745
If price loses this area, bounce thesis weakens.
Targets:
TP1: 0.088
TP2: 0.096
TP3: 0.105
Long thesis🧾
Price already flushed hard from the local blow-off top and is trying to stabilize.
If BTW holds above 0.078, dip buyers may push it back into the 0.088–0.096 supply zone.
Good only as a tactical bounce long, not a blind hold.
Long idea 2: breakout confirmation long🚀💡
Entry: 4H close above 0.096 or breakout-retest hold
Stop loss: 0.088
Targets:
TP1: 0.110
TP2: 0.124
TP3: 0.140
Why this long is better
If BTW reclaims 0.096, it starts repairing structure and shows buyers are absorbing post-dump supply.
Short setup📉💡✅
Short idea 1: fade resistance
Entry zone: 0.094 – 0.100
This is a key supply/rejection zone from the latest distribution.
Stop loss: 0.106
Targets:
TP1: 0.086
TP2: 0.078
TP3: 0.070
Short thesis
Market is still below major impulse highs.
Sharp 24h drawdown means many trapped buyers may sell into relief rallies.
Unless price reclaims 0.096–0.100 with strength, rallies can still be faded.
Short idea 2: breakdown short📉✅🧾
Entry: Break below 0.074
Stop loss: 0.079
Targets:
TP1: 0.068
TP2: 0.060
TP3: 0.052
Why this matters
If BTW loses 0.074, it likely revisits the lower panic zone near the 24h low and possibly deeper.
Key levels
Support
0.078 – 0.082
0.074
0.068
0.060
Resistance
0.088
0.096 – 0.100
0.105 – 0.110
0.124+
Best plan
If you want the safest approach:
Long only if 0.078–0.082 holds
Short on rejection near 0.094–0.100
Flip bullish only above 0.096/0.100 reclaim
Flip bearish hard below 0.074
#trading #BTC走势分析
Right now my bias is:
Short-term: neutral to slightly bullish bounce
Swing bias: still cautious / sell-the-rally until BTW reclaims higher resistance cleanly
This is not a clean trend-following long yet. It’s more of a high-volatility reaction market.
Long setup💡✅
Long idea 1: pullback scalp long
Entry zone: 0.078 – 0.082
This zone has been acting like a reactive support band after the heavy selloff.
Stop loss: 0.0745
If price loses this area, bounce thesis weakens.
Targets:
TP1: 0.088
TP2: 0.096
TP3: 0.105
Long thesis🧾
Price already flushed hard from the local blow-off top and is trying to stabilize.
If BTW holds above 0.078, dip buyers may push it back into the 0.088–0.096 supply zone.
Good only as a tactical bounce long, not a blind hold.
Long idea 2: breakout confirmation long🚀💡
Entry: 4H close above 0.096 or breakout-retest hold
Stop loss: 0.088
Targets:
TP1: 0.110
TP2: 0.124
TP3: 0.140
Why this long is better
If BTW reclaims 0.096, it starts repairing structure and shows buyers are absorbing post-dump supply.
Short setup📉💡✅
Short idea 1: fade resistance
Entry zone: 0.094 – 0.100
This is a key supply/rejection zone from the latest distribution.
Stop loss: 0.106
Targets:
TP1: 0.086
TP2: 0.078
TP3: 0.070
Short thesis
Market is still below major impulse highs.
Sharp 24h drawdown means many trapped buyers may sell into relief rallies.
Unless price reclaims 0.096–0.100 with strength, rallies can still be faded.
Short idea 2: breakdown short📉✅🧾
Entry: Break below 0.074
Stop loss: 0.079
Targets:
TP1: 0.068
TP2: 0.060
TP3: 0.052
Why this matters
If BTW loses 0.074, it likely revisits the lower panic zone near the 24h low and possibly deeper.
Key levels
Support
0.078 – 0.082
0.074
0.068
0.060
Resistance
0.088
0.096 – 0.100
0.105 – 0.110
0.124+
Best plan
If you want the safest approach:
Long only if 0.078–0.082 holds
Short on rejection near 0.094–0.100
Flip bullish only above 0.096/0.100 reclaim
Flip bearish hard below 0.074
#trading #BTC走势分析
Trade hunterr
·
--
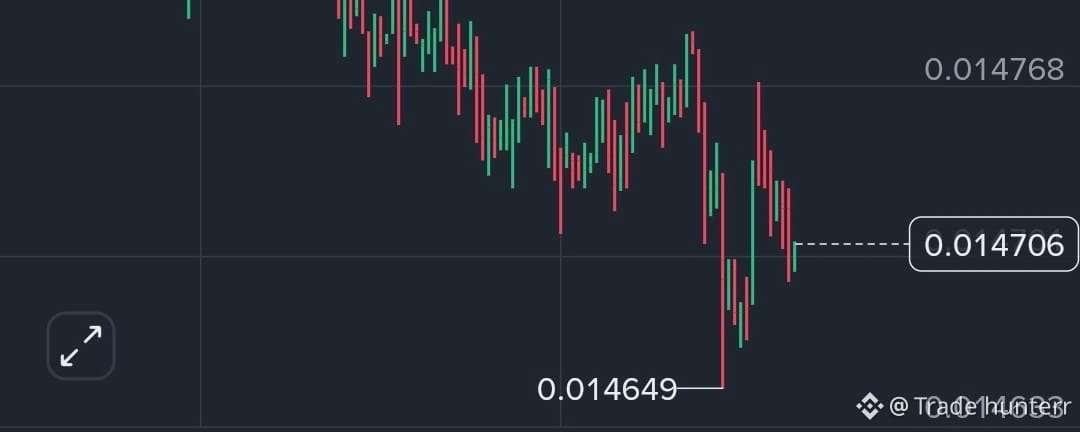
Bullish$BTW if your following my article for long trade ..
10% + pumped 🚀 ( 10X margin =100%)
Breakout 🚀 details already shared in this article ...
check details and open trade ..
#TradingTales #BTW
10% + pumped 🚀 ( 10X margin =100%)
Breakout 🚀 details already shared in this article ...
check details and open trade ..
#TradingTales #BTW
Trade hunterr
·
--
Bullish$BTW if your following my article for long trade ..
10% + pumped 🚀 ( 10X margin =100%)
Breakout 🚀 details already shared in this article ...
check details and open trade ..
#TradingTales #BTW
10% + pumped 🚀 ( 10X margin =100%)
Breakout 🚀 details already shared in this article ...
check details and open trade ..
#TradingTales #BTW
Trade hunterr
·
--
Bullish$BTW if your following my article for long trade ..
10% + pumped 🚀 ( 10X margin =100%)
Breakout 🚀 details already shared in this article ...
check details and open trade ..
#TradingTales #BTW
10% + pumped 🚀 ( 10X margin =100%)
Breakout 🚀 details already shared in this article ...
check details and open trade ..
#TradingTales #BTW
Trade hunterr
·
--
$BTW next move 🧾 Long or Short position 💡
Trading setup $BTW
Bias
Primary bias: neutral-to-bearish after blow-off top
Best approach: trade reaction levels, don’t chase
Bullish only if price reclaims key resistance with volume
💡Long setup 1 — dip support bounce
Entry: 0.096 – 0.101
Stop loss: 0.089
Targets:
0.112
0.121
0.132
Why
current price is trying to stabilize after heavy unwind
this zone is near the latest recovery base
good only if buyers defend and candles stop making fresh lows
💡Long setup 2 — breakout reclaim
Entry: above 0.1145
Stop loss: 0.104
Targets:
0.125
0.138
0.155
Why
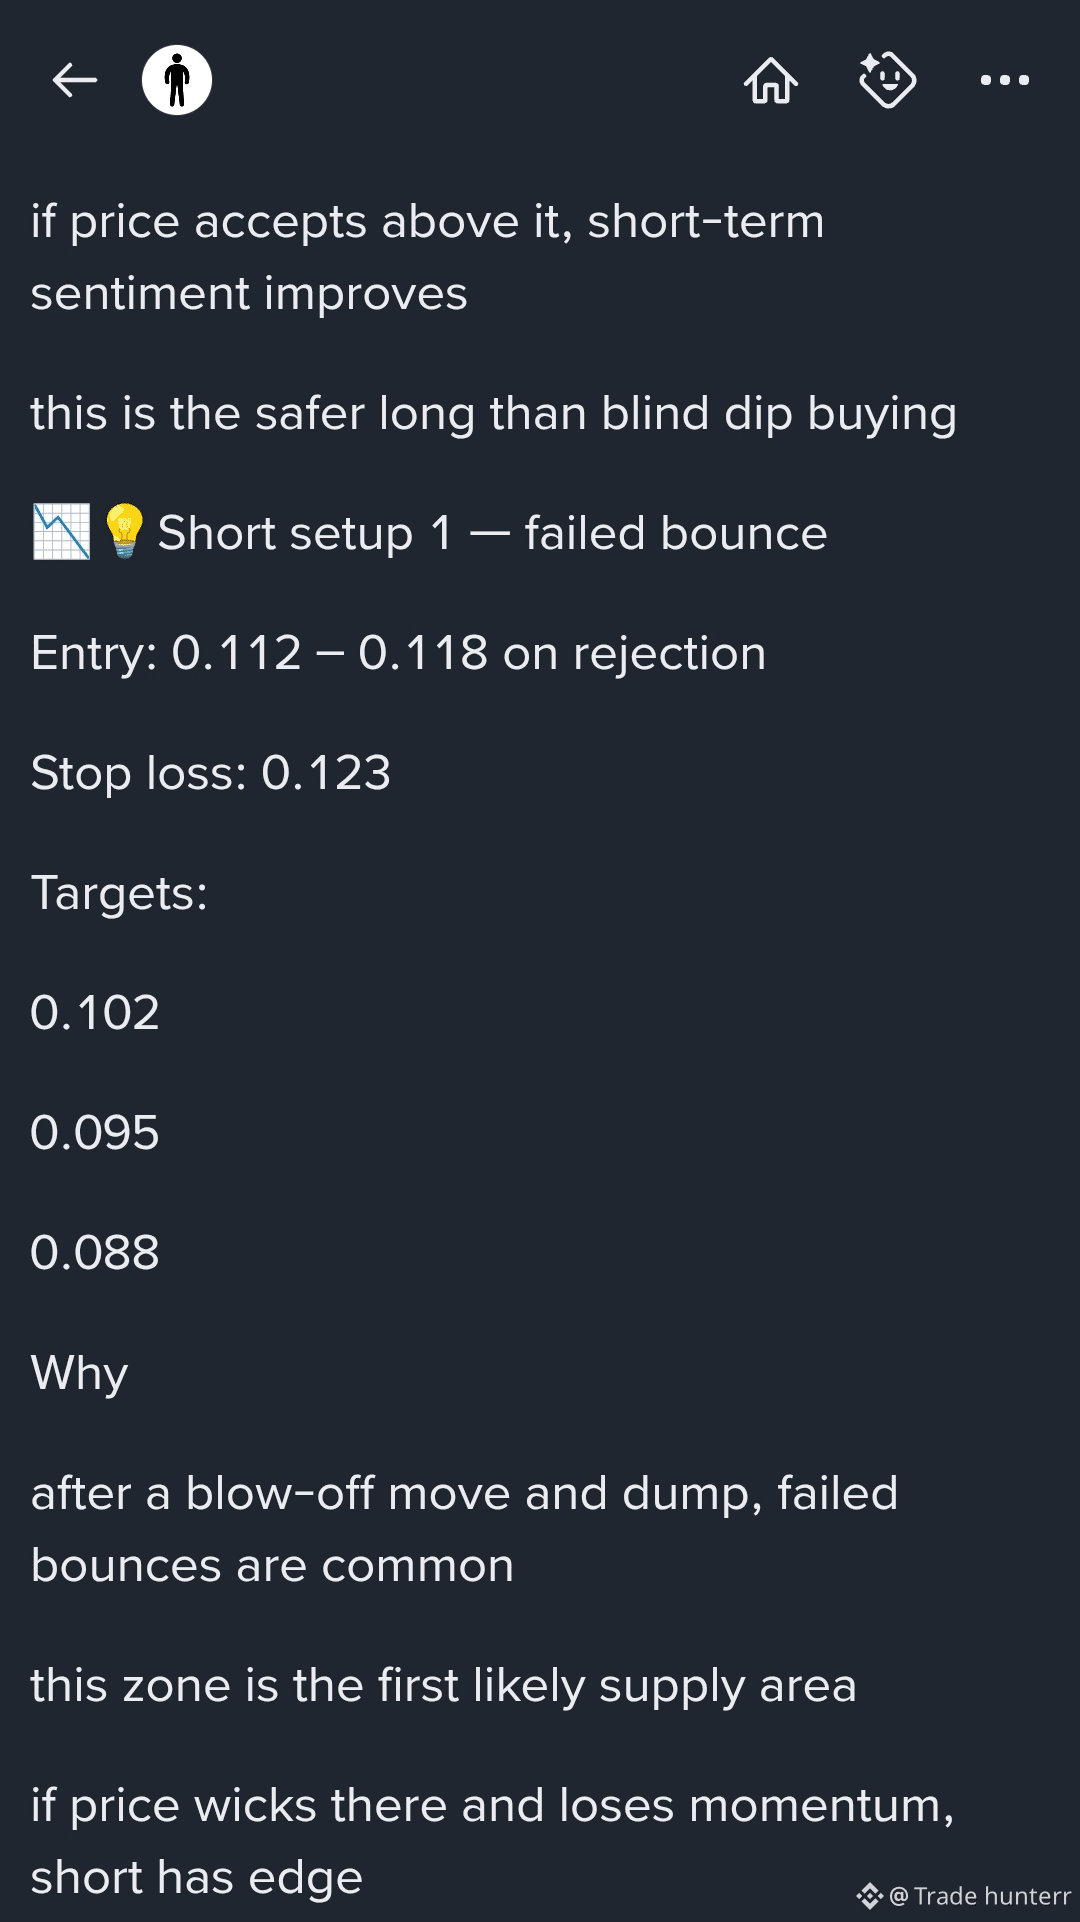
0.112–0.115 is the first reclaim zone
if price accepts above it, short-term sentiment improves
this is the safer long than blind dip buying
📉💡Short setup 1 — failed bounce
Entry: 0.112 – 0.118 on rejection
Stop loss: 0.123
Targets:
0.102
0.095
0.088
Why
after a blow-off move and dump, failed bounces are common
this zone is the first likely supply area
if price wicks there and loses momentum, short has edge
💡📉Short setup 2 — breakdown short
Entry: below 0.089
Stop loss: 0.096
Targets:
0.083
0.076
0.070
Why
0.089 is the key near-term floor
if that breaks, market likely retests the lower panic zone
Key levels
Support
0.101
0.096
0.089
0.083
0.070
Resistance
0.112
0.115
0.121
0.132
0.155
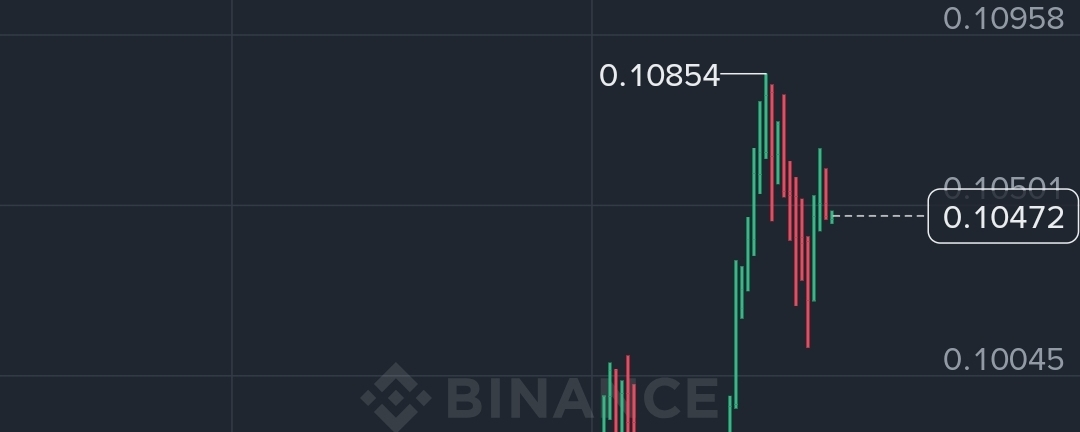
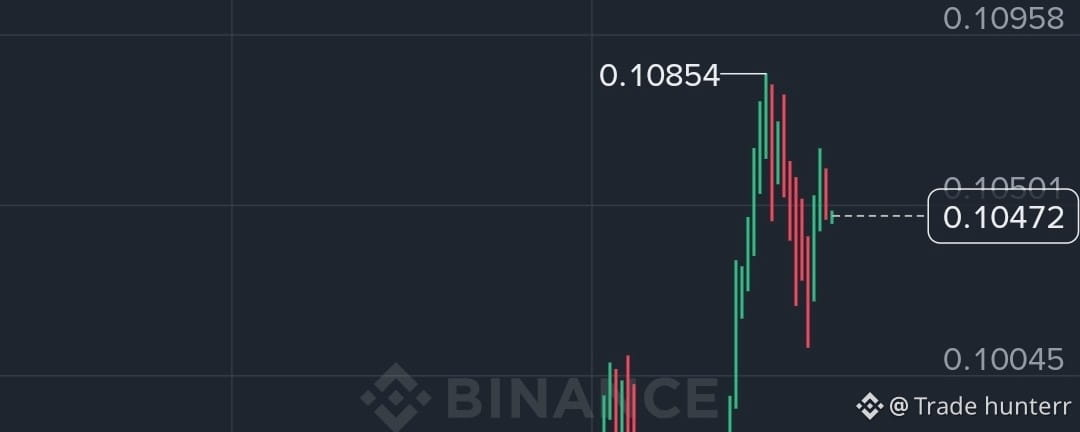
Structure read from chart
The 1h/4h structure says:
strong expansion from around 0.06
parabolic move into 0.19–0.20
immediate heavy rejection
now trying to build a recovery base around 0.10
That usually means one of two things:
dead-cat bounce then another leg down, or
volatile consolidation before another squeeze
Right now, because of the -20% daily change after a huge wick high, I’d treat it as reaction trading only, not conviction holding.
Best execution plan
If I were trading BTW now:
Long only on reclaim above 0.1145
Dip buy only if 0.09
#TradingCommunity #BTC走势分析
Bias
Primary bias: neutral-to-bearish after blow-off top
Best approach: trade reaction levels, don’t chase
Bullish only if price reclaims key resistance with volume
💡Long setup 1 — dip support bounce
Entry: 0.096 – 0.101
Stop loss: 0.089
Targets:
0.112
0.121
0.132
Why
current price is trying to stabilize after heavy unwind
this zone is near the latest recovery base
good only if buyers defend and candles stop making fresh lows
💡Long setup 2 — breakout reclaim
Entry: above 0.1145
Stop loss: 0.104
Targets:
0.125
0.138
0.155
Why
0.112–0.115 is the first reclaim zone
if price accepts above it, short-term sentiment improves
this is the safer long than blind dip buying
📉💡Short setup 1 — failed bounce
Entry: 0.112 – 0.118 on rejection
Stop loss: 0.123
Targets:
0.102
0.095
0.088
Why
after a blow-off move and dump, failed bounces are common
this zone is the first likely supply area
if price wicks there and loses momentum, short has edge
💡📉Short setup 2 — breakdown short
Entry: below 0.089
Stop loss: 0.096
Targets:
0.083
0.076
0.070
Why
0.089 is the key near-term floor
if that breaks, market likely retests the lower panic zone
Key levels
Support
0.101
0.096
0.089
0.083
0.070
Resistance
0.112
0.115
0.121
0.132
0.155
Structure read from chart
The 1h/4h structure says:
strong expansion from around 0.06
parabolic move into 0.19–0.20
immediate heavy rejection
now trying to build a recovery base around 0.10
That usually means one of two things:
dead-cat bounce then another leg down, or
volatile consolidation before another squeeze
Right now, because of the -20% daily change after a huge wick high, I’d treat it as reaction trading only, not conviction holding.
Best execution plan
If I were trading BTW now:
Long only on reclaim above 0.1145
Dip buy only if 0.09
#TradingCommunity #BTC走势分析
Trade hunterr
·
--
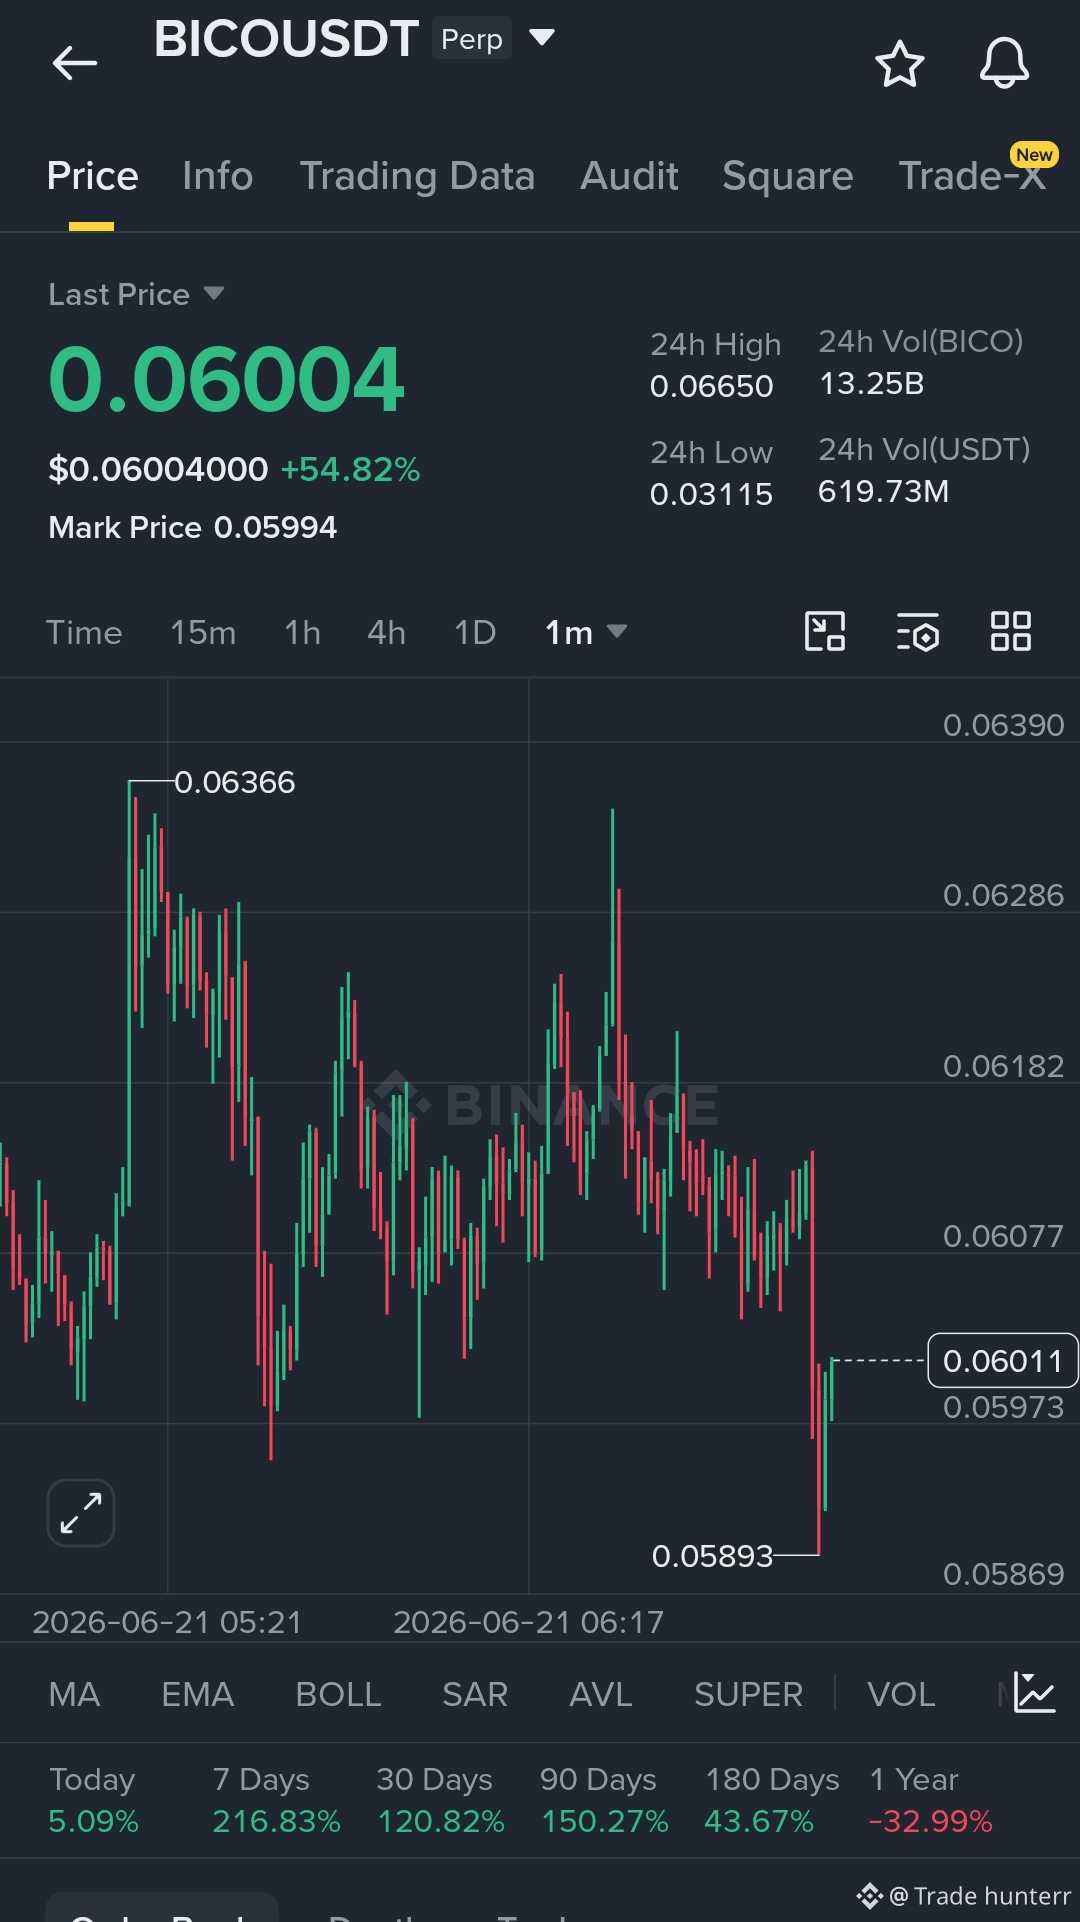
$BICO Long Set-up
buy: $0.042 - $0.043
Tp: $0.050
SL: $0.4030
Lev Max 20x
Long here 👇🏻
buy: $0.042 - $0.043
Tp: $0.050
SL: $0.4030
Lev Max 20x
Long here 👇🏻
Log in to explore more content