
Author: Milko Trajcevski Compiler: Cointime.com 237
 How to run an Ethereum node?
In this guide, we tend to give a complete overview of how to run an Ethereum node. Running an Ethereum node is a great way to contribute to the decentralized network and gain a deeper understanding of how it works.
In this post, we will guide you through the process of setting up an ETH full node with NOWNodes, as well as how to run an ETH full node yourself. We will discuss the costs associated with running an ETH full node and provide tips for effectively managing your ETH private node.
Let’s take a deeper look!
How to run an Ethereum node with NOWNodes?
Running an ETH node with NOWNodes is a simple and straightforward process that can be completed in just a few steps.
1. You need to register an account on the NOWNodes website using only your email address. No KYC is required.
2. Choose from several available plans depending on your needs and budget. NOWNodes offers shared and dedicated ETH full nodes with flexible pricing options. Select the plan that best suits your requirements, whether it is for personal use or enterprise-level applications.

3. If you chose the free tariff plan, then you need to select the Ethereum network to run your node. In paid plans, all networks are pre-selected, so in this case you can skip this step.

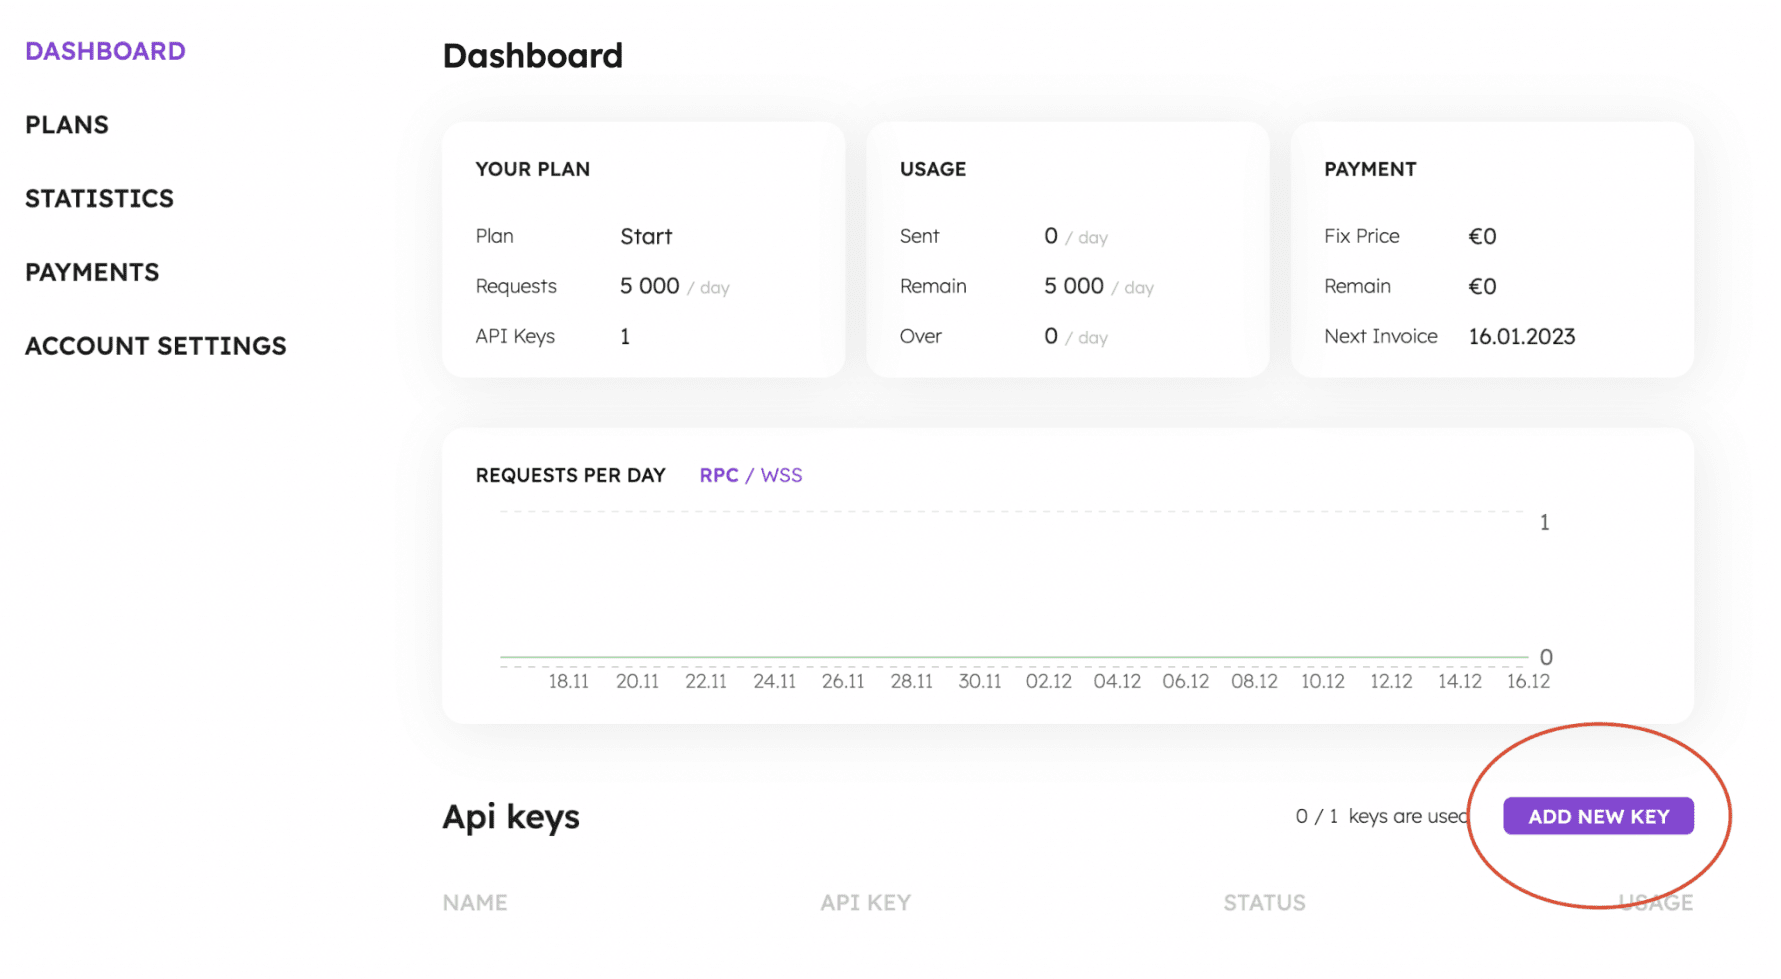
4. Then you need to create an API key in your personal account. Just go to "DASHBOARD", scroll down the page and simply press the "ADD NEW KEY" button.
5. Then access the ETH full node in the mainnet and testnet environments through JSON-RPC calls, using all available methods in the NOWNodes documentation.
After everything is set up correctly, all that’s left is to integrate your Ethereum node access into your blockchain project. By following these simple steps, anyone can quickly and easily start running an ETH full node using NOWNodes!
How to run an Ethereum node yourself?

The pros and cons of running your own node
We'll walk you through the benefits and drawbacks of running an Ethereum RPC node and provide step-by-step instructions on how to set one up. Whether you're an experienced developer or just getting started with blockchain technology, this guide will help you run an ETH full node.
Running your own Ethereum RPC node has benefits and drawbacks to consider. On the positive side, running an ETH full node gives you complete control over participating in the network. You can access all the features of Ethereum decentralized applications (DApps) without relying on third-party services.
However, there are some disadvantages to be aware of. Running an ETH full node requires significant financial and hardware resources, as well as bandwidth, which may not be feasible for everyone, and also requires knowledge or a team of highly skilled DevOps engineers.
Additionally, you should keep in mind maintenance and hard fork updates for your node.
How to set up an ETH node?
1. Hardware requirements for running an Ethereum RPC node.
To run an Ethereum RPC node, you need a computer with sufficient processing power and storage capacity. You can use Windows, Mac, or Linux operating systems. For a full Ethereum node, the minimum requirements are 8GB of RAM and at least 1TB of free disk space.
For better performance, it is recommended to have at least 16GB of RAM and a solid-state drive. The faster your hardware configuration, the faster your node will sync with the blockchain network. It is worth noting that running an ETH node requires a lot of resources from your computer, so be prepared for increased energy consumption and possible overheating issues if you don't have an adequate cooling solution.
2. Choose your network configuration
When setting up your Ethereum node, you need to choose a network configuration, which determines how your node connects to the wider Ethereum network. The two main options are Mainnet and Testnet.
Mainnet is the main Ethereum blockchain used for real-world transactions, while Testnet is a testing environment for developers to experiment with smart contracts and applications without spending real Ethereum. Whichever option you choose will affect the resources required to run an ETH node and its capabilities. So make sure you understand the differences before making a decision.
3. Install Ethereum execution client
After the PoS Ethereum hard fork, the service consists of several layers: execution and consensus.
Installing an Ethereum software client is the next step after ensuring your hardware meets the requirements. There are several clients to choose from, including Geth or Erigon. Each client has its own features and installation process.
Once you have chosen a client, download it from their official website or GitHub repository and follow the installation instructions. In this guide, we will use Geth as an example.
Install Geth: Visit the Ethereum GitHub repository (https://github.com/ethereum/go-ethereum) and download the latest version of Geth for your operating system. Follow the installation instructions provided in the repository documentation to install it.
It is crucial to ensure that you download the latest version of the client for optimal performance and security. After successful installation, test that your node is functioning properly by entering the "geth" command on your terminal/command prompt.
If everything went well, proceed to configure your network settings in preparation for syncing with the Ethereum blockchain.
This process involves downloading and verifying the entire blockchain history, which can take a significant amount of time and disk space. To sync the blockchain, run the geth command line interface (CLI) with the appropriate flags. For example, geth --syncmode full will sync the entire blockchain. For more sync options, refer to the geth documentation.
Then you need to set up network connectivity: your Ethereum node needs to be reachable by other nodes on the network. Make sure your network configuration allows inbound connections to the Ethereum network's default ports (TCP/UDP 30303). If you are behind a router or firewall, you may need to set up port forwarding or open the necessary ports.
4. Install the Consensus client
Create a folder called consensus on your SSD.
Navigate to your consensus directory and run the following command:

This will download the Prysm client and make it executable.
5. Generate JWT ciphertext
The HTTP connection between your beacon node and the executor node needs to be authenticated using a JWT token. There are several ways to generate this JWT token:
1) Use a tool like OpenSSL to create a token using the command: openssl rand -hex 32 | tr -d "\n" > "jwt.hex".
2) Use an execution client to generate the jwt.hex file.
3) Use Prysm to generate the jwt.hex file:

Prysm will output a jwt.hex file path.
6. Run a beacon node using Prysm
In this step, you will run a beacon node using Prysm.
Use the following command to start a beacon node connected to the local execution node:

It will take some time for your node to sync. This may take several days or longer.
7. Protect your node
Running an Ethereum node means you become part of the network and handle valuable assets. Take steps to secure your node, such as enabling firewall protection, configuring SSH access, and keeping your system and Geth client up to date with the latest security patches.
8. Monitoring and maintenance
Running an Ethereum node requires ongoing maintenance. Keep an eye on your node's performance, disk space usage, and the latest updates and announcements from the Ethereum community. Update your client regularly to ensure compatibility with the evolving Ethereum network.
It is worth noting that running your own full Ethereum RPC node can be a resource-intensive task and it may not be required for every use case. If you are primarily interested in interacting with the Ethereum network, you may consider using a light client or relying on a remote node provider like NOWNodes.
How much does it cost to run an Ethereum node?

The cost of running an ETH node depends on several factors, such as hardware, bandwidth, and electricity costs. For example, you need to have a server for node maintenance, which is a very expensive burden, and you also need a team of DevOps engineers to maintain your node.
Additionally, hosting services like NOWNodes offer different pricing plans depending on your needs. Some plans include access to multiple nodes or extra features like API endpoints or historical data. The Starter plan is free and allows you to send 100 000 requests per month. Other plans you can check out here.
The decision about how much to spend running an ETH node is made by each user based on their goals and available resources.

