
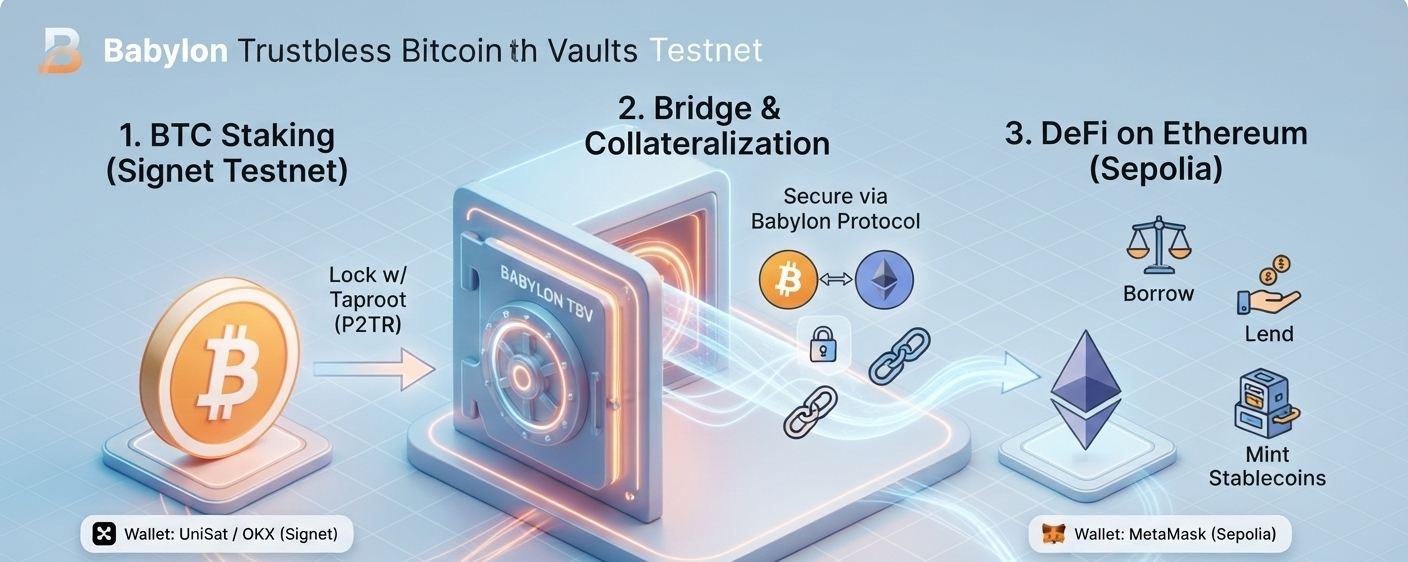
How to Use Babylon Trustless Bitcoin Vaults Testnet
🚀 Step-by-Step Guide: Exploring the Babylon Trustless Bitcoin Vaults (TBV) Testnet! 🌐
Want to use your Bitcoin as collateral in DeFi on Ethereum without wrapping or bridging? Babylon's TBV testnet makes it possible! Here is a complete guide to help our community test it out step-by-step:
🛠️ Prerequisites (What You Need):
Bitcoin Wallet: A wallet like UniSat configured to the Bitcoin Signet network (address must be set to Taproot / P2TR).
Ethereum Wallet: MetaMask or any supported wallet on Sepolia Testnet.
Test Tokens:
Signet BTC (from the official testnet faucet).
Sepolia ETH (for gas fees).
📝 Step-by-Step Guide for Community:
Step 1: Open the Testnet App
Navigate to the official TBV Testnet dashboard: [https://btcvaults.testnet.babylonlabs.io/](https://btcvaults.testnet.babylonlabs.io/)
Step 2: Connect Wallets
Click Connect and link both your Taproot Bitcoin wallet and your Ethereum wallet. Make sure your Bitcoin wallet is explicitly on the Taproot (P2TR) address type.
Step 3: Create a Vault (Peg-In)
Go to the Collateral section and click Deposit.
Enter the amount of test BTC you want to lock within public-testnet caps.
Choose a Vault Provider from the dropdown menu and confirm the Bitcoin and Ethereum transactions.
Once verified, click Activate to supply the vault as collateral.
Step 4: Borrow Stablecoins
Head over to the Loans section and click Borrow.
Select an asset (like USDC, USDT, or WBTC), enter the amount, and sign the transaction.
Monitor your position’s Health Factor on the dashboard.
Step 5: Repay and Redeem
To close your position later, go to Loans, click Repay, and settle your borrowed debt to unlock your vault.
💡 Note: This is a public testnet environment running on Bitcoin Signet and Ethereum Sepolia. Funds are strictly for testing and carry no real monetary value.
Let's test out the future of trustless Bitcoin DeFi! Drop your questions below if you need help. 👇
#Babylon #Bitcoin #DeFi #Web3 #CryptoEducation #Testnet