
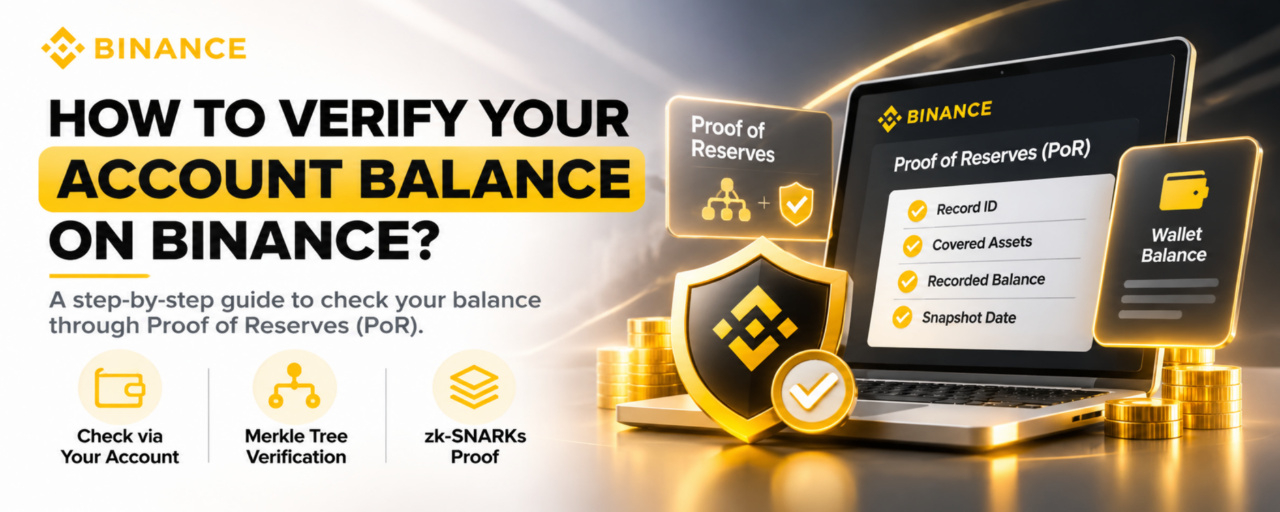

Checking your Binance wallet balance tells you how much cryptocurrency is currently displayed in your account. But if you want to know whether your balance is included in Binance's published Proof of Reserves (PoR), there is another verification process you can use.
Binance allows users to check their inclusion in a PoR snapshot through its account verification page. The process uses cryptographic technologies, including Merkle Trees and zk-SNARKs, to provide evidence that reported user balances are included in the published reserve verification.
The important distinction is that PoR verification reflects a specific snapshot date, not your live wallet balance. Here's how to check your records and understand what the results actually mean.
1. What Is Binance Proof of Reserves?
Proof of Reserves is a transparency mechanism that allows users to examine whether an exchange's reported assets cover the customer balances included in its reserve reporting.
Binance uses two cryptographic technologies:
Merkle Tree: Organizes user balance records into a data structure that allows individual users to verify whether their account information is included in the published snapshot.
zk-SNARKs: Provides cryptographic proof that the reported balance calculations are valid without publicly exposing individual users' private balance information.
Together, these technologies allow users to check their own verification records rather than relying entirely on an exchange's general statements.
You can access the official Binance Proof of Reserves dashboard to explore its published reports.
One important limitation: Proof of Reserves is not a complete financial audit. It does not independently establish every liability, guarantee liquidity at all times, or eliminate operational and security risks.
2. How Can I Check Whether My Balance Is Included in Binance Proof of Reserves?
For most users, the simplest approach is to access the verification records directly through their Binance account.
Follow these steps:
Step 1: Log in to the official Binance website
Visit Binance.com and sign in using your usual authentication method.
Always check that you are accessing the official website before entering your account credentials.
Step 2: Open the Verification page
Navigate to:
Profile → Wallet → Verification
The page provides access to available Proof of Reserves verification records associated with your account.
The interface may change over time, so refer to Binance's official tutorial if the menu looks different.
Step 3: Select a verification snapshot
Choose the latest available verification date.
Look for the verification method identified as:
Merkle Tree + zk-SNARKs
The available record should provide information such as your Record ID, covered assets, and recorded balances for the selected snapshot.
Step 4: Review your balance information
Pay attention to these details:
Record ID: The identifier associated with your verification record.
Covered assets: The cryptocurrencies included in the selected report.
Recorded balance: The amount associated with your account for each covered asset.
Snapshot date: The date when the reported balances were recorded.
Verification type: The cryptographic method used for the report.
You may also find an option to download Merkle Tree verification data for further examination.
For a visual walkthrough, consult Binance's official guide: How to Verify Your Account Balance on Binance.
3. How Do I Independently Verify My Balance Using Merkle Tree and zk-SNARKs?
Viewing your verification record on Binance is the more straightforward option. However, technically experienced users can take an additional step by checking the cryptographic proof independently.
Binance provides an open-source verification tool and the relevant verification data for supported reporting periods.
The general process involves:
Downloading the appropriate verifier from Binance's official open-source repository.
Downloading the Merkle Tree verification data associated with your selected report.
Preparing the verification files on your computer.
Running the verifier to check the published zk-SNARK proof.
Using the relevant user-verification process to examine your individual account record.
Make sure the verifier version matches the reporting period you are checking. Using an incompatible version or incorrect verification files may lead to an unsuccessful check.
This additional process is not necessary for everyone. If your goal is simply to determine whether your account is included in a published PoR snapshot, the account verification page is a practical starting point.
4. What Does Successful Verification Tell You—and What Are Its Limits?
A successful verification provides evidence that your account balance was included in the relevant Proof of Reserves snapshot and that the associated cryptographic proof validates the reported calculation.
However, there are several things users should understand before interpreting the result.
First, it is not a real-time balance check.
Your verification record represents your balance at a particular snapshot date. Deposits, withdrawals, and trades made afterward will not automatically appear in that historical record.
For example, if you deposited additional USDT after the snapshot was taken, the verification record may show a lower balance than the amount currently displayed in your wallet.
Second, not every asset is necessarily included.
Check the report's covered-asset list before drawing conclusions. A successful verification for one asset does not automatically mean every cryptocurrency in your account was included in that particular report.
Third, verification does not eliminate exchange risk.
A valid cryptographic proof does not independently confirm every financial liability, guarantee future withdrawals, or establish that an exchange cannot experience operational or security problems.
The best approach is to treat PoR as one useful transparency tool alongside other information, including security disclosures, account protections, and incident updates.
5. Frequently Asked Questions
Where can I find my Binance Proof of Reserves verification data?
Log in to your Binance account and navigate to Profile → Wallet → Verification. Select an available reporting snapshot to review your Record ID, covered assets, and recorded balances.
Which assets are covered in the snapshot I'm checking?
The covered assets depend on the particular PoR report. Review the asset list in your selected verification record rather than assuming every cryptocurrency in your wallet is included.
Does Proof of Reserves guarantee protection of my funds?
No. Proof of Reserves provides evidence about reported assets and user balances at a specific snapshot. It is not a guarantee against insolvency, security incidents, operational failures, or future withdrawal restrictions.
Final Takeaway
Verifying your Binance account balance through Proof of Reserves is a practical way to understand whether your reported holdings were included in a published reserve snapshot.
For most users, the account verification page provides a straightforward starting point. Those with technical experience can also examine the cryptographic proof using the available verification tools.
Just remember to check the snapshot date, covered assets, and recorded balances before interpreting the results.
Transparency is more meaningful when users can verify the information themselves—and understand what that information does not prove.