

Altscoin_Expert
5.8k Публикации

Altscoin_Expert
Influencer,Pro Crypto trader, Market analyst, Sharing Market insights since 2021, 👑 King of Shorts.
Открытая сделка
Трейдер с регулярными сделками
2.2 г
21 подписок(и/а)
2.7K+ подписчиков(а)
5.2K+ понравилось
Посты
Портфель
Все
Цитирования
Активно
PINNED
Altscoin_Expert
·
--
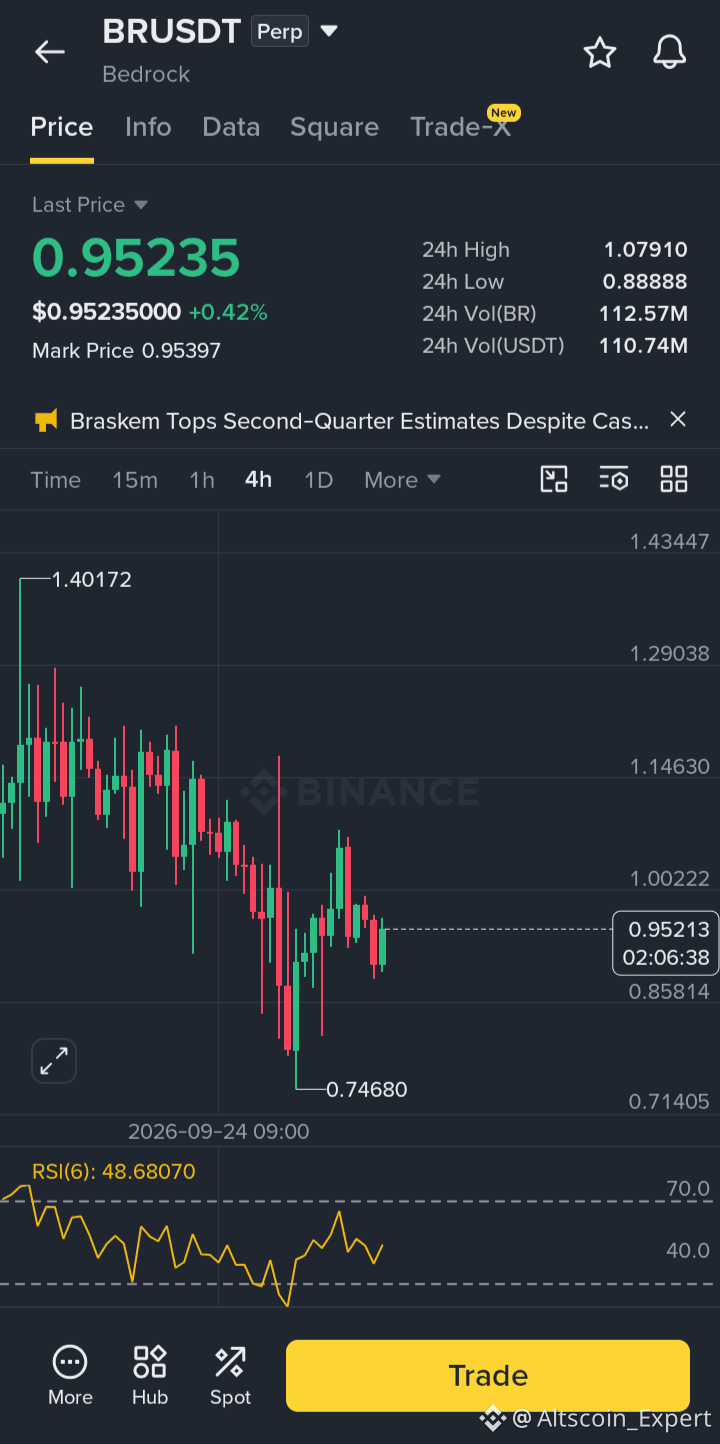
Падение$QNT
I am thinking Of short
Price Test twice Strong resistance at 199 and 200 Got rejected Twice.
So i am thinking Its best to short here .
Placing Stop Loss at 205 - 210
Take Target Profit
TP1: 165
TP2: 155
TP3: 140
DYOR
I am thinking Of short
Price Test twice Strong resistance at 199 and 200 Got rejected Twice.
So i am thinking Its best to short here .
Placing Stop Loss at 205 - 210
Take Target Profit
TP1: 165
TP2: 155
TP3: 140
DYOR
Altscoin_Expert
·
--
Рост$BIGTIME
I am Long here
Leverage: Cross 10× To 50×
Entries: 0.00930 - 0.00945
Targets: 🎯 0.00960, 0.00975, 0.00990
Stop Loss: 0.00910
I am Long here
Leverage: Cross 10× To 50×
Entries: 0.00930 - 0.00945
Targets: 🎯 0.00960, 0.00975, 0.00990
Stop Loss: 0.00910
Altscoin_Expert
·
--
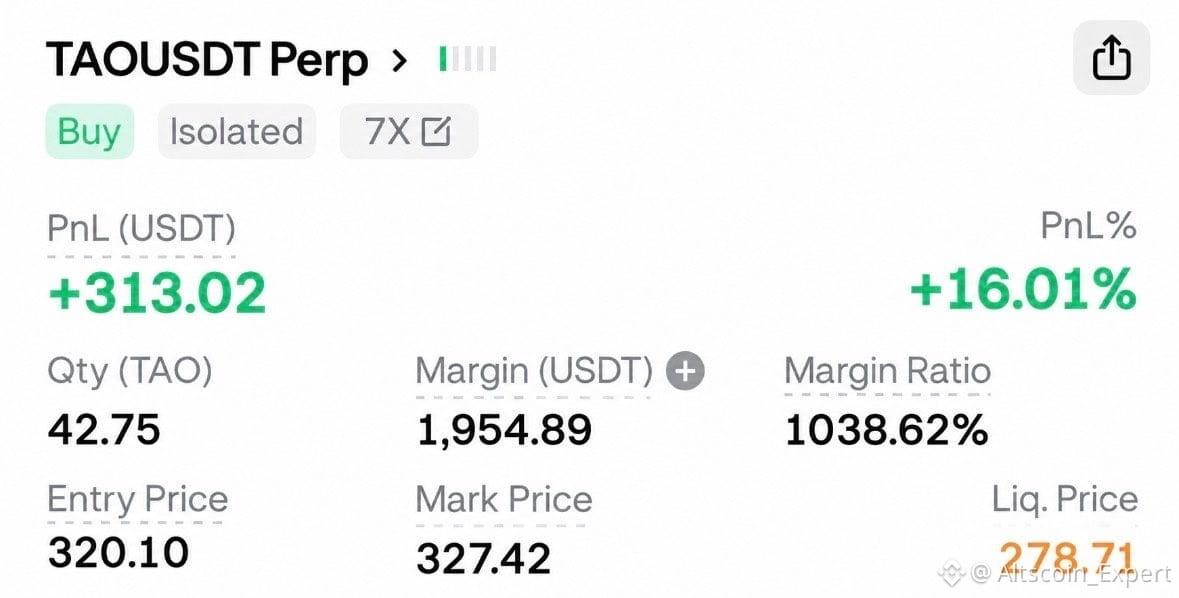
$TAO
I am going Long here
TAO/USDT — LONG SETUP
Entry: 318–322
DCA: 316 - 314
SL: 308
TP1: 328
TP2: 336
TP3: 345
Invalidation: Strong 1H close below 308
DYOR .
I am going Long here
TAO/USDT — LONG SETUP
Entry: 318–322
DCA: 316 - 314
SL: 308
TP1: 328
TP2: 336
TP3: 345
Invalidation: Strong 1H close below 308
DYOR .
Altscoin_Expert
·
--
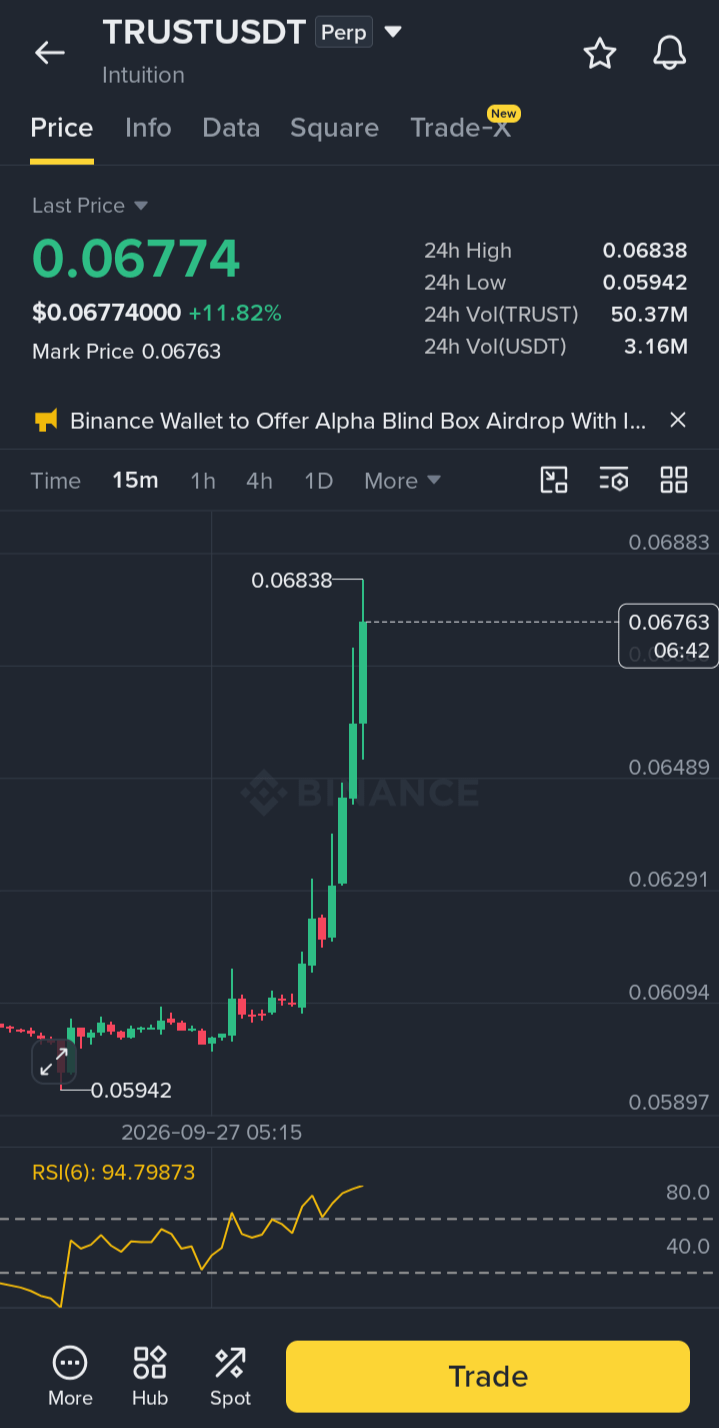
Рост$TRUST
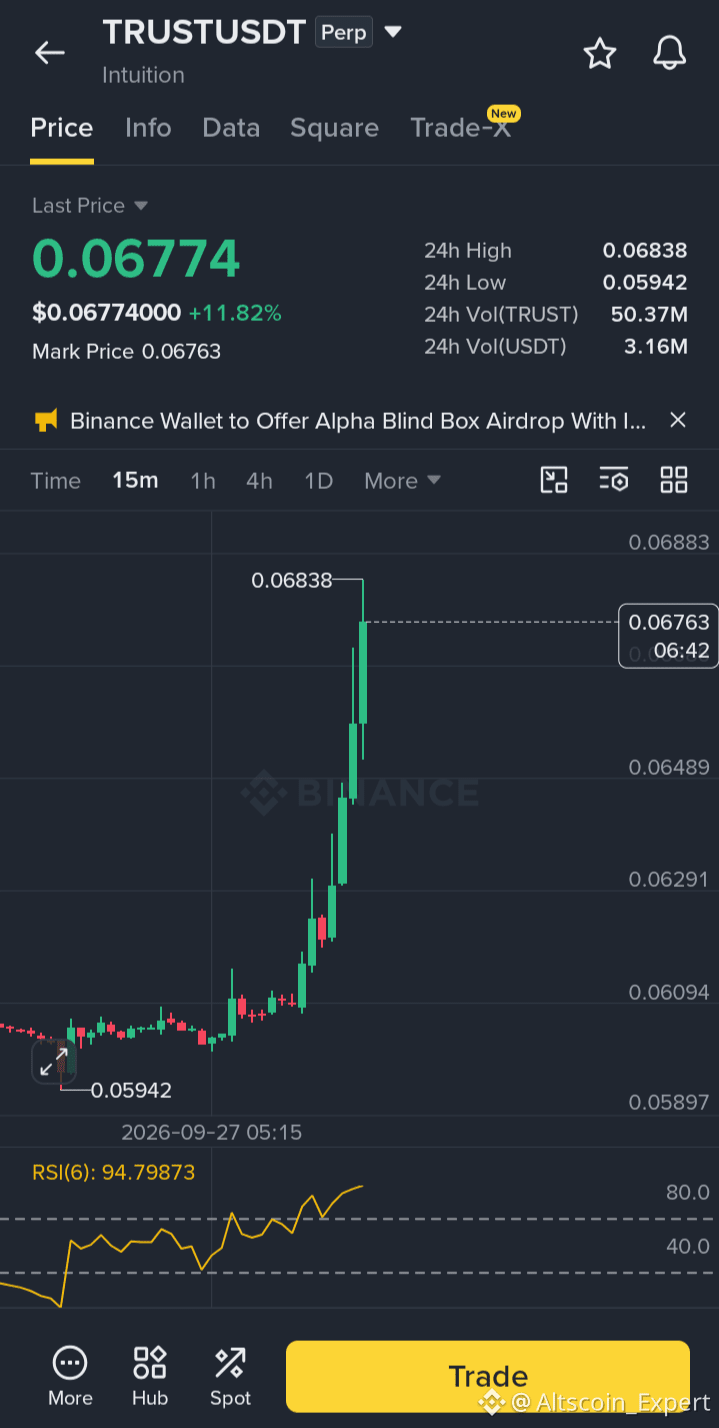
Long trade setup
Entry: 0.0658 – 0.0667
Stop Loss: 0.0638
🎯 TP1: 0.0685
🎯 TP2: 0.0705
🎯 TP3: 0.0730
🎯 TP4: 0.0760
Analysis:
0.0658–0.0660 is the key support area for this setup.
Holding above 0.0660 supports a move toward 0.0685 and 0.0705.
A clean break above 0.0705 could extend toward 0.0730–0.0760.
Below 0.0638, the long setup is invalid.
Long trade setup
Entry: 0.0658 – 0.0667
Stop Loss: 0.0638
🎯 TP1: 0.0685
🎯 TP2: 0.0705
🎯 TP3: 0.0730
🎯 TP4: 0.0760
Analysis:
0.0658–0.0660 is the key support area for this setup.
Holding above 0.0660 supports a move toward 0.0685 and 0.0705.
A clean break above 0.0705 could extend toward 0.0730–0.0760.
Below 0.0638, the long setup is invalid.
Altscoin_Expert
·
--
Падение$LYN
/Short trade setup
Leverage: Cross 10× To 50×
Entries: 0.0445 - 0.0455
Targets: 🎯 0.0430, 0.0415, 0.0400
Stop Loss: 0.0475
/Short trade setup
Leverage: Cross 10× To 50×
Entries: 0.0445 - 0.0455
Targets: 🎯 0.0430, 0.0415, 0.0400
Stop Loss: 0.0475
Altscoin_Expert
·
--
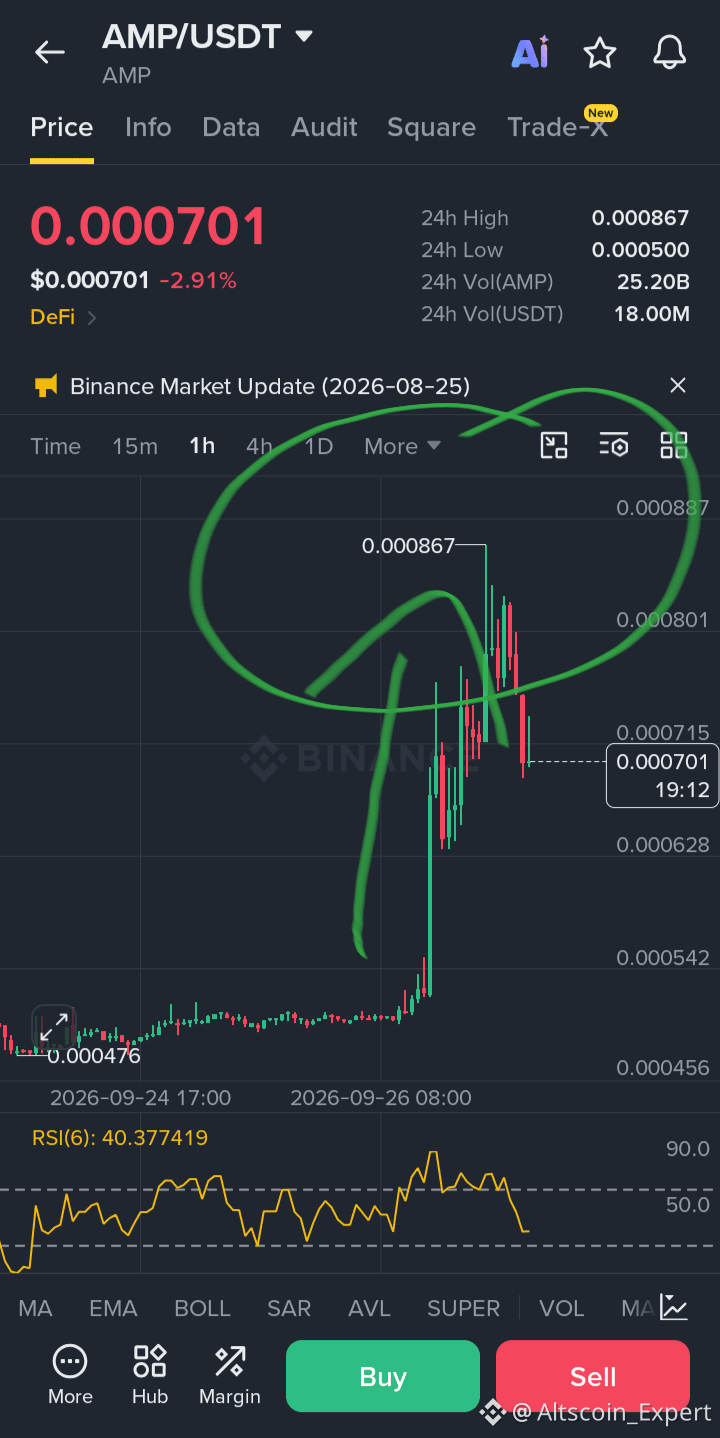
Рост$AMP
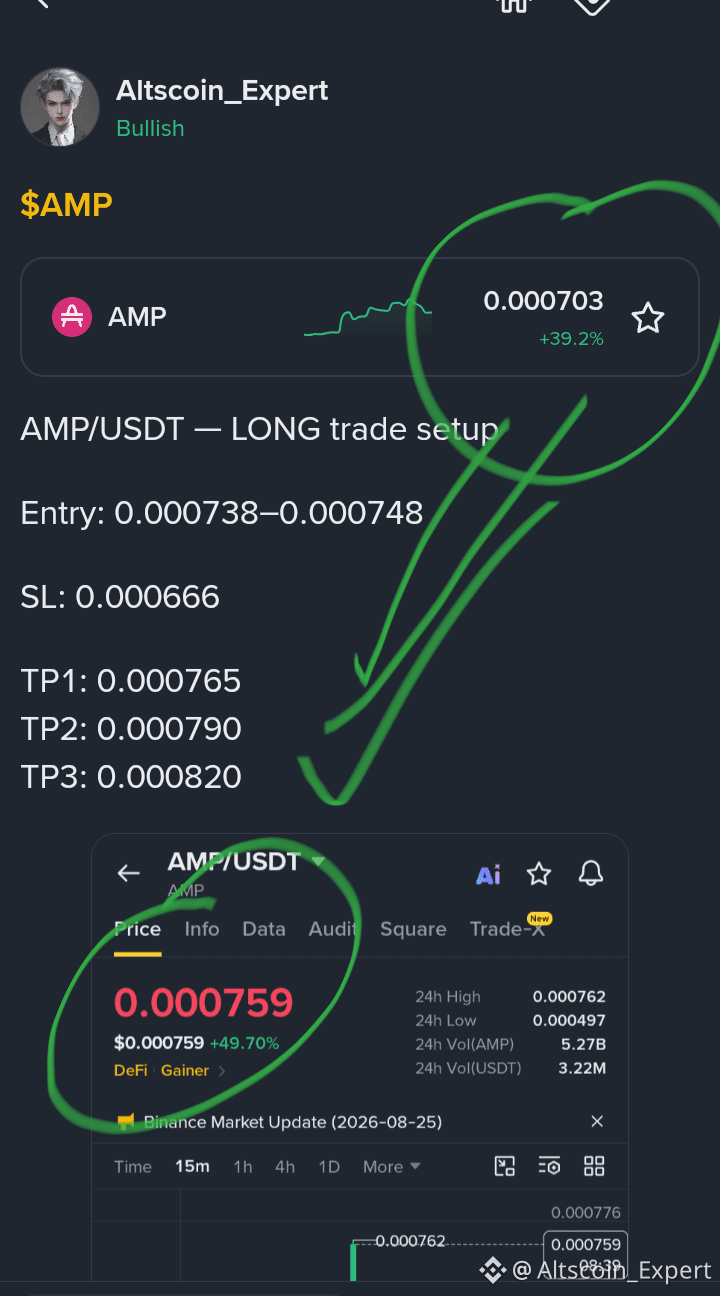
AMP/USDT — LONG trade setup
Entry: 0.000738–0.000748
SL: 0.000666
TP1: 0.000765
TP2: 0.000790
TP3: 0.000820
AMP/USDT — LONG trade setup
Entry: 0.000738–0.000748
SL: 0.000666
TP1: 0.000765
TP2: 0.000790
TP3: 0.000820
Войдите, чтобы посмотреть больше материала