
Sonum_Sohail
1.3k Жариялаулар

Sonum_Sohail
@Sonum_Sohail |Since 2019 |Analyst & Market Strategist | High-Conviction Market Forecaster | X/twitter;@Sonum_Sohail_6 |#KOLManager
Кездейсоқ трейдер
1.5 жыл
22 Жазылым
8.1K+ Жазылушылар
825 лайк басылған
Жазбалар
Барлығы
Баға ұсыныстары
Тікелей эфир
PINNED
Whales are exiting... Are you still buying the hype?
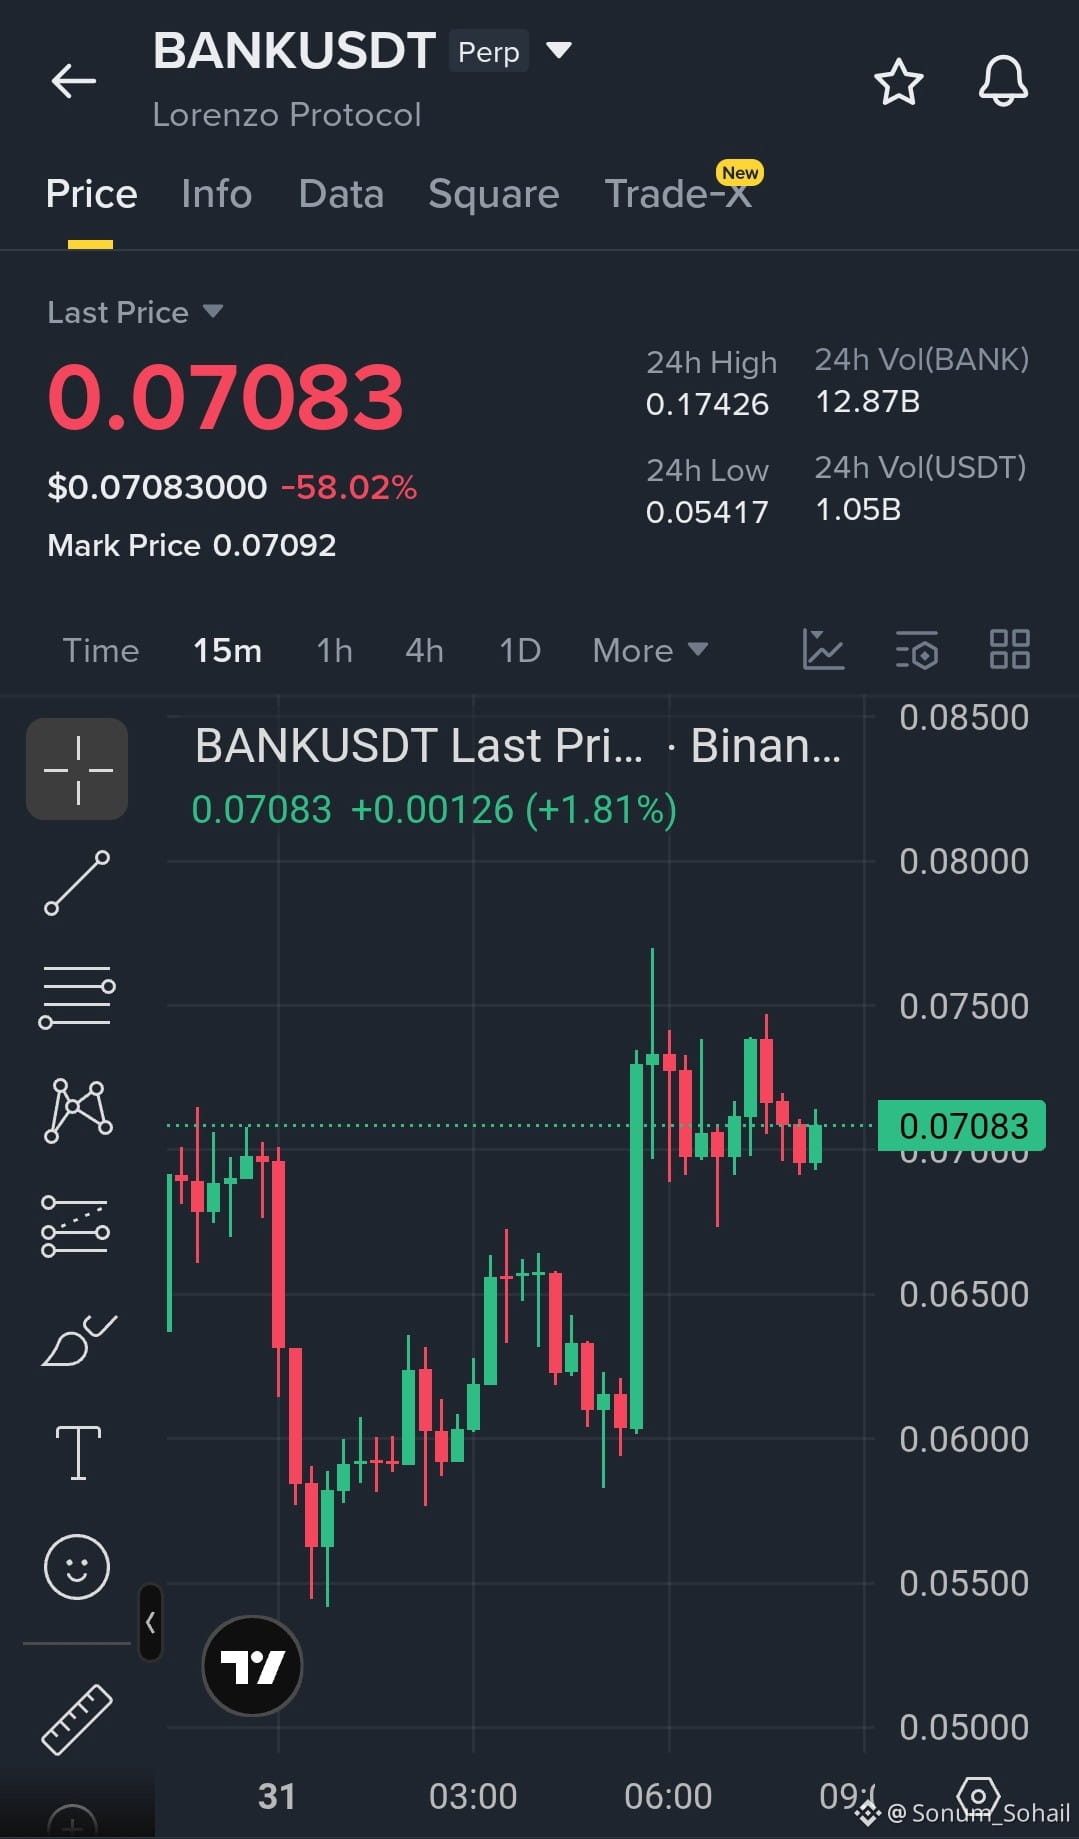
$BANK is showing signs of weakness after a sharp rally. The recent pump has attracted heavy profit-taking, and large holders appear to be reducing exposure. Unless buyers reclaim key resistance with strong volume, the upside may remain limited.
Do you really think it will keep going up? I don't think so.
This is the time to focus on protecting your capital instead of chasing the market. A disciplined trader always waits for confirmation before entering a trade. Don't let FOMO control your decisions—move with strategy, manage your risk, and remember that preserving your capital is more important than catching every pump.
What's your opinion on $BANK ? Bullish or bearish?
$BANK is showing signs of weakness after a sharp rally. The recent pump has attracted heavy profit-taking, and large holders appear to be reducing exposure. Unless buyers reclaim key resistance with strong volume, the upside may remain limited.
Do you really think it will keep going up? I don't think so.
This is the time to focus on protecting your capital instead of chasing the market. A disciplined trader always waits for confirmation before entering a trade. Don't let FOMO control your decisions—move with strategy, manage your risk, and remember that preserving your capital is more important than catching every pump.
What's your opinion on $BANK ? Bullish or bearish?
PINNED
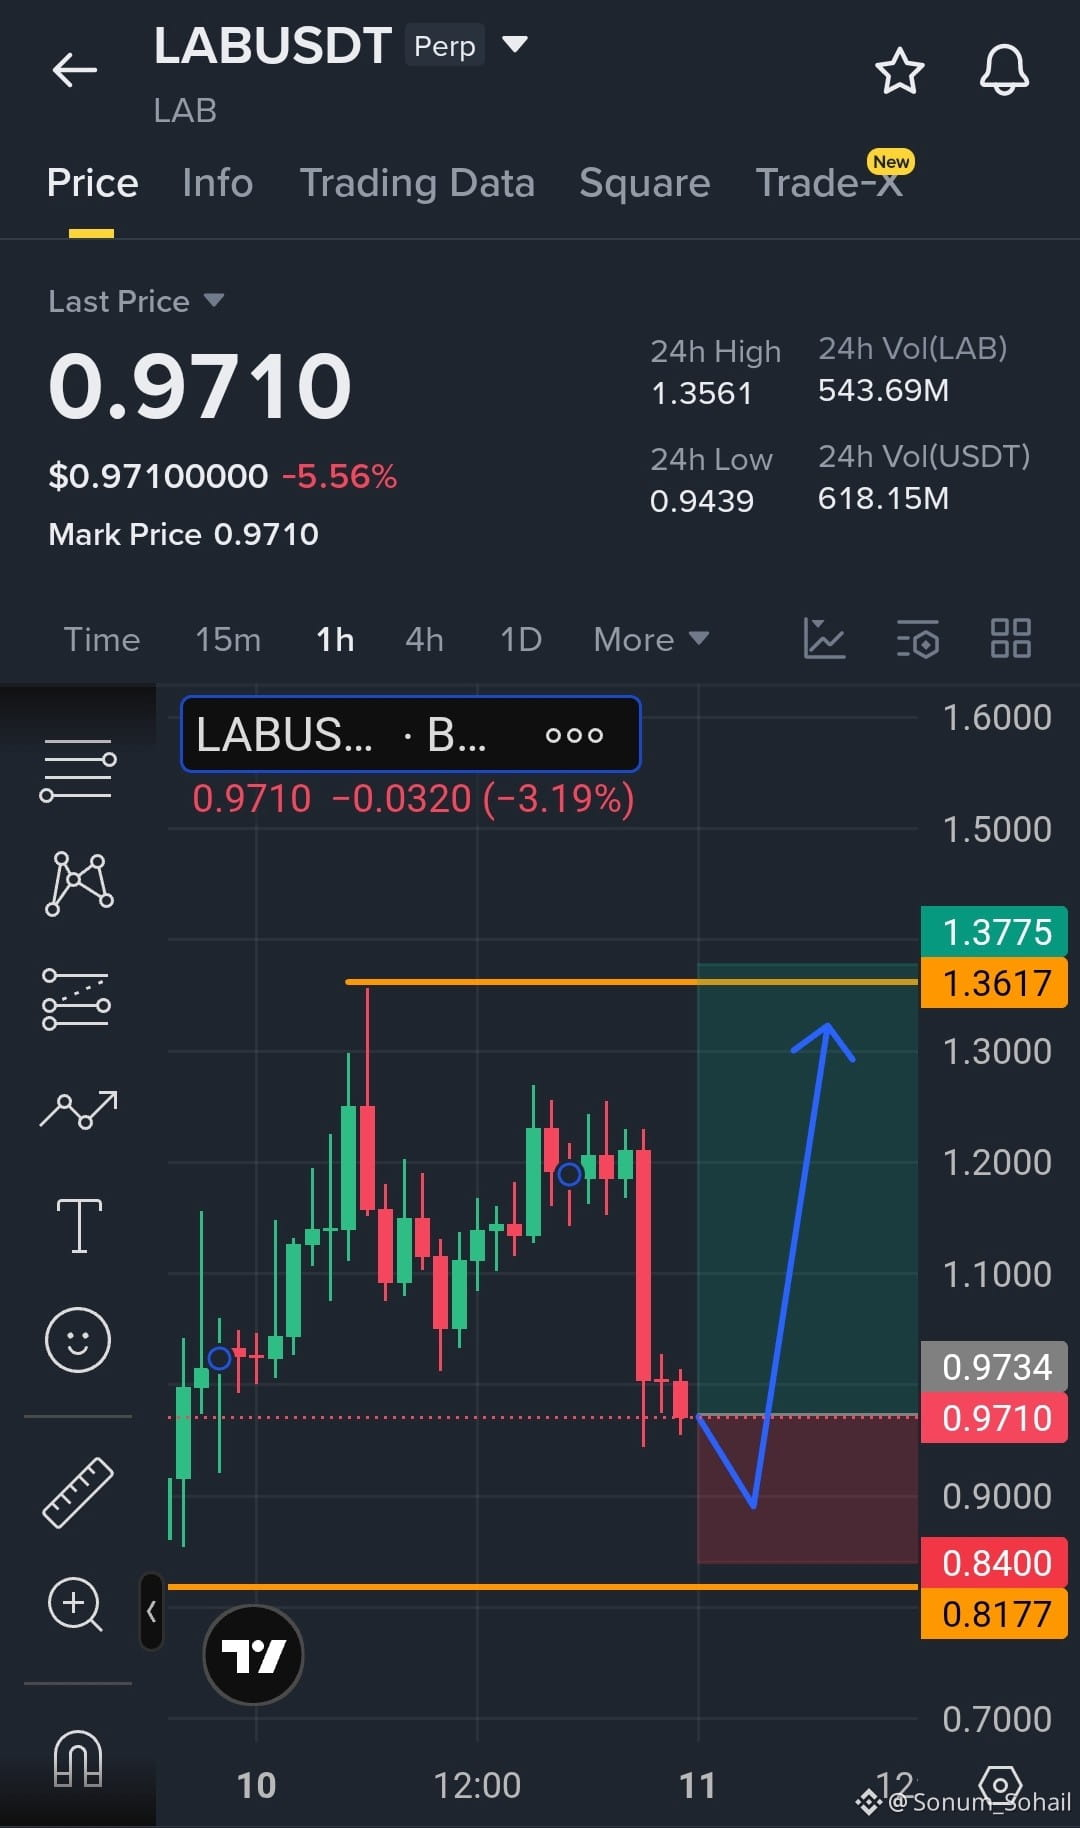
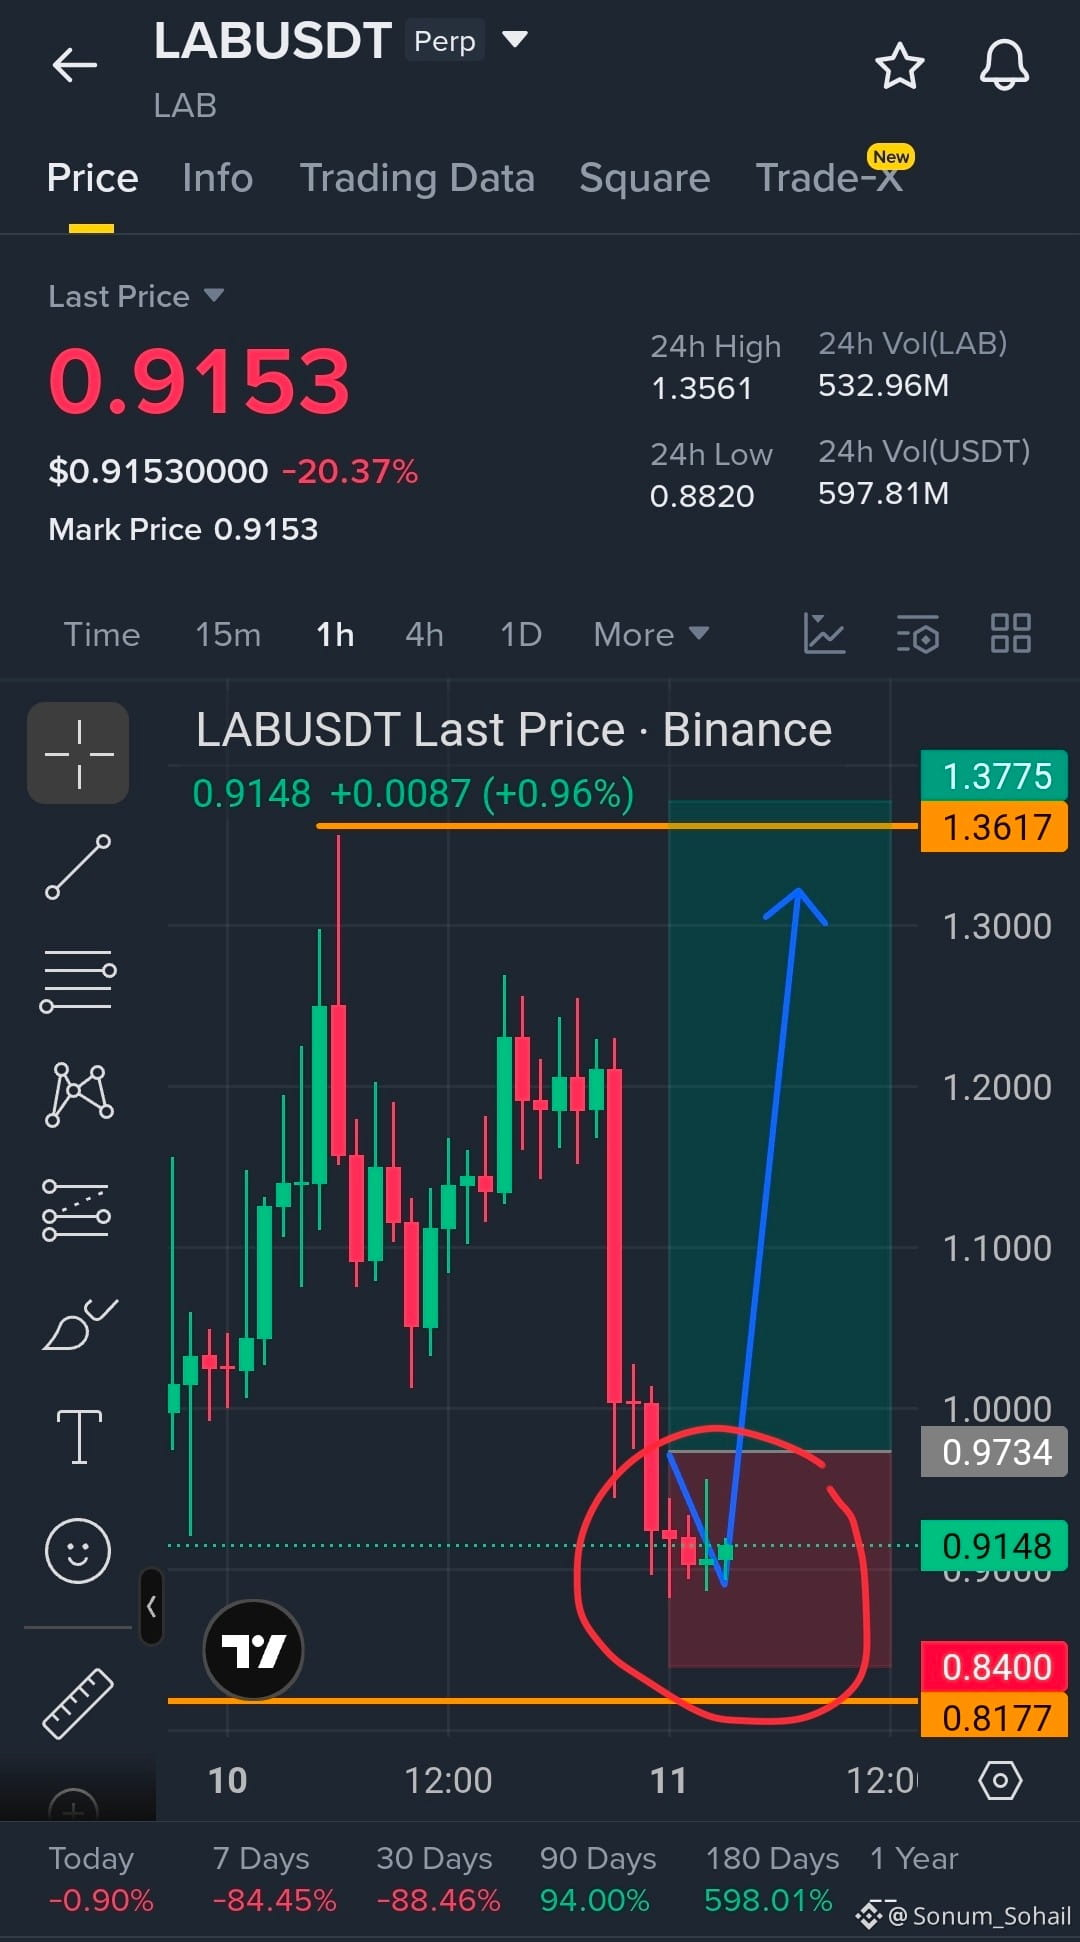
$LAB is still trading inside your original entry zone (0.960–0.980) and showing strong signs of defending the support zone.
Despite the recent volatility, buyers are stepping in around the original entry area. As long as support holds, the bullish setup remains valid. Stay patient and stick to your risk management plan. Move SL to Entry once the trade goes into profit.
Targets remain:
TP1: 1.120
TP2: 1.250
TP3: 1.360
If $LAB confirms a strong rebound from this level, the next move could be explosive. Don't let short-term fluctuations shake you out of a well-planned trade.
Trade Here On $LAB
Despite the recent volatility, buyers are stepping in around the original entry area. As long as support holds, the bullish setup remains valid. Stay patient and stick to your risk management plan. Move SL to Entry once the trade goes into profit.
Targets remain:
TP1: 1.120
TP2: 1.250
TP3: 1.360
If $LAB confirms a strong rebound from this level, the next move could be explosive. Don't let short-term fluctuations shake you out of a well-planned trade.
Trade Here On $LAB
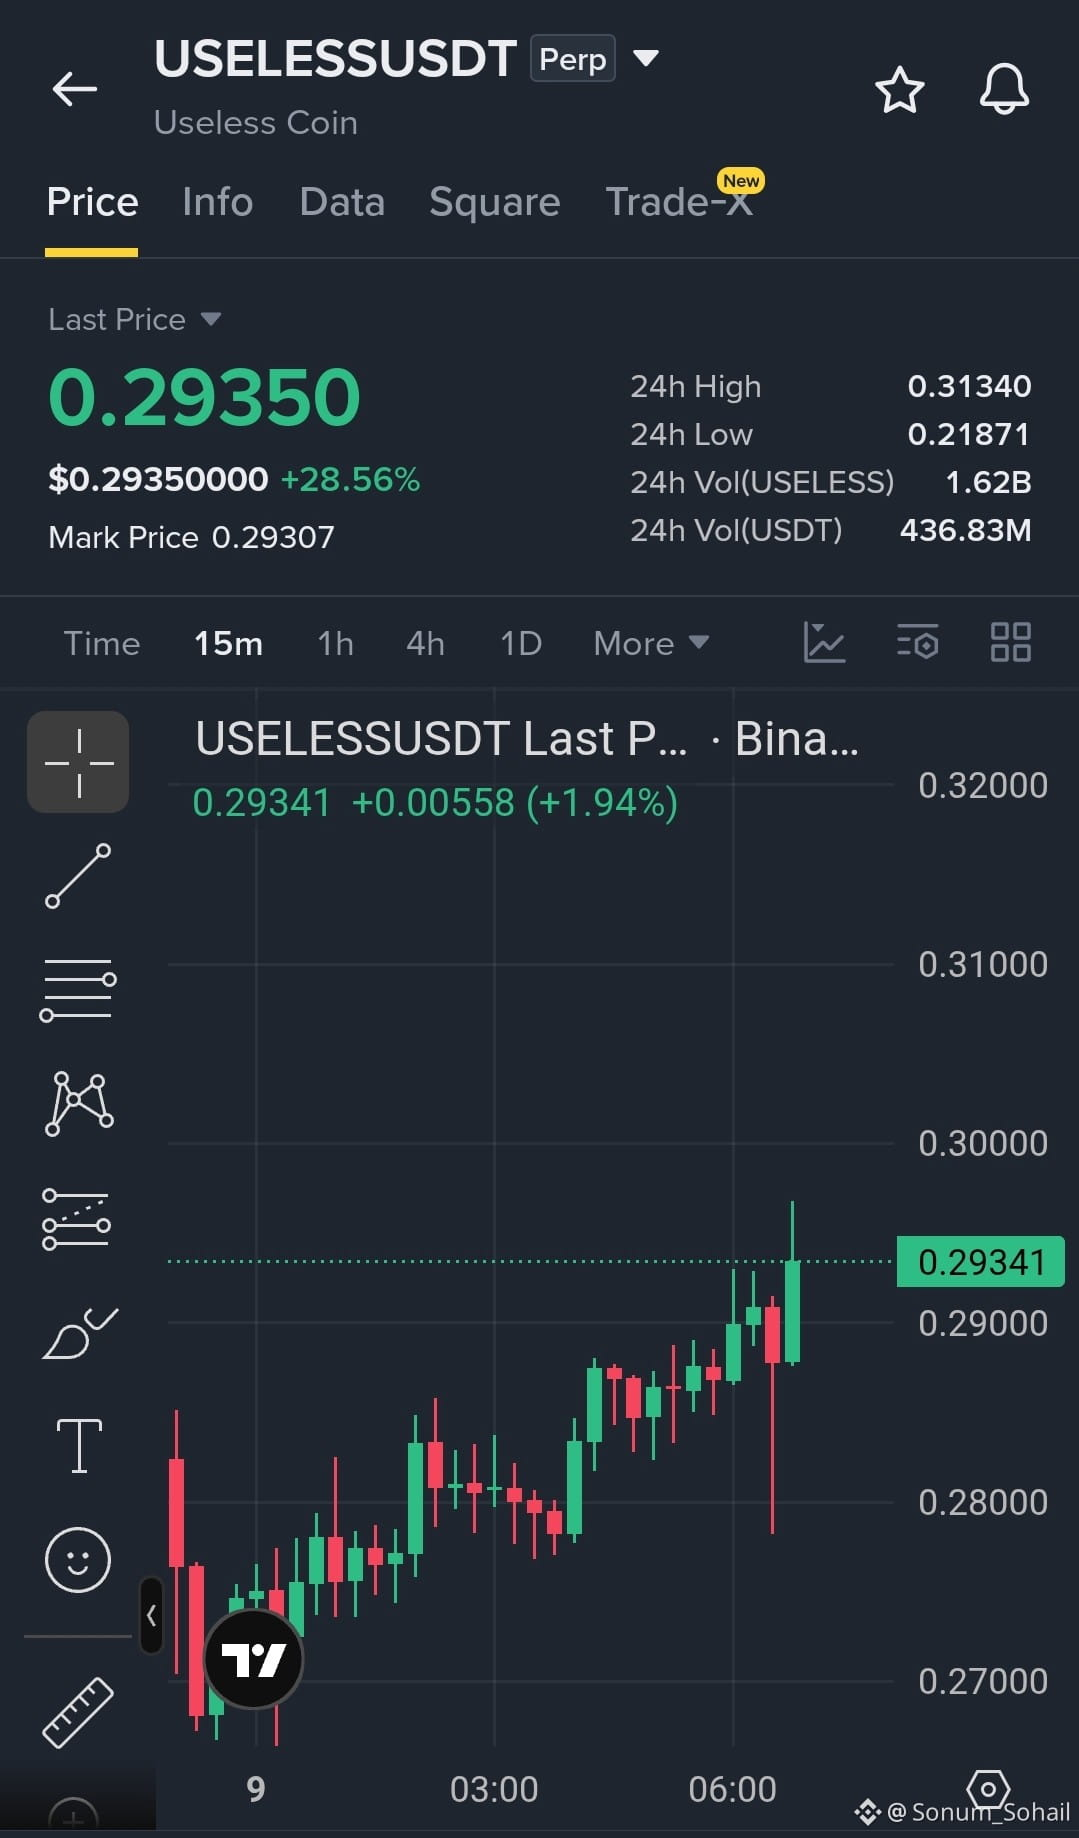
$USELESS is showing strong bullish momentum after a major recovery from the $0.218 support zone. Price is forming higher highs and higher lows, with buyers defending every pullback. A successful break above the $0.300 resistance can fuel the next upside move.
Trade Setup: Long | with Max 20x Leverage.
Entry Zone: $0.2890 – $0.2930
SL: $0.2830
TP1: $0.3000
TP2: $0.3080
TP3: $0.3150
Move SL to entry as soon as the trade goes in profit.
Trade here On $USELESS
Trade Setup: Long | with Max 20x Leverage.
Entry Zone: $0.2890 – $0.2930
SL: $0.2830
TP1: $0.3000
TP2: $0.3080
TP3: $0.3150
Move SL to entry as soon as the trade goes in profit.
Trade here On $USELESS
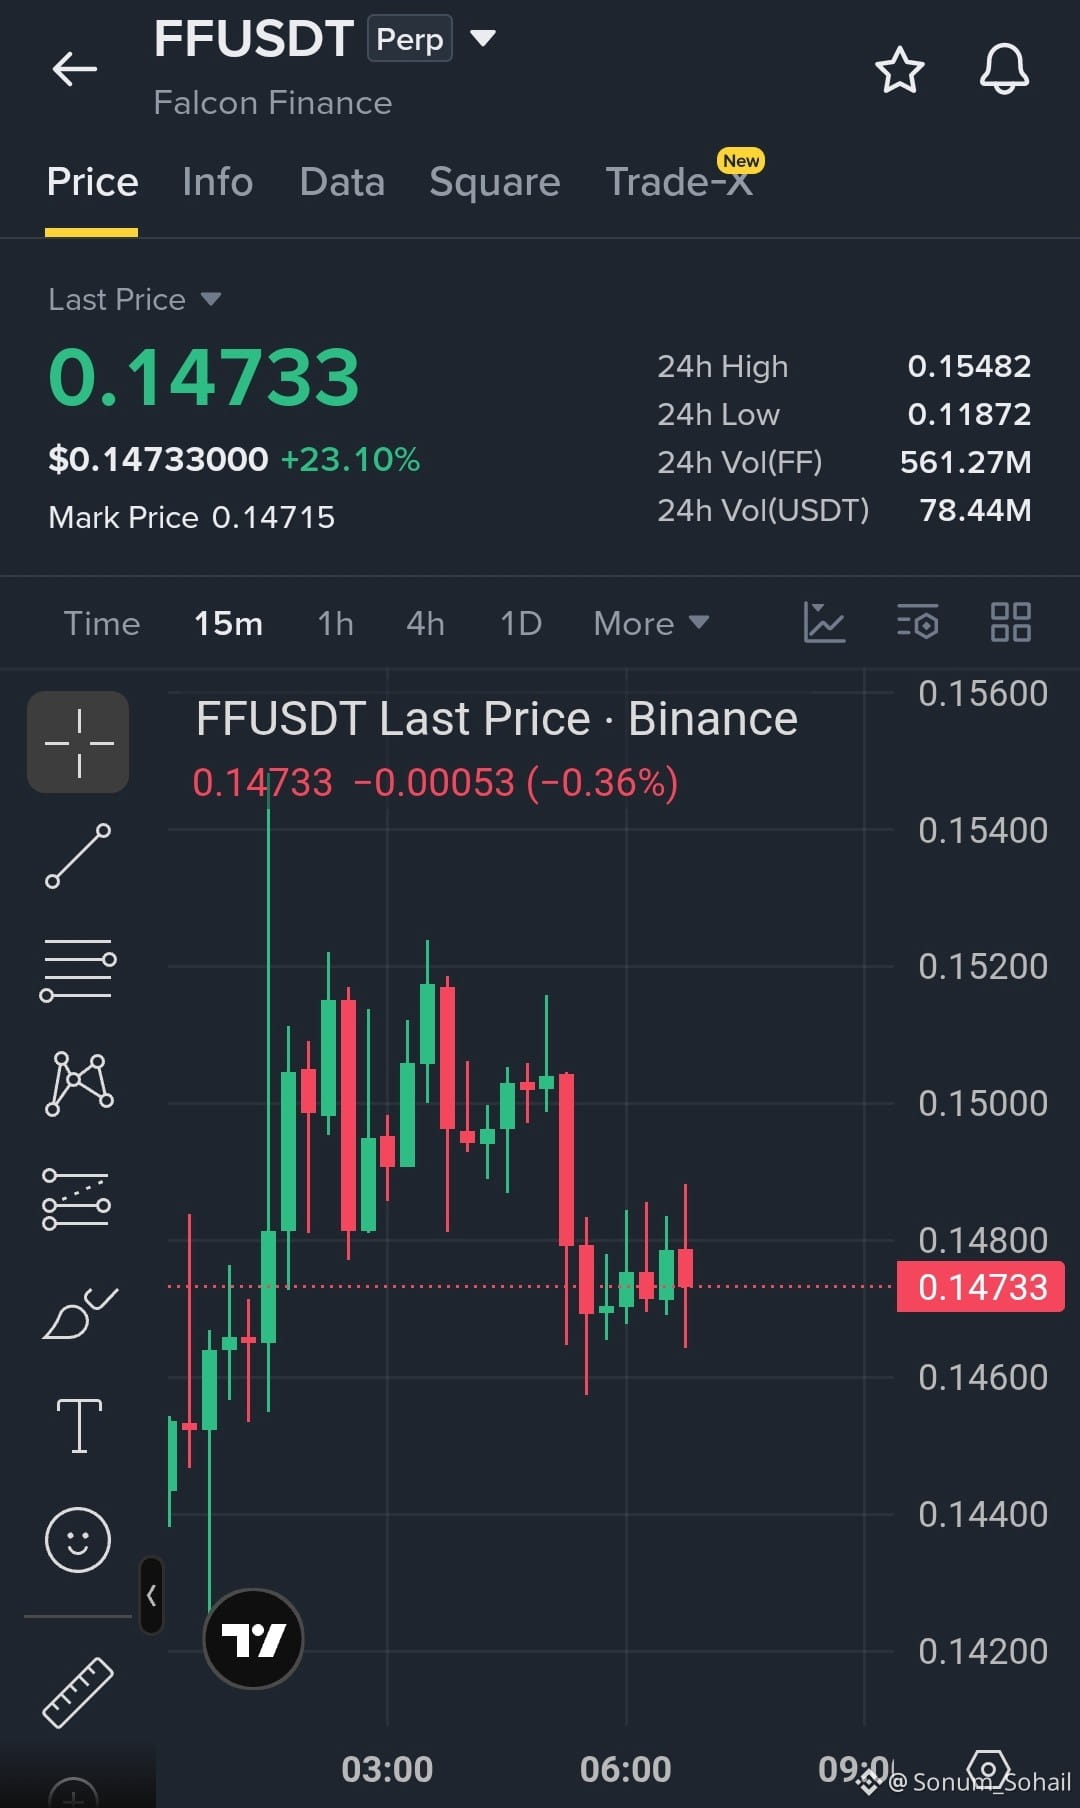
$FF is holding a strong bullish structure as 4H and 1H trends remain upward. After a sharp rally from the lower levels, price is currently consolidating near support, showing buyers are defending the zone. A breakout above the nearby resistance can trigger the next bullish move.
Trade Setup: Long | with Max 20x Leverage.
Entry Zone: $0.1465 – $0.1475
SL: $0.1435
TP1: $0.1500
TP2: $0.1525
TP3: $0.1550
Move SL to entry as soon as the trade goes in profit.
Trade here On $FF
Trade Setup: Long | with Max 20x Leverage.
Entry Zone: $0.1465 – $0.1475
SL: $0.1435
TP1: $0.1500
TP2: $0.1525
TP3: $0.1550
Move SL to entry as soon as the trade goes in profit.
Trade here On $FF
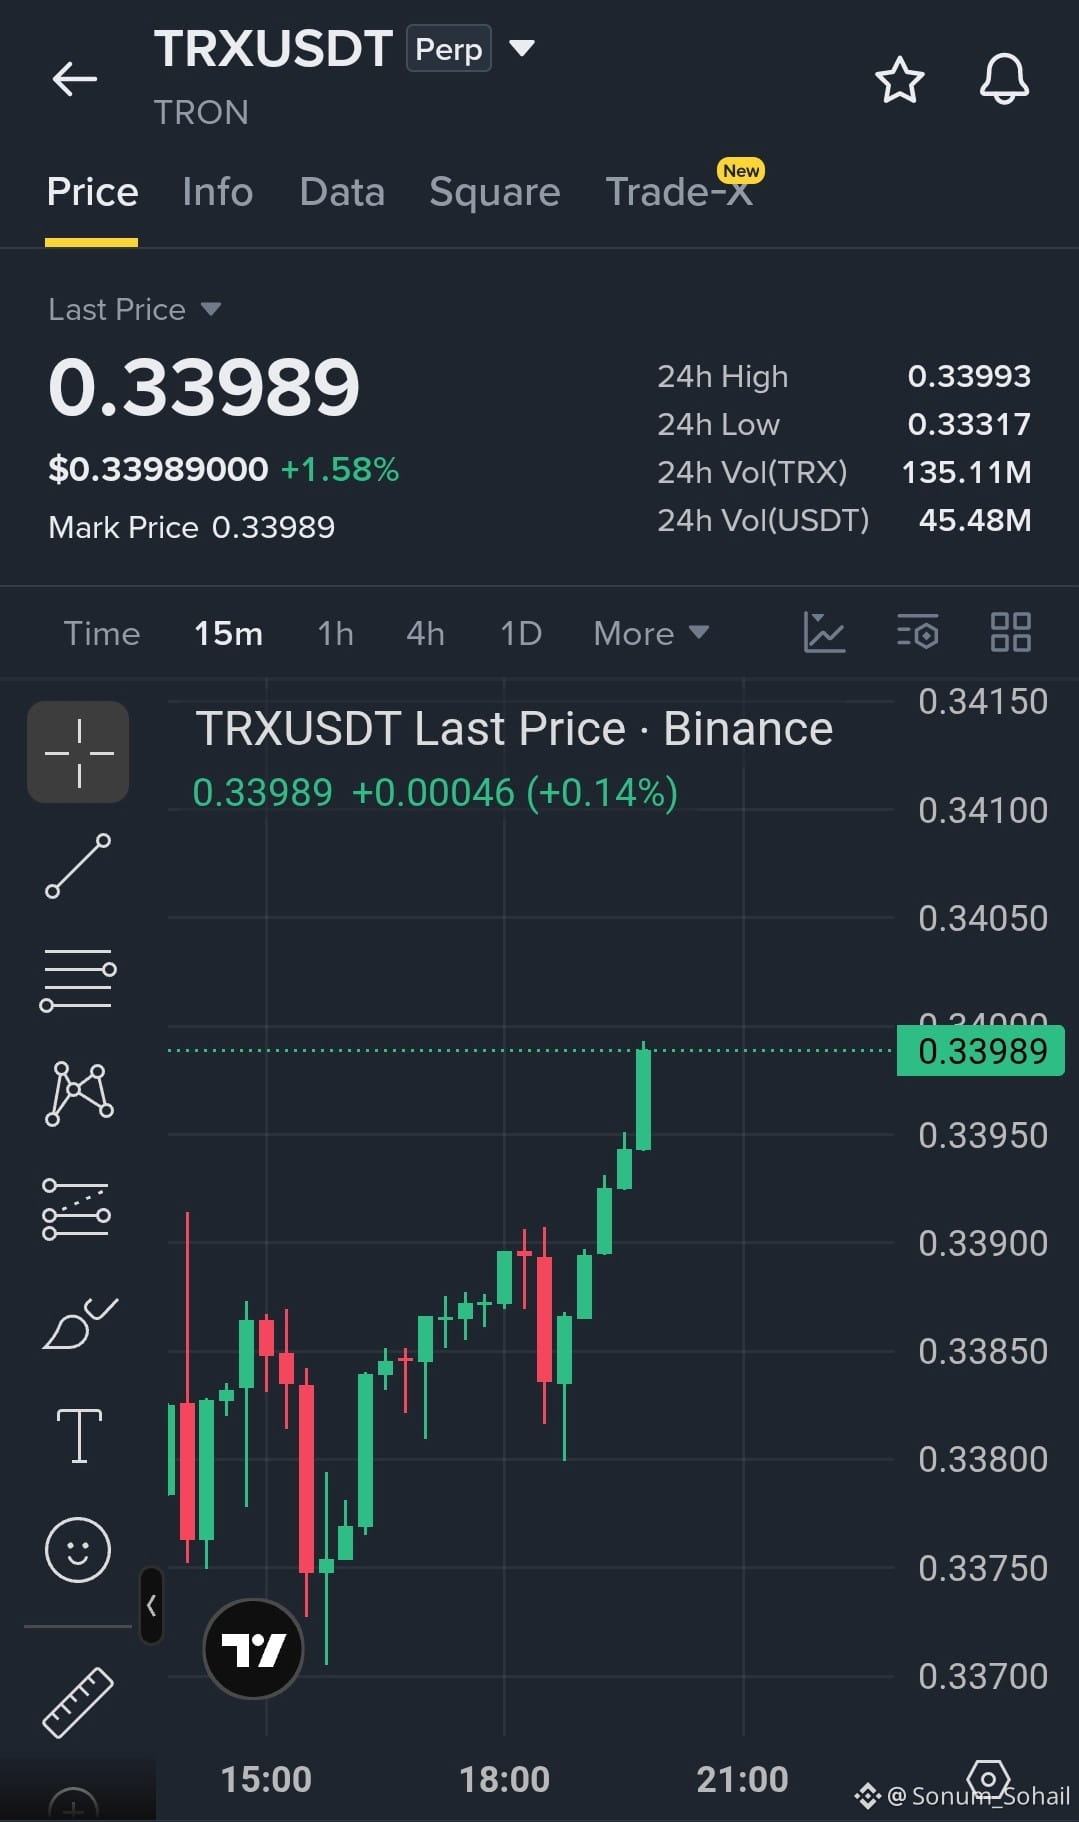
$TRX is showing strong bullish momentum as buyers push price higher from the support zone, forming higher lows and breaking short-term resistance. Bulls are currently testing the $0.3400 area — a breakout here can open the way for further upside.
Trade Setup: Long
Entry Zone: $0.3385 – $0.3395
SL: $0.3368
TP1: $0.3410
TP2: $0.3430
TP3: $0.3450
Trade here On $TRX
Go long with Max 20x Leverage
Move SL to entry as soon as the trade goes in profit.
Trade Setup: Long
Entry Zone: $0.3385 – $0.3395
SL: $0.3368
TP1: $0.3410
TP2: $0.3430
TP3: $0.3450
Trade here On $TRX
Go long with Max 20x Leverage
Move SL to entry as soon as the trade goes in profit.
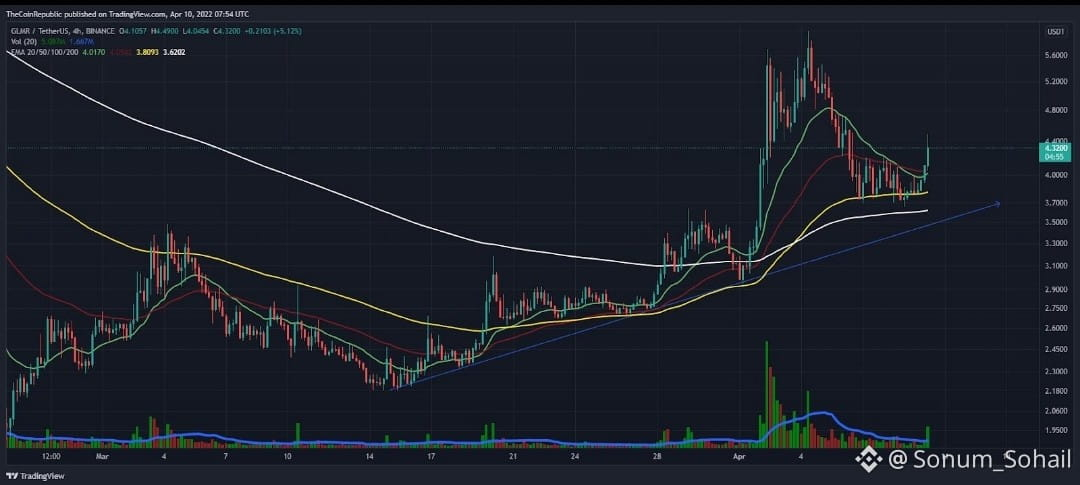
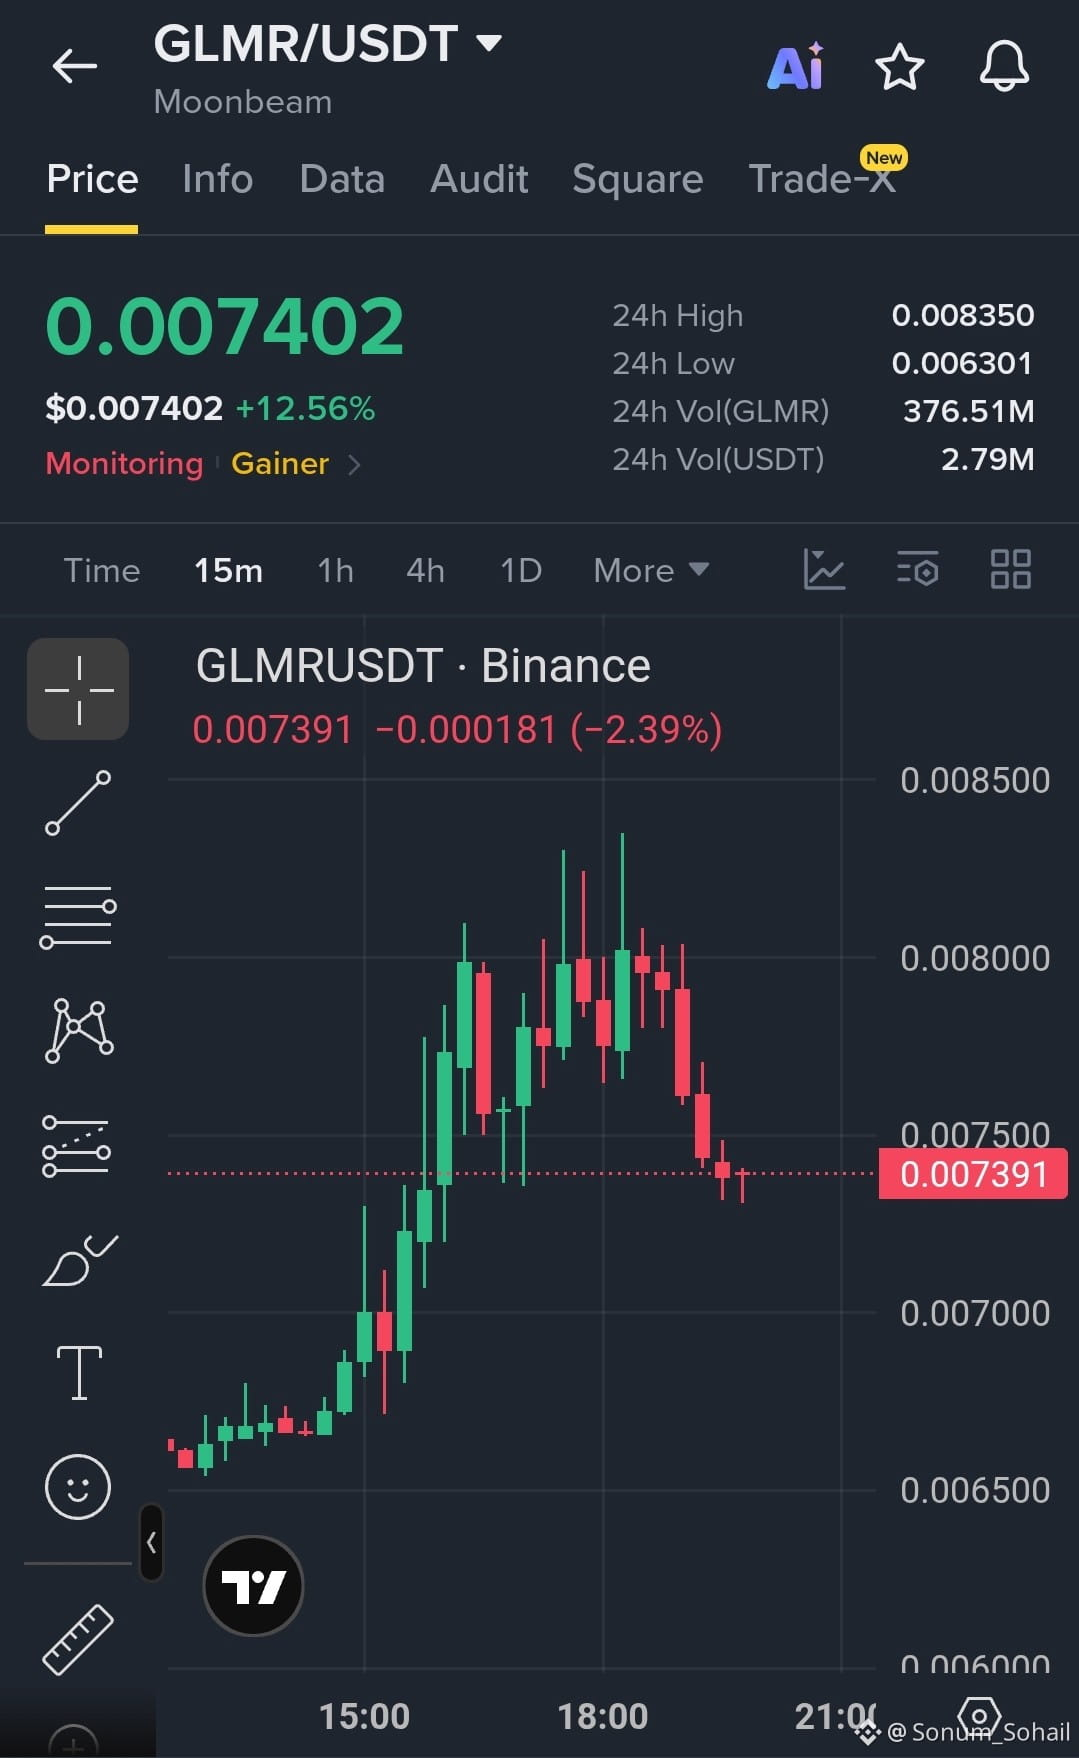
$GLMR Update
After a strong pump from the $0.0065 zone, GLMR is facing rejection near $0.0080–$0.0082 resistance. Price is currently pulling back and testing the $0.0073 support area.
Trade Setup: Short | with Max 20x Leverage.
Entry Zone: $0.00740 – $0.00755
SL: $0.00785
TP1: $0.00710
TP2: $0.00680
TP3: $0.00650
If price reclaims and holds above $0.00780, momentum can shift bullish toward $0.00820–$0.00850.
Move SL to entry as soon as the trade goes in profit.
Trade here On $GLMR
After a strong pump from the $0.0065 zone, GLMR is facing rejection near $0.0080–$0.0082 resistance. Price is currently pulling back and testing the $0.0073 support area.
Trade Setup: Short | with Max 20x Leverage.
Entry Zone: $0.00740 – $0.00755
SL: $0.00785
TP1: $0.00710
TP2: $0.00680
TP3: $0.00650
If price reclaims and holds above $0.00780, momentum can shift bullish toward $0.00820–$0.00850.
Move SL to entry as soon as the trade goes in profit.
Trade here On $GLMR
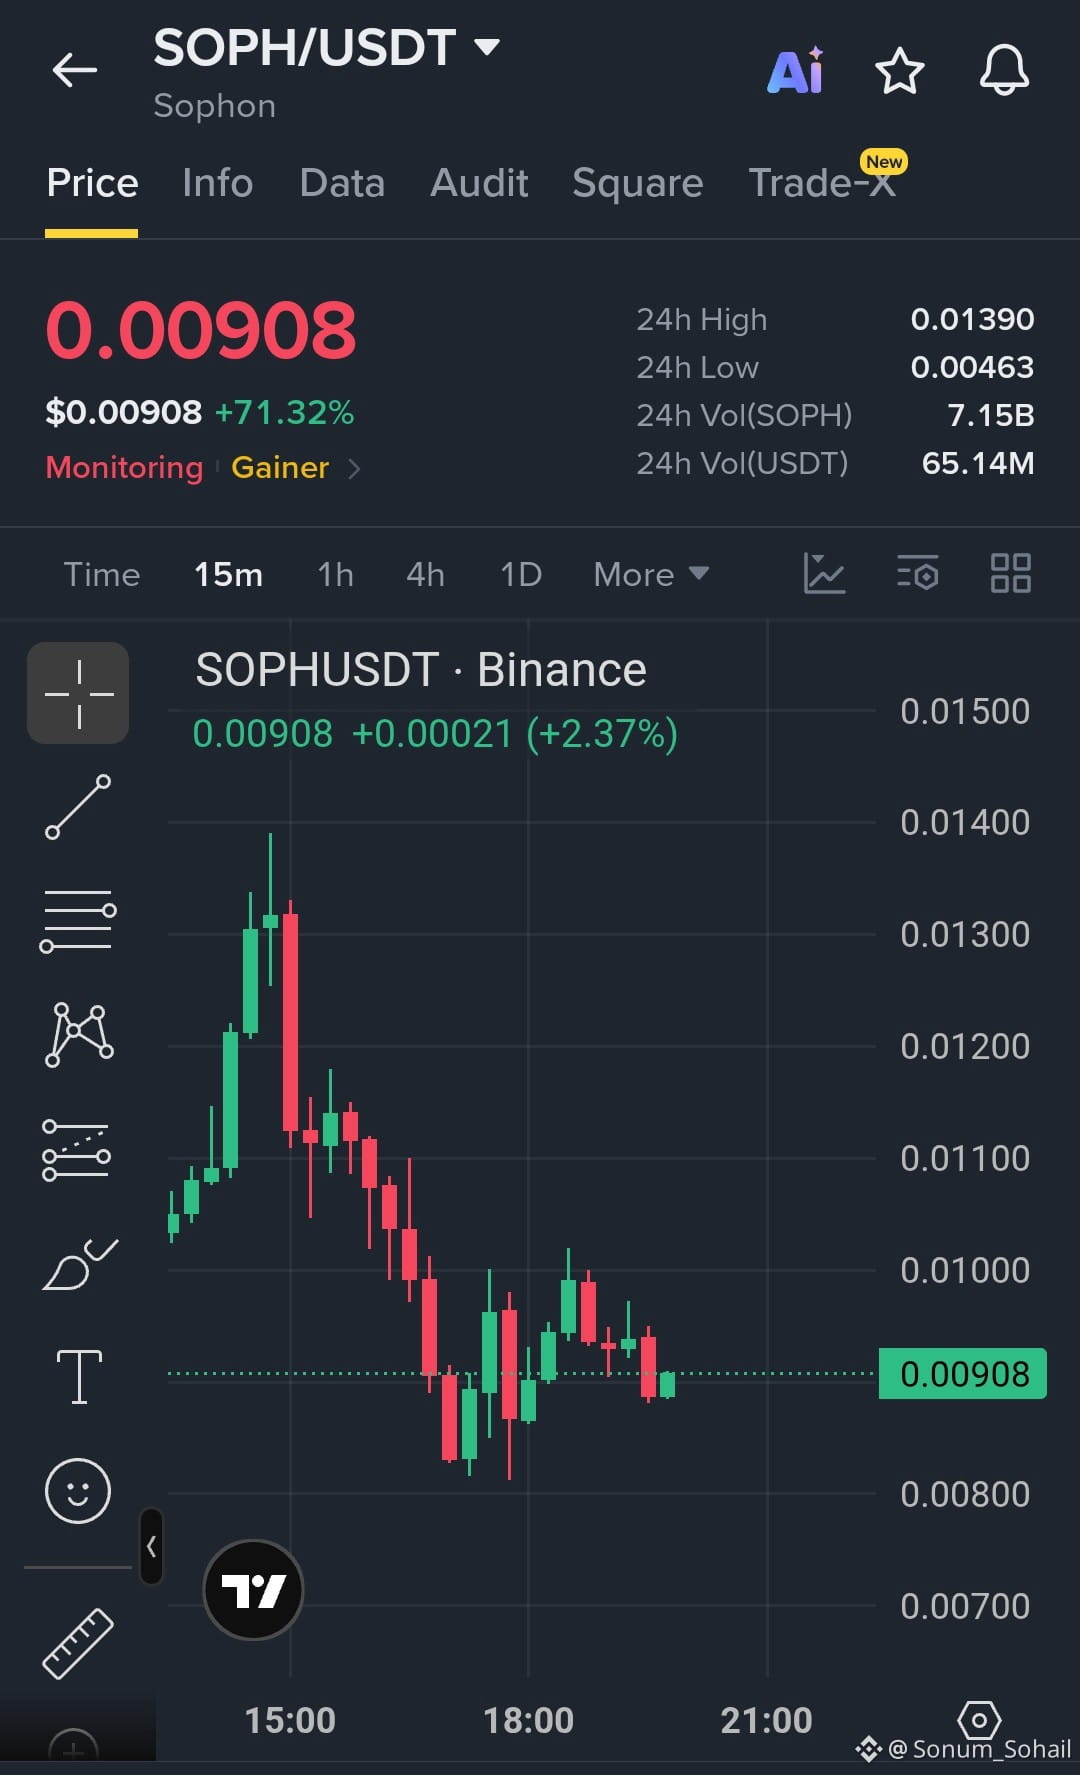
$SOPH is showing a strong recovery attempt after a sharp pullback, with price stabilizing near the $0.0090 support zone. Buyers are trying to build momentum again, and a breakout above the $0.0100 resistance could open the way for another move higher.
Trade Setup: Long | with Max 20x Leverage.
Entry Zone: 0.00895–0.00910
SL: 0.00840
TP1: 0.00980
TP2: 0.01050
TP3: 0.01120
Trade here On $SOPH
Trade Setup: Long | with Max 20x Leverage.
Entry Zone: 0.00895–0.00910
SL: 0.00840
TP1: 0.00980
TP2: 0.01050
TP3: 0.01120
Trade here On $SOPH
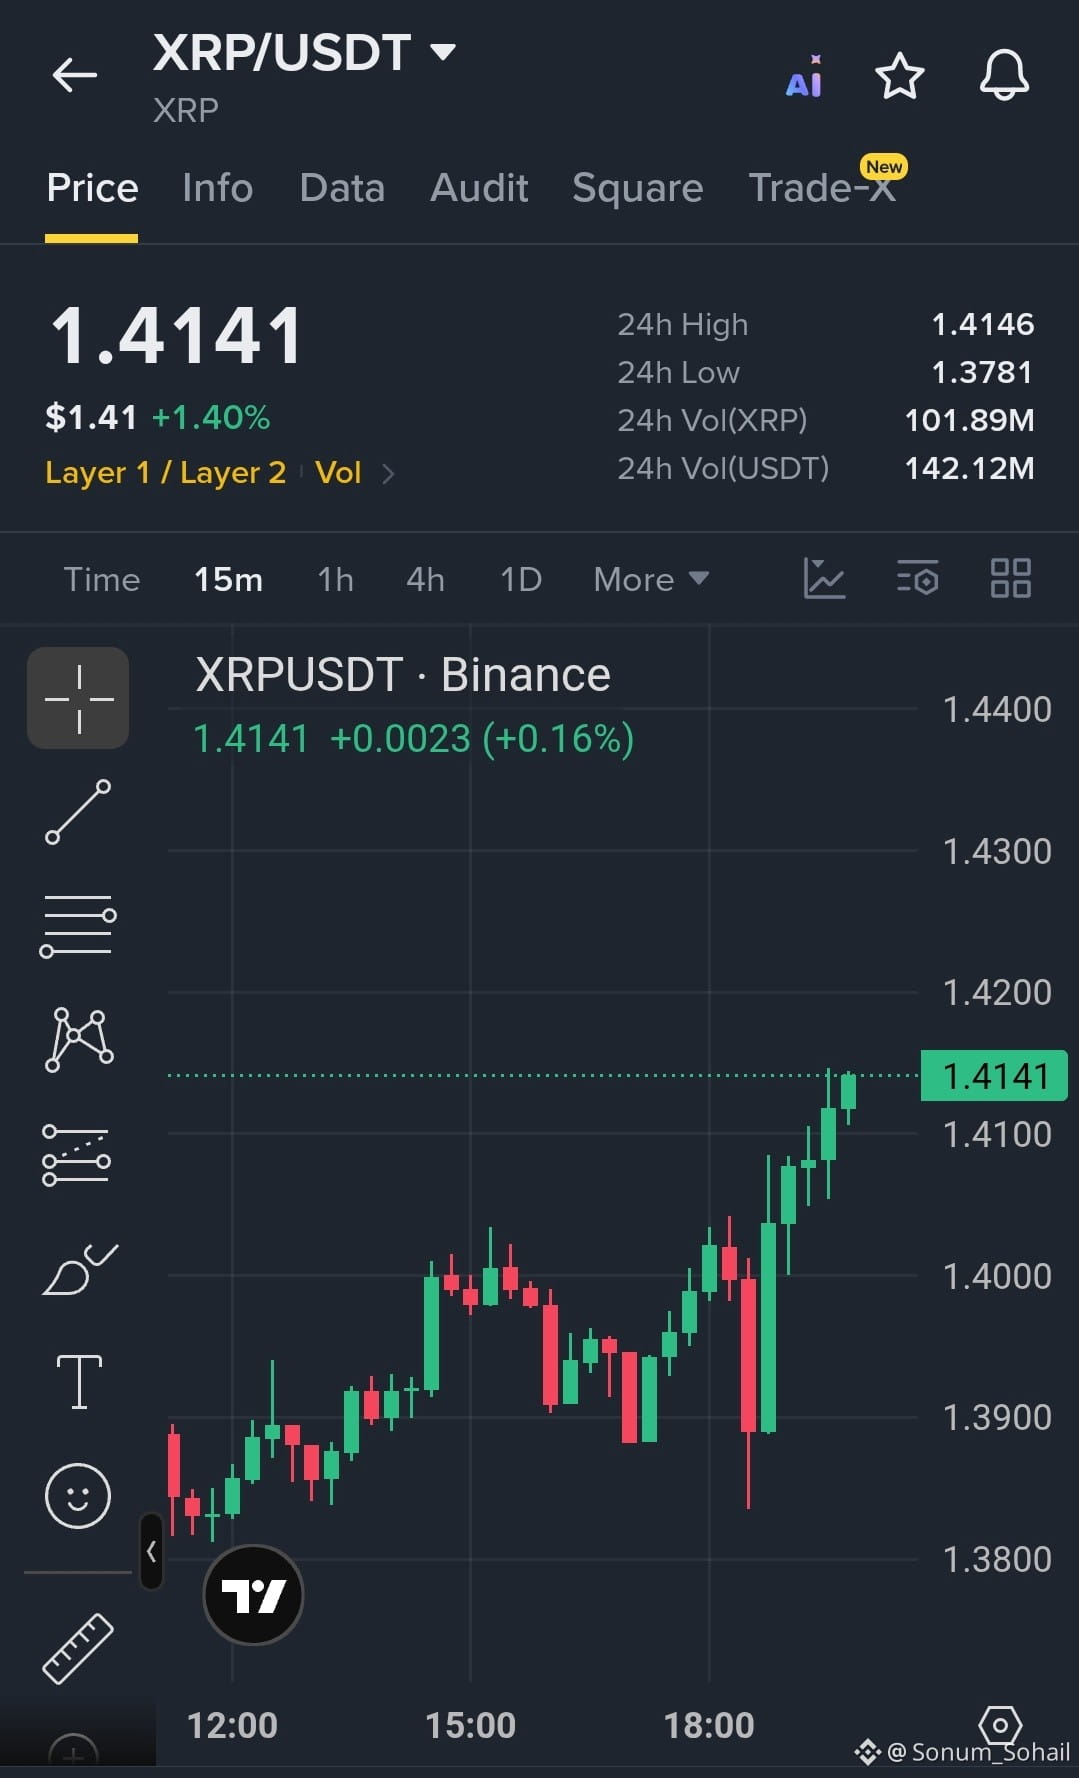
$XRP is showing recovery strength on the 4H timeframe, bouncing from the lower support zone and forming higher lows. Buyers are stepping in gradually, and if momentum continues above the $1.42 resistance area, the next push could target higher levels
Trade Setup: Long | with Max 20x Leverage.
Entry Zone: 1.405–1.415
SL: 1.385
TP1: 1.430
TP2: 1.450
TP3: 1.475
Trade here On $XRP
Trade Setup: Long | with Max 20x Leverage.
Entry Zone: 1.405–1.415
SL: 1.385
TP1: 1.430
TP2: 1.450
TP3: 1.475
Trade here On $XRP
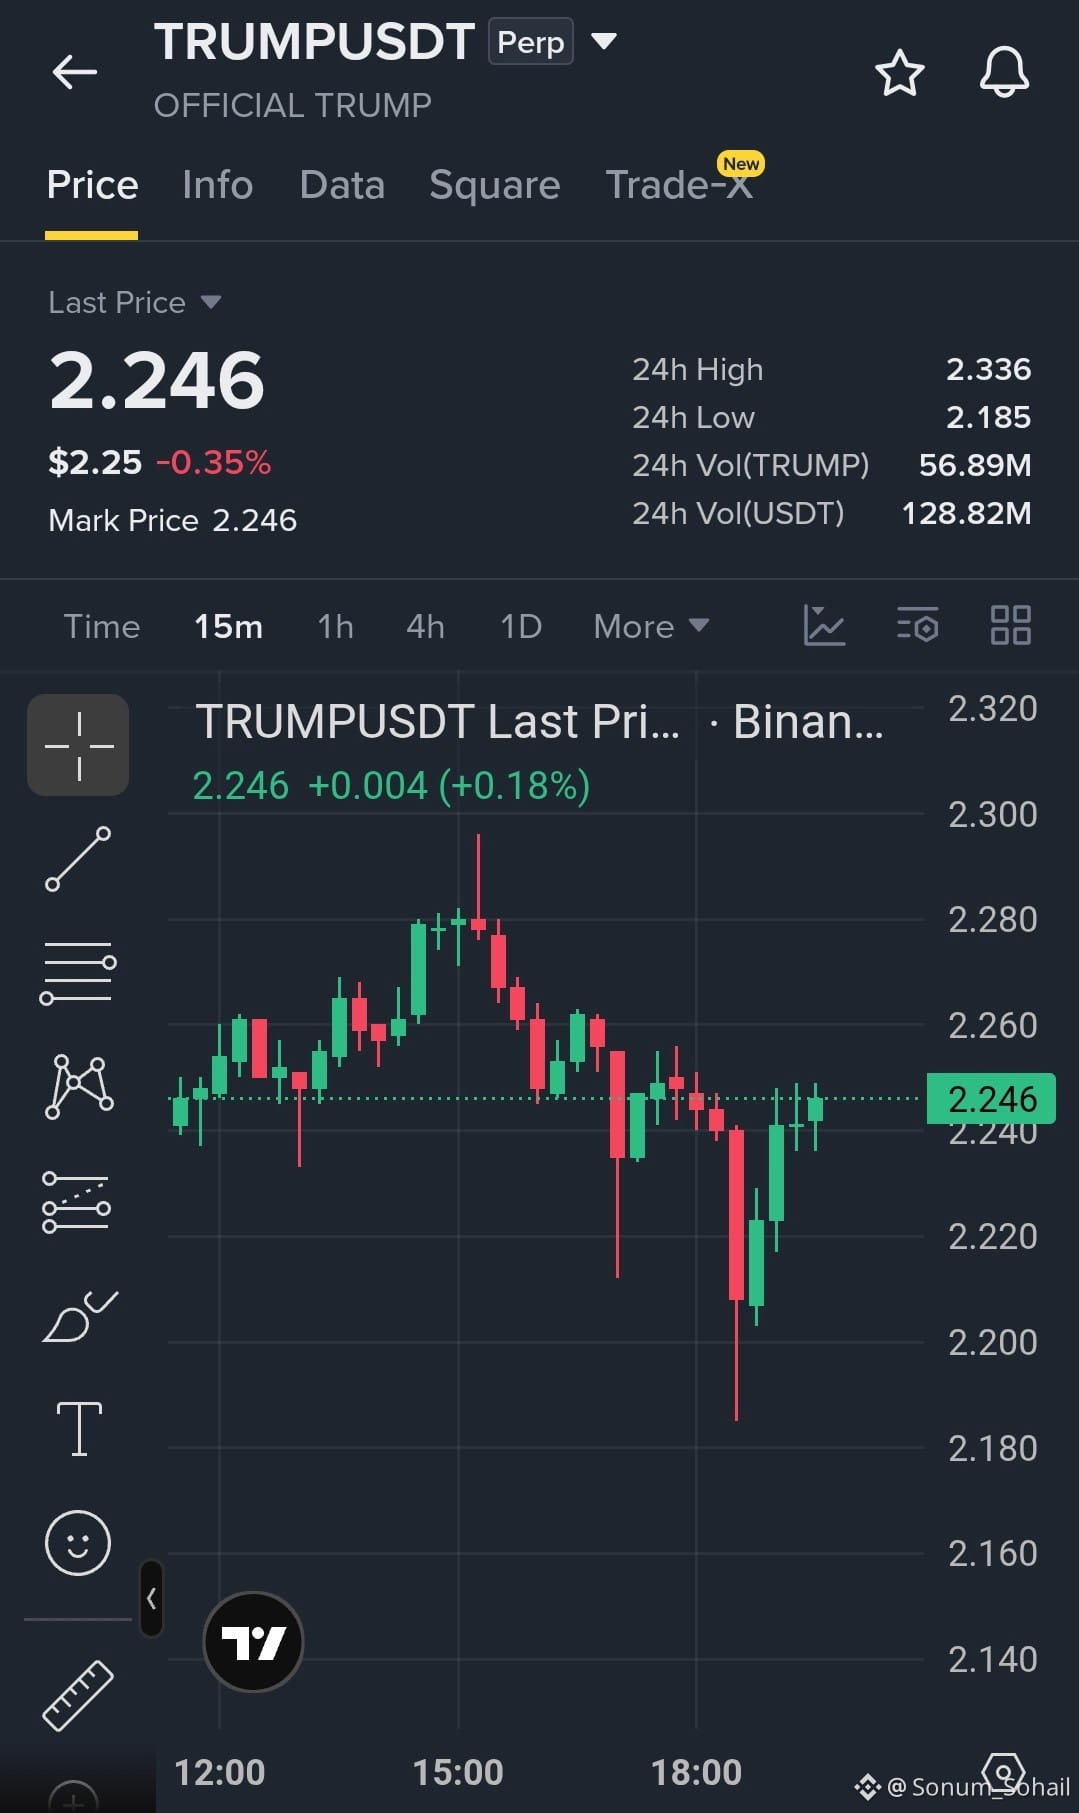
$TRUMP is moving inside a consolidation range on the 4H timeframe after the recent volatility, with buyers defending the $2.20–$2.22 support zone. A breakout above $2.28 could trigger fresh bullish momentum, while a loss of support may bring another downside move.
Trade Setup: Long | with Max 20x Leverage.
Entry Zone: 2.23–2.25
SL: 2.18
TP1: 2.30
TP2: 2.36
TP3: 2.42
Trade here On $TRUMP
Trade Setup: Long | with Max 20x Leverage.
Entry Zone: 2.23–2.25
SL: 2.18
TP1: 2.30
TP2: 2.36
TP3: 2.42
Trade here On $TRUMP
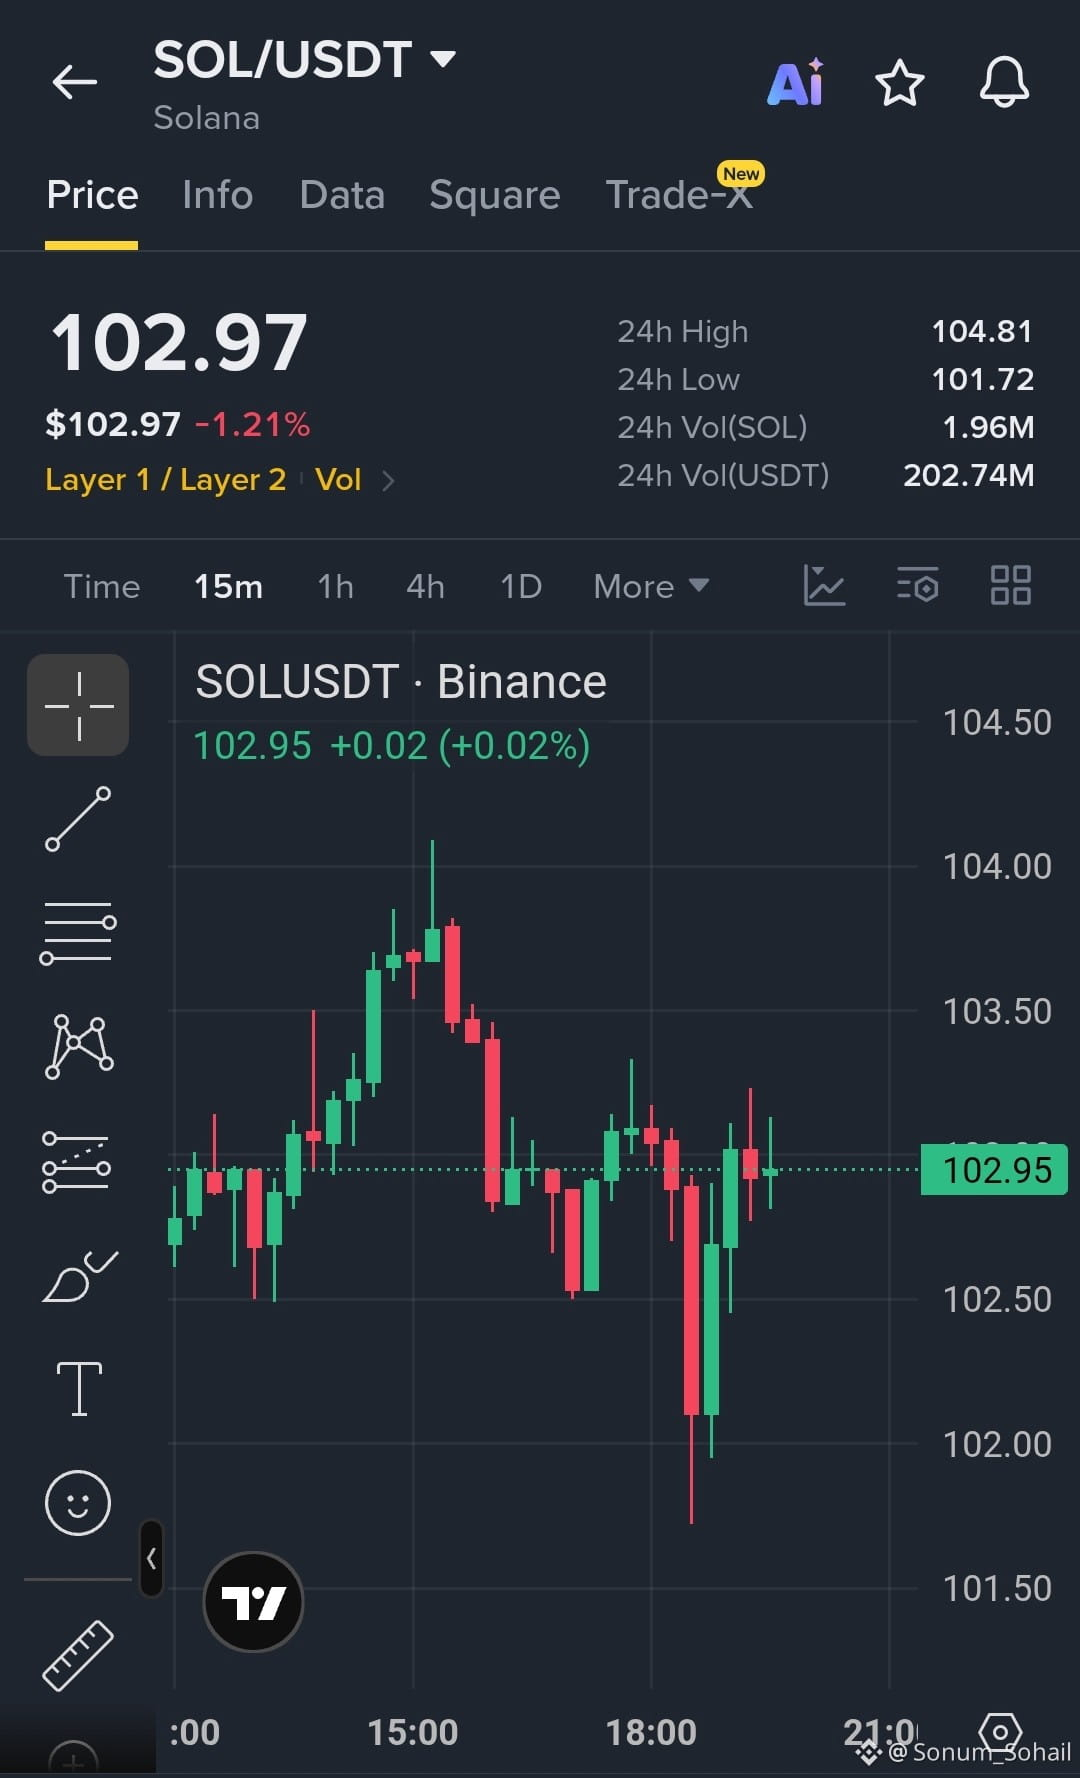
$SOL is showing weakness on the 4H timeframe with lower highs and rejection from the $104 zone. Price is currently consolidating near support, but a breakdown below $102 could open the way for further downside. A reclaim above $104 would be needed to shift momentum back bullish
Trade Setup: Short | With Max 20x Leverage.
Entry Zone: 103.00–103.40
SL: 104.20
TP1: 102.20
TP2: 101.50
TP3: 100.80
Trade here On $SOL
Trade Setup: Short | With Max 20x Leverage.
Entry Zone: 103.00–103.40
SL: 104.20
TP1: 102.20
TP2: 101.50
TP3: 100.80
Trade here On $SOL
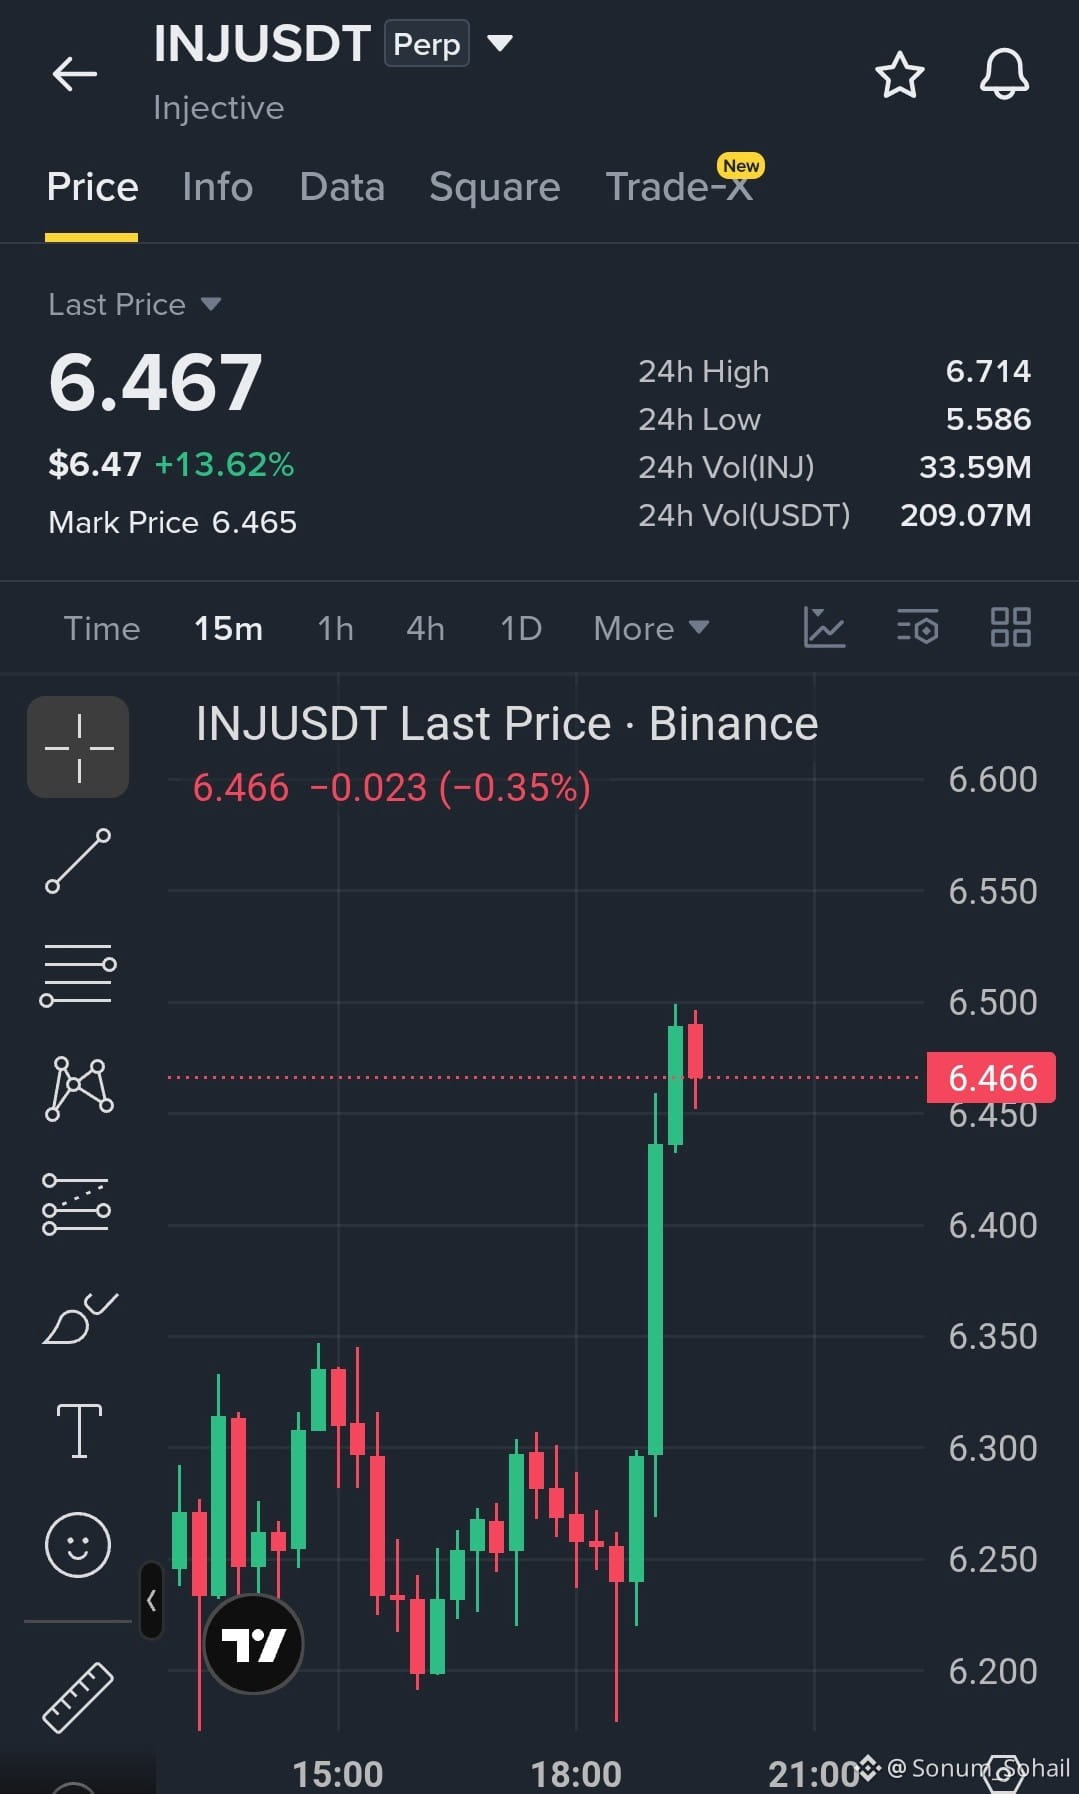
$INJ LONG SETUP
The 15m chart shows a strong impulsive breakout from ~6.25 to ~6.50, so shorting the first pullback would be counter-trend.
Trade: LONG | with Max 20x Leverage.
Entry Zone: 6.40–6.46
DCA: 6.32–6.36
SL: 6.20
TP1: 6.50
TP2: 6.60
TP3: 6.70
TP4: 6.85
Price holds 6.40–6.45 and reclaims 6.50.
The 15m chart shows a strong impulsive breakout from ~6.25 to ~6.50, so shorting the first pullback would be counter-trend.
Trade: LONG | with Max 20x Leverage.
Entry Zone: 6.40–6.46
DCA: 6.32–6.36
SL: 6.20
TP1: 6.50
TP2: 6.60
TP3: 6.70
TP4: 6.85
Price holds 6.40–6.45 and reclaims 6.50.
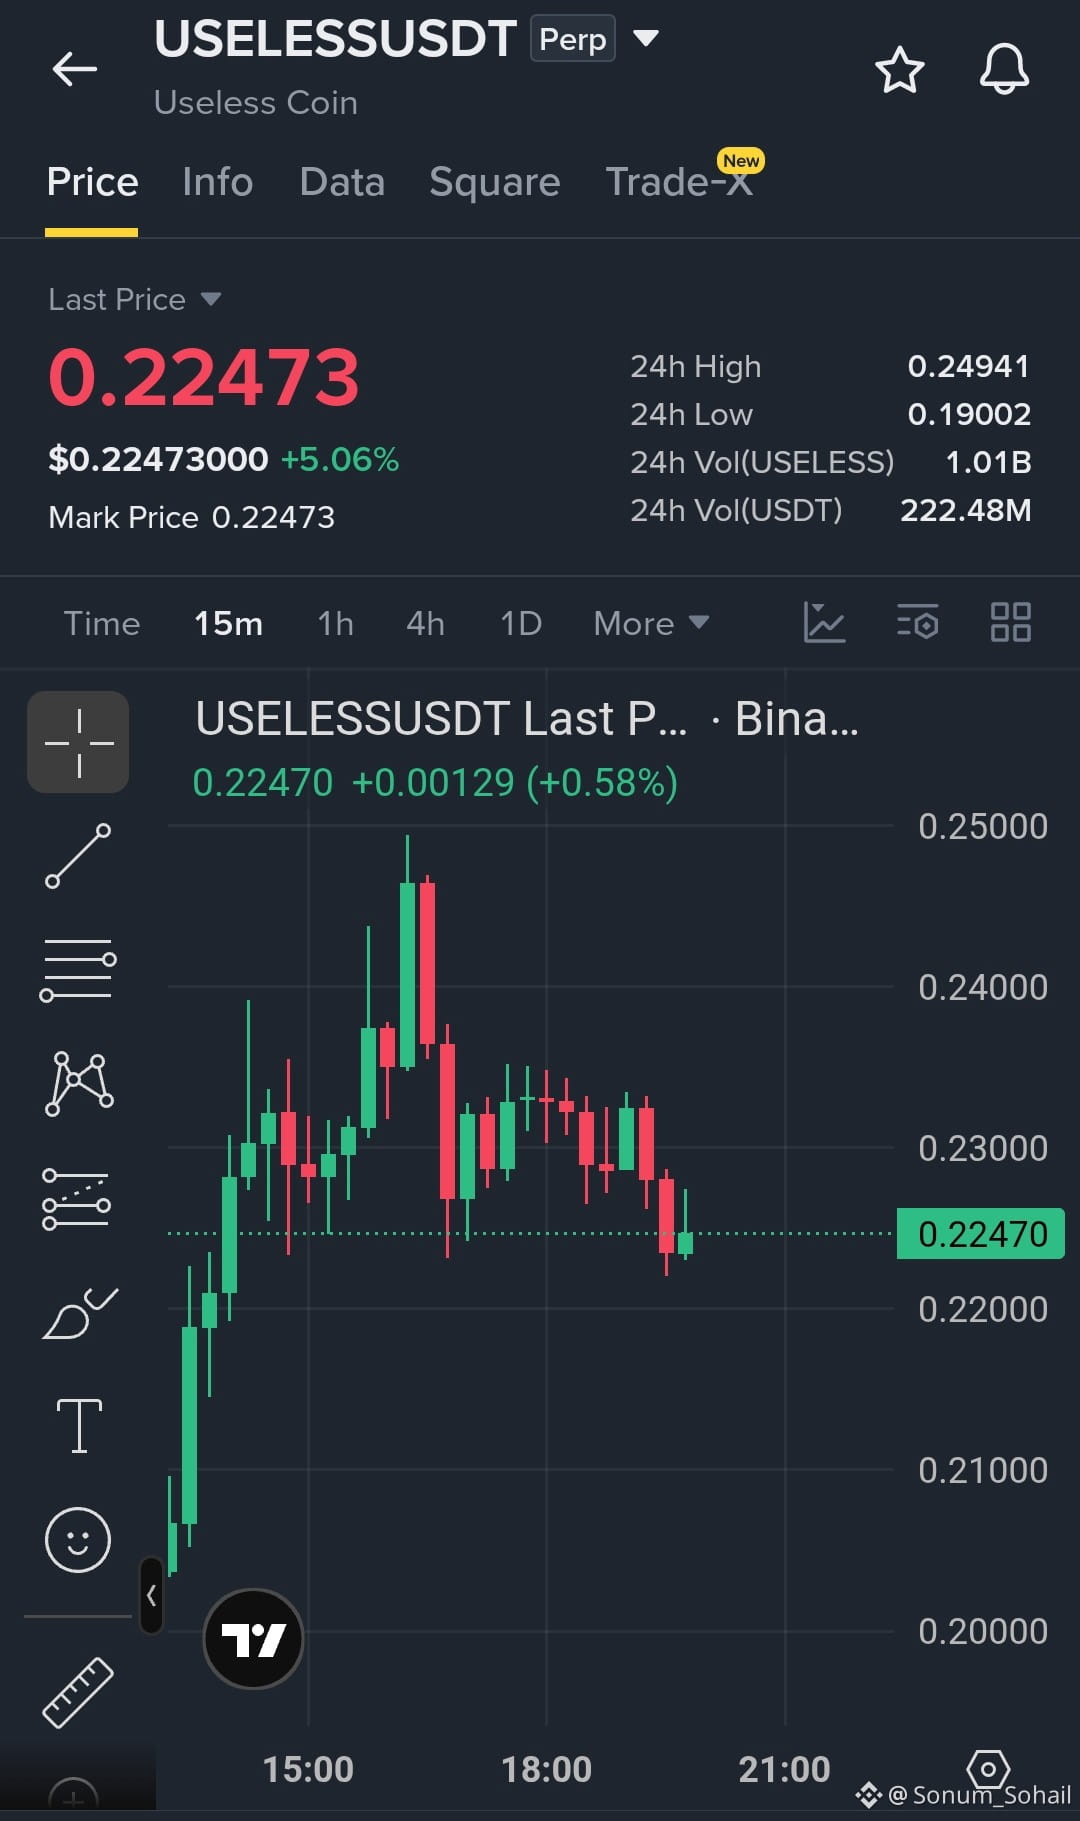
$USELESS SHORT SETUP
If price reclaims 0.2300 and holds above it, avoid forcing the short; the bearish setup becomes weaker.
Trade: SHORT | with Max 20x Leverage.
Entry Zone: 0.2250–0.2270
DCA: 0.2300–0.2320
SL: 0.2345
TP1: 0.2220
TP2: 0.2180
TP3: 0.2120
TP4: 0.2050
If price reclaims 0.2300 and holds above it, avoid forcing the short; the bearish setup becomes weaker.
Trade: SHORT | with Max 20x Leverage.
Entry Zone: 0.2250–0.2270
DCA: 0.2300–0.2320
SL: 0.2345
TP1: 0.2220
TP2: 0.2180
TP3: 0.2120
TP4: 0.2050
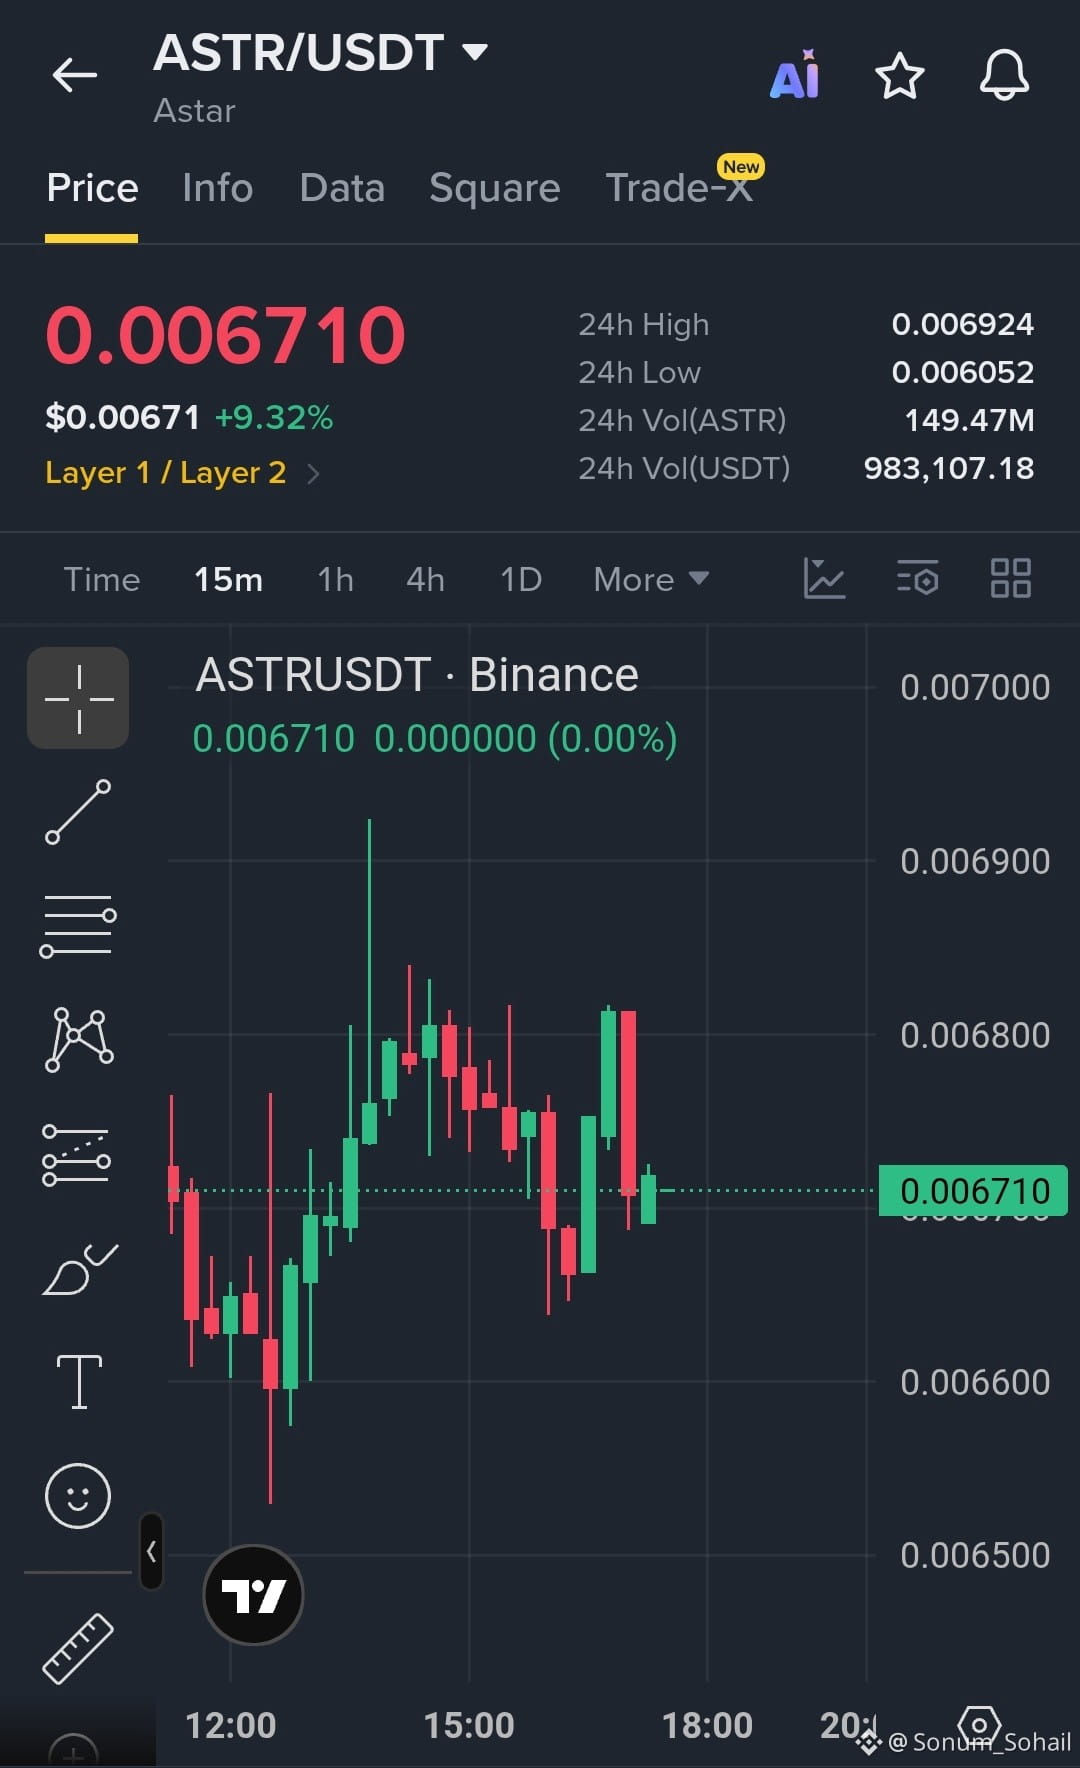
$ASTR is holding the 0.00670 support after a strong recovery from the 0.00660 zone, with buyers attempting to reclaim 0.00680—if this resistance breaks, the next move could extend toward $0.00700+
Trade Setup: Long | with Max 20x Leverage.
Entry Zone: 0.00668–0.00673
SL: 0.00658
TP1: 0.00682
TP2: 0.00692
TP3: 0.00705
Trade here On $ASTR
Trade Setup: Long | with Max 20x Leverage.
Entry Zone: 0.00668–0.00673
SL: 0.00658
TP1: 0.00682
TP2: 0.00692
TP3: 0.00705
Trade here On $ASTR
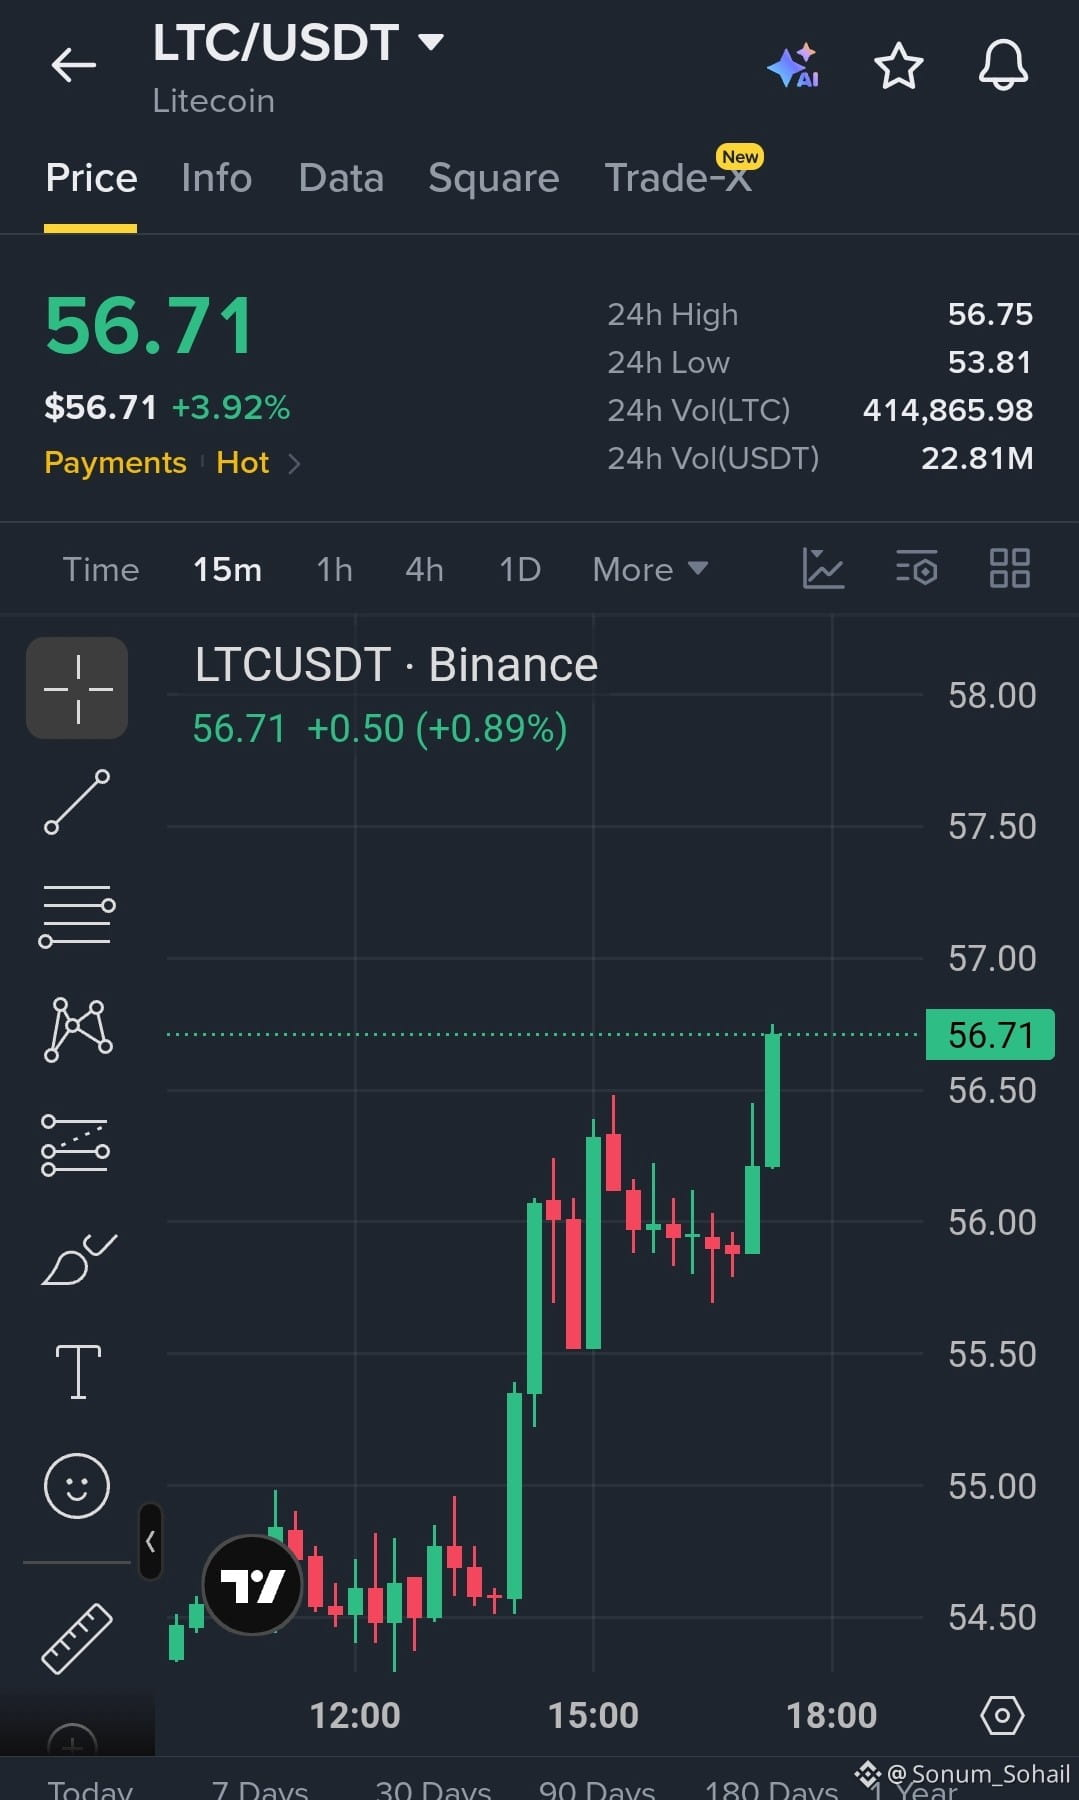
$LTC is showing strong bullish continuation after breaking above the 56.00 resistance, with buyers pushing toward the 24H high—holding 56.20–56.40 could open the way toward $58.00+
Trade Setup: Long | with Max 20x Leverage.
Entry Zone: 56.20–56.60
SL: 55.70
TP1: 57.00
TP2: 57.50
TP3: 58.00
Trade here On $LTC
Trade Setup: Long | with Max 20x Leverage.
Entry Zone: 56.20–56.60
SL: 55.70
TP1: 57.00
TP2: 57.50
TP3: 58.00
Trade here On $LTC
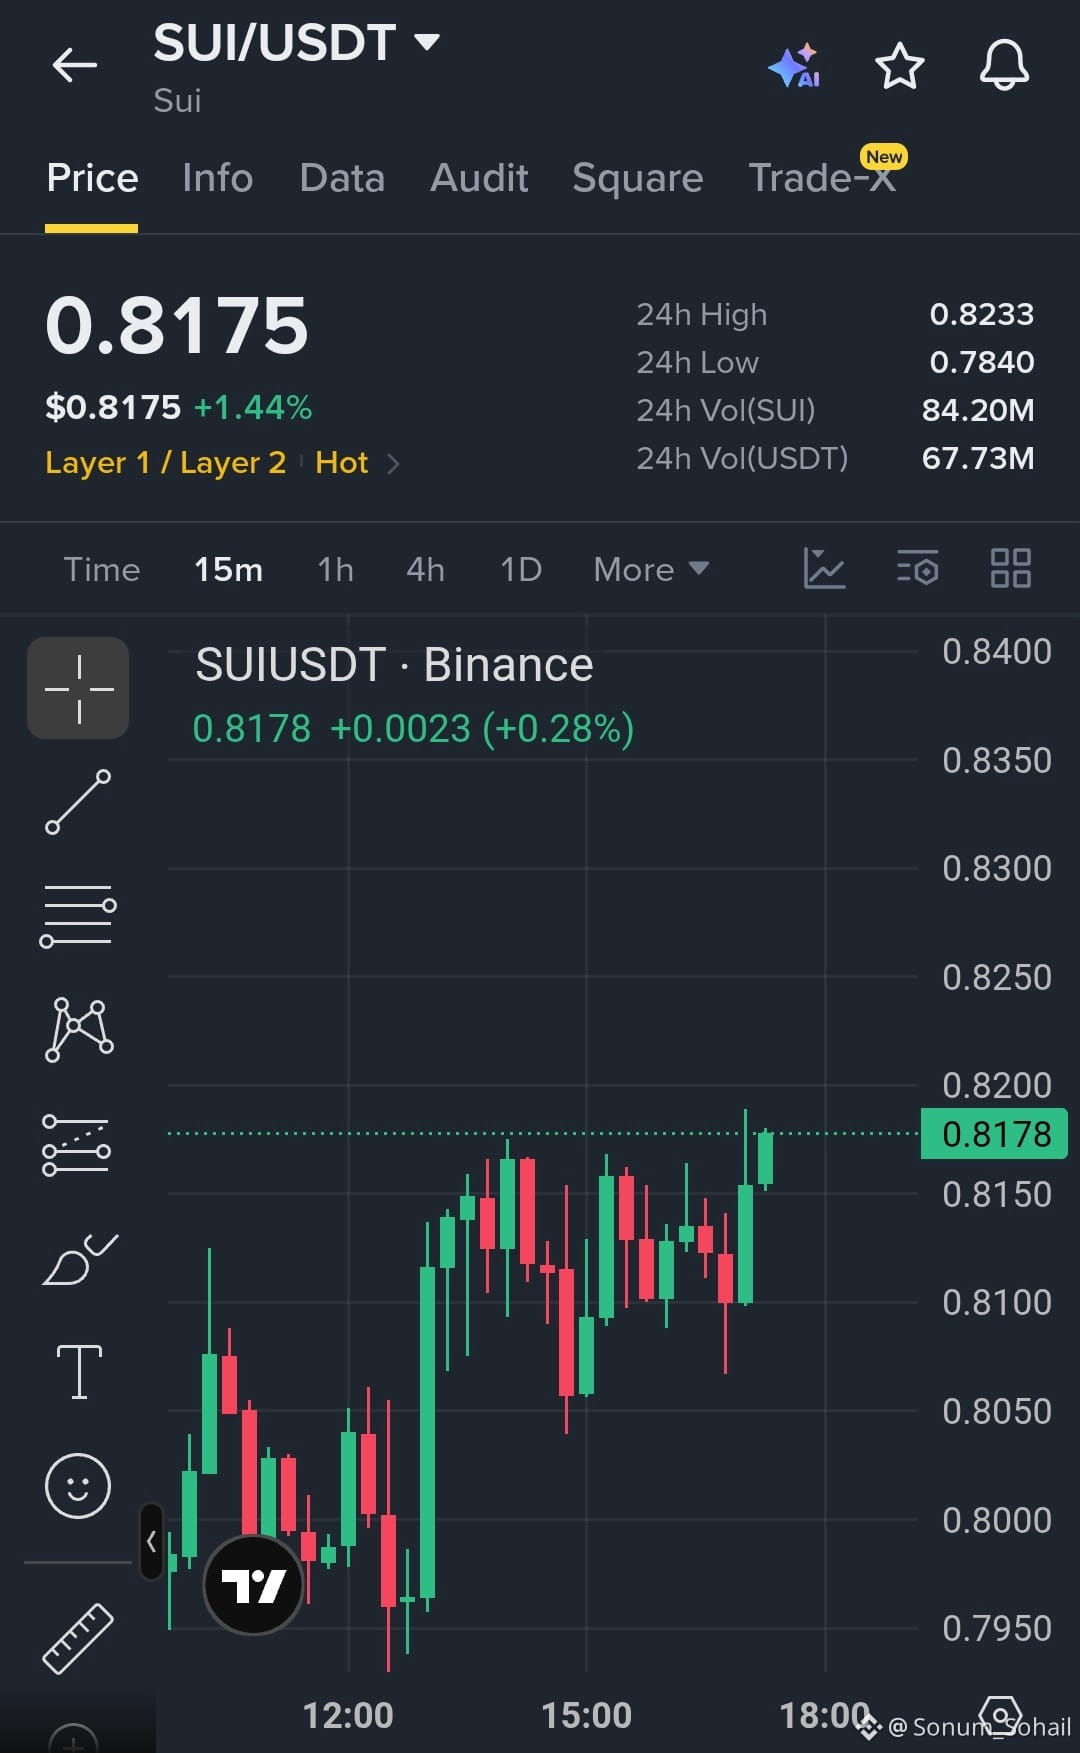
$SUI is holding strong above the 0.8100 support zone with buyers pushing back toward the 0.8200 resistance—if 0.8200 breaks cleanly, the next move could extend toward $0.8300+
Trade Setup: Long | with Max 20x Leverage.
Entry Zone: 0.8120–0.8170
SL: 0.8050
TP1: 0.8230
TP2: 0.8300
TP3: 0.8380
Trade here On $SUI
Trade Setup: Long | with Max 20x Leverage.
Entry Zone: 0.8120–0.8170
SL: 0.8050
TP1: 0.8230
TP2: 0.8300
TP3: 0.8380
Trade here On $SUI
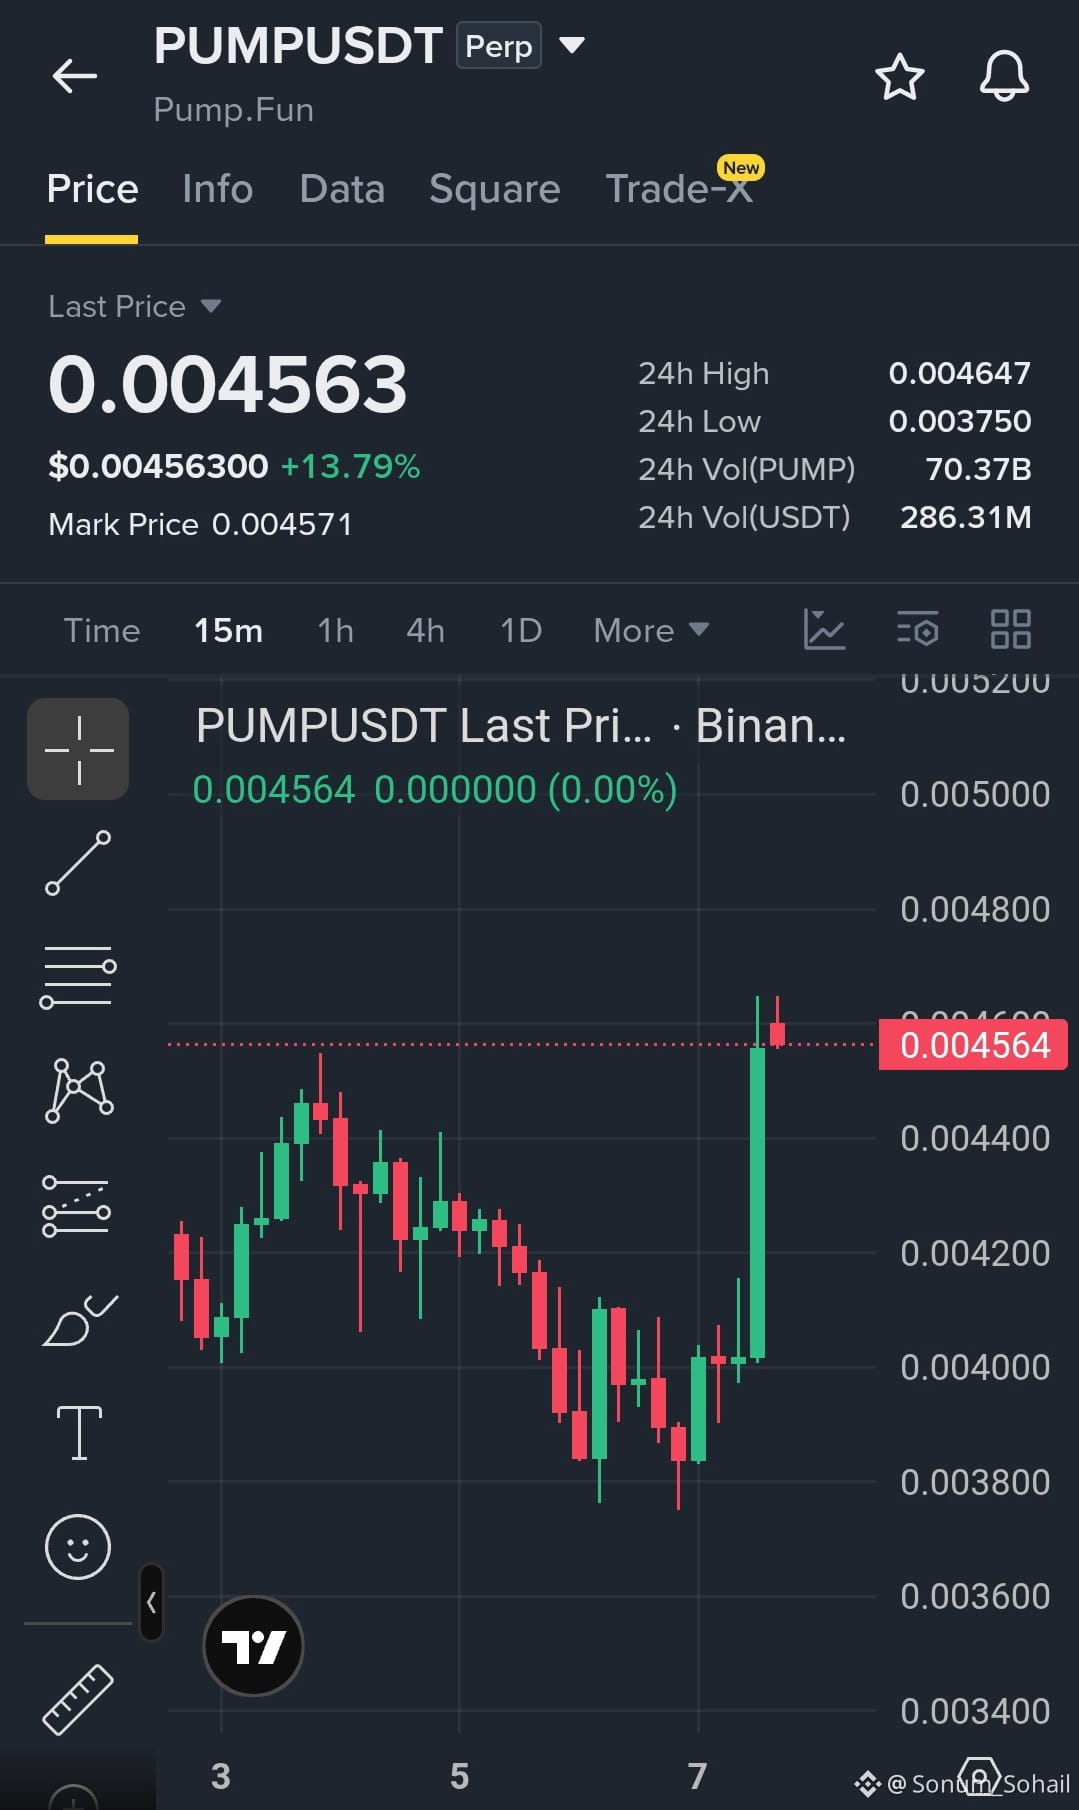
$PUMP is showing a powerful bullish breakout from the 0.00400–0.00420 base, with a strong impulse candle pushing into the 0.00460 resistance zone—if buyers hold the breakout, the next move could extend toward $0.00490+
Trade Setup: Long | with Max 20x Leverage.
Entry Zone: 0.00445–0.00455
SL: 0.00428
TP1: 0.00470
TP2: 0.00485
TP3: 0.00500
Trade here On $PUMP
Trade Setup: Long | with Max 20x Leverage.
Entry Zone: 0.00445–0.00455
SL: 0.00428
TP1: 0.00470
TP2: 0.00485
TP3: 0.00500
Trade here On $PUMP
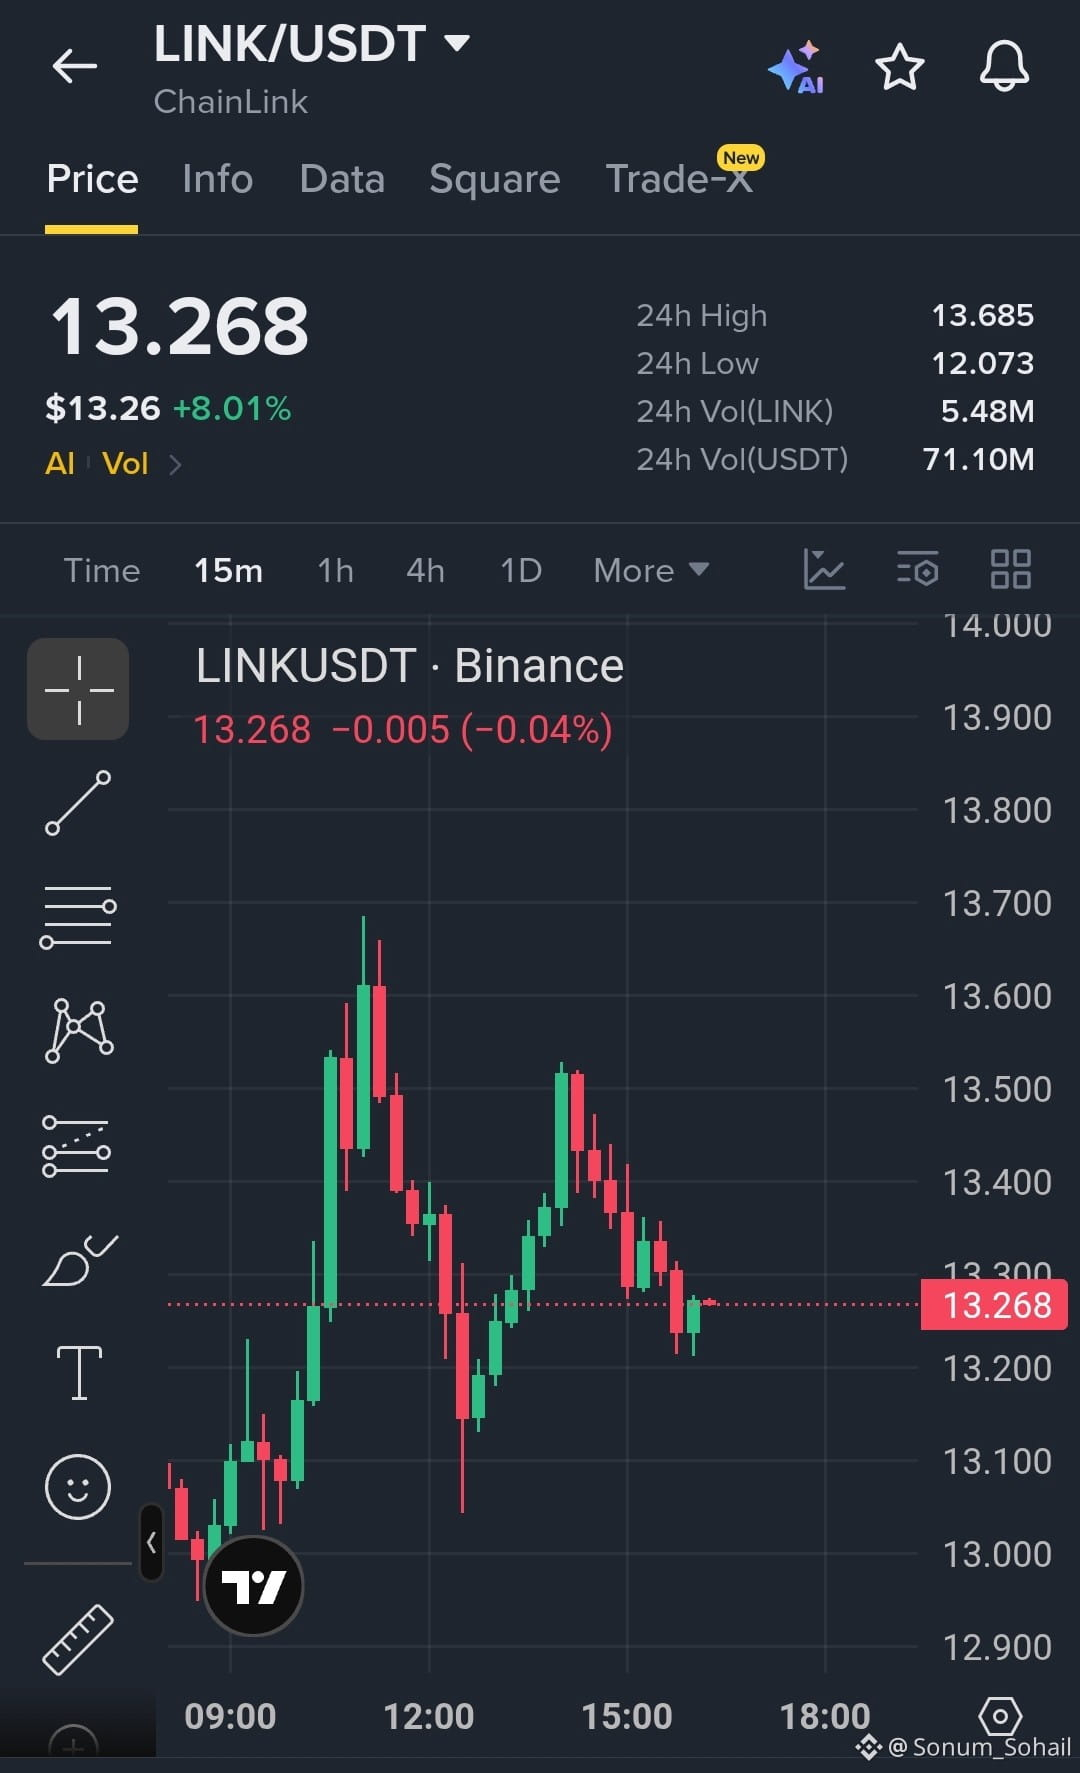
$LINK is holding above the 13.20 support zone after a strong recovery, and with buyers defending the pullback, a reclaim of 13.35 could trigger the next move toward $13.70+
Trade Setup: Long | with Max 20x Leverage.
Entry Zone: 13.20–13.28
SL: 13.08
TP1: 13.40
TP2: 13.55
TP3: 13.70
Trade here On $LINK
Trade Setup: Long | with Max 20x Leverage.
Entry Zone: 13.20–13.28
SL: 13.08
TP1: 13.40
TP2: 13.55
TP3: 13.70
Trade here On $LINK
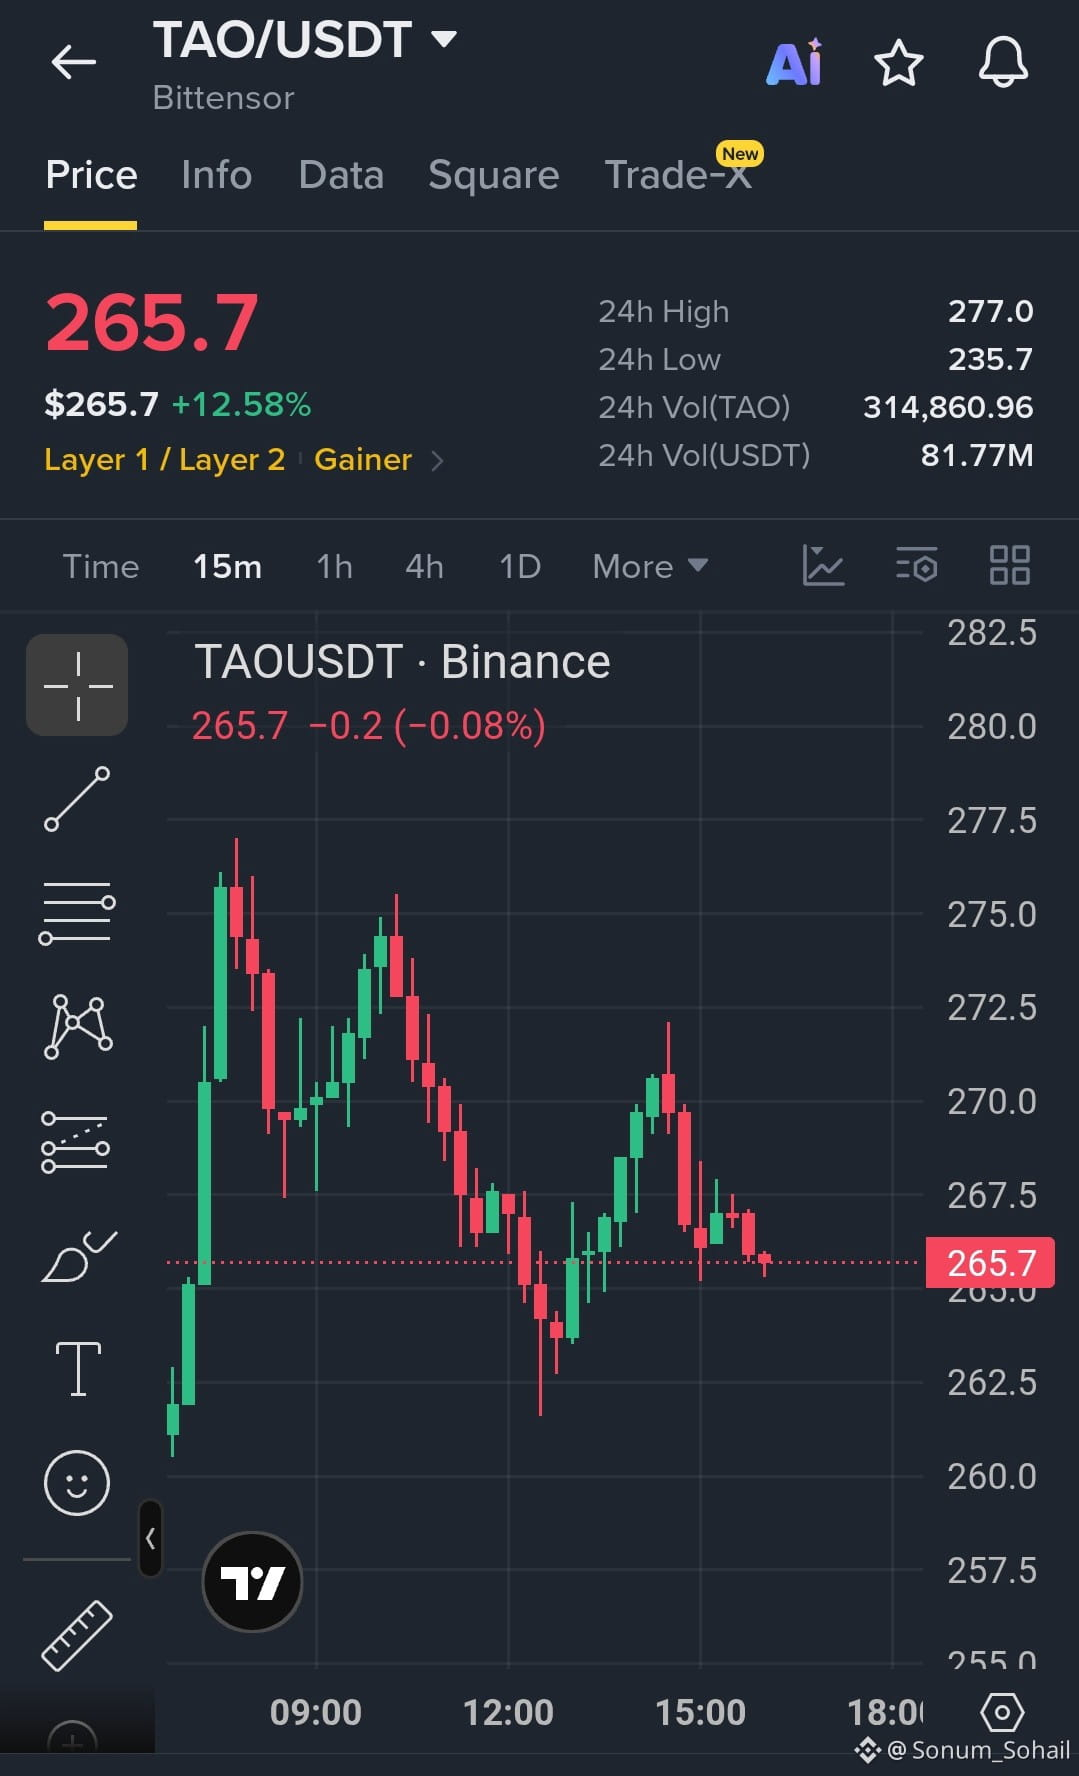
$TAO is consolidating after a strong impulse move, while the higher time frame remains bullish—if the 265–266 support zone holds, buyers could step in for another push toward the recent highs.
Trade Setup: Long | with Max 20x Leverage.
Entry Zone: 264.5–266.0
SL: 261.5
TP1: 270.0
TP2: 274.5
TP3: 278.0
Move SL to entry after TP1 is hit to protect profits.
Trade here On $TAO
Trade Setup: Long | with Max 20x Leverage.
Entry Zone: 264.5–266.0
SL: 261.5
TP1: 270.0
TP2: 274.5
TP3: 278.0
Move SL to entry after TP1 is hit to protect profits.
Trade here On $TAO
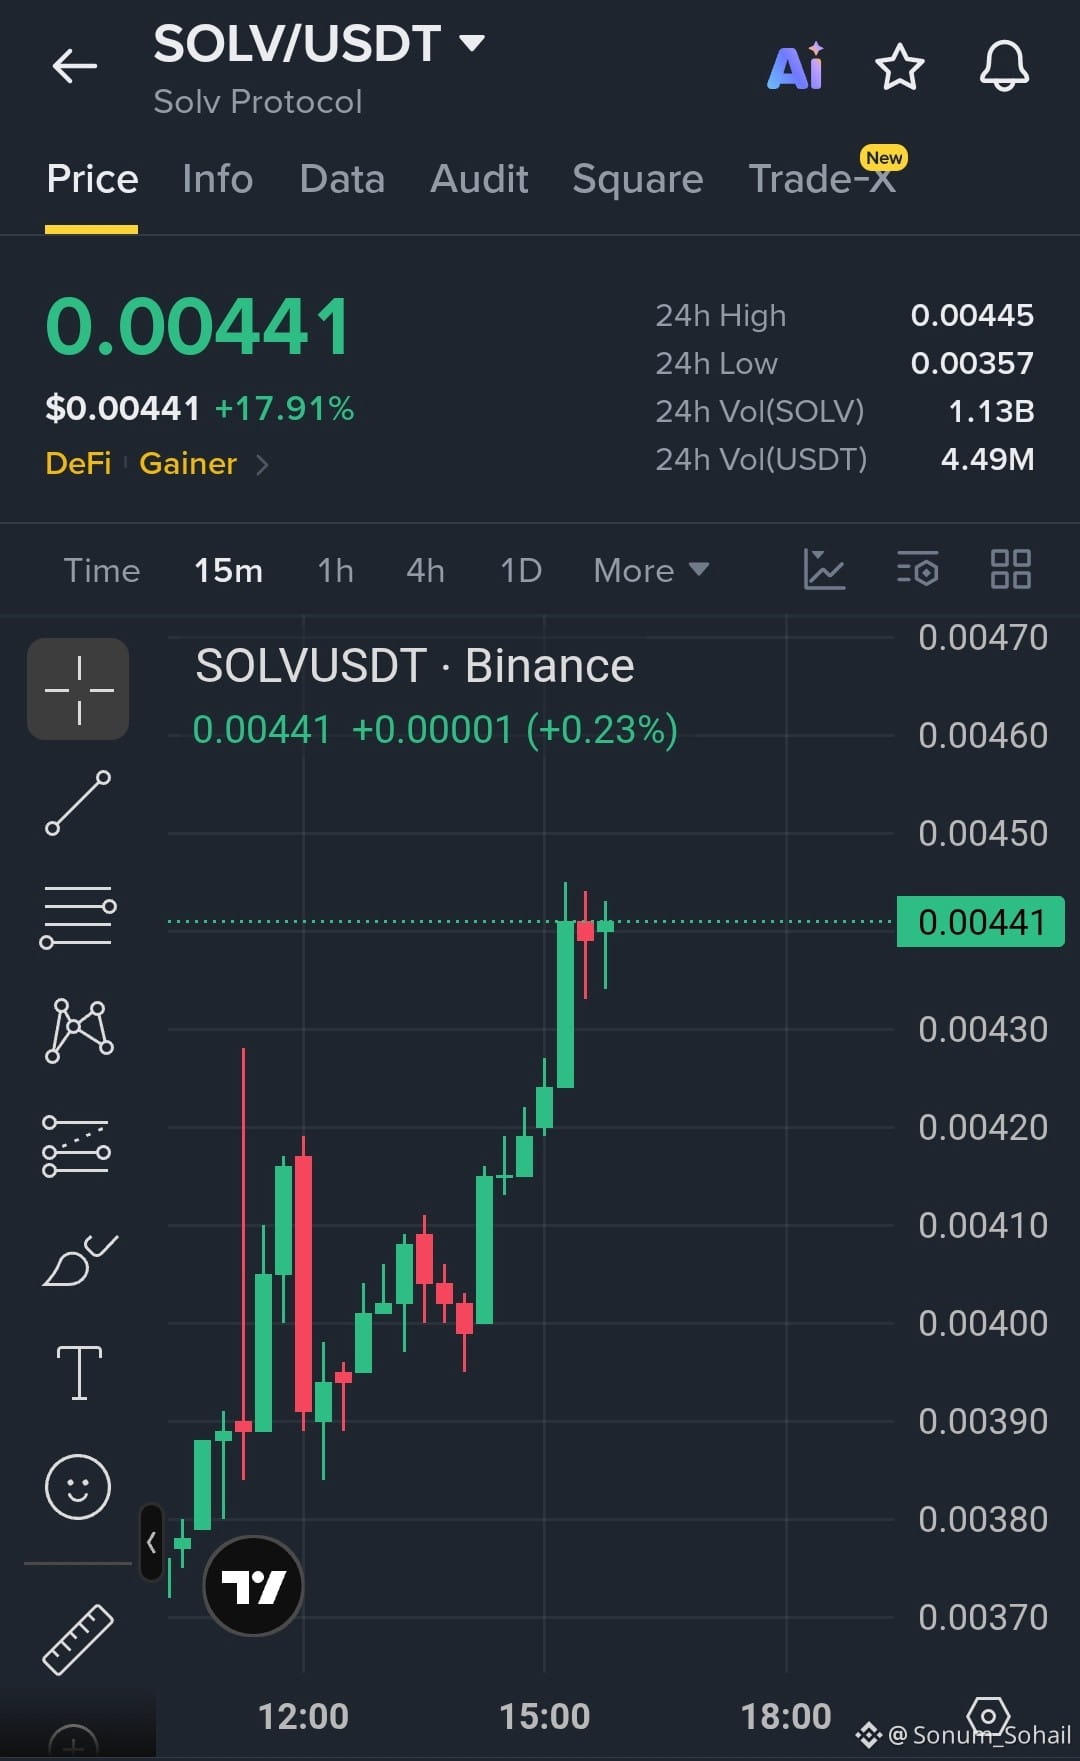
$SOLV is showing strong bullish continuation after breaking above the 0.00420 resistance zone, with buyers holding near the highs—if 0.00430–0.00435 stays supported, the next move could extend toward $0.00470+
Trade Setup: Long | with Max 20x Leverage.
Entry Zone: 0.00432–0.00442
SL: 0.00420
TP1: 0.00455
TP2: 0.00465
TP3: 0.00480
Trade here On $SOLV
Trade Setup: Long | with Max 20x Leverage.
Entry Zone: 0.00432–0.00442
SL: 0.00420
TP1: 0.00455
TP2: 0.00465
TP3: 0.00480
Trade here On $SOLV
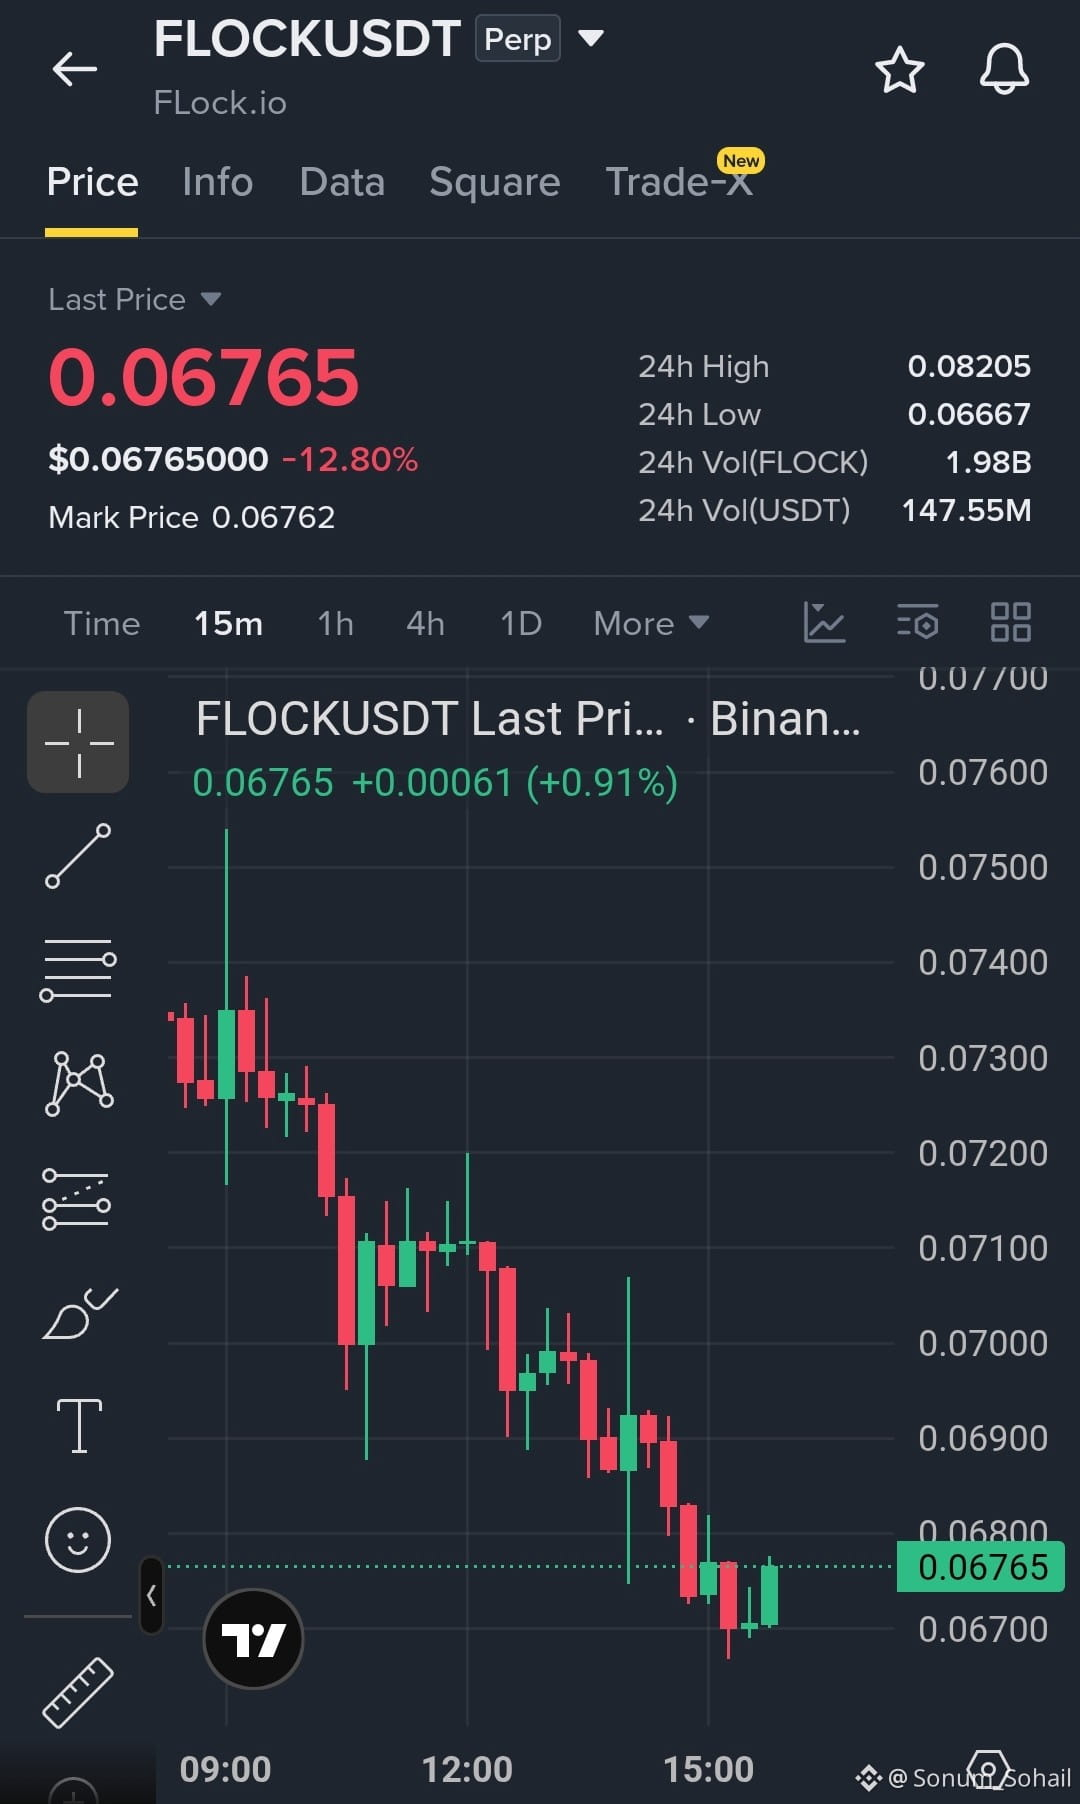
$FLOCK is under heavy bearish pressure after a sharp rejection from the 0.0730–0.0750 zone, with lower highs and lower lows dominating the 15m structure—unless 0.0690 is reclaimed, downside toward $0.0650 remains likely.
Trade Setup: Short | with Max 20x Leverage.
Entry Zone: 0.06780–0.06830
SL: 0.06920
TP1: 0.06700
TP2: 0.06620
TP3: 0.06520
Trade here On $FLOCK
Trade Setup: Short | with Max 20x Leverage.
Entry Zone: 0.06780–0.06830
SL: 0.06920
TP1: 0.06700
TP2: 0.06620
TP3: 0.06520
Trade here On $FLOCK
Көбірек контент көру үшін кіріңіз