📈 $LINK — Bullish Long Setup
LONG $LINK
Entry: $13.45–$13.55
SL: $13.20
🎯 Take Profit:
TP1: $13.80
TP2: $14.00
TP3: $14.30
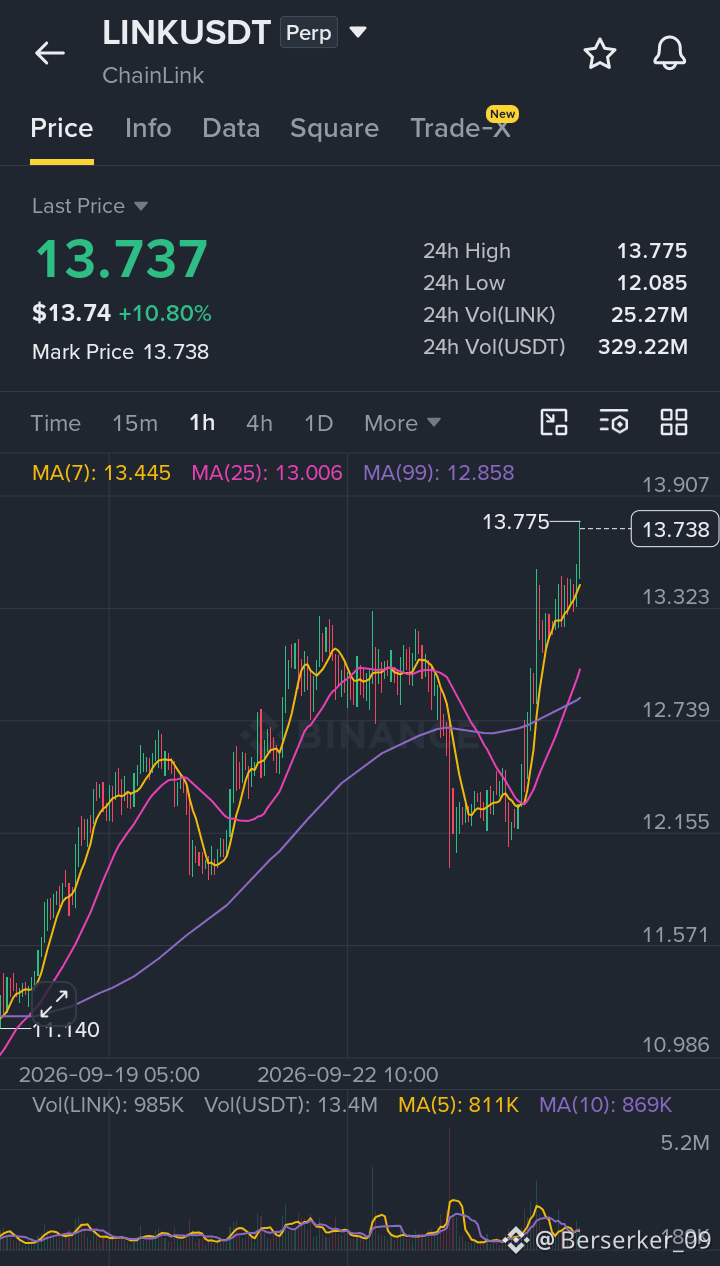
The 15M structure is showing bullish momentum, with higher highs and higher lows after holding the $13.20–$13.30 support zone. Price has broken above the short-term consolidation around $13.40–$13.50 with strong buying pressure and is now testing the next resistance area. A retest of the breakout zone offers a more controlled entry instead of chasing the move.
🔑 Key Level:
$13.50 — holding this breakout area on a retest could support further upside continuation.
⚠️ Risk Note:
A move below $13.20 invalidates the setup. Wait for confirmation on the retest and use controlled position sizing with a defined SL and TP.
Bullish bias while support holds. 📈
Buy and Trade $LINK here 👇
DYOR
LONG $LINK
Entry: $13.45–$13.55
SL: $13.20
🎯 Take Profit:
TP1: $13.80
TP2: $14.00
TP3: $14.30
The 15M structure is showing bullish momentum, with higher highs and higher lows after holding the $13.20–$13.30 support zone. Price has broken above the short-term consolidation around $13.40–$13.50 with strong buying pressure and is now testing the next resistance area. A retest of the breakout zone offers a more controlled entry instead of chasing the move.
🔑 Key Level:
$13.50 — holding this breakout area on a retest could support further upside continuation.
⚠️ Risk Note:
A move below $13.20 invalidates the setup. Wait for confirmation on the retest and use controlled position sizing with a defined SL and TP.
Bullish bias while support holds. 📈
Buy and Trade $LINK here 👇
DYOR