
If you're using APPX Trading Bot and want to start automated trading, the first and most important step is creating a Binance API key. This API key is what connects the bot to your Binance account so it can execute trades on your behalf — securely, without ever exposing your password or direct access to your funds.
Here's a step-by-step walkthrough of the entire process.
Step 1: Open API Management
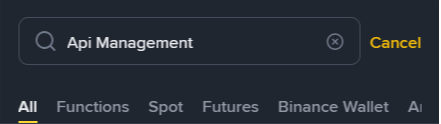
Log in to your Binance account. In the search bar at the top, type "API Management" and search for it.
Step 2: Select API Management
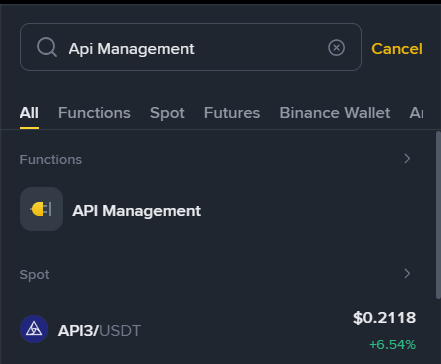
From the search results, select API Management. This is where you can create and manage all your API keys.
Step 3: Click Create API
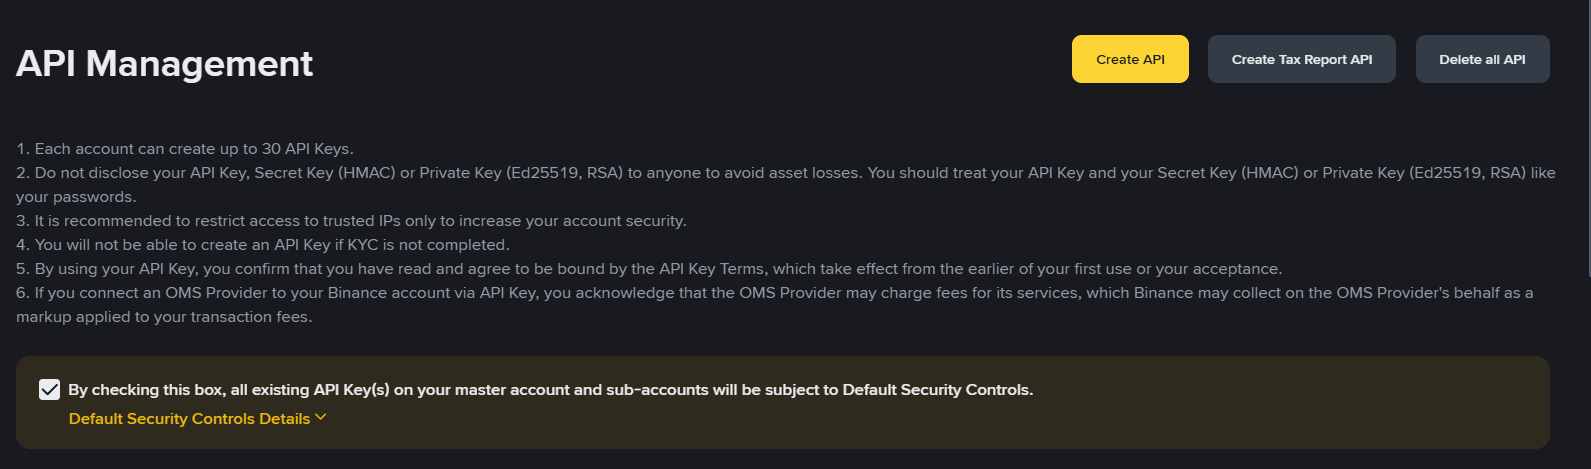
On the API Management page, click the "Create API" button.
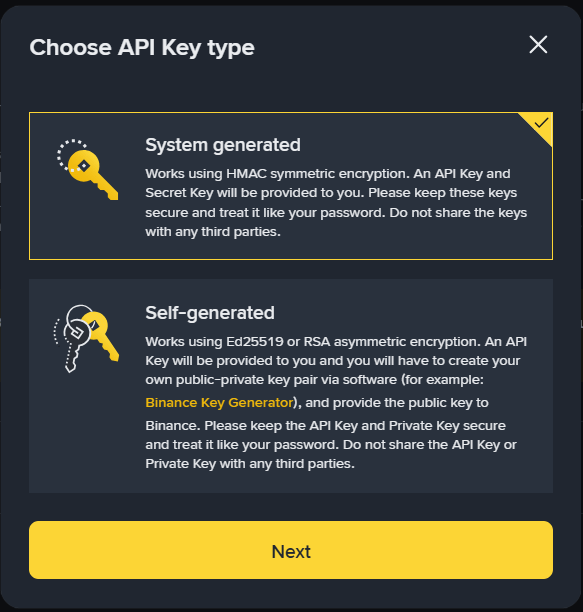
Step 4: Choose System Generated
Binance will offer a few different API types. Select System Generated — this is the standard option and the one recommended for bot integrations.
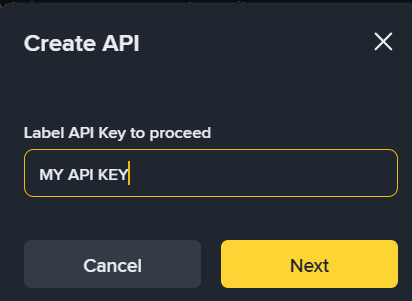
Step 5: Add a Label
Give your API key a label (name), such as APPX Trading Bot, so it's easy to identify later if you have multiple API keys set up.
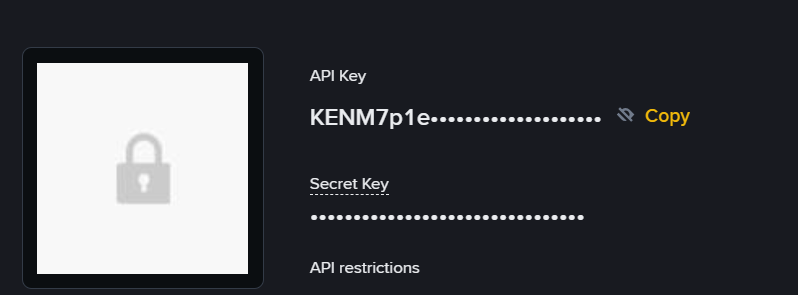
Step 6: Your API Key Will Be Generated
Your Secret Key and API Key will now be generated. Copy both and save them somewhere safe , the Secret Key is shown only once and cannot be retrieved again.
Paste both keys into their respective fields on the APPX Trading Bot platform.
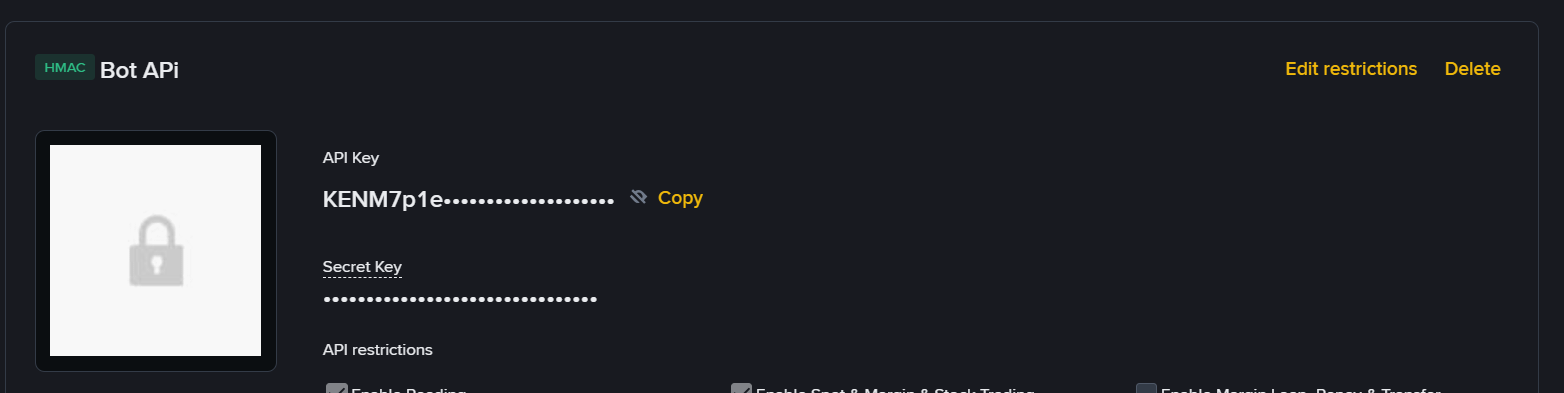
Step 7: Click Edit Restrictions
Go back to the API Management page, where your newly created API will now be listed. Click the Edit restrictions button next to it.
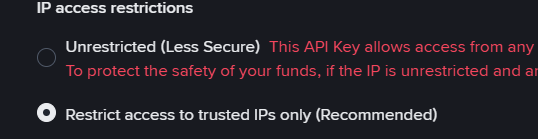
Step 8: Select Restrict Access to Trusted IPs
On the restrictions page, select "Restrict access to trusted IPs only." This is a critical security step — it ensures that only the specified server can use this API key.
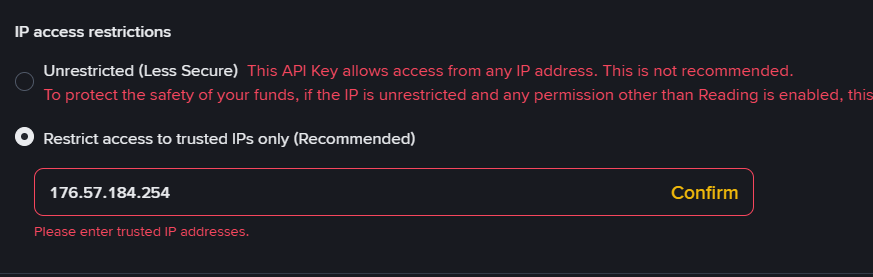
Step 9: Add the Trusted IP
In the IP field, enter the APPX Trading Bot server IP:
176.57.184.254
Confirm the IP once entered.
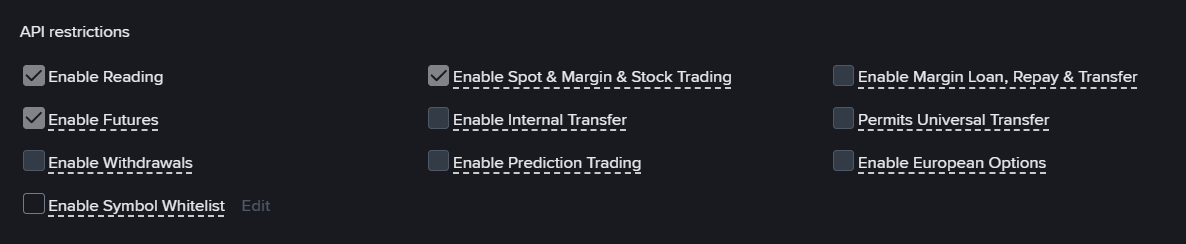
Step 10: Enable the Correct Permissions
In the permissions section, enable only these two:
Enable Futures
Enable Spot & Margin Trading
⚠️ Important: Do not enable Withdrawals or Internal Transfer permissions under any circumstances. A trading bot only needs permission to execute trades — it never needs the ability to move your funds. This step keeps your funds safe even in the unlikely event your API key is ever compromised.
Step 11: Save and Complete Authentication
Click Save. Binance will ask you to verify via email/SMS/authenticator — complete the verification.
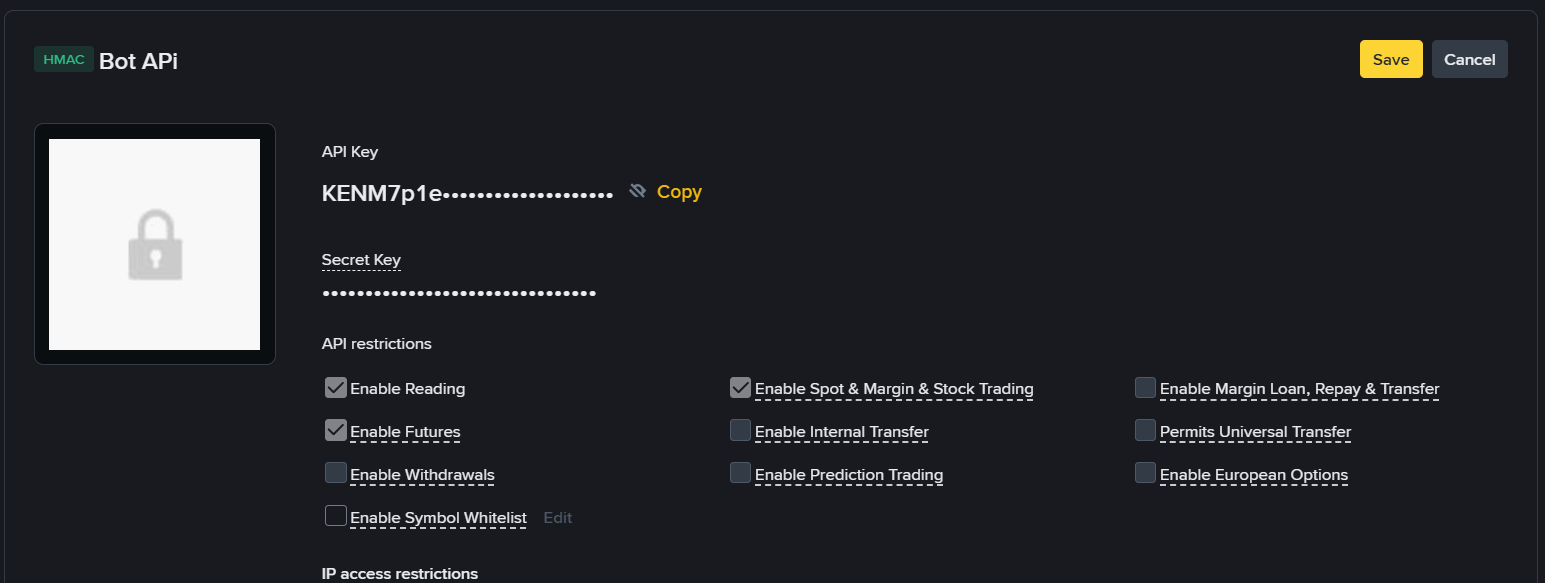
That's it! Your Binance API is now fully connected to APPX Trading Bot, and the bot is ready to execute automated trades securely.
Quick Recap
Search and open API Management
Create API → System Generated
Add a label and generate the API
Copy the Secret Key + API Key and paste them into the bot
Edit Restrictions → Restrict to trusted IP
Add IP 176.57.184.254
Enable only Futures + Spot/Margin permissions
Never enable Withdraw/Transfer permissions
Save and complete verification
Following these steps lets you connect your Binance account to APPX Trading Bot and enjoy automated trading while keeping your funds fully secure.