
Jika Anda melakukan trading pada timeframe yang lebih rendah tanpa checklist yang kaku, pada dasarnya Anda sedang berjudi dengan ekuitas Anda. Kebisingan pasar akan mengejutkan Anda setiap kali.
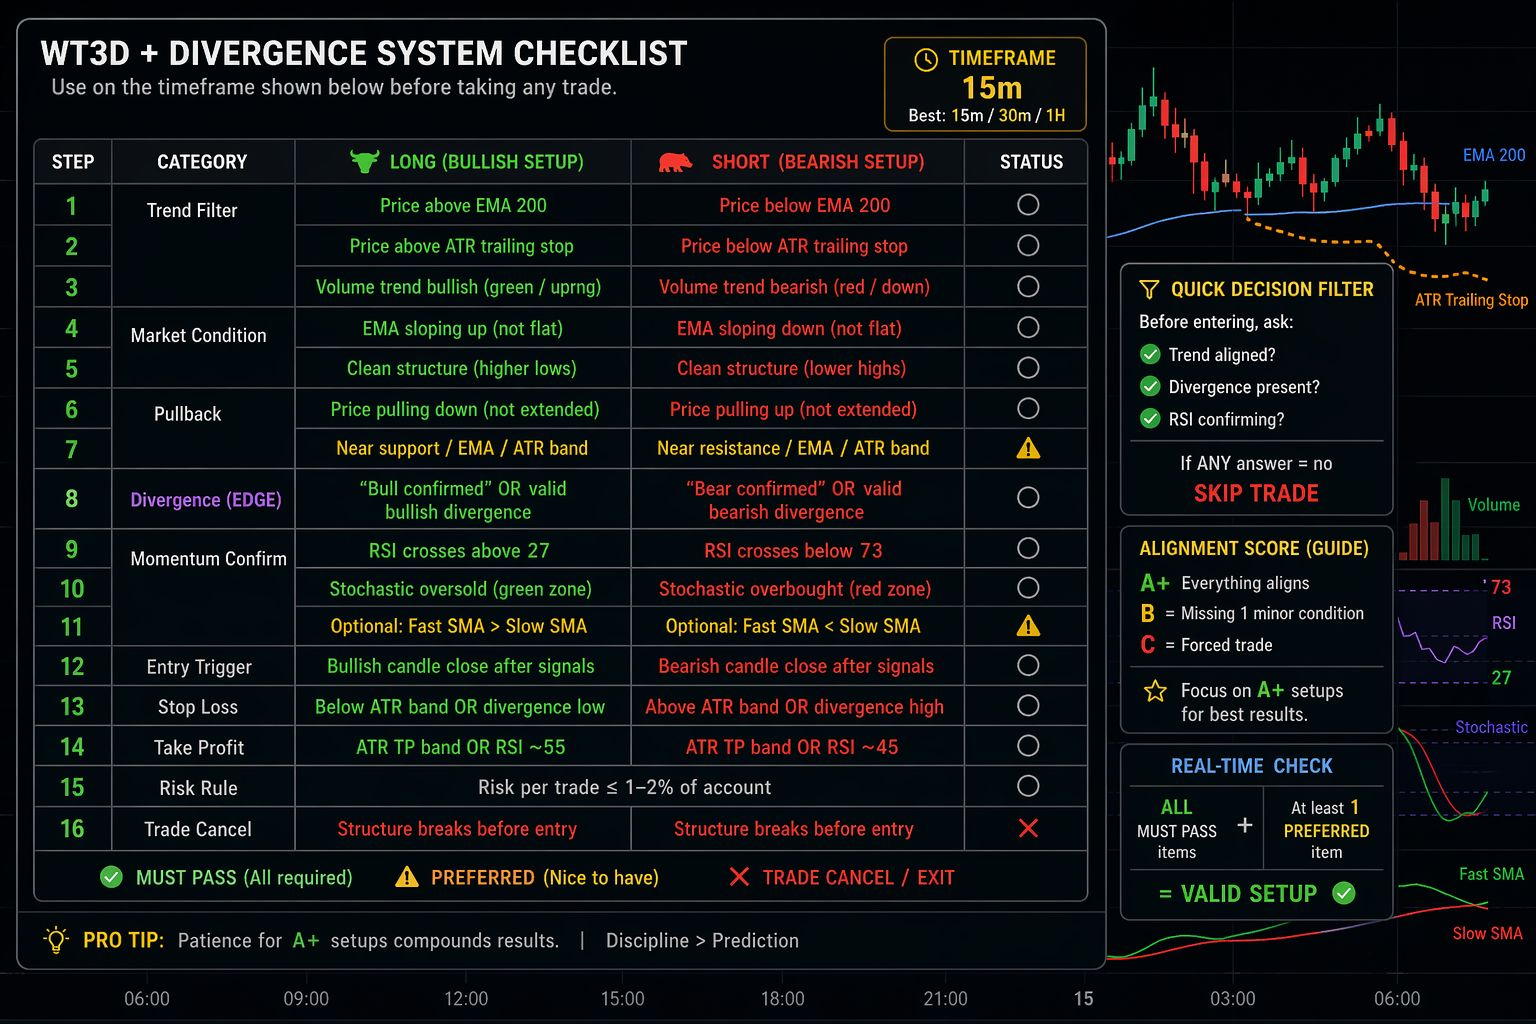
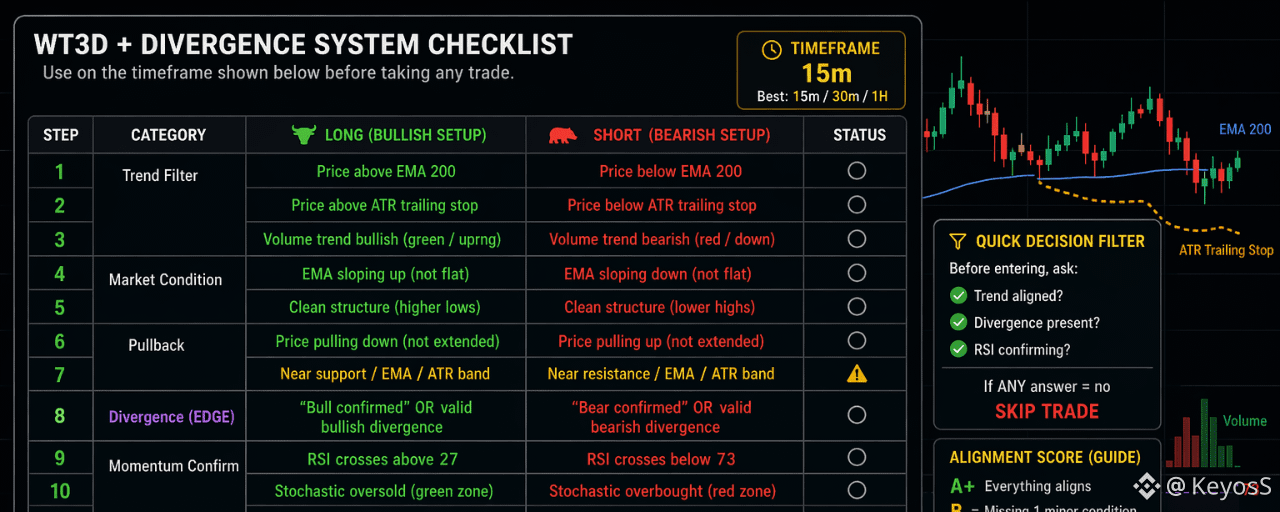
Agar eksekusi trading saya tetap sistematis, saya menggunakan kerangka konfluensi yang sederhana untuk menyaring setup dengan probabilitas rendah sebelum mengambil posisi. Berikut cara saya menyusun eksekusi saya pada chart 15m hingga 1H:
1. Penyelarasan Tren (Langkah 1–5)
Saya tidak pernah berlawanan dengan momentum yang lebih luas. Sebelum mempertimbangkan pemicu entry, saya memastikan bias arah:
Filter Dinamis: Untuk posisi long, harga harus berada di atas EMA 200 dan trailing stop ATR. Berlaku kebalikannya untuk posisi short.
Cek Kemiringan EMA: Jika EMA 200 datar, saya tidak masuk. Pergerakan chop yang terikat range menghasilkan terlalu banyak sinyal false divergence.
Struktur: Saya mencari struktur pasar yang rapi—lower lows untuk setup bullish, lower highs untuk yang bearish.
2. Lokasi & Keunggulan Divergence (Langkah 6–8)
Mengejar candle hijau atau merah yang sudah meluas adalah cara cepat untuk merusak rasio risk-to-reward Anda.
Zona Pullback: Saya menunggu dengan sabar agar harga melakukan pullback langsung ke area Support/Resistance dinamis atau band EMA/ATR.
Keunggulan: Saya mencari divergence reguler bullish atau bearish yang sudah terkonfirmasi antara price action dan osilator momentum saya.
3. Momentum & Pemicu Eksekusi (Langkah 9–16)
Setelah tren dan lokasi selaras, momentum memberi lampu hijau terakhir:
Osilator: Saya menunggu RSI cross (>27 untuk long, <73 untuk short) yang dikombinasikan dengan konfirmasi Stochastic di area oversold atau overbought.
Aturan Pembatalan Ketat: Jika struktur pasar berubah sebelum candle sinyal ditutup, trade langsung dianggap tidak valid dan dilewati.
4. Parameter Risiko
Eksposur Akun: Jangan pernah mempertaruhkan lebih dari 1–2% dari total modal per trade.
Penempatan Stop: Diposisikan secara ketat di luar band ATR atau ekstrem divergence terbaru.
Aturan Filter: Jika Tren, Divergence, ATAU RSI tidak sejajar → lewati trade.
Konsistensi datang dari mengeksekusi keunggulan (edge) probabilitas tinggi secara berulang dengan disiplin. Tunggu setup A+ dan biarkan efek kompaunnya bekerja.
Seperti apa checklist eksekusi Anda? Komen aturan-aturan Anda! 👇