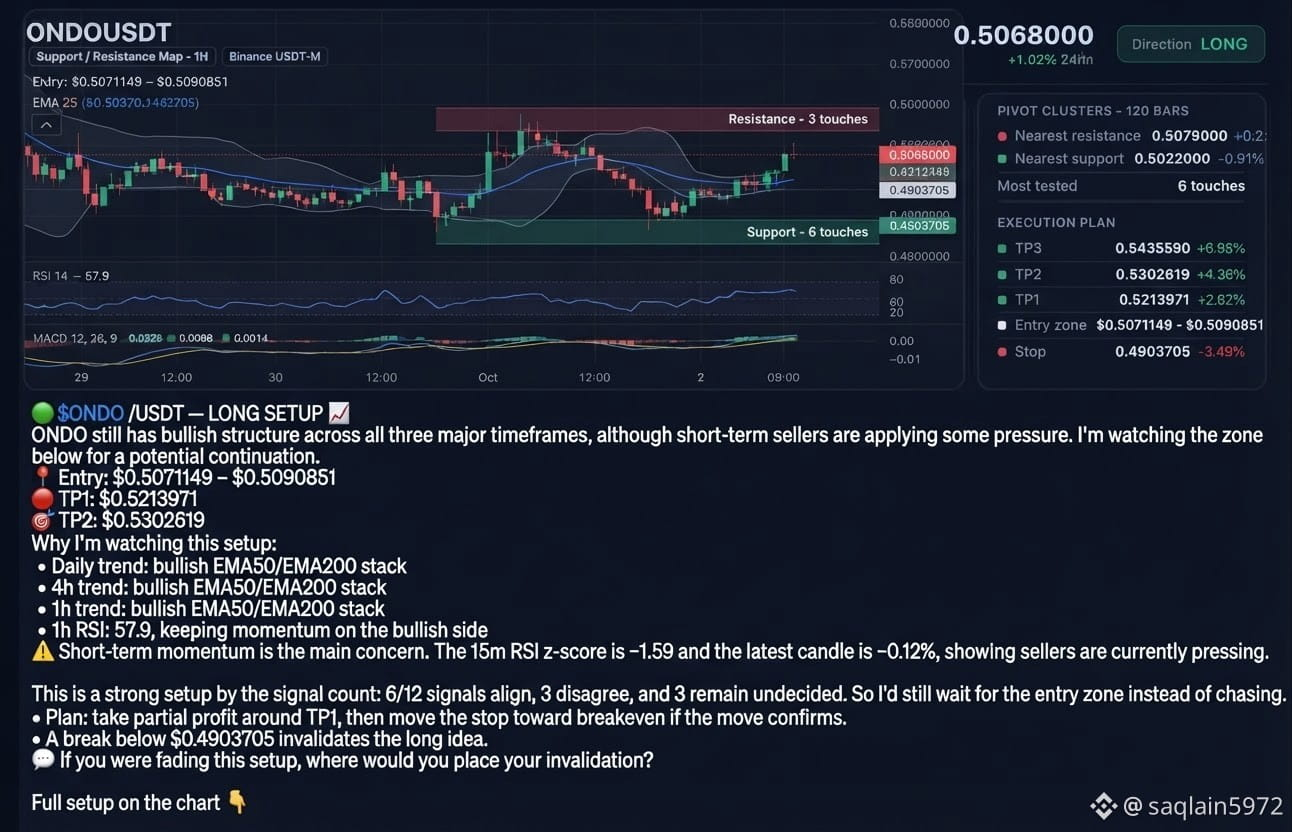
🟢 $ONDO /USDT — LONG SETUP 📈
ONDO still has bullish structure across all three major timeframes, although short-term sellers are applying some pressure. I’m watching the zone below for a potential continuation.
📍 Entry: $0.5071149 – $0.5090851
🛑 SL: $0.4903705
🎯 TP1: $0.5213971
🎯 TP2: $0.5302619
🎯 TP3: $0.5435590
Why I’m watching this setup:
• Daily trend: bullish EMA50/EMA200 stack
• 4h trend: bullish EMA50/EMA200 stack
• 1h trend: bullish EMA50/EMA200 stack
• 1h RSI: 57.9, keeping momentum on the bullish side
⚠️ Short-term momentum is the main concern. The 15m RSI z-score is −1.59 and the latest candle is −0.12%, showing sellers are currently pressing.
This is a strong setup by the signal count: 6/12 signals align, 3 disagree, and 3 remain undecided. So I’d still wait for the entry zone instead of chasing.
Plan: take partial profit around TP1, then move the stop toward breakeven if the move confirms.
A break below $0.4903705 invalidates the long idea.
💬 If you were fading this setup, where would you place your invalidation?
Full setup on the chart 👇
ONDO still has bullish structure across all three major timeframes, although short-term sellers are applying some pressure. I’m watching the zone below for a potential continuation.
📍 Entry: $0.5071149 – $0.5090851
🛑 SL: $0.4903705
🎯 TP1: $0.5213971
🎯 TP2: $0.5302619
🎯 TP3: $0.5435590
Why I’m watching this setup:
• Daily trend: bullish EMA50/EMA200 stack
• 4h trend: bullish EMA50/EMA200 stack
• 1h trend: bullish EMA50/EMA200 stack
• 1h RSI: 57.9, keeping momentum on the bullish side
⚠️ Short-term momentum is the main concern. The 15m RSI z-score is −1.59 and the latest candle is −0.12%, showing sellers are currently pressing.
This is a strong setup by the signal count: 6/12 signals align, 3 disagree, and 3 remain undecided. So I’d still wait for the entry zone instead of chasing.
Plan: take partial profit around TP1, then move the stop toward breakeven if the move confirms.
A break below $0.4903705 invalidates the long idea.
💬 If you were fading this setup, where would you place your invalidation?
Full setup on the chart 👇