How STON.fi Omniston Integrated Mode Reuses Your TON Connect Instance
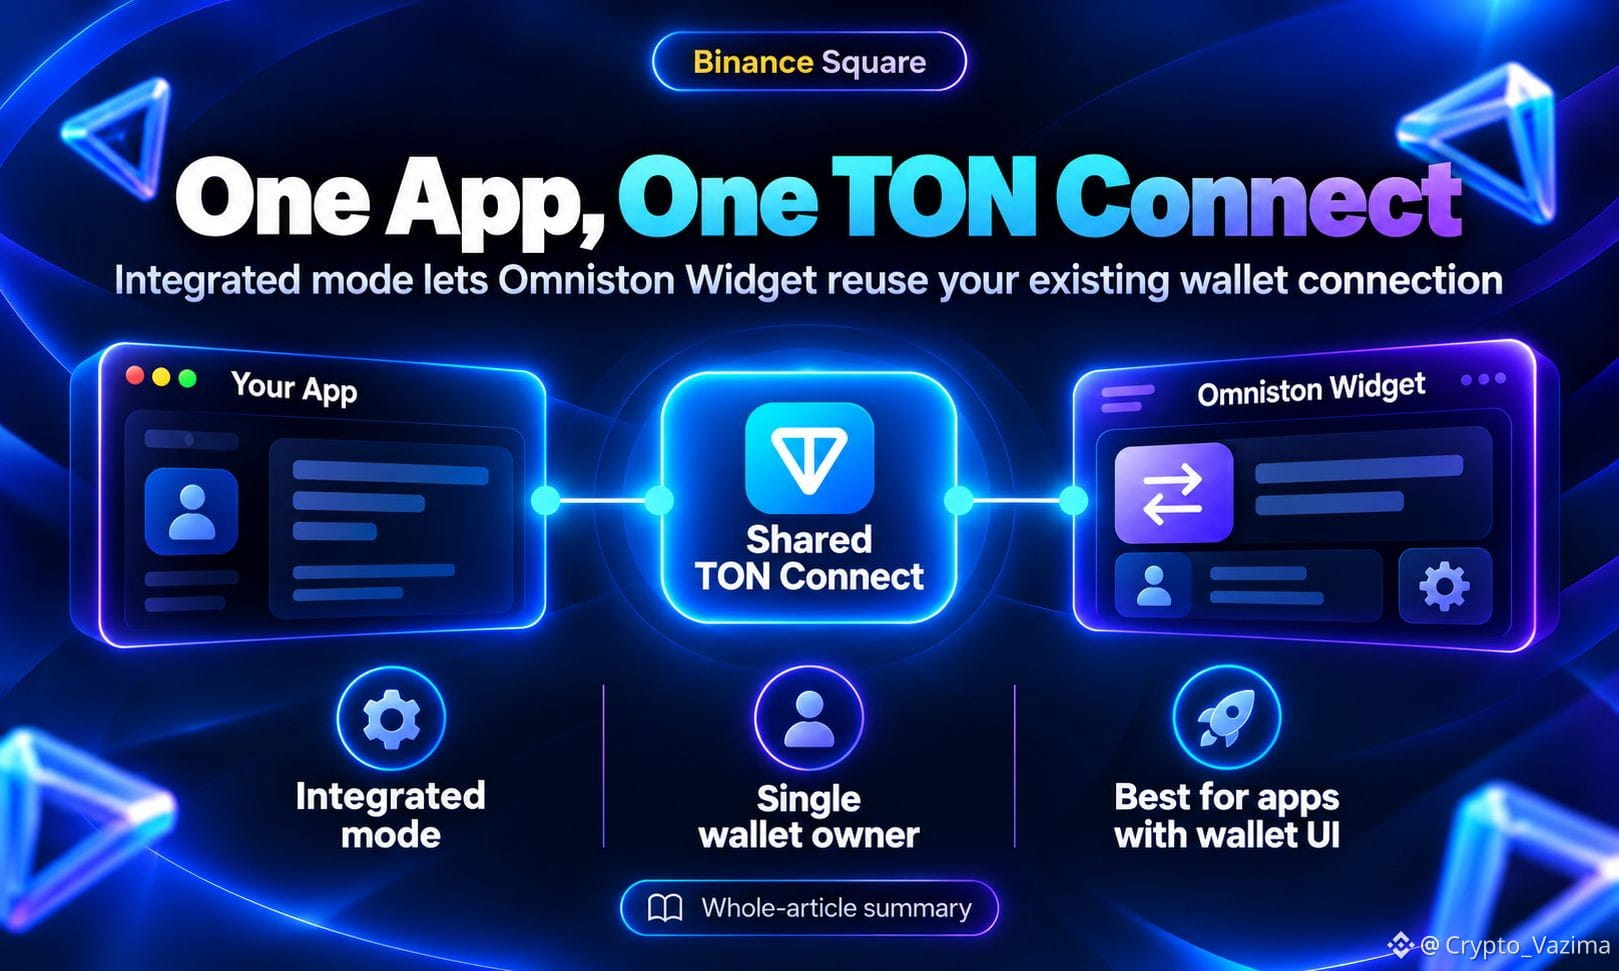
Use Omniston Widget integrated mode when your TON dApp already has wallet connectivity. Pass the existing TonConnect or TonConnectUI object so the swap widget shares one wallet session instead of spinning up a second TON Connect layer.
🔥 Standalone vs Integrated
STON.fi currently supports two TON Connect modes for Omniston.
- standalone is for apps where the widget can own the wallet integration
- integrated is for apps that already initialized TON Connect
- integrated receives the live instance, not just a manifest URL
🚀 Why Multiple Instances Fail
It can look easy to give Omniston its own connector. That creates two wallet systems on one page.
- Your app instance powers the header, account panel and other TON actions
- A second widget instance can collide with TON Connect SDK limits
- STON.fi docs say reuse the existing instance instead of creating another
🧠 How to Wire Integrated Mode
1. Initialize TonConnect once at app level with your manifest and restoreConnection().
2. Export that same object to every wallet-aware feature.
3. Load Omniston and set type: 'integrated' with instance: tonconnect.
4. Mount only after the container exists in the DOM.
5. On React or Next.js, keep the provider client-side and pass useTonConnectUI().
💬 My take
The useful part is ownership. Wallet restore, disconnect and approval stay in the app. Omniston only borrows that context for swaps. Widget options like default bid assets do not require a new connector.
Reuse one stable TON Connect instance, point Omniston at it in integrated mode, and treat the whole dApp as one wallet-connected system.
Would you keep TON Connect in a shared module or inside a provider first? 👇
Comment the stack you use: headless SDK or TON Connect UI.
Not investment advice - research on your own! 🚀
$GRAM @STONfi DEX
Use Omniston Widget integrated mode when your TON dApp already has wallet connectivity. Pass the existing TonConnect or TonConnectUI object so the swap widget shares one wallet session instead of spinning up a second TON Connect layer.
🔥 Standalone vs Integrated
STON.fi currently supports two TON Connect modes for Omniston.
- standalone is for apps where the widget can own the wallet integration
- integrated is for apps that already initialized TON Connect
- integrated receives the live instance, not just a manifest URL
🚀 Why Multiple Instances Fail
It can look easy to give Omniston its own connector. That creates two wallet systems on one page.
- Your app instance powers the header, account panel and other TON actions
- A second widget instance can collide with TON Connect SDK limits
- STON.fi docs say reuse the existing instance instead of creating another
🧠 How to Wire Integrated Mode
1. Initialize TonConnect once at app level with your manifest and restoreConnection().
2. Export that same object to every wallet-aware feature.
3. Load Omniston and set type: 'integrated' with instance: tonconnect.
4. Mount only after the container exists in the DOM.
5. On React or Next.js, keep the provider client-side and pass useTonConnectUI().
💬 My take
The useful part is ownership. Wallet restore, disconnect and approval stay in the app. Omniston only borrows that context for swaps. Widget options like default bid assets do not require a new connector.
Reuse one stable TON Connect instance, point Omniston at it in integrated mode, and treat the whole dApp as one wallet-connected system.
Would you keep TON Connect in a shared module or inside a provider first? 👇
Comment the stack you use: headless SDK or TON Connect UI.
Not investment advice - research on your own! 🚀
$GRAM @STONfi DEX