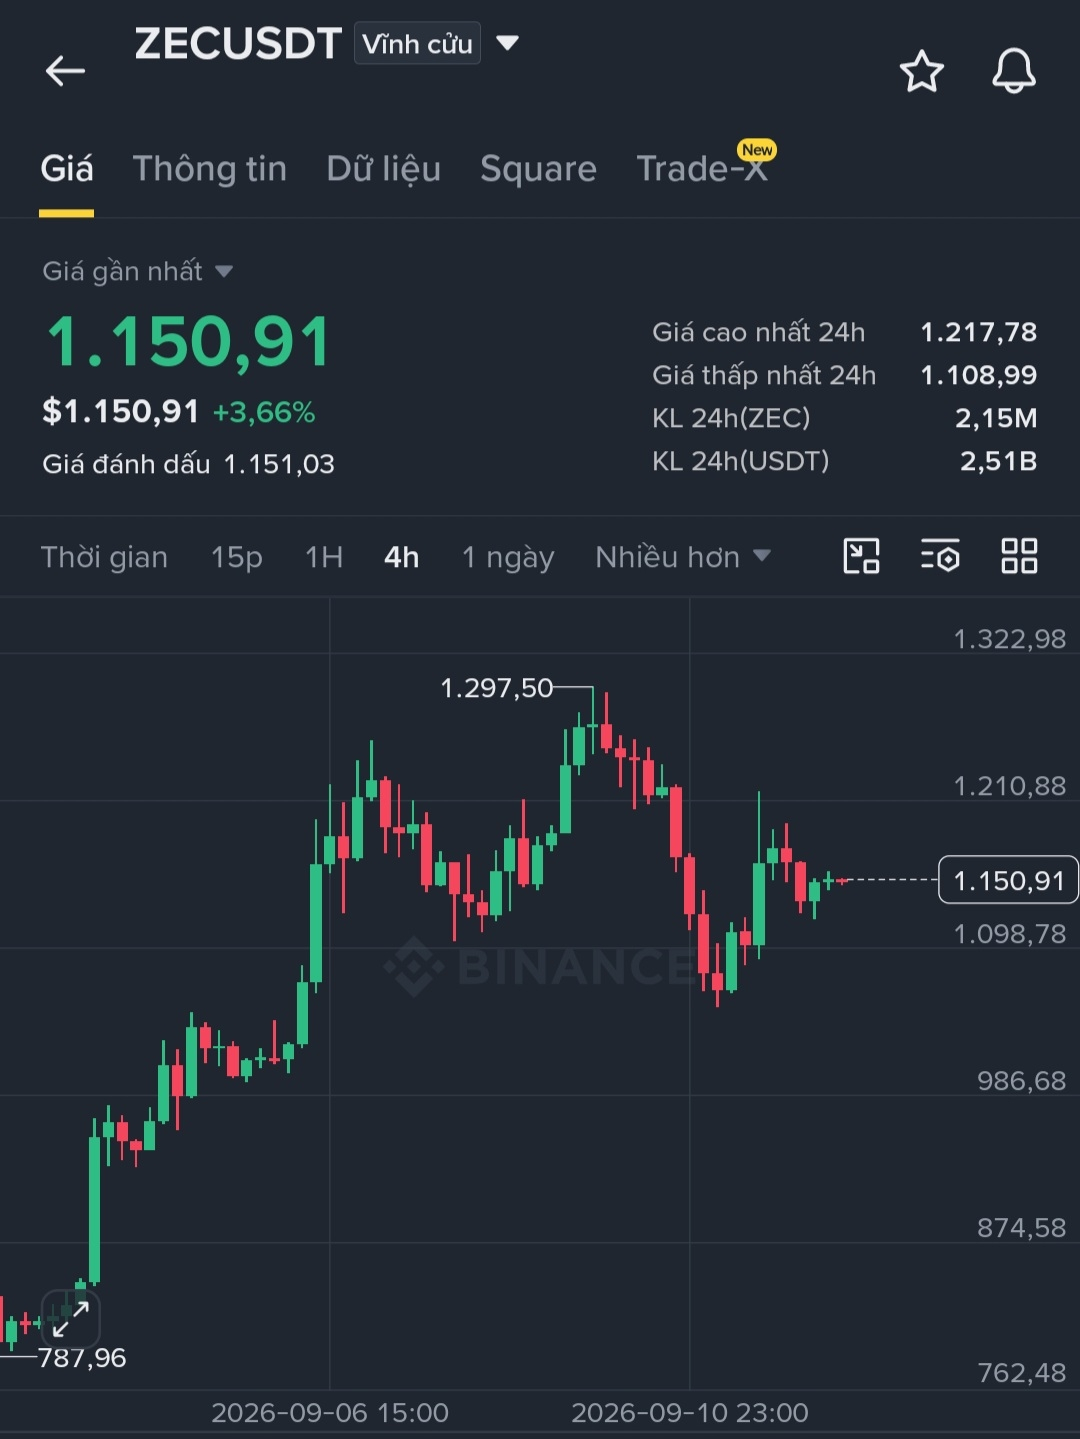

🔥 $ZEC Long 10x | Demand zone is being tested — will the buying side create the next breakout?
I’m closely monitoring $ZEC as price moves into an important support zone. This is an area that could trigger a notable recovery move if the buyers keep the bullish structure intact.
I prioritize the LONG 10x Isolated scenario, but only enter when price reacts positively at the identified zone. No FOMO, no chasing green candles.
📌 Trading plan:
🟢 Entry: $1,130 – $1,145
🎯 TP1: $1,200
🎯 TP2: $1,260
🎯 TP3: $1,330
🎯 TP4: $1,420
🛑 SL: $1,085
📊 Setup logic:
Holding the $1,130 zone helps keep the bullish structure ongoing.
A decisive break above $1,200 may open the way to $1,260 and $1,330.
If momentum is strong enough after $1,330, the next target is $1,420.
If price breaks down below $1,085, the LONG setup is invalid.
⚠️ 10x leverage still carries liquidation risk. Manage your capital, set a clear SL, and trade with an appropriate position size.
Protect capital first, seek profits after.
Click here to Trade 👇️
I’m closely monitoring $ZEC as price moves into an important support zone. This is an area that could trigger a notable recovery move if the buyers keep the bullish structure intact.
I prioritize the LONG 10x Isolated scenario, but only enter when price reacts positively at the identified zone. No FOMO, no chasing green candles.
📌 Trading plan:
🟢 Entry: $1,130 – $1,145
🎯 TP1: $1,200
🎯 TP2: $1,260
🎯 TP3: $1,330
🎯 TP4: $1,420
🛑 SL: $1,085
📊 Setup logic:
Holding the $1,130 zone helps keep the bullish structure ongoing.
A decisive break above $1,200 may open the way to $1,260 and $1,330.
If momentum is strong enough after $1,330, the next target is $1,420.
If price breaks down below $1,085, the LONG setup is invalid.
⚠️ 10x leverage still carries liquidation risk. Manage your capital, set a clear SL, and trade with an appropriate position size.
Protect capital first, seek profits after.
Click here to Trade 👇️