

TL;DR (SUMMARY)
MetaMask is an app-type cryptocurrency wallet and browser extension that primarily interacts with the Ethereum mainnet. To download the extension, you can visit the official MetaMask page.
In addition to interacting with Ethereum, MetaMask can interact with other networks, such as Fantom. To do this, you must provide MetaMask with certain data. This includes a custom RPC URL, chain ID, and network name. You will then be able to add Fantom tokens once you have imported the token address.
Adding new blockchains to MetaMask is an important skill in the cryptocurrency world, which is applicable to other EVM networks like BNB Smart Chain.
Introduction
To get started, you'll first need a supported cryptocurrency wallet, like MetaMask. Please note that Fantom does not appear as the default network in MetaMask. However, you can easily set up your browser wallet to connect to Fantom in just a few minutes.

Install and configure MetaMask
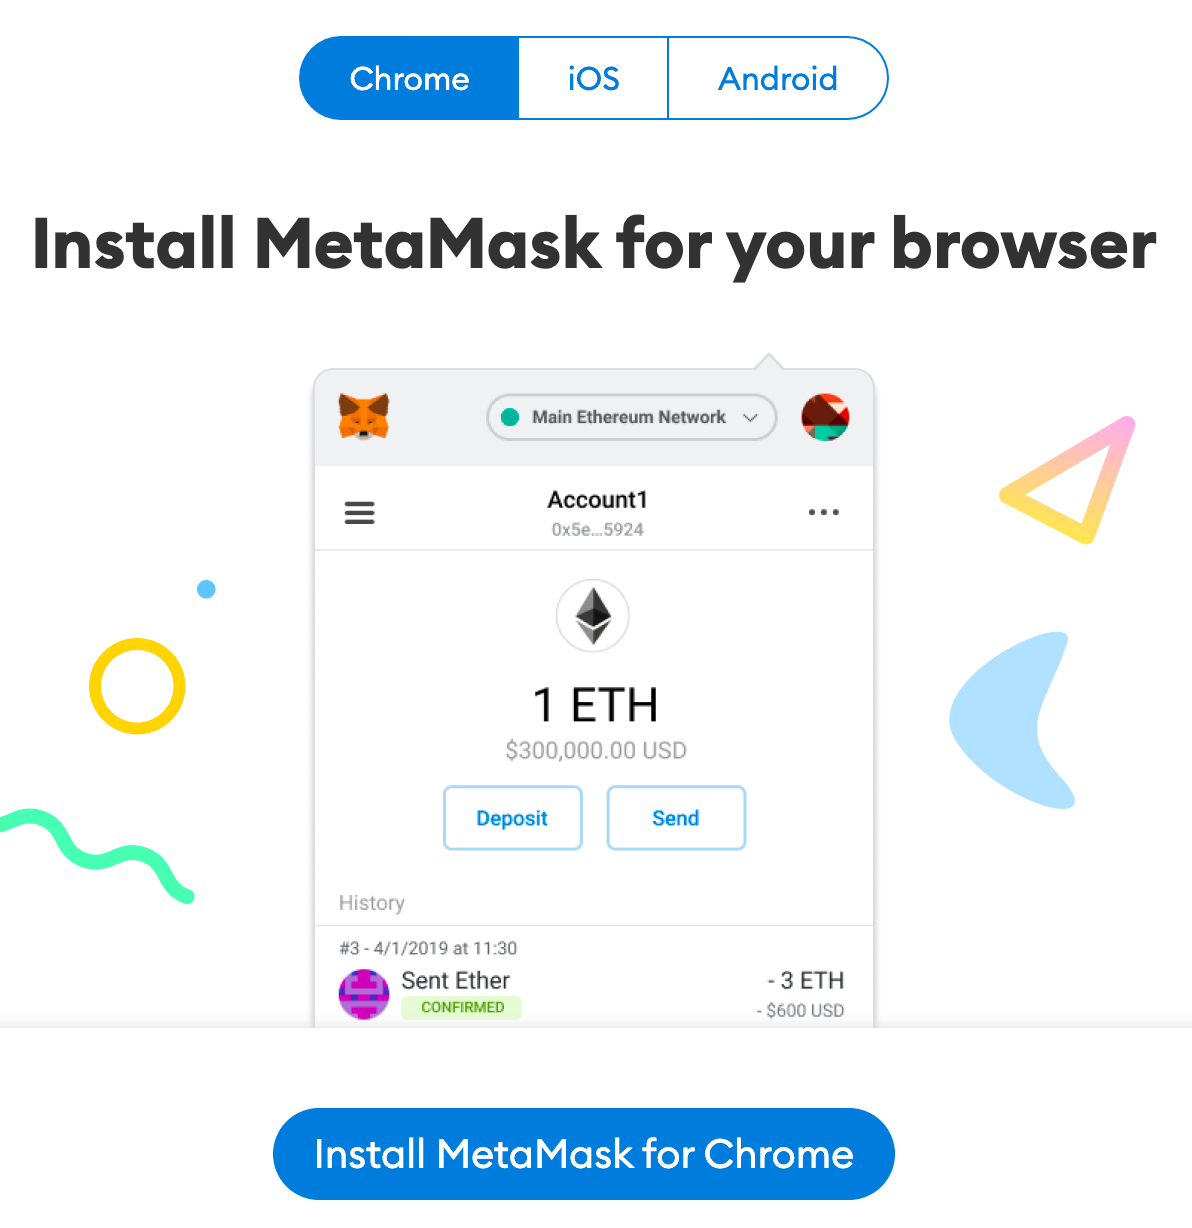
1. Download and install MetaMask on Chrome, iOS or Android, through the MetaMask website. To make sure you download the real version, check that you are on the official MetaMask website.
2. Once you have downloaded and installed the extension, click [Get Started] on the MetaMask welcome page.

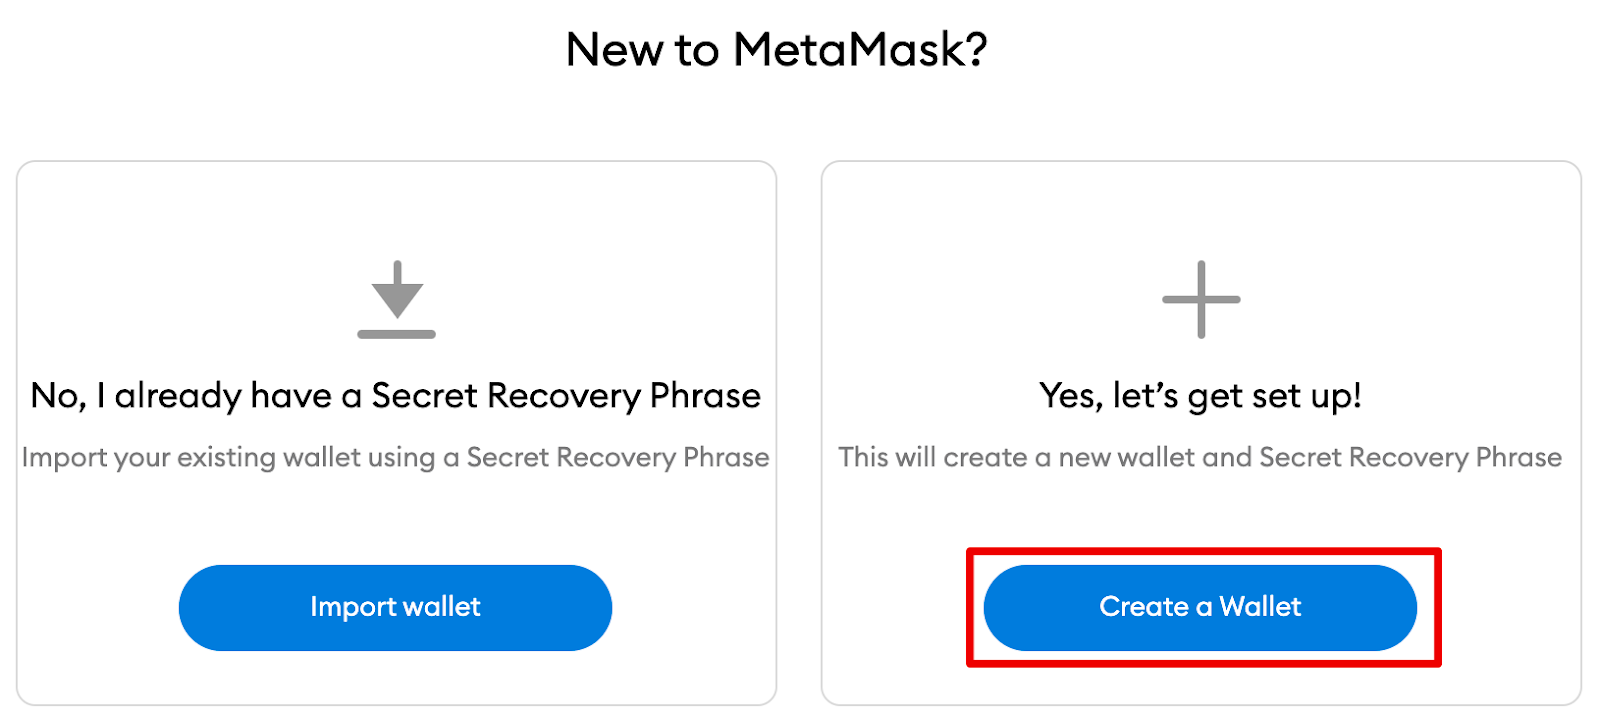
3. If you are a new wallet user, click [Create a Wallet]. If you already have a wallet, you can import it using the seed phrase using the [Import wallet] option.
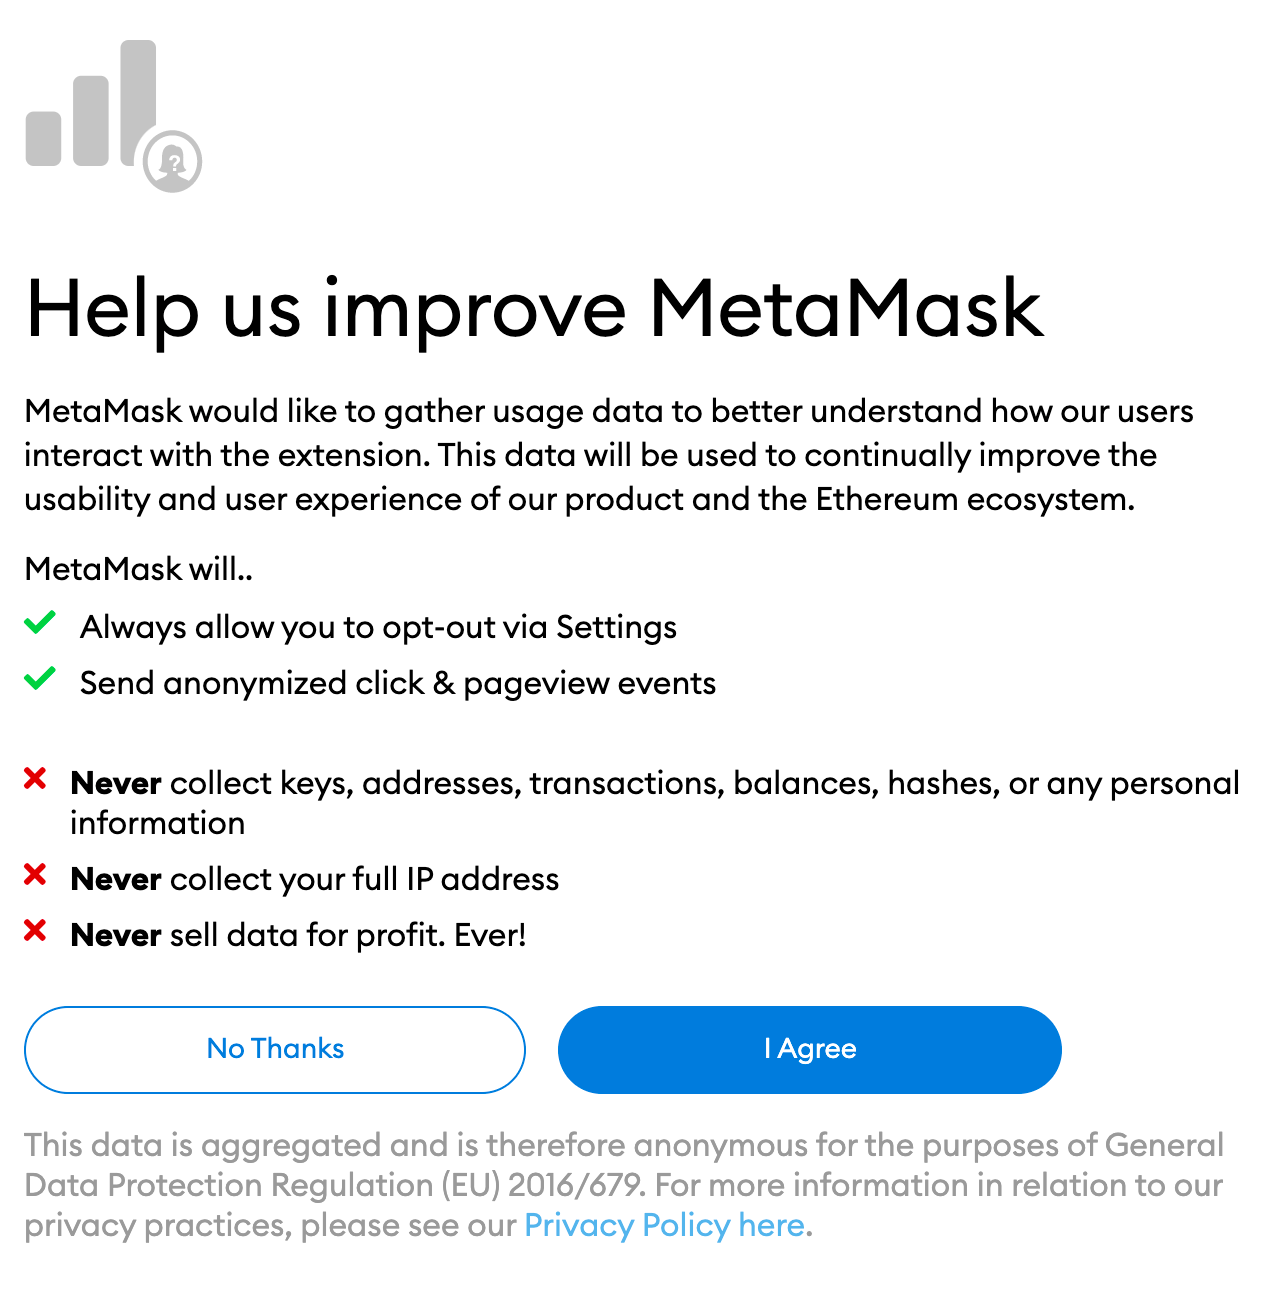
4. MetaMask will ask you if you would like to help improve the extension by sharing anonymous usage data. Accepting or rejecting this will not affect your experience using MetaMask.
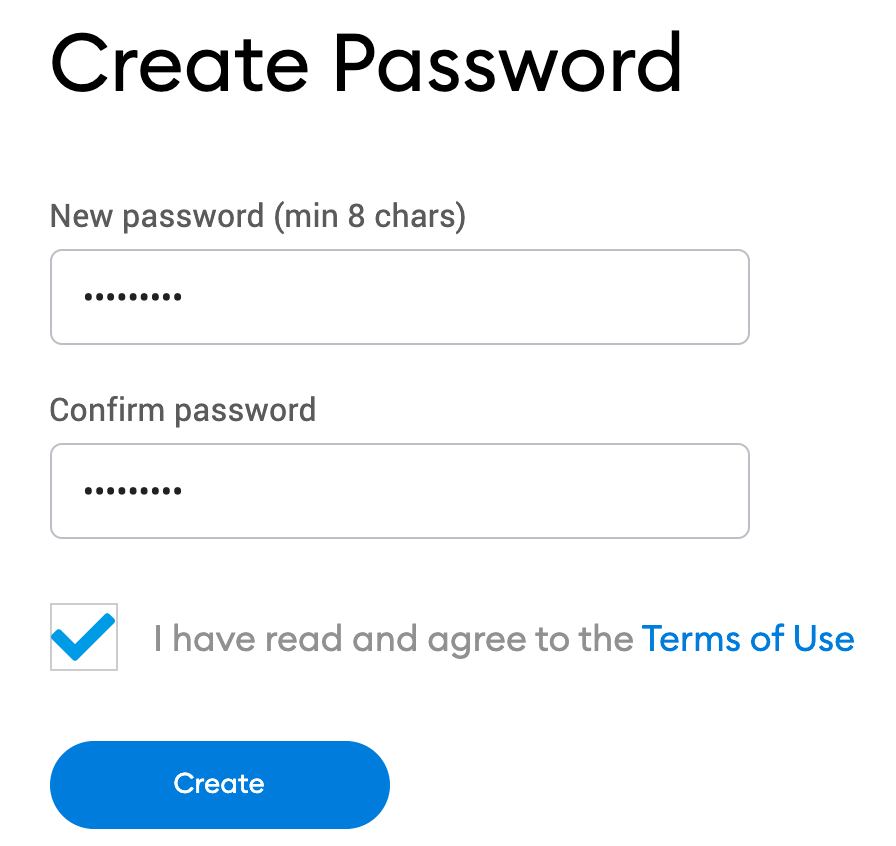
5. Create a strong password. This will be used to log into your wallet. Keep in mind that your password is not your seed phrase. The password protects access to your wallet from anyone who uses your device. The seed phrase allows you to access your cryptocurrencies even if you forget your password.
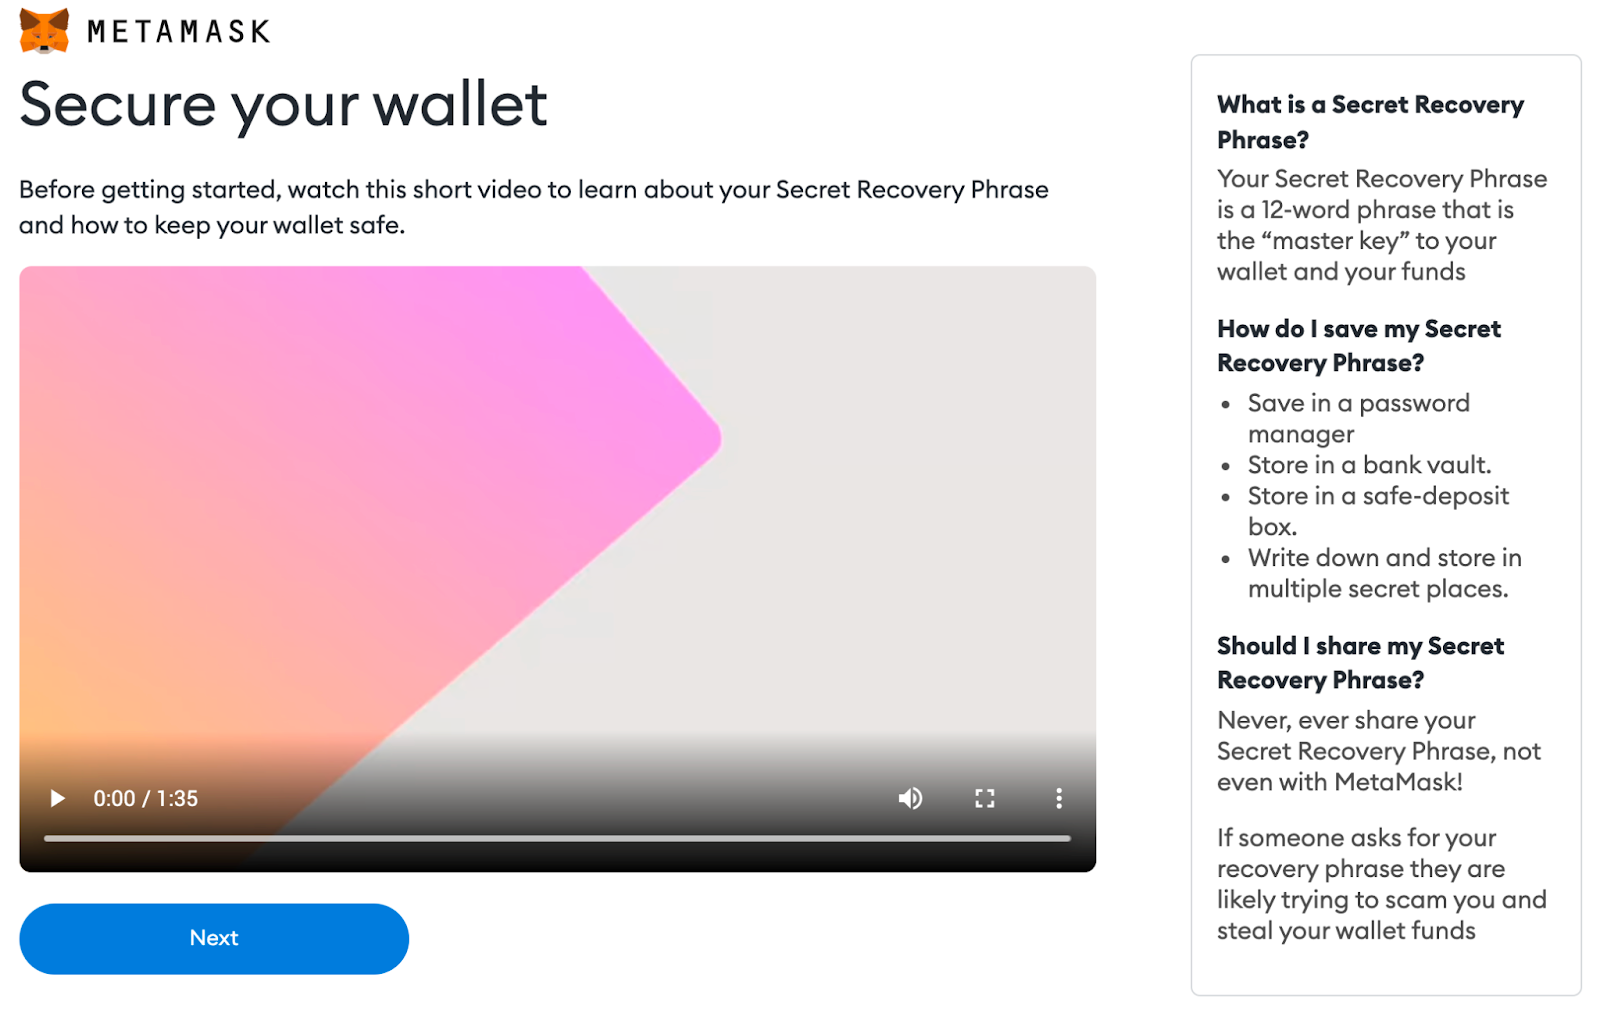
6. Now that you have created your password, MetaMask will provide you with valuable information about your seed phrase. If you are new to cryptocurrency wallets, be sure to read this section and watch the video before continuing.
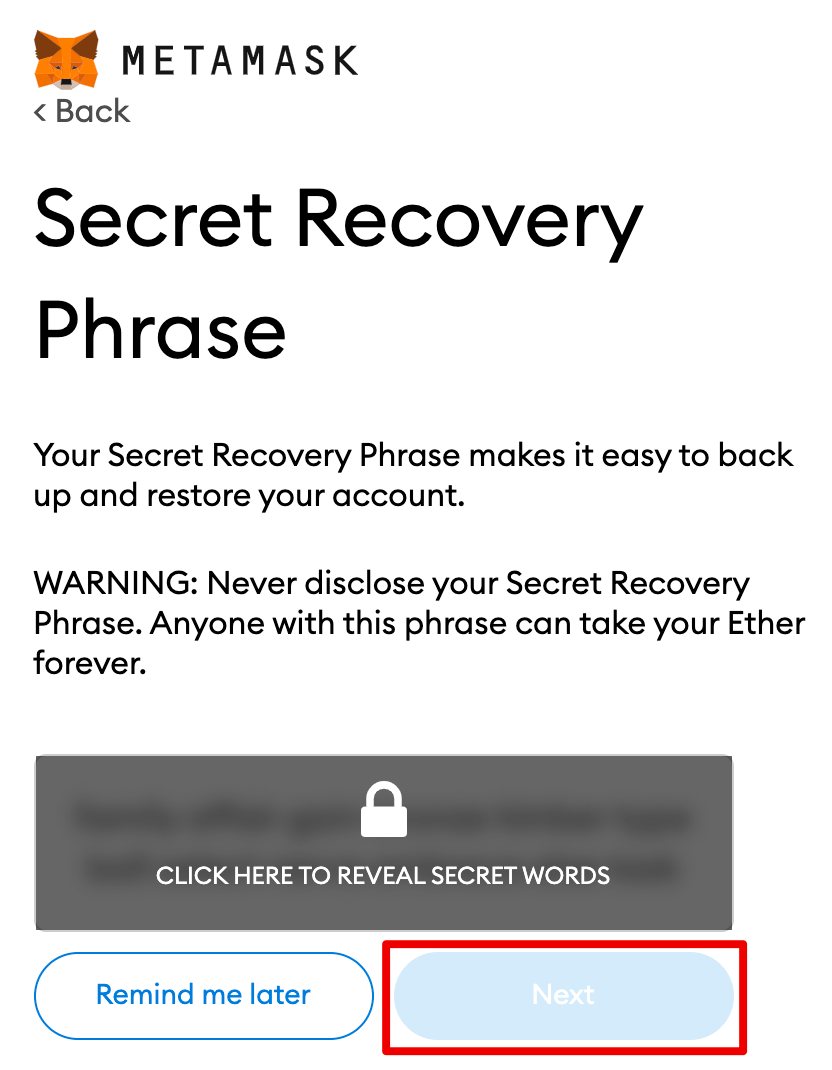
7. Next, click on the padlock to receive your 12-word seed phrase. Write down the words in the correct order and save them in a safe place (preferably, without an internet connection). Don't share your seed phrase with anyone. If you lose access, the seed phrase is the final backup for your account. Click [Next] to continue.
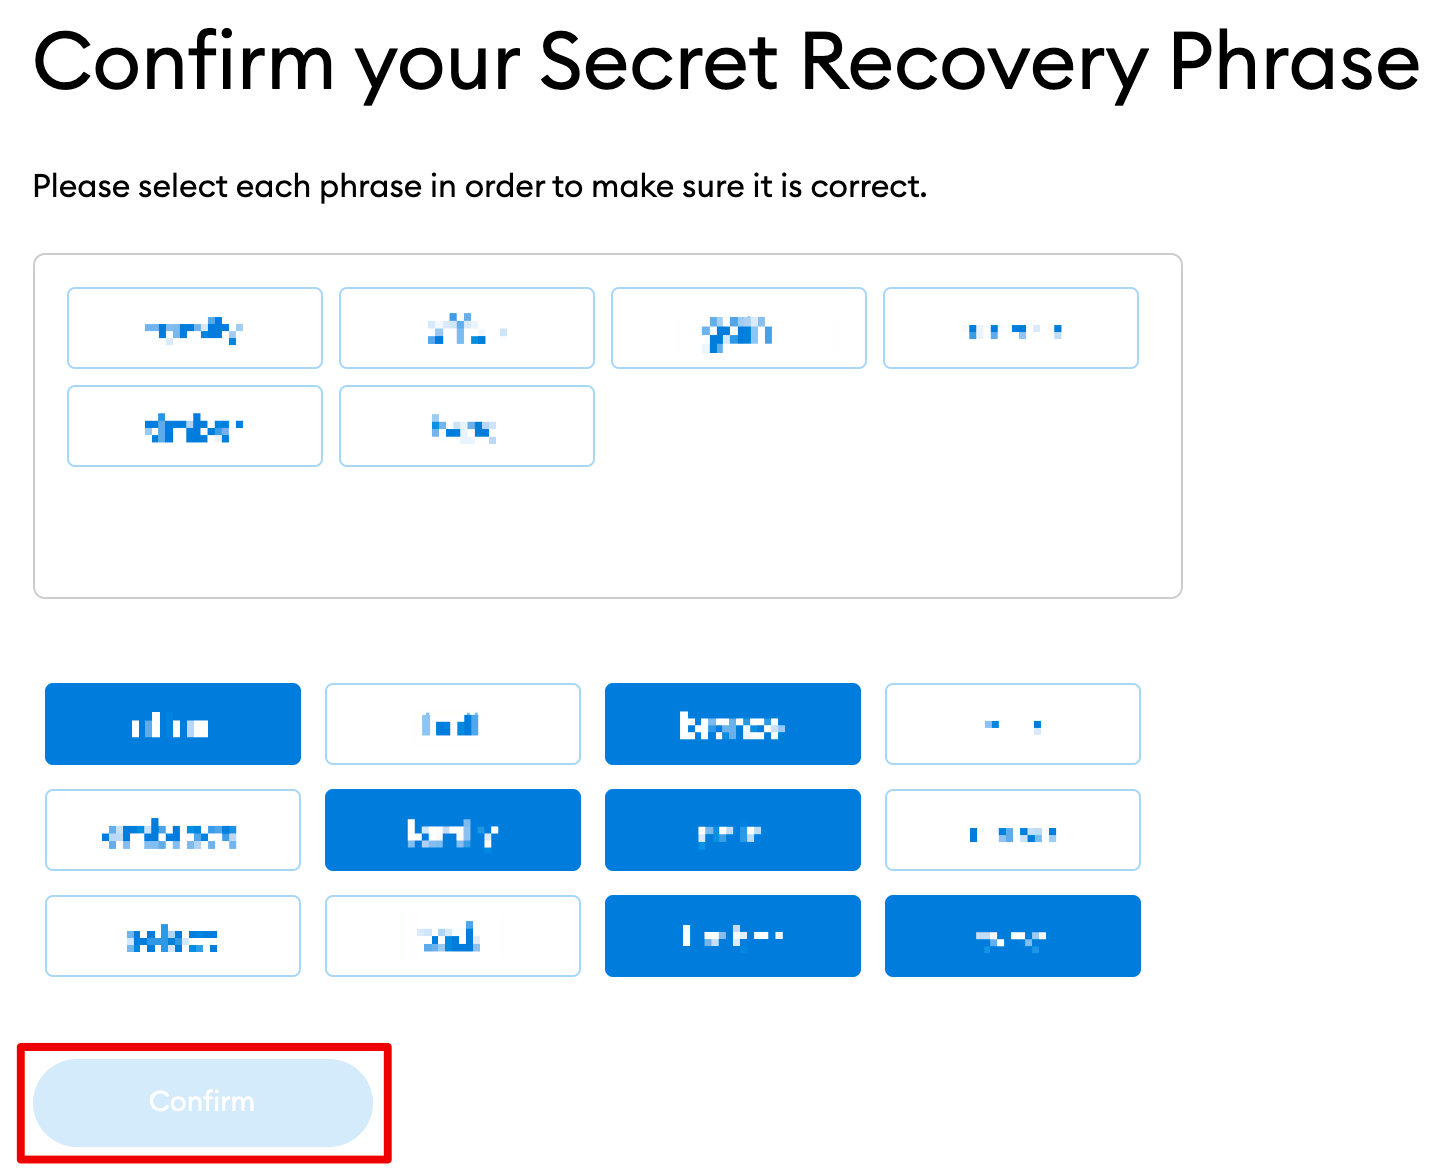
8. Confirm your seed phrase by selecting the words that appear at the bottom of the screen in the correct order. Once you have completed this step, click [Confirm].
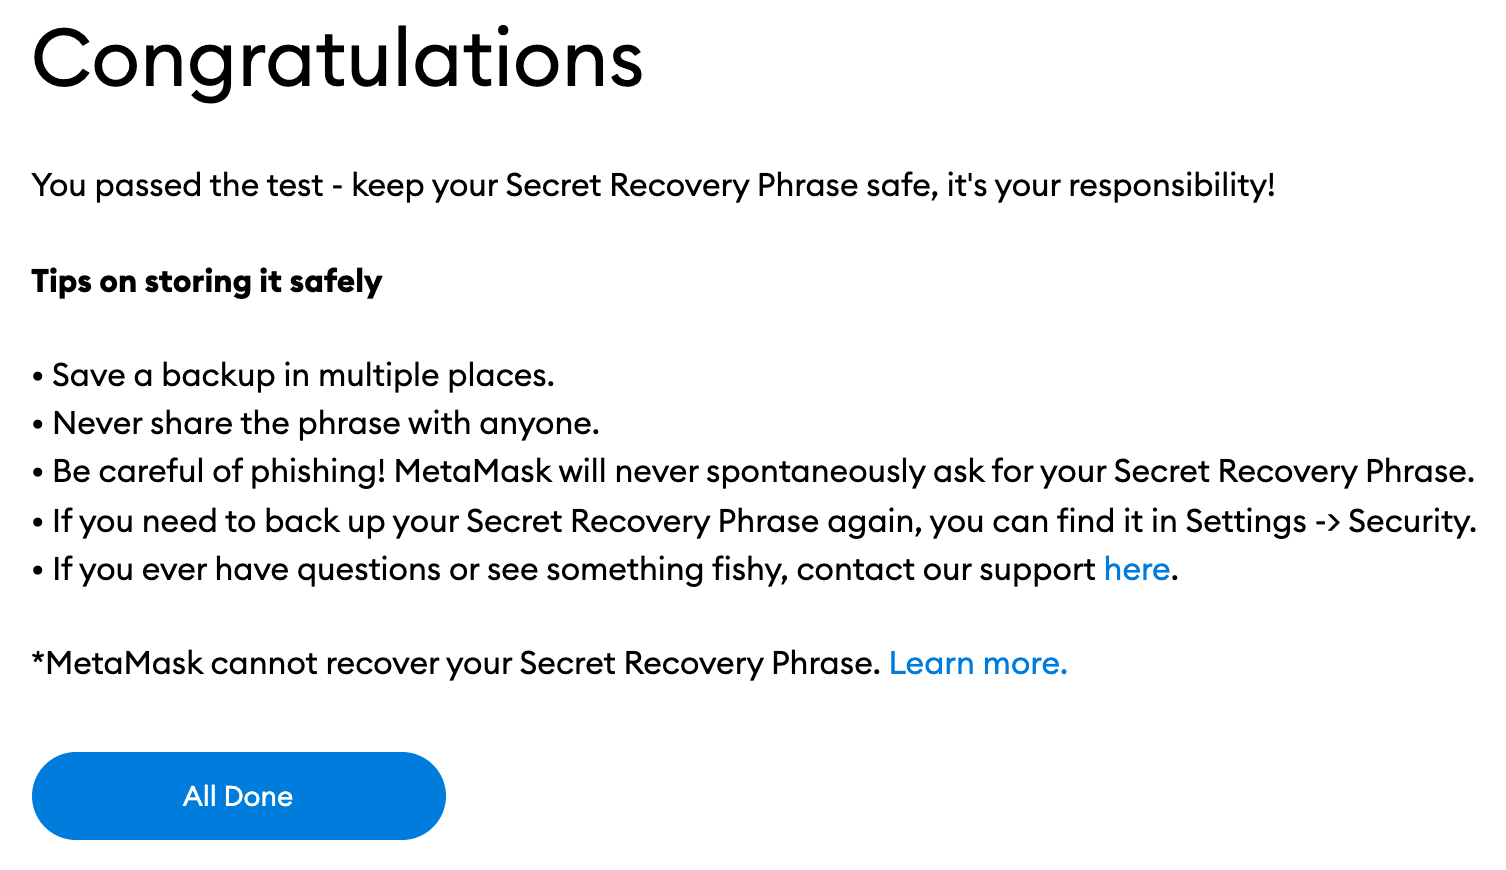
9. You have finished setting up your MetaMask wallet. To start using your wallet, click [All Done].
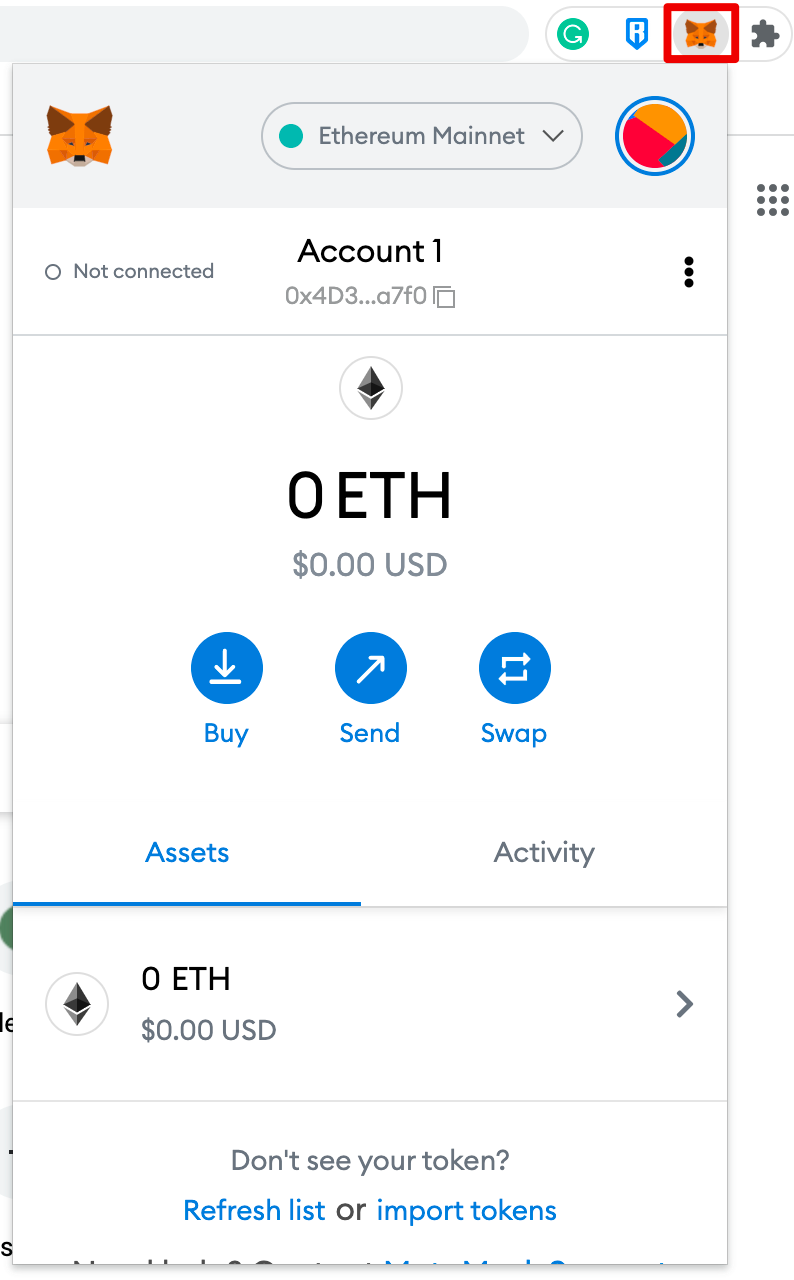
10. For easy access, click the puzzle icon in the Chrome browser and pin MetaMask to your toolbar. By default, the MetaMask wallet is only connected to Ethereum. In the next section, you will learn how to connect MetaMask to Fantom.
Set up wallet
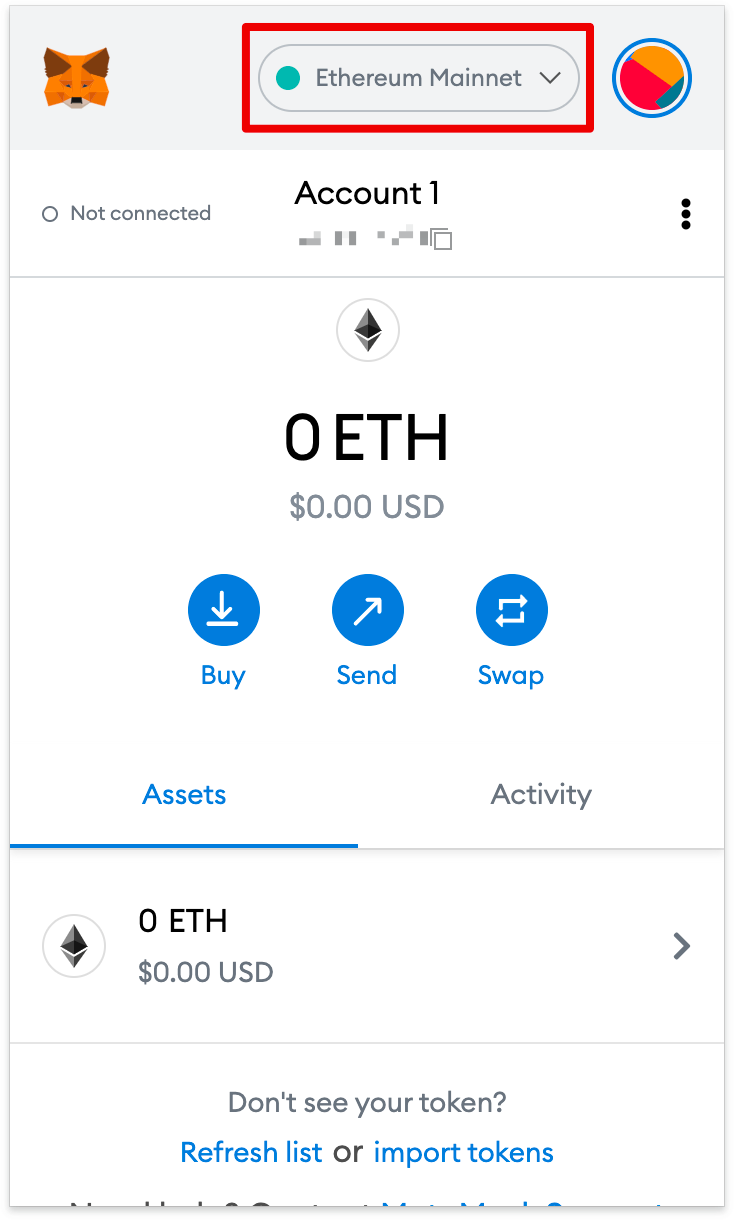
1. You will need to provide some network details to make Fantom available in your MetaMask wallet. First, open MetaMask and click on the networks drop-down menu.
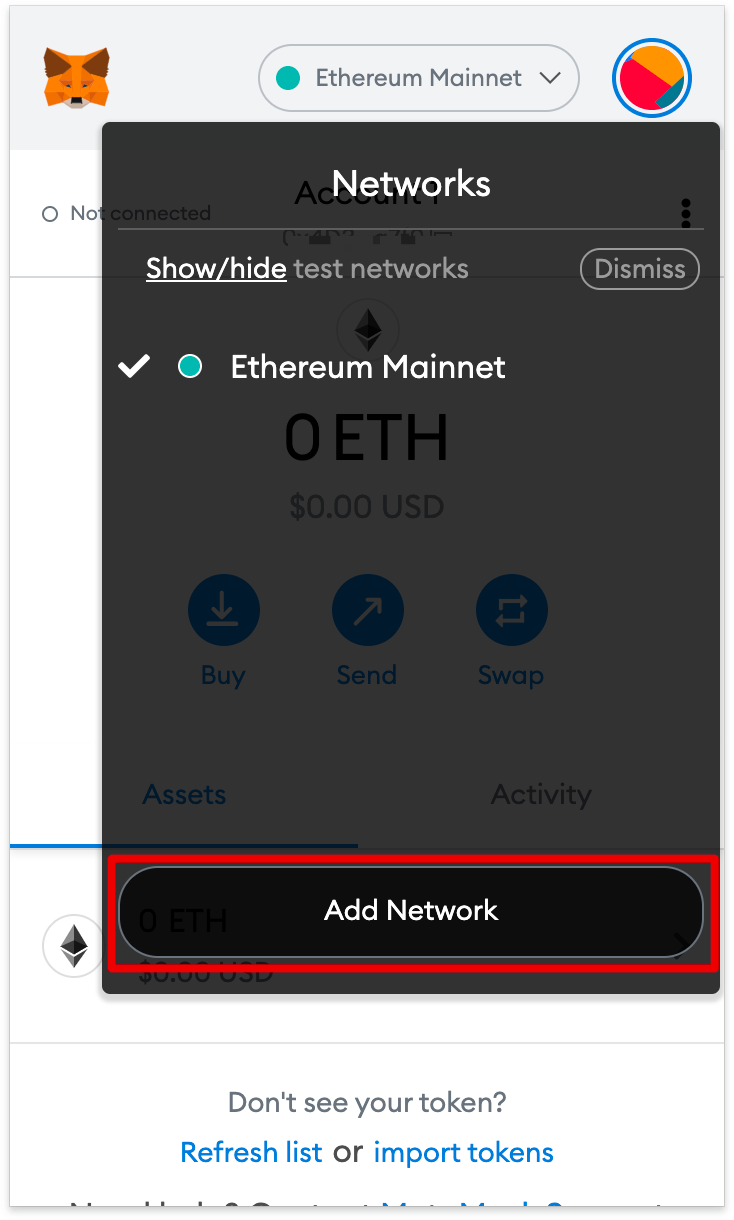
2. Click [Add Network] in the pop-up window.
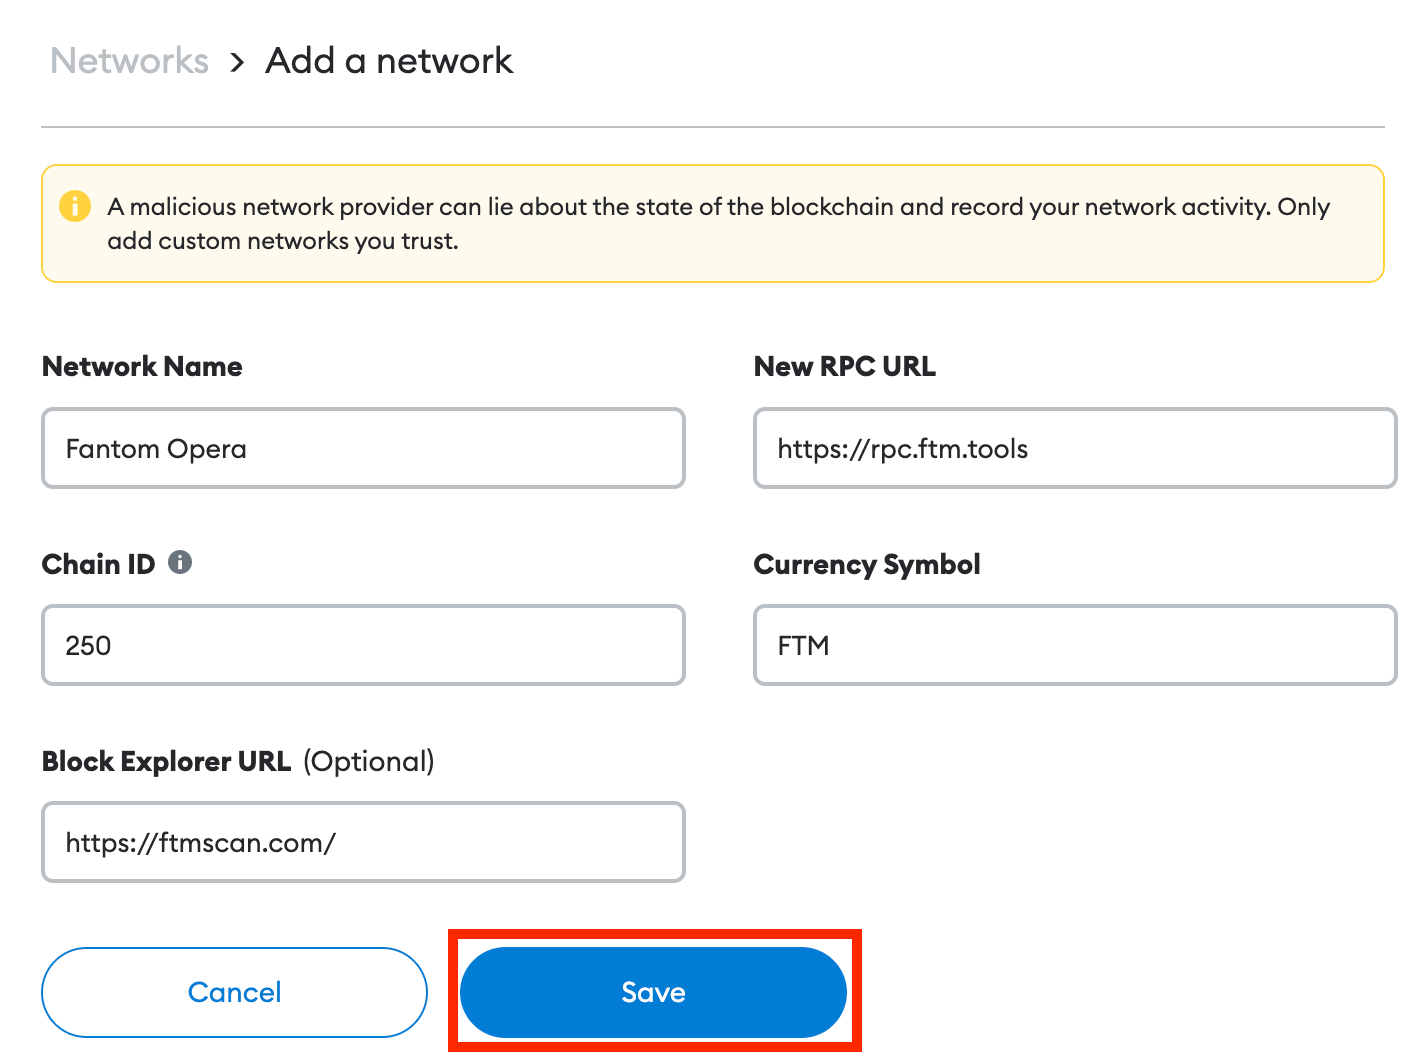
3. On the [Add Network] page, add the details below. And when you're done, click [Save].
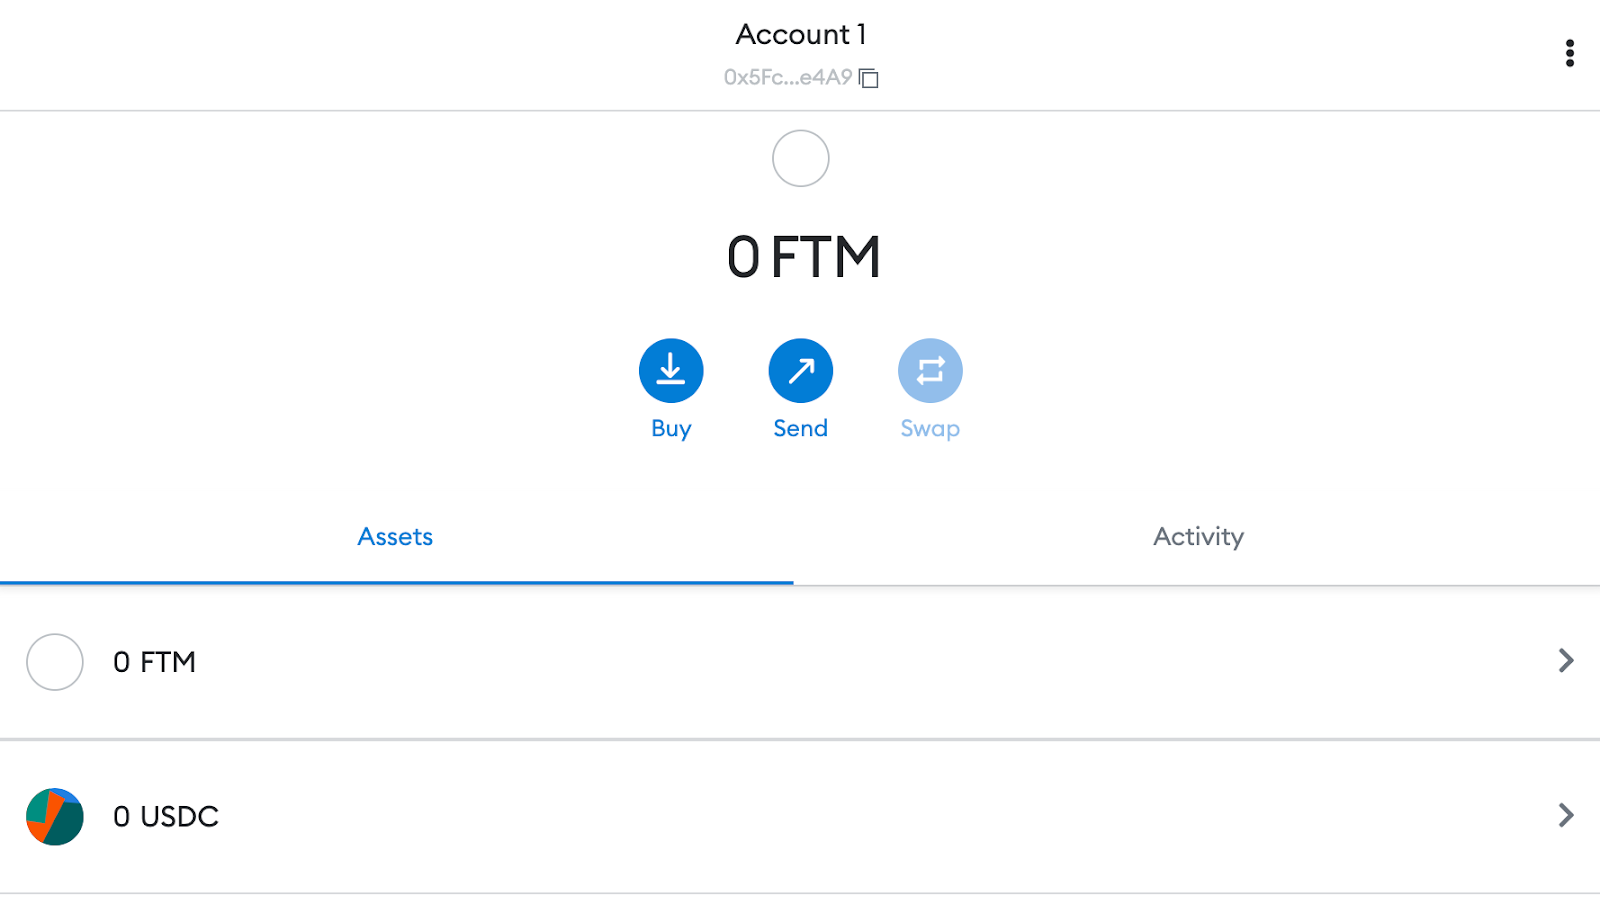
4. You have successfully connected to the Fantom network.
Add Fantom tokens to MetaMask
If you want to add Fantom tokens other than FTM, you will need to do so manually. However, your wallet may receive tokens that have not been imported.
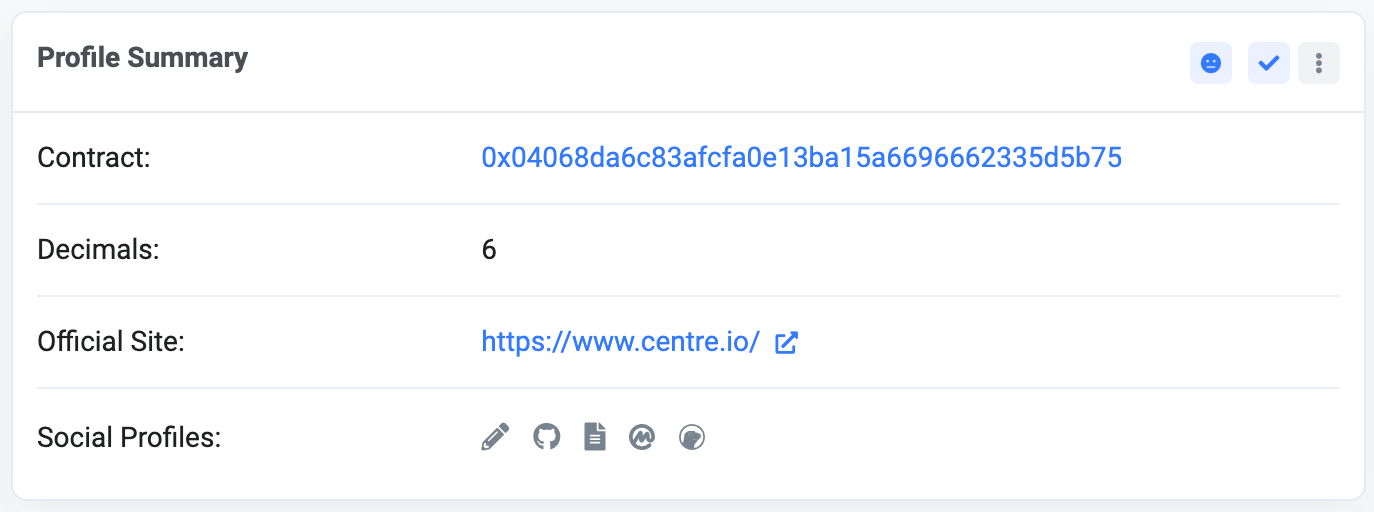
1. Visit FTMScan and find the contract and details of the token you would like to add. If the token is not found on FTMScan, always look for the contract address on the project's official website or social media channels. Users should always be wary of potential fake contracts created by scammers.
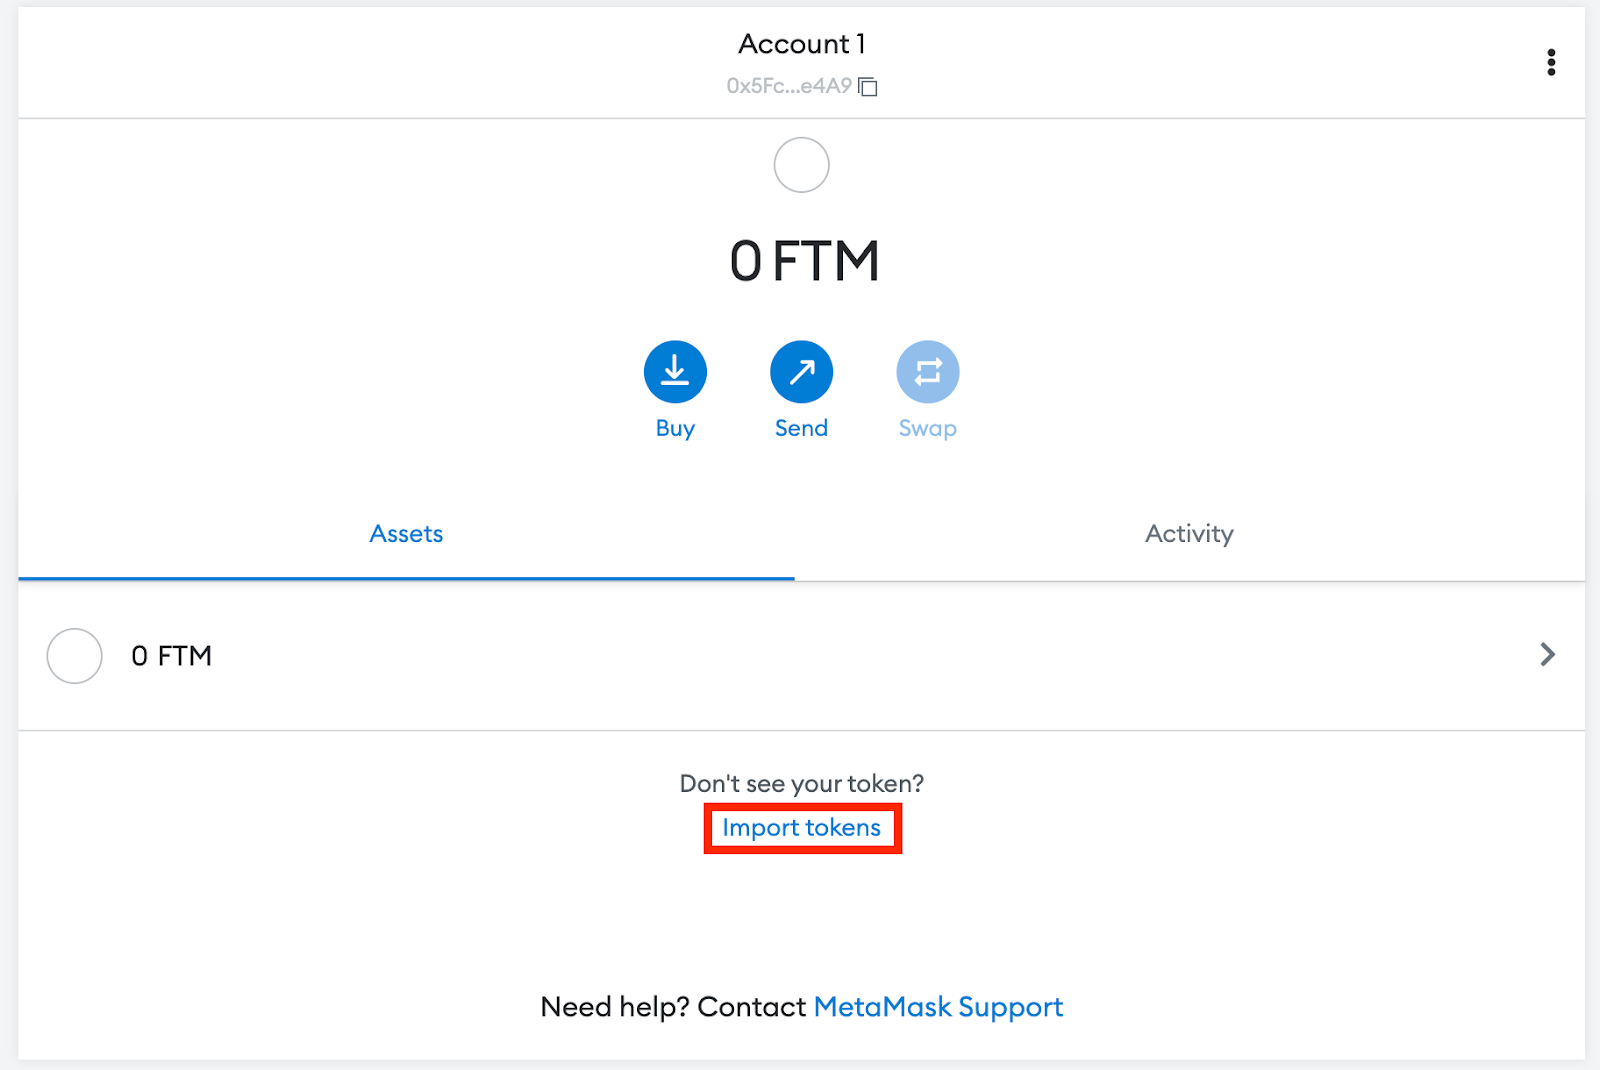
2. Return to MetaMask and click [Import Tokens].
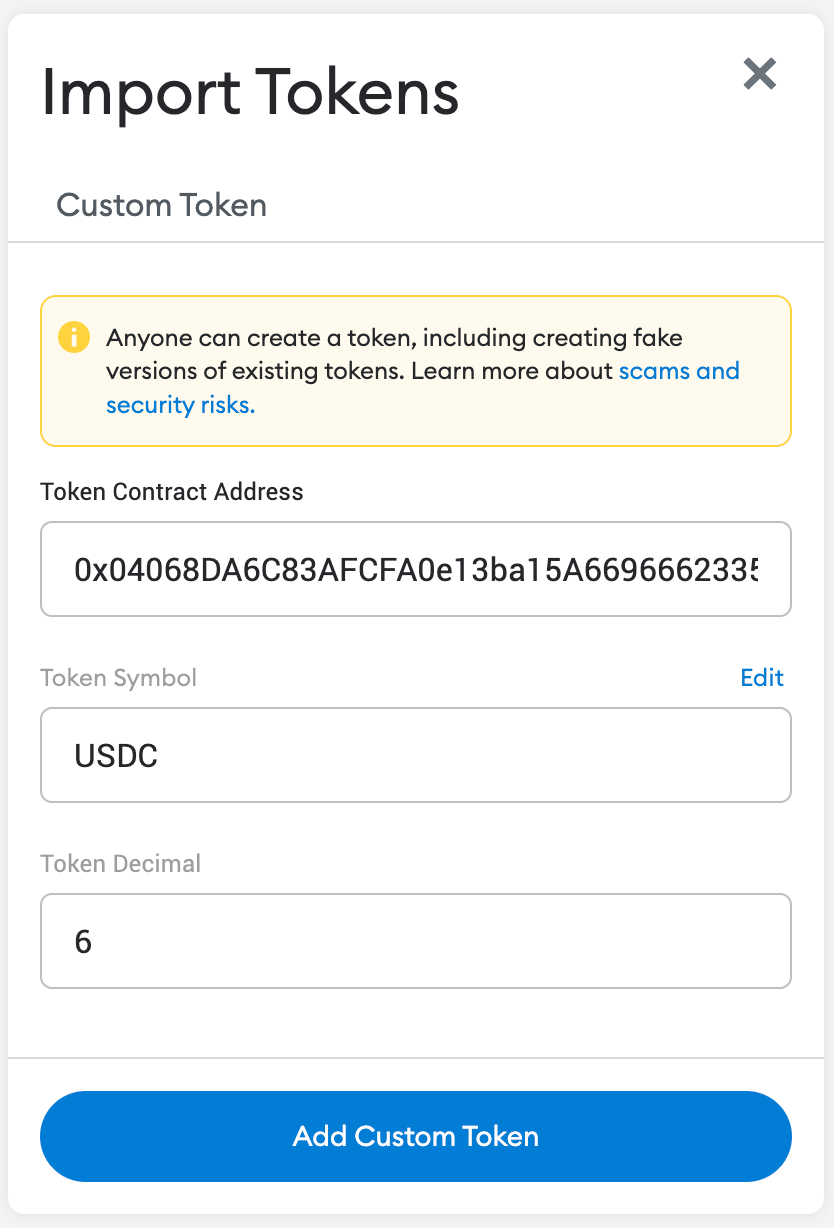
3. Copy and paste the token contract address. MetaMask should automatically fill in the rest of the details. If not, add the information manually. To finish, click [Add Custom Token].
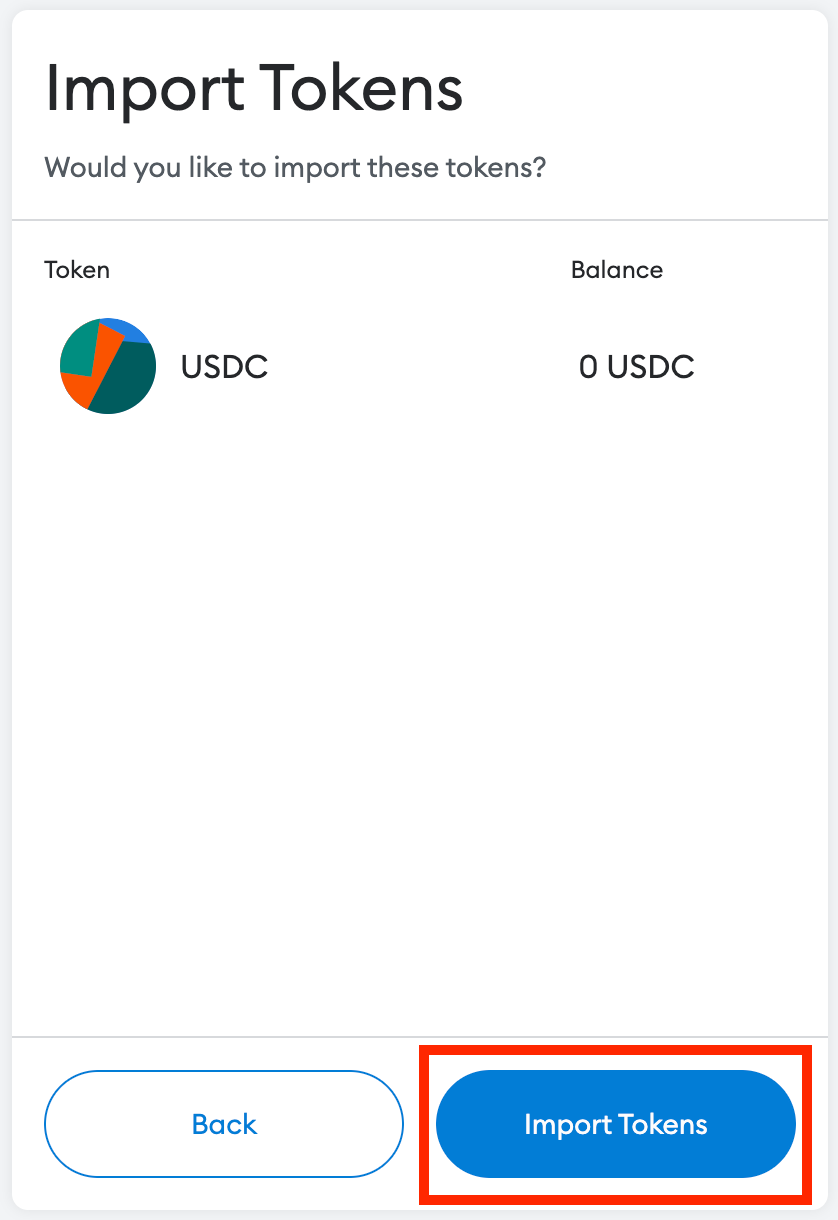
4. Click [Import Tokens].
5. Your wallet will now show the token you added with the correct balance.

Conclusions
Once you've set up Fantom on your MetaMask, you can start trading, collecting NFTs, interacting with DeFi DApps, and managing your cryptocurrencies. Additionally, you will also be able to perform token swaps within the extension. MetaMask is not an exclusive Ethereum or Fantom network wallet. It can also be connected to other networks that are fully compatible with Ethereum Virtual Machine (EVM). These include BNB Smart Chain, Polygon, Avalanche, Harmony, and many more. With our step-by-step guide, you're ready to add more chains and start exploring them.