

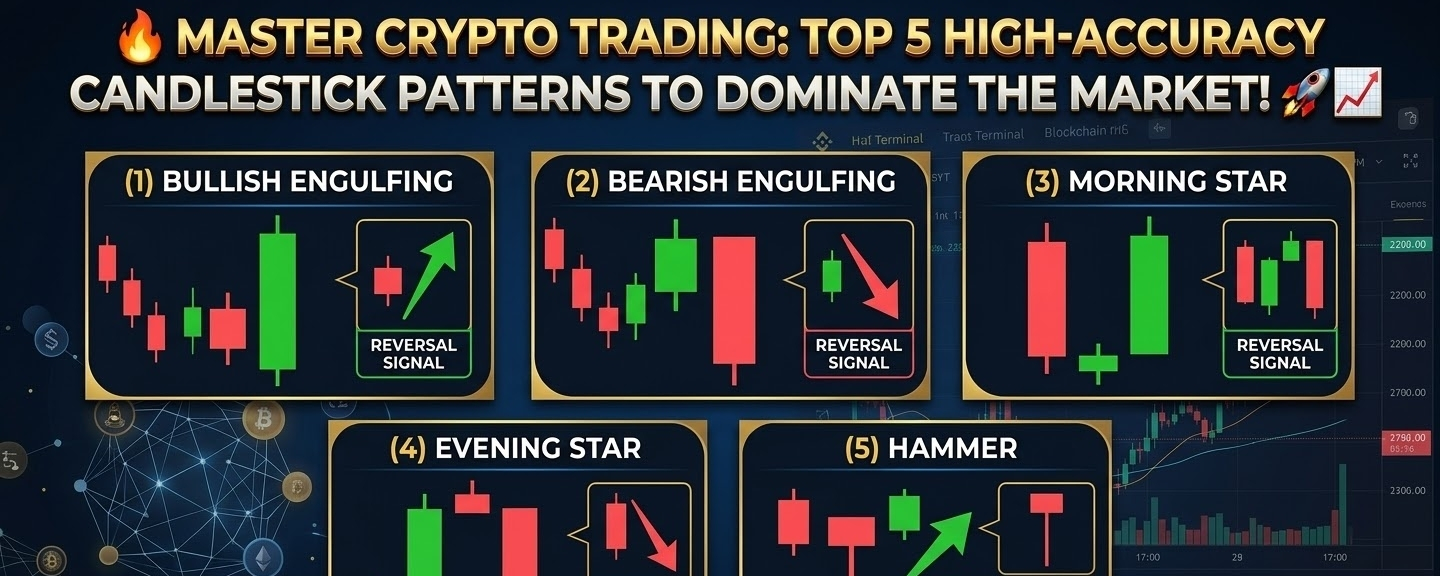

Want to level up your trading game and build a massive following? Understanding high-probability candlestick patterns is the ultimate shortcut. Here are the Top 5 Candlestick Patterns with 90%+ reliability when traded at key support and resistance levels. Save this guide and let's dive in! 👇
1. Hammer 🟢
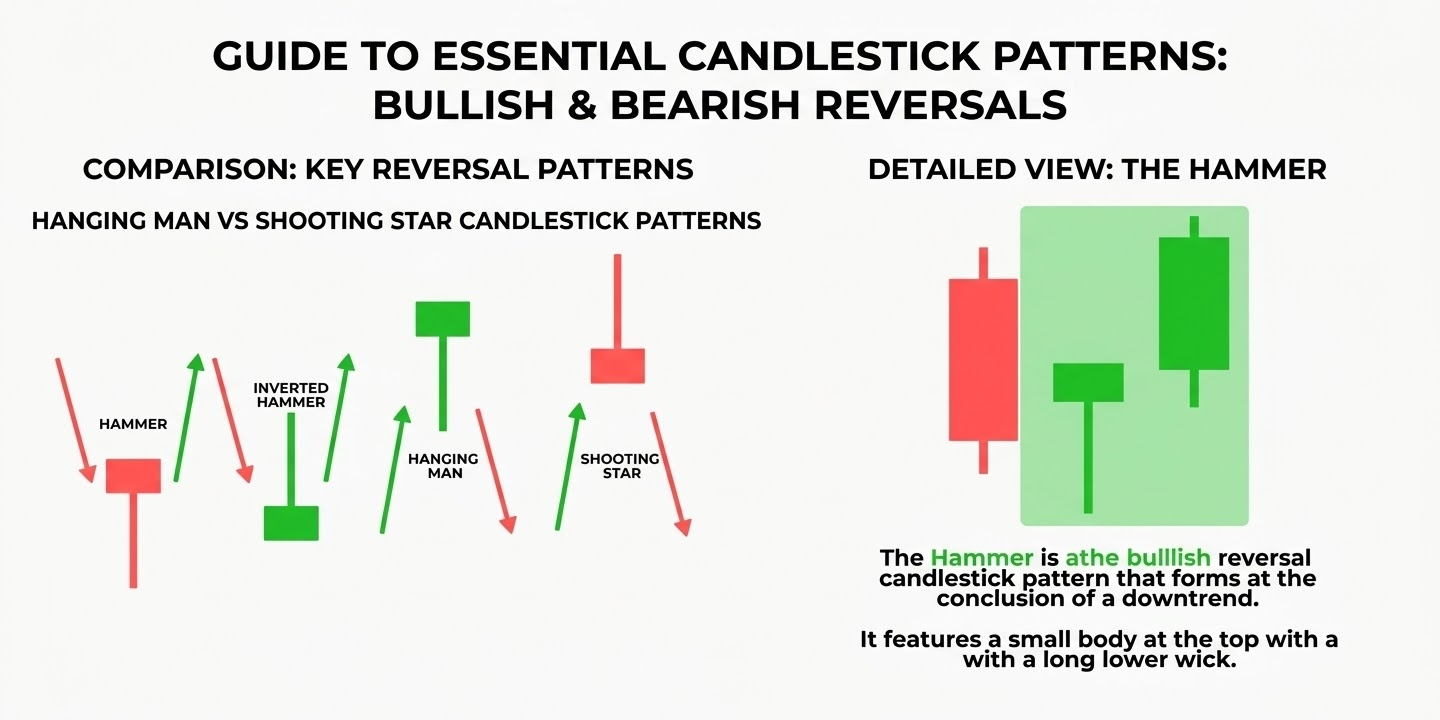
Market Condition: Forms at the end of a downtrend or strong support zone.
Short-Term Trade Entry: Wait for the Hammer candle to close. Enter a Buy (Long) position immediately when the next candle breaks above the Hammer's high.
Risk Management / Stop Loss: Place your Stop Loss just below the lowest point of the Hammer's lower wick to protect your capital.
2. Shooting Star 🔴
Market Condition: Forms at the peak of an uptrend or at a major resistance zone.
Short-Term Trade Entry: Once the Shooting Star closes, enter a Sell (Short) position as soon as the next candle breaks below its low.
Risk Management / Stop Loss: Set your Stop Loss slightly above the highest tip of the upper wick.
3. Bullish Engulfing 🟢
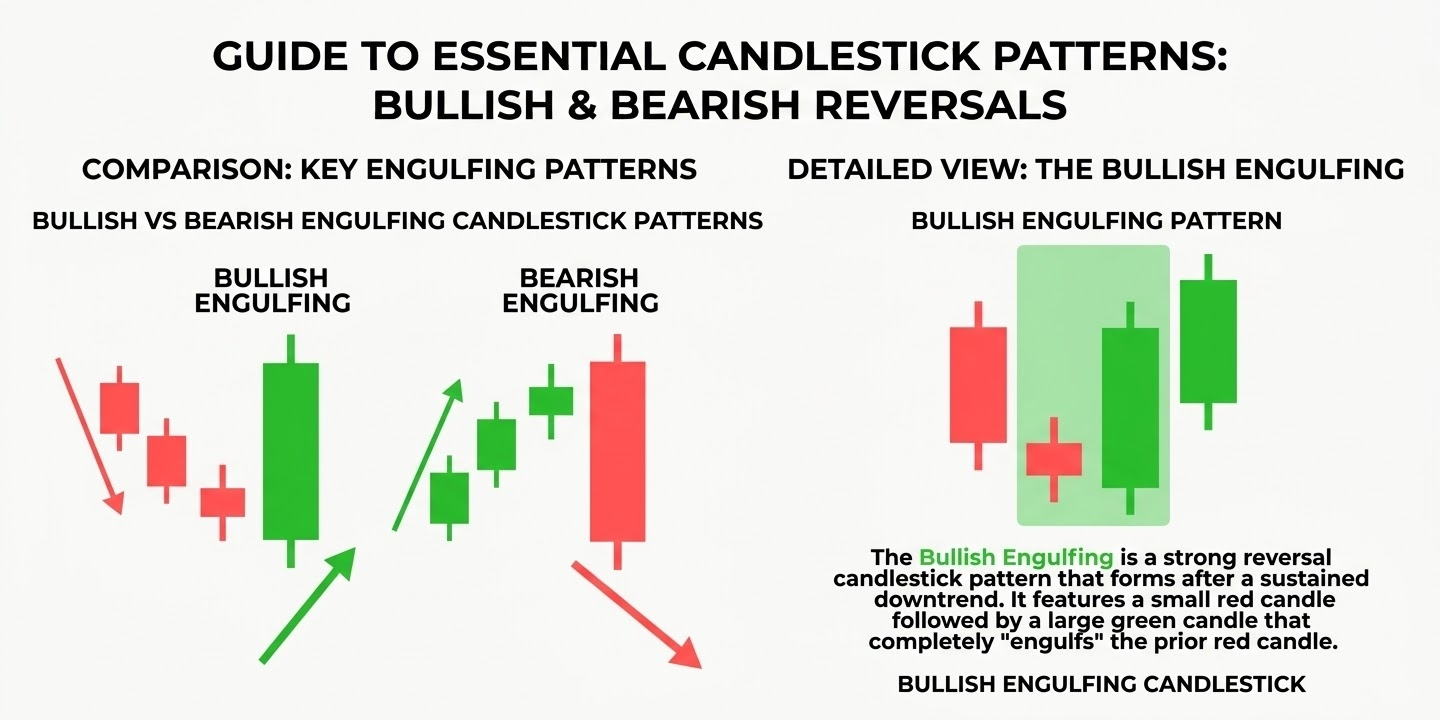
Market Condition: Appears at the bottom of a downtrend, signaling a massive shift in momentum.
Short-Term Trade Entry: Enter a Buy trade right at the close of the large engulfing green candle or on the retest.
Risk Management / Stop Loss: Place your Stop Loss just below the lowest low of both candles.
4. Bearish Engulfing 🔴
Market Condition: Appears at the top of an uptrend, signaling aggressive selling pressure.
Short-Term Trade Entry: Enter a Sell / Short position immediately when the red engulfing candle closes.
Risk Management / Stop Loss: Place your Stop Loss just above the highest tip of the pattern.
5. Morning Star 🟢
Market Condition: Forms at the absolute bottom of a downtrend, marking a powerful trend reversal.
Short-Term Trade Entry: Enter a Buy position as soon as the third green candle closes strongly.
Risk Management / Stop Loss: Place your Stop Loss just beneath the lowest point of the middle doji/small candle.
💡 Pro Trader Tip: Always combine these patterns with proper risk management (never risk more than 1-2% of your portfolio per trade) and volume confirmation!