

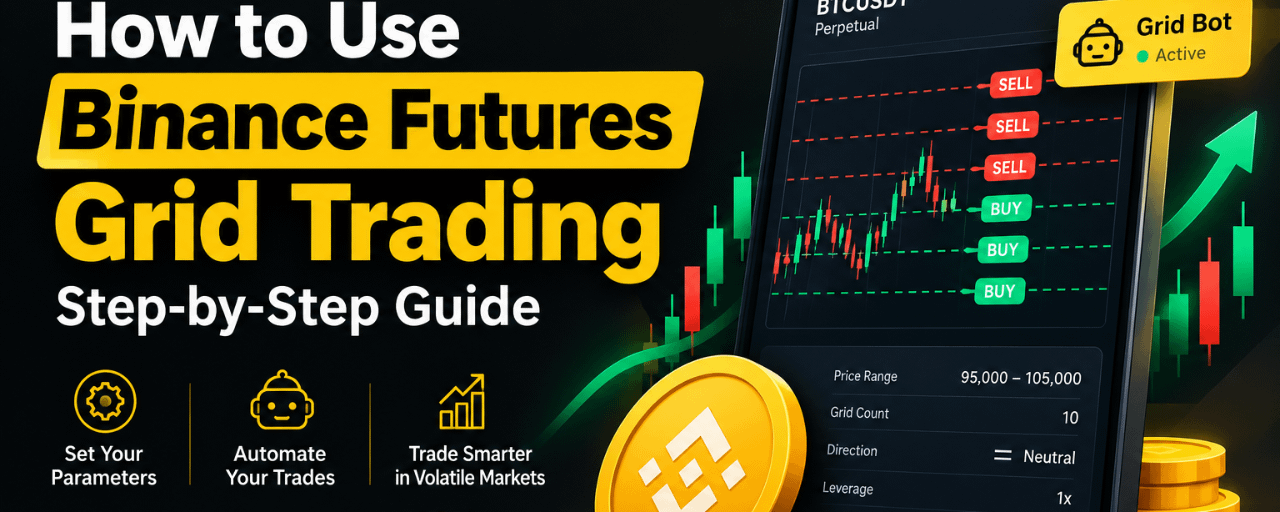

Learn how to use Binance Futures Grid Trading step by step. Discover grid bot settings, long and short strategies, price ranges, leverage, and essential risk management tips.
Can You Trade Crypto Without Watching Every Candle?
Crypto markets move 24/7. Prices can rise, fall, and reverse within minutes, making it difficult for traders to monitor every opportunity manually. But what if you could create a trading strategy in advance and let an automated system execute orders according to your selected parameters?
This is where Binance Futures Grid Trading comes in.
Futures Grid Trading is an automated trading strategy that places buy and sell orders at predefined price intervals within a specified range. Instead of manually entering every trade, you configure a grid bot to follow your strategy.
The approach is particularly useful in volatile, sideways markets, where prices repeatedly fluctuate between support and resistance levels. However, futures trading carries significant risks, and automation does not guarantee profits.
In this guide, you will learn how Binance Futures Grid Trading works, how to configure a grid bot, which settings matter most, and how to manage the risks involved.
What Is Binance Futures Grid Trading?
Binance Futures Grid Trading is an automated strategy that divides a selected price range into multiple levels. The trading bot places orders according to your chosen parameters and responds to market movements within that range.
For example, imagine that Bitcoin is trading at 100,000 USDT and you expect its price to fluctuate between 95,000 and 105,000 USDT.
You could configure a grid bot to place orders at different price levels throughout that range. As Bitcoin moves between those levels, the bot can execute trades designed to capture smaller price movements.
The three essential elements are:
Price range: The upper and lower boundaries within which the grid operates.
Grid count: The number of intervals into which the selected range is divided.
Grid direction: Whether the strategy follows a neutral, long, or short approach.
The objective is to systematically respond to price fluctuations rather than predict every market move.

Why Do Traders Use Futures Grid Trading?
Before creating a grid bot, it is important to understand what the strategy can and cannot do.
1. Automated execution
Once configured and activated, the bot can execute orders according to its grid parameters without requiring you to place every order manually.
2. A systematic trading approach
Grid trading follows predefined rules. This can reduce the temptation to make impulsive decisions in response to short-term price movements, although traders still need to monitor their positions.
3. Opportunities in ranging markets
Markets that repeatedly move up and down within a relatively stable range may provide conditions suited to grid strategies.
4. Customizable trading parameters
Depending on the available product settings, traders can configure the price range, grid count, direction, grid type, and leverage.
Important: Grid trading is not equally effective in every market condition. A strong breakout or sustained trend can cause losses, especially when leverage is involved.
Step-by-Step Guide to Binance Futures Grid Trading
Follow these steps to understand how to configure a Futures Grid bot. Binance may update its interface or available features, so the exact labels can vary.
Step 1: Open Binance Futures Grid
Log in to your Binance account and navigate to the Futures trading bot section.
Look for the following menu options:
Trade → Trading Bots → Futures Grid
Depending on your interface, you may also find Futures Grid through the Futures trading page.
Before proceeding, check whether Futures trading and the grid bot are available in your jurisdiction and account.
Step 2: Select a Futures Trading Pair
Choose the contract you want the bot to trade.
For example, BTCUSDT perpetual futures is a commonly discussed market for learning how grid trading works.
When selecting a contract, consider:
Its recent price volatility.
Its trading volume and liquidity.
Its typical support and resistance areas.
Its funding fees, where applicable.
The potential size of its price swings.
Beginners should understand how a contract behaves before committing funds. A highly volatile asset can move beyond a grid's limits much faster than expected.
Step 3: Choose Automatic or Manual Parameters
Binance may offer automatic parameter recommendations and manual configuration, depending on the product interface.
Automatic parameters: The platform provides suggested settings that can simplify the setup process.
Manual parameters: You select the grid boundaries, grid count, and other available settings according to your market analysis.
Automatic settings can be convenient, but they are not necessarily suitable for your risk tolerance or market outlook. Always review the proposed parameters before starting a bot.
Step 4: Choose Your Grid Direction
Grid direction determines how the strategy approaches market movements.
Neutral Grid
A neutral grid can be used when you expect the market to fluctuate around a range without a strong directional trend. Depending on the configuration, it can initiate long or short positions as price moves through the grid.
Long Grid
A long grid is generally intended for a bullish or cautiously upward market outlook. It can establish long exposure and use grid orders to respond to price fluctuations.
However, if the price declines substantially, losses on long exposure can increase.
Short Grid
A short grid is generally intended for a bearish market outlook. It can establish short exposure and use grid orders to respond to price movements.
If the market rises sharply against the strategy, losses on short exposure can increase.
The correct direction depends on market conditions and your risk plan. None of these options guarantees a profitable outcome.
Step 5: Select the Grid Type
Binance Futures Grid may provide two grid calculation methods.
Arithmetic Grid
An arithmetic grid places levels at equal absolute price intervals.
For example:
98,000 USDT
99,000 USDT
100,000 USDT
101,000 USDT
102,000 USDT
The difference between adjacent levels is 1,000 USDT.
Geometric Grid
A geometric grid places levels according to an equal percentage change or price ratio.
For example, a 1% interval produces progressively larger absolute price differences as the price increases.
Arithmetic grids use equal price differences, while geometric grids use equal proportional differences. Your choice should reflect the asset's price behavior and the strategy you want to implement.
Step 6: Set the Lower and Upper Price Limits
This is one of the most important decisions when configuring a grid bot.
Suppose your hypothetical Bitcoin market analysis suggests a trading range between 95,000 and 105,000 USDT.
Your settings would be:
Lower price: 95,000 USDT
Upper price: 105,000 USDT
These values define the grid's operating range; they are not predictions or recommended trading levels.
If the market moves beyond the configured boundaries, the bot's behavior depends on its settings and the product's rules. It may stop opening new grid orders outside the range, while existing positions can remain exposed to market risk.
Therefore, consider what you would do if Bitcoin breaks below 95,000 USDT or above 105,000 USDT before launching the strategy.
Step 7: Configure the Number of Grids
The grid count determines how many intervals divide your selected price range.
For example, a 10,000 USDT range divided into 10 equal arithmetic intervals has a spacing of 1,000 USDT per interval.
The basic calculation is:
Grid spacing = (Upper price − Lower price) ÷ Number of intervals
A higher grid count generally creates smaller intervals, potentially increasing the frequency of trading. However, the gross opportunity per completed interval may be smaller, and fees can consume a greater share of the result.
A lower grid count creates wider intervals, which may reduce trade frequency but increase the price movement required between levels.
There is no universally optimal grid count. It depends on volatility, trading costs, order size, and your risk limits.
Step 8: Set Leverage and Initial Margin
Futures trading allows traders to use leverage, subject to the contract and account's applicable limits.
Leverage increases market exposure relative to the margin committed. This can amplify gains, but it also amplifies losses and can increase liquidation risk.
For example, a position with 5x leverage has approximately five times the exposure of the same amount of margin at 1x leverage, before accounting for fees, funding, and other requirements.
Before activating a grid bot:
Understand the difference between margin and position exposure.
Review the initial margin required by the strategy.
Check the applicable maintenance margin and liquidation rules.
Avoid allocating funds you cannot afford to lose.
Keep sufficient margin for the risks of the position.
Using lower leverage does not eliminate risk, but it can reduce exposure compared with an otherwise identical higher-leverage position.
Step 9: Review the Configuration and Activate the Bot
Before starting the grid, review all settings carefully.
Check your selected contract, grid direction, price range, grid count, leverage, initial margin, and estimated trading costs.
If the platform provides estimated profit per grid or other performance figures, remember that estimates are not guarantees and may exclude some costs or unrealized losses.
Once you understand the configuration and accept the risks, you can activate the bot through the platform interface.
Step 10: Monitor Performance and Adjust When Necessary
Automation does not mean that you can ignore your trading account.
Review the bot regularly and pay attention to:
Changes in the broader market trend.
Breakouts beyond the selected price range.
Realized and unrealized profit and loss.
Funding fees and trading fees.
Margin usage and liquidation risk.
Whether the original trading thesis remains valid.
If market conditions change substantially, reassess the strategy. Depending on the product's available controls, you may be able to modify parameters or stop the bot.
Before stopping it, understand how open positions and outstanding orders will be handled. Stopping a bot does not necessarily mean that all exposure disappears without further action.
Five Common Mistakes to Avoid in Futures Grid Trading
1. Choosing an unrealistic price range
A range based on outdated support and resistance levels may become unsuitable when market conditions change.
Better approach: Use current market analysis and define in advance how you will respond to a breakout.
2. Using excessive leverage
Higher leverage can leave a position vulnerable to liquidation after a relatively small adverse price movement.
Better approach: Understand your maximum acceptable loss and the liquidation mechanics before choosing leverage.
3. Ignoring fees and funding
A grid may complete many small trades, but trading fees and funding costs can reduce net results.
Better approach: Evaluate the strategy after applicable costs, not just its gross trading gains.
4. Assuming every completed grid produces a net profit
Price movement between two levels does not guarantee a positive overall result. Position exposure, execution, fees, funding, and unrealized losses all matter.
Better approach: Assess the bot's overall performance, including open positions and all applicable costs.
5. Leaving the bot unattended during a major trend
Grid trading is designed around predefined parameters. A sudden market breakout can invalidate the assumptions behind those settings.
Better approach: Monitor market structure and maintain a clear plan for changing conditions.
Is Binance Futures Grid Trading Suitable for Beginners?
Futures Grid Trading can help beginners learn about automated order execution, price ranges, and systematic strategies. However, automated futures trading is not automatically beginner-friendly or low-risk.
Before using real funds, beginners should understand futures contracts, leverage, liquidation, funding fees, and the difference between realized and unrealized P&L.
It can also be useful to study historical price behavior and evaluate a strategy without risking real capital where suitable simulation or testing tools are available.
A simple strategy that you understand is generally more useful than a complicated configuration whose risks you cannot explain.
Final Thoughts
Binance Futures Grid Trading offers a systematic way to automate trades within a predefined price range. By configuring grid direction, price boundaries, grid spacing, and margin, traders can build a strategy designed to respond to market volatility.
Its potential usefulness depends heavily on market conditions. Sideways price action may suit a grid strategy, while a strong directional move can expose the trader to significant losses.
The key is to understand the mechanics, account for trading costs, manage leverage carefully, and monitor the strategy as conditions evolve.
Remember: automation can execute a trading plan, but it cannot remove market risk.
#BinanceFutures #gridtrading #cryptotrading #TradingBots


